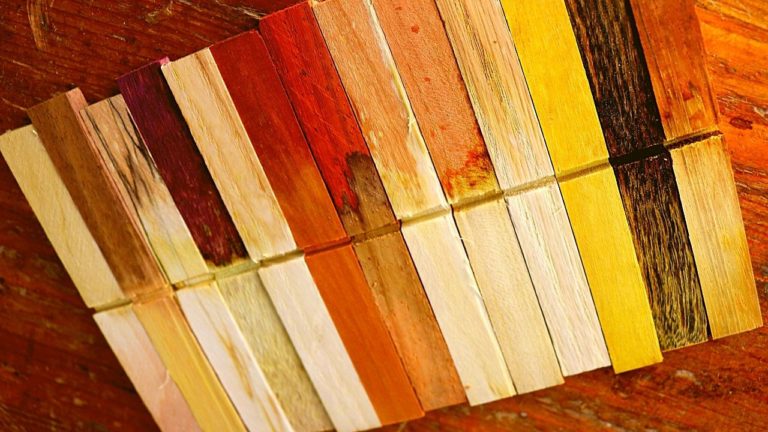
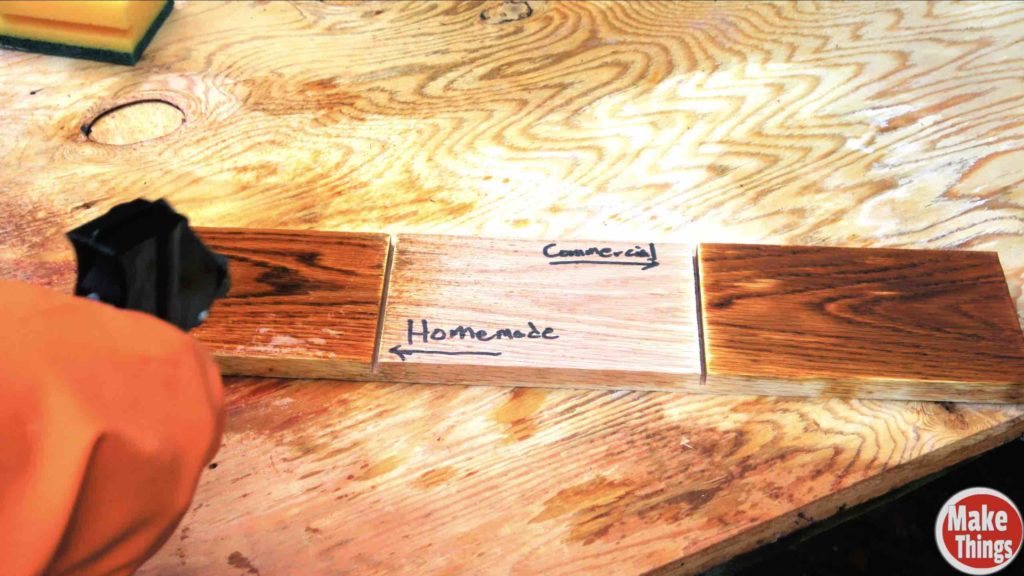
There are so many different wood finishing techniques out there, but bleaching wood is one of my favorites. As you can see, the 2-part wood bleach formula can have dramatic results on just about any wood you can imagine.
Most people, I’m sure, don’t realize that the same chemicals local DIY stores sell in a package can easily and safely replicated at home at a greater savings. This article will show how I make my own.
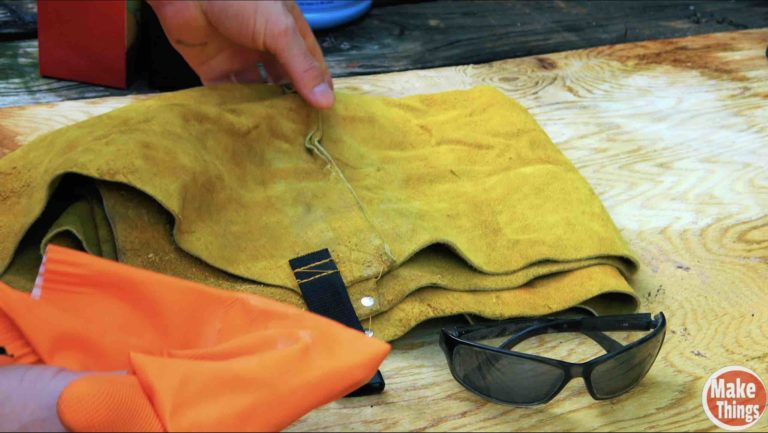
Before I get started, I need to point out how important it is to use safety. If you’re one of those fellows that shrug off important safety concerns and fail to use proper PPE (Personal Protective Equipment), this project is one I recommend skipping.
Long pants and shirt, rubber gloves, rubber boots, safety glasses and a rubber apron are necessary to protect one’s self.
I always mix these chemicals outside and away from curious eyes.
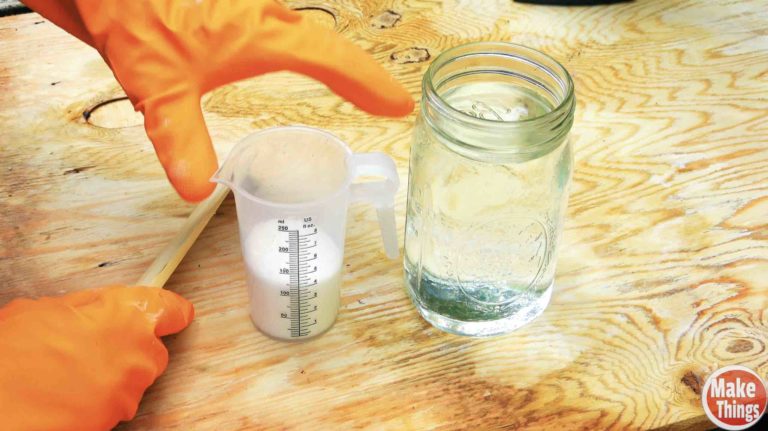
Step 1
In this step I mix a little less than 4 cups of water with 4 ounces of Sodium Hydroxide (Lye), using a glass quart canning jar (never metal). Before I jump in and get knee deep in this step, you need to understand a few things about this process. First and foremost, I never add water TO Sodium Hydroxide. The full amount of water needs to be measured out before a single grain has dropped into the jar.
The second thing I need to make clear is that when I mix Sodium Hydroxide with water, thermal energy will be created. It will get hot, very hot. I mix in stages.
The first stage I add one ounce and then wait for 5 minutes, allowing it to cool slightly. The water temperature at this point will probably be at about 104º F. After 5 minutes has passed, I’ll add a second ounce. The water at this point will be about 114º F. I’ll wait another 5 minutes, add another ounce. Finally, at 20 minutes after mixing, I’ll add the last ounce. The temperature at this point will be 124º F (or so).
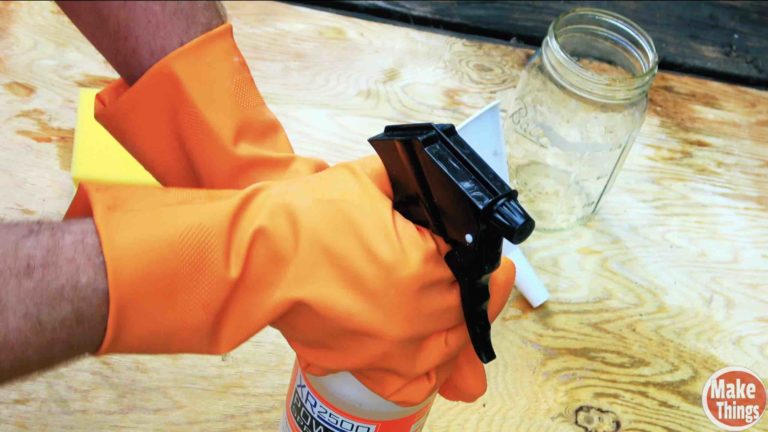
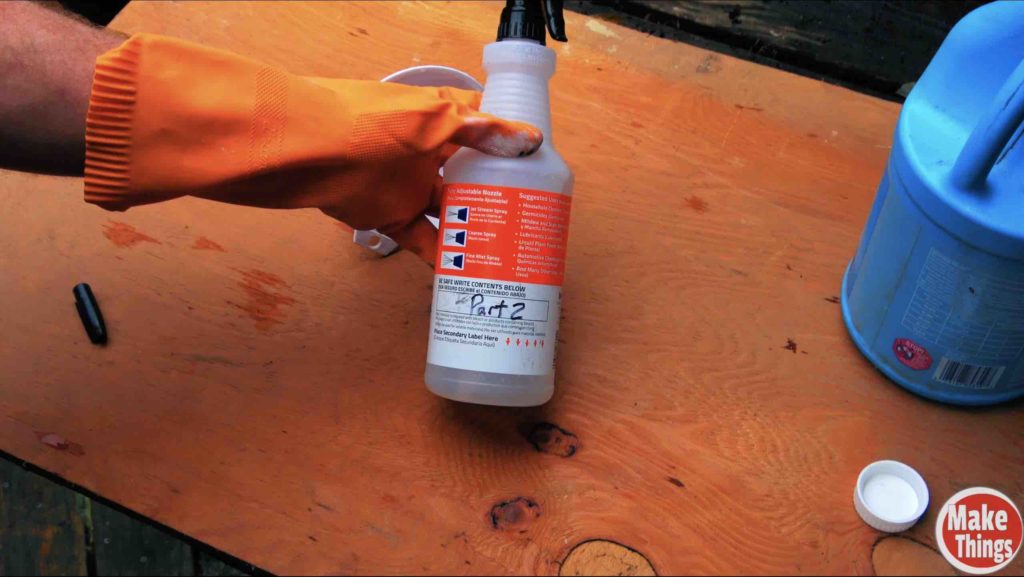
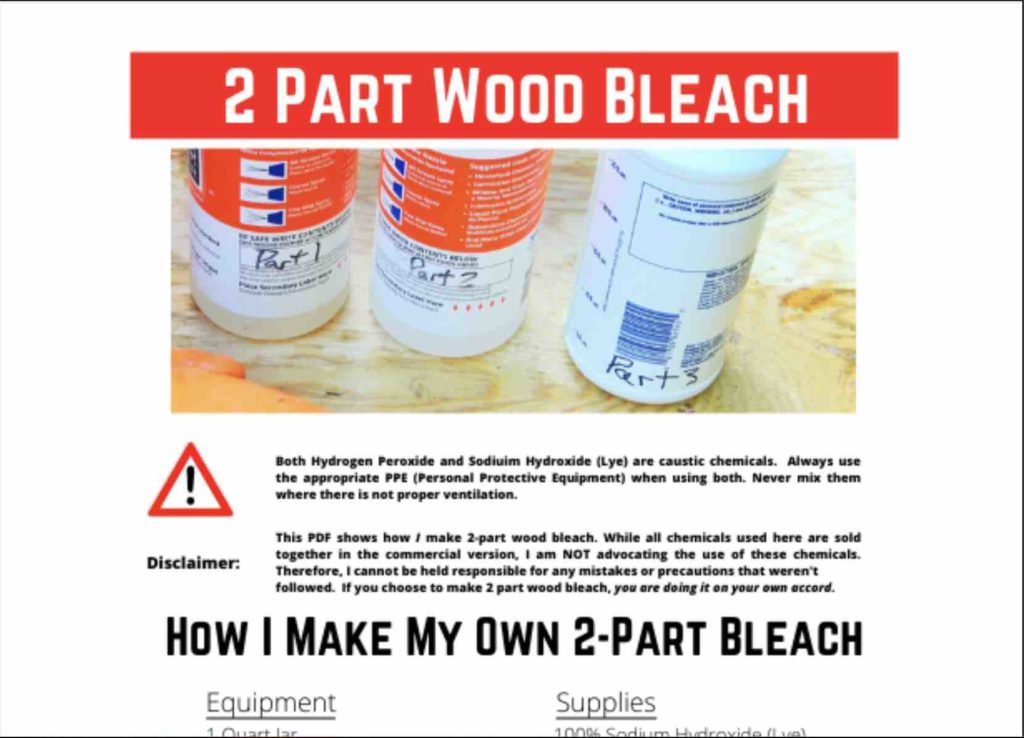
When the solution has cooled to room temperature, I add it to a chemical spray bottle. On the bottle, I use a permanent marker and label it “Part 1“.
Step 2
To get a good chemical reaction with the Sodium Hydroxide, I use a 27-30% Hydrogen Peroxide mixture. This isn’t the same stuff you get at a local pharmacy. To get mine, I go to a pool supply store. I won’t mention a brand name, but asking a clerk for a bottle of 27-30% Hydrogen Peroxide get’s a quick nod and a point to the right shelf. It’s important that there’s ONLY Hydrogen Peroxide in the bottle and absolutely no chlorine.
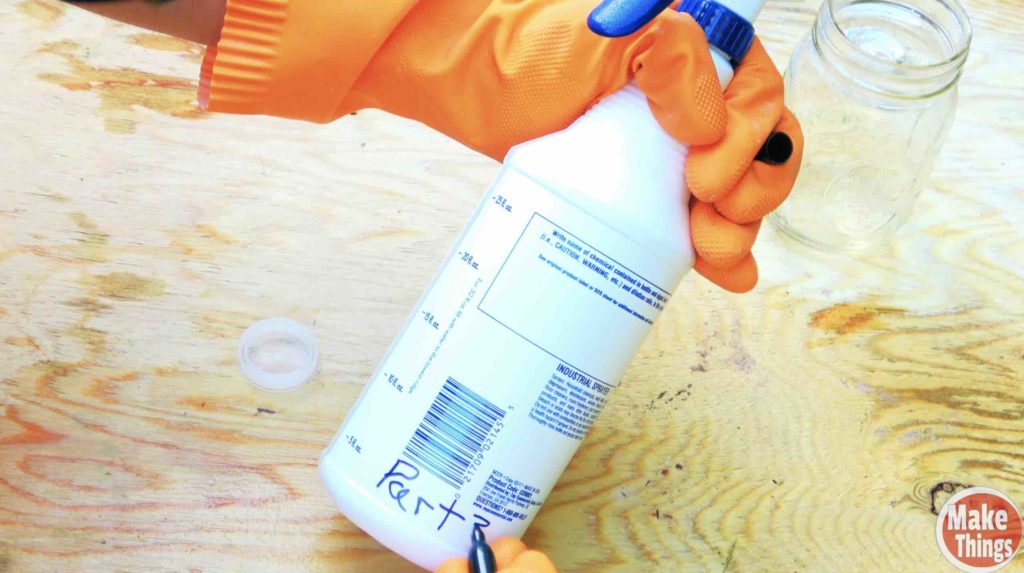
With this product I pour it into a second chemical spray bottle and label it “Part 2“.
Step 3
I know this seems a little misleading, as it’s called “2 part bleach” but I make a 3rd solution which is 1 part water and 1 part vinegar. This solution is used to neutralize the sodium hydroxide and hydrogen peroxide.
I’ve also found that if I somehow touched either the Hydrogen Peroxide or the Sodium Hydroxide (by picking up a wet board), I can quickly spray my fingers with this 3rd solution and neutralize the chemicals.
How I bleach wood
At this point, it’s very simple to use these. I’ll spray the intended wood piece with Part 1 and give it some time to soak into the wood. Ten to Twenty minutes is a reasonable amount of time before I spray Part 2. Now I’ll wait till it’s dry to decide whether I like the effect or if I need to do another dose. Part 1, is not needed again if I choose to spray it again. Instead, I use Part 2 until I’m satisfied. When I’m happy with my results, I use Part 3 to neutralize.
A quick note: All of this is done outside and away from curious eyes.
Why wood bleach?
Wood bleaching has a couple great benefits. First and foremost, a nicely bleached piece of wood has its own aesthetical appeal. One could apply an oil based stain, but it doesn’t look as natural as a beautifully bleached portion of wood.
The second reason, and the reason I became so interested in this, is the ability to dye woods without the dye colors being distorted due to the wood color. I’ve prepared a video (left) that shows the technique being done.
Storage
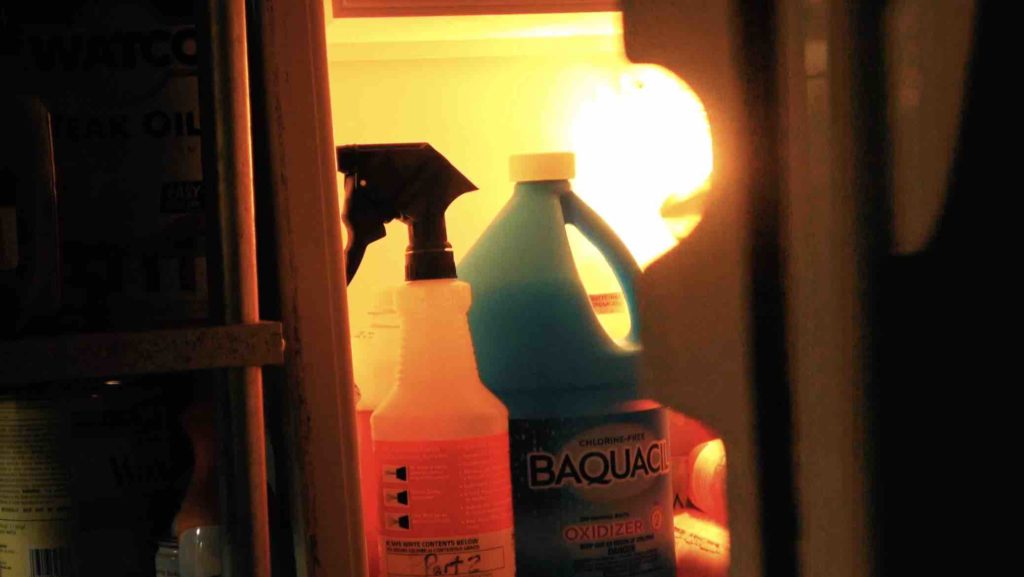
Because all 3 chemicals are corrosive, I choose to store them away from things like metal and concrete. I put my Hydrogen Peroxide in my shop refrigerator as it tends to quickly break down after it’s been opened…and there’s a rumor that refrigeration helps.
Now, I’m not suggesting anyone put Hydrogen Peroxide in with their food refrigerator, or that refrigeration even works. My refrigerator contains no food.
Cheat Sheet
If you’re interested in downloading my printer friendly quick cheat sheet pdf, which has equipment breakdown, supplies and even a cost analysis, click on the download button below.