If you’re going to sharpen a blade, it is absolutely crucial that the blade is sharpened at an exact angle. Any deviation from that angle can cause the blade to be uneven, leading to dull edges or even chipping. This can significantly impact the quality of your work and the longevity of your tools.
While freehand sharpening can work, it often proves challenging, especially with thinner blades. Maintaining a consistent angle by hand is difficult and can result in inconsistent edges. This is where a sharpening guide becomes invaluable.
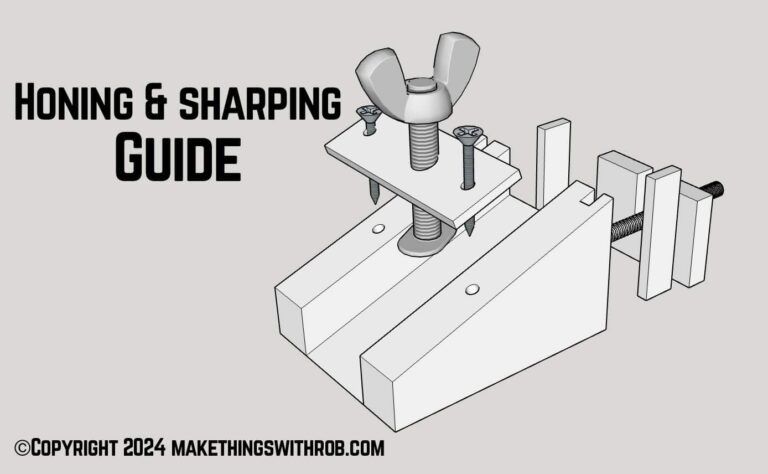
The guide featured on this page is my top choice. It provides precise control, ensuring that each pass of the blade maintains the correct angle. This guide is designed to work seamlessly with the “scary sharp” sharpening system, which involves using a piece of glass with sandpaper attached to it. This setup provides a perfectly flat surface for sharpening. By using this guide and system together, you can achieve a razor-sharp, durable edge every time.
ATTENTION: These plans are yours to use…they are offered as a gift from me to you. You have every right to use them to make this project for yourself, but please, do not sell or give these plans away as your own! I make absolutely no money off of these so I would appreciate those who view these plans to abide by basic copyright laws.
As an amazon associate I earn from qualifying purchases.
Step by step instructions
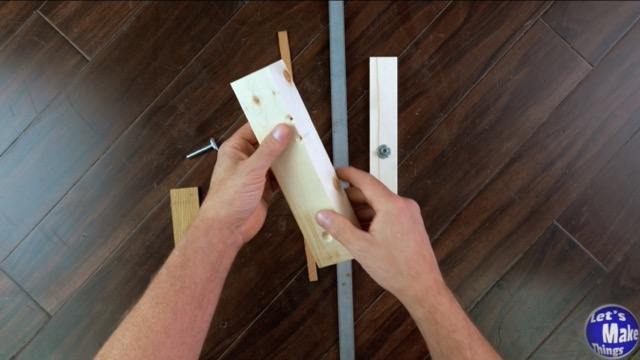
1. Materials
Materials for this are pretty simple. I did throw a wrench in the mix by using a steel arm, but I did it to keep the profile on the top small. I think using a thin 1/8th inch (or 12 gauge) piece of flat steel is a better option, but it’s up to you.
Click image to see this step on youtube
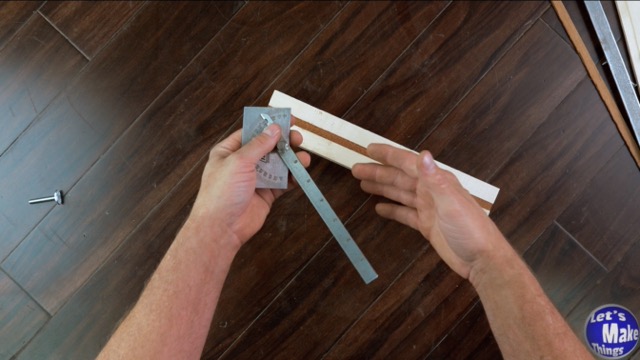
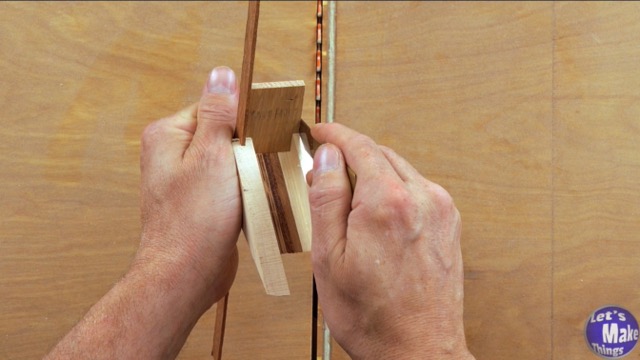
2. Making the angle
The square angle protractor (I called it a box protractor) is a great little way to find an angle. If you only plan on using a 25˚ angle and no other angle (like a micro bevel), set it to 25˚. You can bypass step 4 and 5 and fasten a heel with glue to the back and call it a day.
Click image to see this step on youtube
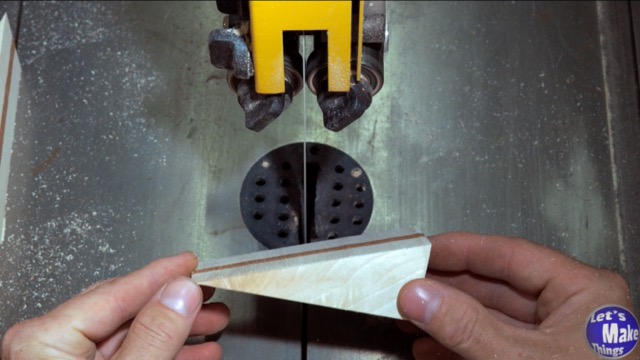
3. Shaping the body
In this step we’ll cut the angle but first we’ll check to make sure the blade is at an exact 90˚ with the table. After making the cut we need to hog out the center with the table saw and the cut off the two points created.
Click image to see this step on youtube
4. Heel tracks
To keep our heel lined up on the back of the jig so that the blade stays flush on the front end, we need it to slide up and down and be precise: blade sharpening means we need exact angles with the blade. These tracks are easy to cut but you’ll want to use a sled to be safe.
We’ll cut one side, temporarily add a track, and mark the other side with the width of the heel. This will give us a zero clearance line that we can line our blade to to make the second cut.
Click image to see this step on youtube
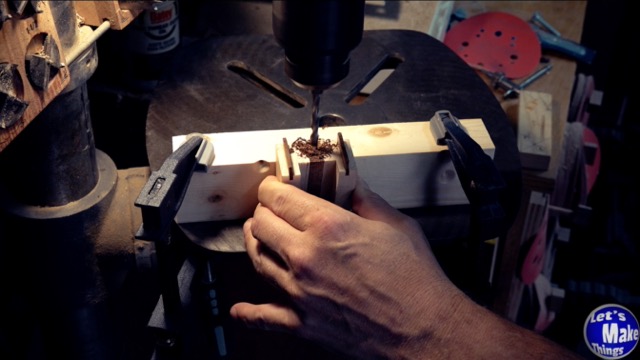
5. Attaching the heel
I drilled a hole in the back that’s centered that will allow me to add a hanger bolt: Be extremely careful with this! With my second jig, I drilled a hole that was too small and ended up splitting the jig in half. I was able to save it, but I made sure I drilled the hole much wider. It’s much safer to drill the hole out the thickness of the hanger bolt and using epoxy to attach it.
To drill the hole out, I used a board with a 90˚ edge and clamped it to my drill press table which allowed me to positing my jig correctly.
Click image to see this step on youtube
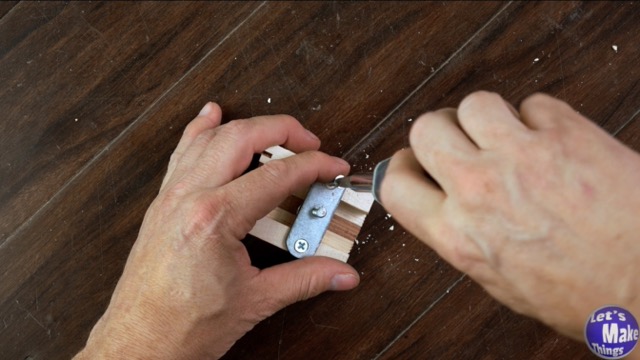
6. Locking arm
I hope the locking arm isn’t what throws people off with this jig (fixture?). Basic metalwork is not difficult and it’s a lot of fun when you end up with a functional piece of steel. It will make the jig much more fun and interesting to use in the future…I promise.
The process involves using flat stock and drilling 3 holes. Two holes are used to attach it to the jig, the 3rd will need to be tapped. I used a t-bolt because of the wide surface area, but you may consider using an elevator bolt instead…it’s what I had on me at the time.
Click image to see this step on youtube
7. Calibration
We’ll need to calibrate the jig to make sure that the bed of the jig is is flush with the back by using a piece of sandpaper and a thin strip of scrap wood that’s is flat and contains absolutely no bows in it. You’ll want to sand with the heel in different positions to make sure that every part of it is calibrated correctly.
Click image to see this step on youtube
8. Demonstration
Click the image to watch the demonstration. This works well with the scary sharp system…it could be adapted to a sharpening stone though with a little imagination.
Thank you so much for getting this far…I hope this jig works well for you!
If you enjoyed or found this useful, throw me a tip →
To support me with patreon, click here → Patreon
Click here to Subscribe to me on youtube → Youtube
If you found any errors on the page, please use my email below and contact me!