Struggling with cluttered glue bottles, lost finishes, and cold temperatures ruining your adhesives? This compact, space-saving cabinet is the perfect solution for woodworkers looking to organize and protect their glues, stains, and finishes.
Designed with a clam-style fold-out system, this cabinet maximizes storage while keeping a small footprint in your shop. Plus, with a hidden front compartment for brushes, tape, and finishing tools, everything stays within reach.
And when cold weather hits? Simply unhook the cabinet from its French cleat and bring it inside, preventing your finishes and adhesives from freezing or going bad.
This project was inspired by Steve Ramsey’s design but modified to add more organization, portability, and protection.
ATTENTION: These plans are yours to use…they are offered as a gift from me to you. You have every right to use them to make this project for yourself, but please, do not sell or give these plans away as your own. I make absolutely no money off of these so I would appreciate those who view these plans to abide by basic copyright laws.
As an amazon associate I earn from qualifying purchases.
Step by step instructions
3.1. Materials
An overview of the materials required for this layer of the project and the best way to cut them for an efficient, precise build.
Click image to see this step on youtube
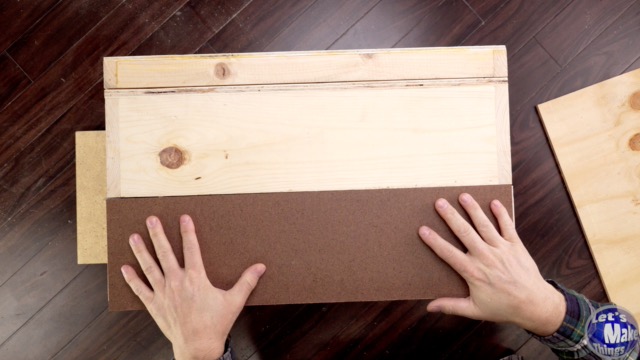
3.2. Base improvements
We’ll add a base to the bottom to lift the cabinet just enough for the door to swing open freely. This is especially useful if you prefer not to mount it to the wall or want to keep it portable for easier access to your materials. To achieve this, a hardboard spacer is first secured with double-sided tape, followed by attaching a second sheet of plywood to create a stable, elevated base.
Click image to see this step on youtube
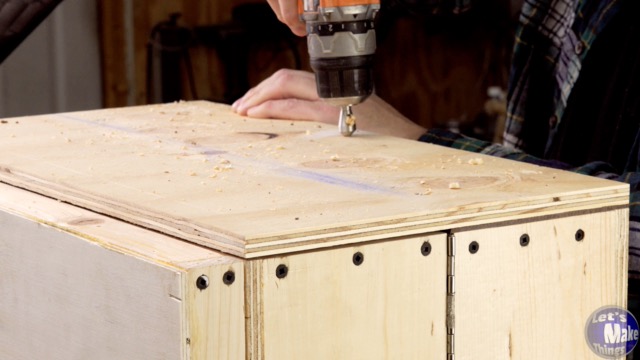
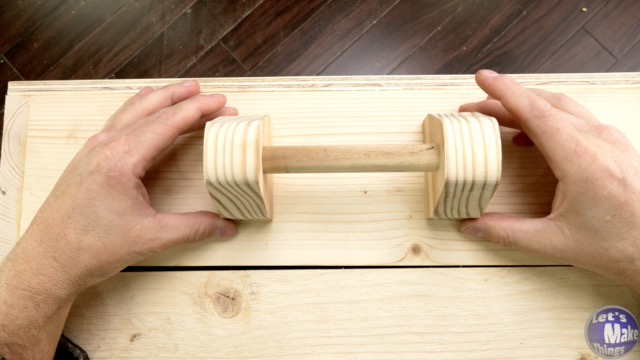
3.3. Dowel handle
The dowel handle makes it easy to lift and move the cabinet and is built using just three pieces of stock, including the dowel itself. It’s made by drilling two symmetrical 3/4″ holes, allowing the dowel to slide securely into both sides. The handle is then fastened by driving screws through the inside of the cabinet, ensuring a sturdy and reliable grip.
Click image to see this step on youtube
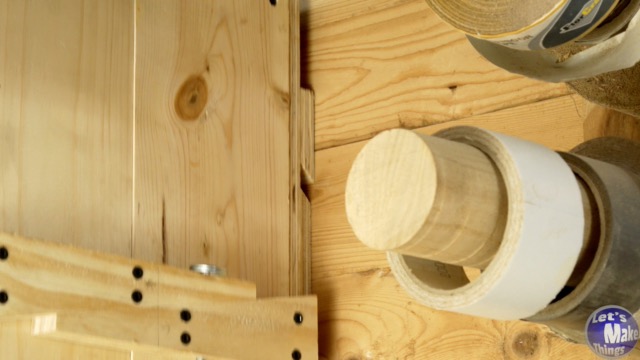
3.4. French cleat
To install and detach this cabinet from the wall, we’ll use a simple yet effective mounting system. This was made using a table saw by cutting a piece of wood at an angle, creating a French cleat. One half is secured to the wall, while the other is attached to the back of the cabinet, allowing it to lock in place while remaining easy to remove. Be sure to screw the wall-mounted piece directly into the studs for maximum stability and support.