
HOW TO PREVENT SANDING SWIRL MARKS
Published August 30th, 2026
WHY THEY APPEAR, HOW TO FIND THEM, AND HOW TO STOP THEM
Sanding swirl marks have an aggravating habit of staying hidden until you apply the finish. The wood looked smooth, the sanding seemed complete, and then dozens of little curls and pigtails suddenly appeared across the surface.
Those marks weren’t created by the finish. They were already scratched into the wood—the finish simply made them easier to see.
A random orbital sander always leaves scratches behind. Successful sanding is about gradually replacing deep scratches with finer ones until they become difficult to see. When one deeper scratch survives that process, it becomes a visible sanding swirl.
In this guide, we’ll look at what causes random orbital sander swirl marks, how to prevent them, and how to find them before they become part of your finished project.
CLICK THE IMAGES BELOW TO WATCH THAT CHAPTER from this VIDEO
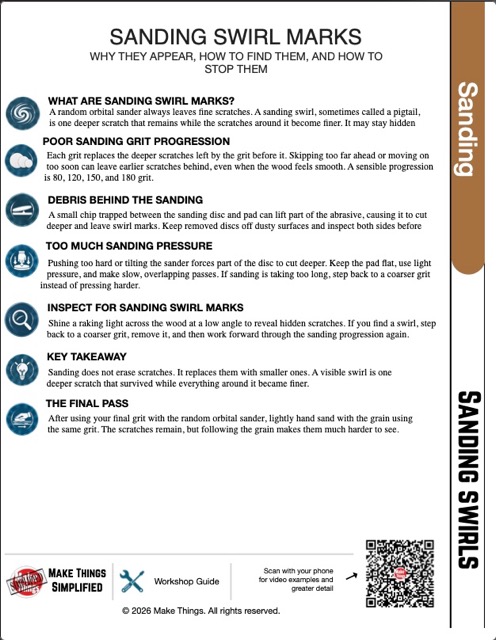
Free workshop guide
Download the free Climb Cutting Workshop Guide for a quick reference you can keep in the shop. It covers the main ideas from this lesson, including conventional vs. climb cutting, trouble grain, when climb cutting can help, and when it’s better to avoid it.
VIDEO CHAPTERS
Click any image below to jump to that part of the video.
What are sanding swirls?
Sanding swirl marks, sometimes called pigtails, are deeper scratches left behind by a random orbital sander. They often look like small curls, loops, or circles across the wood. These scratches may be difficult to see on bare wood, but become much more noticeable after stain or finish is applied.
A random orbital sander creates two motions at the same time. The sanding pad rotates while the entire pad also moves in a small orbit. Because the rotation is not locked to the orbit, each piece of abrasive follows a constantly changing path across the wood.
Every grit of sandpaper leaves scratches behind. Moving through a proper sanding progression replaces the deeper scratches with smaller ones. A visible sanding swirl appears when one deeper scratch survives while the scratches around it become finer and harder to see.
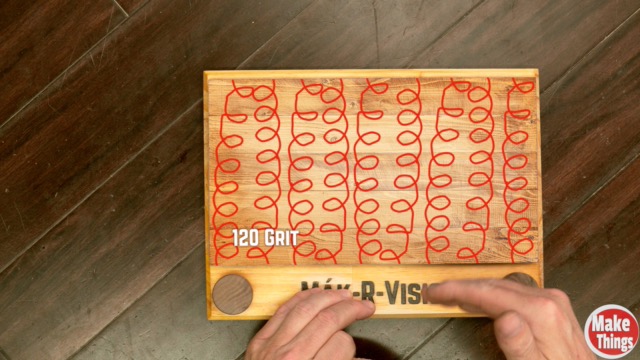
CLICK IMAGE TO WATCH THIS CHAPTER ON YOUTUBE
1. POOR SANDING GRIT PROGRESSION
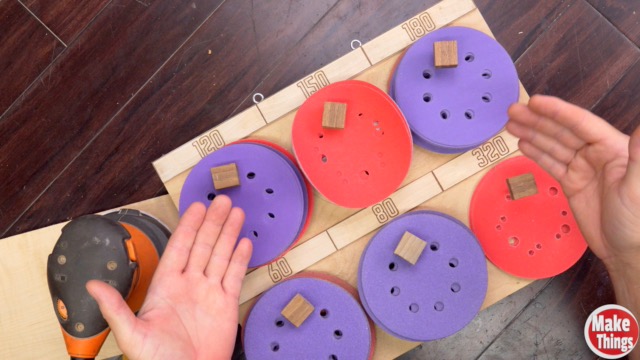
Sandpaper doesn’t erase scratches. Each finer grit replaces the scratches from the previous grit with smaller ones. If you skip too far ahead, the finer sandpaper may not remove all the deeper scratches before you move on.
For example, jumping directly from 80 grit to 150 grit leaves the 150 grit paper with much more work to do. The wood may feel smooth, but some of those deeper 80 grit scratches can remain hidden in the surface and appear as sanding swirls after the finish is applied.
Work through a sensible sanding grit progression and give each grit enough time to remove the scratches left by the one before it. Finer sandpaper removes deep scratches more slowly, so the later stages may require more time, even though the surface already feels smooth.
CLICK IMAGE TO WATCH THIS CHAPTER ON YOUTUBE
2. DEBRIS BEHIND THE SANDING DISC
A tiny piece of sawdust, a wood chip, or a loose piece of abrasive trapped behind the sanding disc can prevent it from sitting flat against the sander’s pad. That small bump pushes part of the disc farther into the wood, causing a few abrasive grains to cut deeper than everything around them.
This often happens while changing grits. A sanding disc is removed and placed on the workbench, where its hook and loop backing quickly collects dust and debris. When the disc is used again, that hidden particle can create sanding swirls that seem to appear from nowhere.
Keep both sides of your sanding discs clean and avoid placing them backing side down on a dusty bench. Damaged or clogged discs can also create deeper scratches, so inspect the abrasive before putting a used disc back on your random orbital sander.
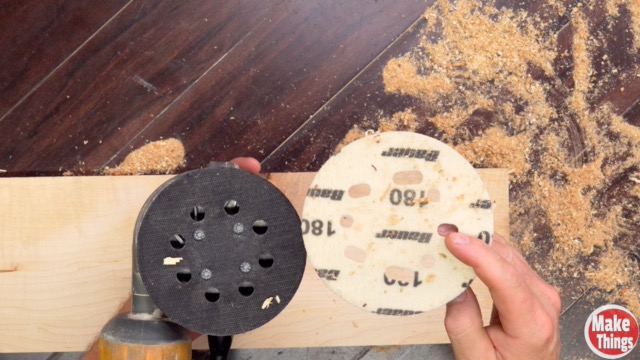
CLICK IMAGE TO WATCH THIS CHAPTER ON YOUTUBE
3. TOO MUCH SANDING PRESSURE
Pushing down on a random orbital sander forces part of the sanding disc to cut harder than the rest. Tilting the sander or lifting one edge to remove a stubborn spot concentrates even more pressure in one area, which can leave deeper scratches and visible sanding swirl marks.
Let the weight of the sander do most of the work while your hand simply guides it. If the sandpaper isn’t removing material quickly enough, step back to a coarser grit instead of forcing the finer paper to cut faster. You will then need to work through the sanding progression again.
Moving the sander too quickly can also prevent the abrasive from working evenly. The speed dial controls how quickly the machine operates, not how fast your arm should travel. Use light pressure, slow overlapping passes, and keep the sanding pad flat against the wood.
CLICK IMAGE TO WATCH THIS CHAPTER ON YOUTUBE
4. INSPECT FOR SANDING SWIRL MARKS
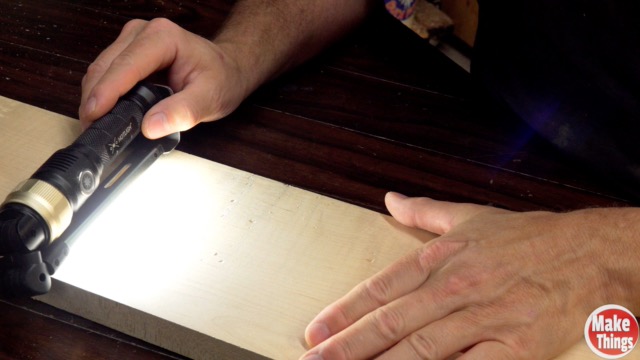
Always inspect the wood before applying stain or finish. A raking light shines across the surface at a low angle, causing scratches and sanding swirls to cast small shadows. This makes them much easier to see than they are under normal shop lighting. A flashlight or cell phone light can work, and a magnifying glass can help with smaller marks.
If you find a swirl, continue sanding with your final grit until it disappears. If the scratch is too deep, step back to a coarser grit to remove it more quickly, then work through the sanding progression again.
After the final pass with your random orbital sander, you can lightly hand sand with the grain using the same grit. This still leaves fine scratches, but it changes their direction so they follow the natural grain lines and become harder to see beneath the finish.
CLICK IMAGE TO WATCH THIS CHAPTER ON YOUTUBE
Support Rob
If these videos and workshop guides have helped you in the shop, there are a couple of ways you can help support future Make Things projects and keep these resources free.
Tip Jar
If you’d like to help support future Make Things projects and keep these workshop guides free, you can leave a tip here.
Become a Patron
Support Make Things on Patreon for project updates, behind-the-scenes extras, and other ways to follow along with what I’m working on.