The Bench Hook is a tool that’s had a couple definitions throughout the ages. Joseph Moxon characterized it as what we now call the ‘Bench Dog’, allowing one to hook their stock in the middle of the table. Peter Nicholson continued using the term in the 19th century…but somehow in the 20th century, the term made a switch to what Peter Nicholson labeled as the ‘Side Hook’. Regardless, bench hooks are great tools for push saws like the backsaw, but terrible tools for the Japanese pull saws. In this article, let’s create a hook that can do both!
The bench hook: Past / Present / Future?
watch all steps in this video before starting
Please use the material and tool list below as a guide to finding the products locally.
As an amazon associate I earn from qualifying purchases.
Step by step instructions
1. Quick Rundown
We’re going to make a duel purpose jig that has two holes that will allow us to move a bolt that anchors the jig to the table. Close to one edge is our fence which we’ll attach with a single screw. This will allow us to replace it when the old becomes chewed up.
I do suggest adding a board to the base so that when you cut you’re not cutting into the top of the jig.
Click image to see this step on youtube
2. Dog Hole Placement
We’ll add a couple marks that are one and a half inches in from each corner. The side you choose to add the marks will be on your dominate side. I’m right handed so I added a mark in the right hand, lower corner, and in the top left hand corner.
Next we’ll create a double hole that will partially hide the head of the bolt. You’ll need a forstner bit the size of your bolt head and I suggest a spade bit.
If you don’t have a forstner bit that large, use a hole saw.
Click image to see this step on youtube
3. Channel & Fence
We’ll cut a channel that’s 2 and an 1/8th inch from the edge. The channel should be at least 3/8’s deep. Once it is cut as well as a fence that’s the length of the cut, we’ll mark and cut the kerf on the bandsaw.
Click image to see this step on youtube
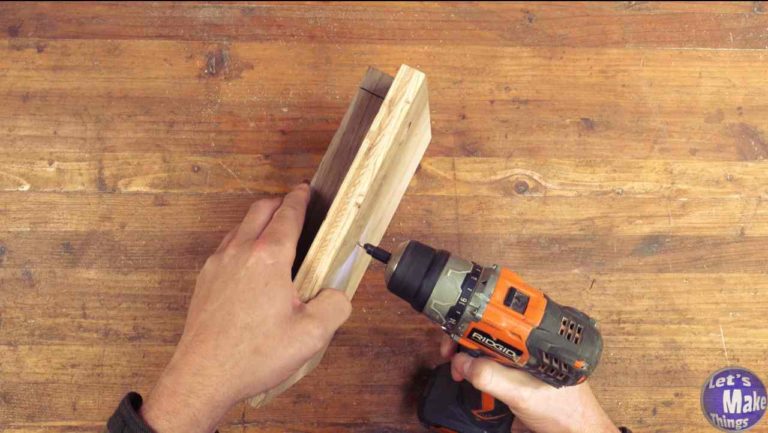
4. Attaching the fence
I used a countersink bit to drill and sink a #8 x 3/4″ cone head screw. You could add more screws but be careful they’re not in the way of the cuts. I would suggest not using glue as you’ll want to replace the fence in the future.
Click image to see this step on youtube
5. Finishing (Optional)
A few very optional extras that I added:
I gave my fence a little round over
I added a ruler to the top
I added a hole to store it on a peg, on my bench
I rounded the corners off
Click image to see this step on youtube
Tip Jar
If you enjoyed or found this useful, throw me a tip →
To support me with patreon, click here → Patreon
Click here to Subscribe to me on youtube → Youtube
If you found any errors on the page, please use my email below and contact me!