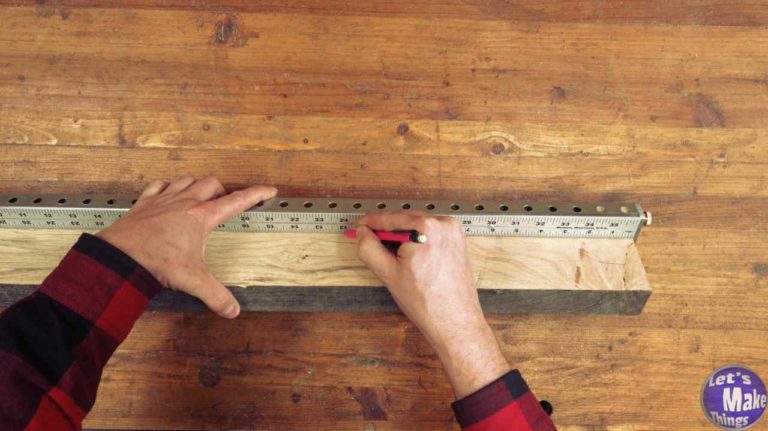
Better Ruler
If you’re still using tape measures for fine woodworking, be sure that yours is accurate. Of the 4 that I have, all can be accurate or not accurate depending on how you hold the tape. A better solution is to use a measuring stick like a yard stick.
Still, yard sticks, as accurate as they are, are flimsy and slide around too much when it’s time to measure things. In this build we’re going to create a better ruler that I think you’ll wonder how the world could have ever missed.
watch all steps in this video before starting
Please use the material and tool list below as a guide to finding the products locally.
Materials
- 1″ x 36″ Square tubing
- Yard stick
- 1/8″ x 5/16″ Pop rivets
- 1/4″ x 1″ x 3″ Steel Stock
- Double sided tape (Optional)
- Scrap wood stock (Optional)
- 1/4″ Thumb knob (Optional)
- 1/4″ Hanger bolt (Optional)
- Tracker Runner (Optional)
- Epoxy (Optional)
Tools Needed/used
- Drill press
- Pop rivets
- C-Clamps
- 1/8″ Drill bit
- Table saw (Optional)
- Thickness planer (Optional)
- Utility knife (Optional)
- Glue mat (Optional)
- Nail punch (optional)
- 1/4″ Drill bit (Optional)
As an amazon associate I earn from qualifying purchases.
Step by step instructions
1. Creating the hook
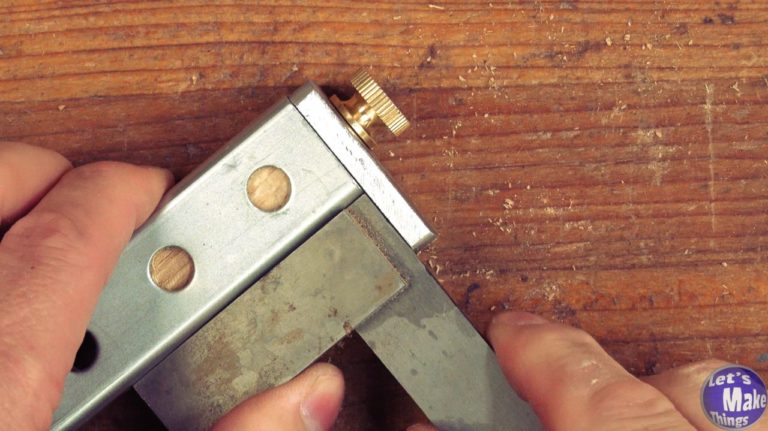
In this optional step, we’re going to create a hook, which is nothing more than a piece of steel with a hole in it. We’ll want it to be the width of the square tubing so that it’s stays square.
In order to attach it, we’ll plug the end of the square tubing with a piece of scrap wood stock. In the video (attached to this step), I show how to make a straight hole (which is important).
Related video → Drilling with a table saw and a hand drill
2. Grippy addition
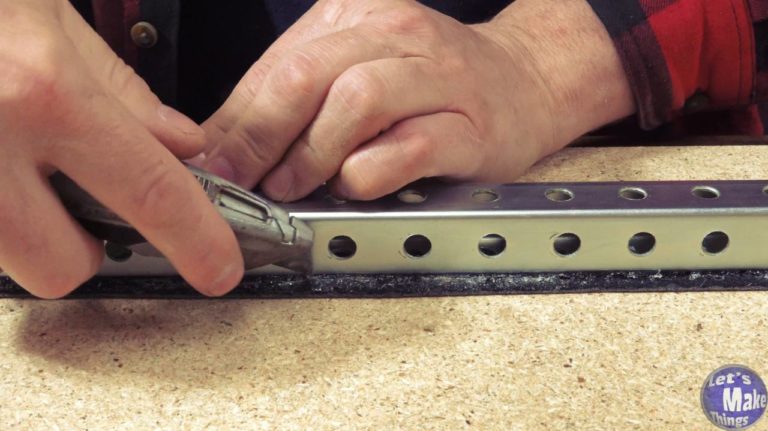
Tracker runner is a very grippy material that’s used on carpets to keep ‘tracks’ of carpet from sliding around. It’s fantastic stuff when you want something to grip something else. I have an entire webpage dedicated to this wonderful material, which you can get to by clicking here.
In this step I used epoxy and glued it to the square tubing. You’ll want to make sure you prep the steel by sanding it with 80 grit sandpaper and using a degreeser like 50/50 water/vinegar, otherwise the epoxy might not stick to the steel.
Related video → Grippy revolution
3. Attaching the measuring stick
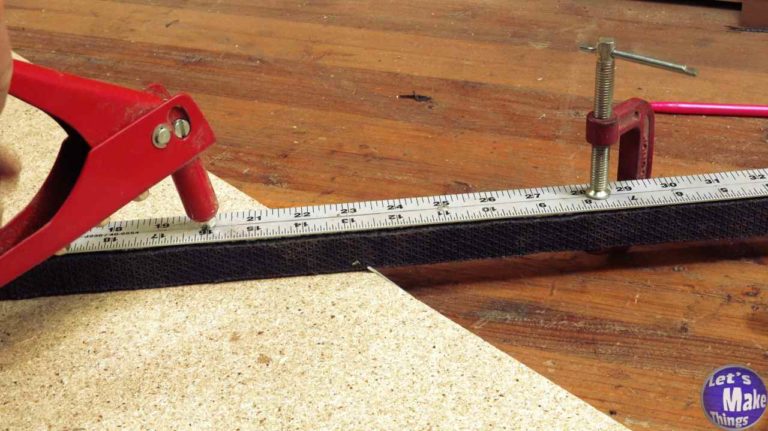
Of all the steps, this is the meat of the project. In this step, I used pop rivets to attach the ruler, but really, you could use anything from strong double sided tape to epoxy. The most important part is getting that ruler right up to the end.
To drill the holes I measured every 5 inches and drilled out an 1/8th inch hole. Then I attached the ruler to the square tubing and and used rivets to hold it on.
4. Conclusion
This is a simple project that works. It’s multilayered so that you can customize it any way that you want. With a hook, I can grab onto a board and measure, giving me a better outcome.
If you do choose to add a hook, understand that inside distances will be harder to measure. For instance, if I have two boards at a 90˚, it would be very difficult to press my board on the inside to measure. Just something to think about!
Tip Jar
If you found any errors on the page, please use my email below and contact me!
