The board jack, or deadman bench, is a very old method used to balance stock that’s being clamped in a vice. Because long boards can be like levers, putting pressure at the very end of the board can cause it to move or even damage the vice.
Most board jacks are built into the bench. Instead of rebuilding my workbench, I came up with this little idea to work as a bench appliance. It uses a 3/4″ hole on my bench as well as a 3/4″ bolt to hold it in place. A heavy duty door hinge allows it to contour to the edge of my table as well as fold up when it’s put away!
Board Jack/Deadman bench
watch all steps in this video before starting
Please use the material and tool list below as a guide to finding the products locally.
Materials
7/8″ x 3 1/2″ x 20″ Very hardwood
7/8″ x 3 1/2″ x 4″ Very hardwood
7/8″ x 3 1/2″ x the length of your vice (Very hard wood)
As an amazon associate I earn from qualifying purchases.
Step by step instructions
1. Material explanation
The most important part of this project is that the wood you use should be very hard. I used Jatoba, sometimes labeled as Brazilian cherry but white oak, hard maple or hickory would work just as well.
I’ll be using a hinge, but not a cheap box hinge, you’ll want something tough enough for a door to swing on. In the image I used 2″ machine screws, but then later switched to 3/4″. Finally, you can use a dowel to hold your jig in place but a 3/4″ bolt works oh so well.
Click image to see this step on youtube
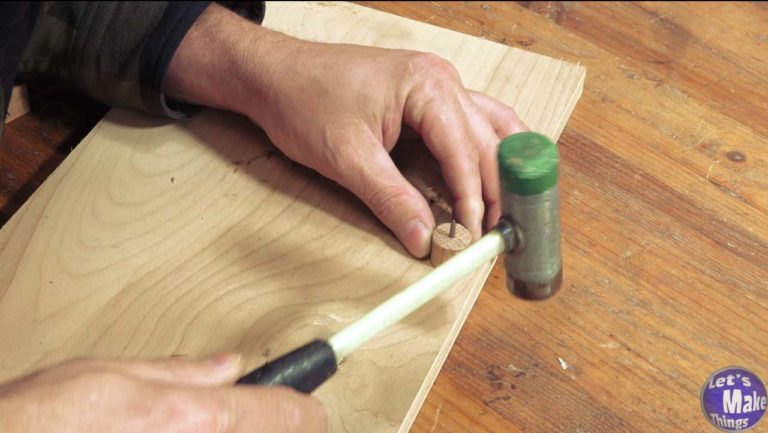
2. Finding center for the bench board
There are a number of ways to find the correct place on the bench end of your jig. I chose to drill a hole in a board and add a dowel. What I didn’t mention in the video was to use a drill bit smaller than a 6D nail and cutting the tip off o the nail before hammering it in. Then, with the board in place above the hole, I tapped in the dowel to leave a mark.
Click image to see this step on youtube
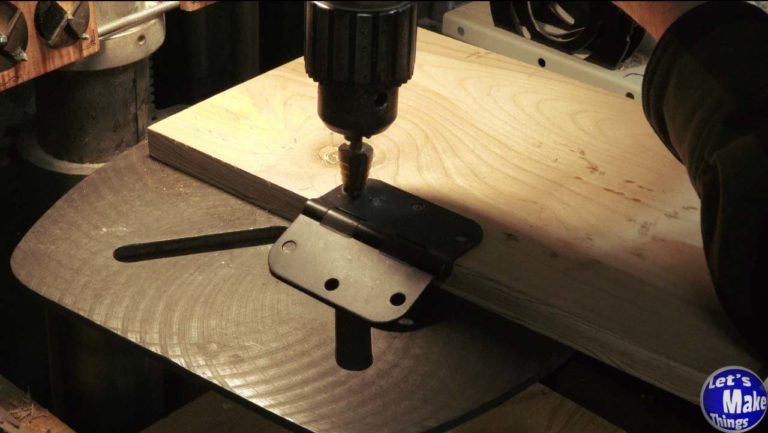
3. Modifying the hinge
Most hinges have countersink holes that cone head screws fit into so that they’re flush to the surface. Unfortunately, the way in which we want those countersink holes are on the wrong side of the hinge, so we’ll use a step bit to drill them out. While we’ll drill to the 1/2″ mark, we wont’ drill through it as we want the taper of our 1/4″ bolt to fit in it.
Click image to see this step on youtube
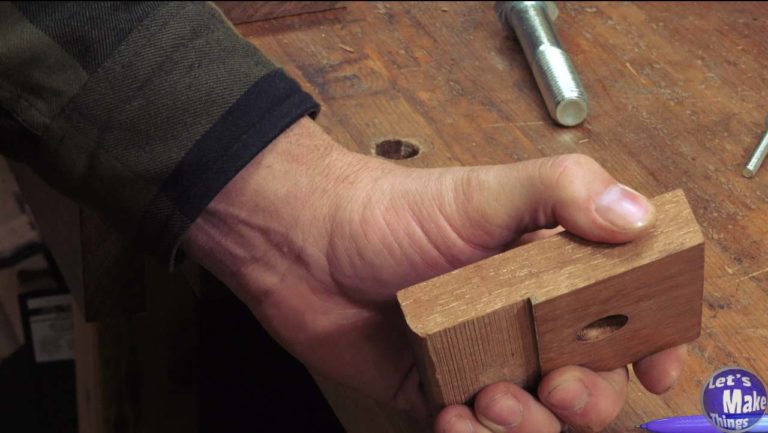
4. Bench hook hinge profile
We’ll need both the upper and lower part of the jig to be flush with the top and edge of the table, so we’ll carve out both pieces with the table saw or a planer of some kind. Don’t forget to round over the end for the knuckles.
Click image to see this step on youtube
5. Finalizing bench hook
To finalize, we’ll screw in our screws, locking the bracket into place. Make sure that the hinge is completely flush to bench hook board as well as the screws. The opposite side must have recessed nuts on the board jack (hole side) so that future stock doesn’t squeeze against it. The bench hook portion does not need to be recessed.
Click image to see this step on youtube
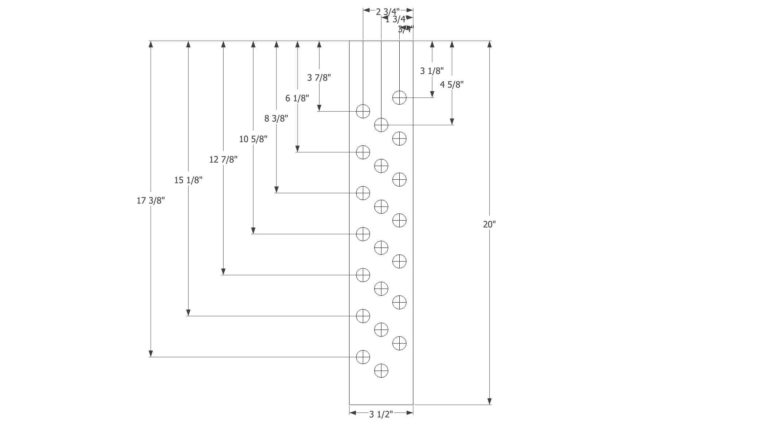
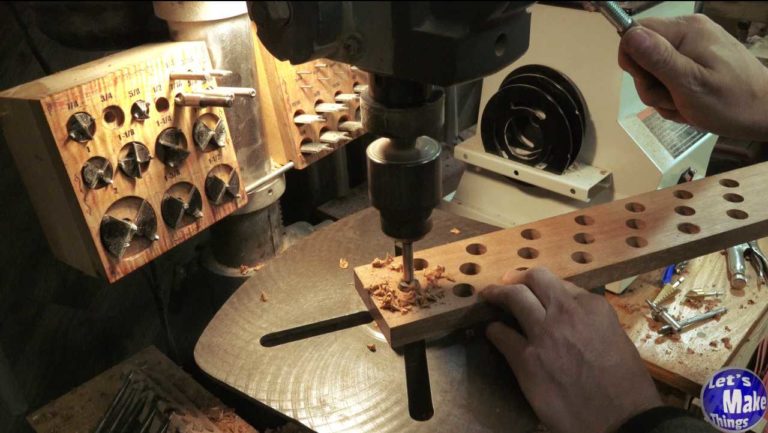
6. Board jack build
The number of holes you add to the board jack really is up to you. If you never plan on clamping anything below your bench vice, you’ll just stretch a board across and mark where the top of your hole will land. I’ve got a pattern above that will give you more information, but it really can be however you’d like it to be and still function perfectly well.
Click image to see this step on youtube
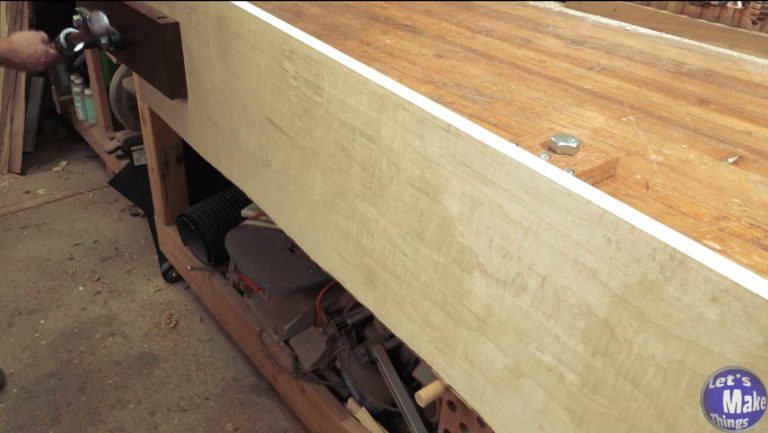
7. Using the board jack
I think the idea is pretty self explanatory, but the image to this step shows off the concept pretty well, especially with a larger board. This jack should work very well, but if you really need to pound two boards together, you might considering adding a board to the end so that it touches the ground, putting the force in the ground instead of the bench.
Click image to see this step on youtube
Tip Jar
If you enjoyed or found this useful, throw me a tip →