Drill bit organization is challenging sometimes. It’s difficult to keep track of the little buggers as they tend to roll off the table, and…well, when we’re in the middle of a project, putting them away becomes a chore, especially if we’re not sure we’ll use the bit again soon. In this article we’re going to talk about a solution that I came up with…and am quite honestly thrilled about.
This drill bit storage solution is a fixture on my drill press that I’m proud to see, every time it’s time to drill something.
watch all steps in this video before starting
Please use the material and tool list below as a guide to finding the products locally.
As an amazon associate I earn from qualifying purchases.
Step by step instructions
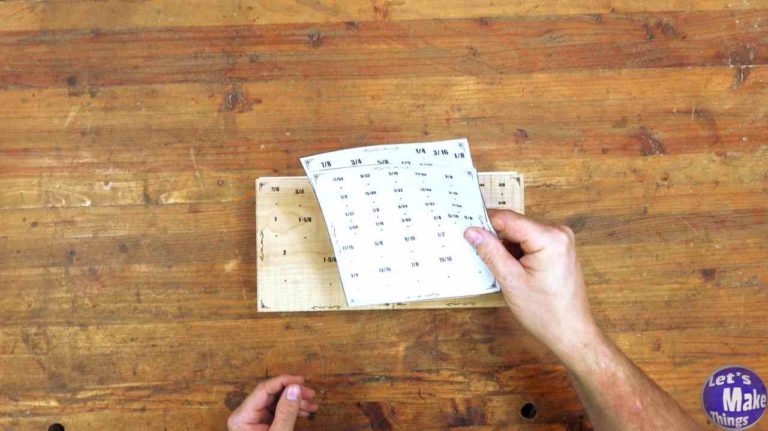
1. Materials & Printing
I’ve left all the materials above as well as tools used. You’ll notice the “LightBurn + SVG + Print file” pattern above which will have all the files needed to make this with a laser engraver, CNC or printer.
Buying large pieces of wood is difficult (especially the 3″ by 6″ by 6″) so you’ll need to glue them together. Be very careful how you glue them. I have a video here explaining it: Gluing old wood the right way.
If you’re interested in leaving the paper on the front of the block but are worried about it getting dirty or ripped in time, check out my bitesize video here: Adding a plastic coating to the label.
Click image to see this step on youtube
2. Drilling holes
Each hole will now be drilled out. When drilling the forstner and spade holes, be sure to drill the larger sizes first. You’ll want to make sure that you’re careful with your depth…to deep might make the bits difficult to pull out.
As far as the twist/brad point bits go, it’s better to use the next size up for each hole you drill or you’ll fight getting the bits out of the holes.
Afterwards, I cut
Click image to see this step on youtube
3. connecting rod channels
The connecting channels will allow the blocks to be attached to the drill press column. If you’re not planning on attaching this to your drill press, this can obviously be skipped.
You might be tempted to use the fence, but if you chose to cut an angle on the base of the block, you’ll need to use the table saw sled. Any other way could be very dangerous.
Click image to see this step on youtube
4. Surface Dyeing (very optional)
I used a dye to get deep into the less dense fibers in the wood. Obviously, this was a personal choice, but you might be interested in seeing how it was done.
Due to the chatoyance that some wood speices offer, it can be interesting to add deep colors that help highlight those beautiful grains.
Click image to see this step on youtube
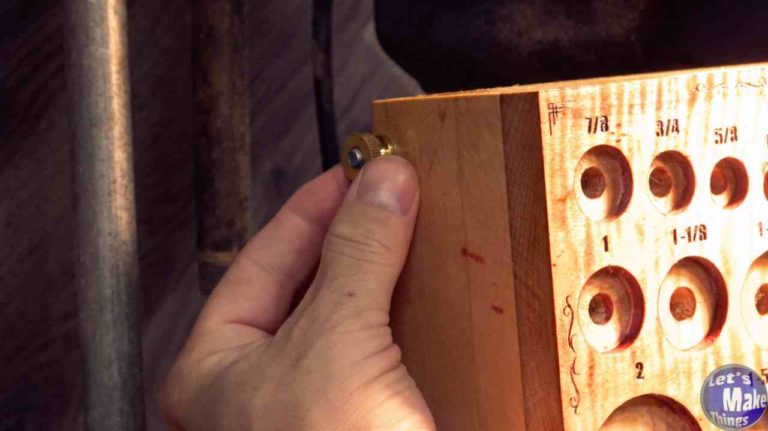
5. Threaded rod sizing
To attach this to my drill press, I used a 1/4″ threaded rod. To find the measurement, I added both blocks together and then the diameter of my drill press column. I added a 1/2″ on top for the knurled thumb knob.
Of course, the knurled thumb knob is optional and can be swapped out with a wing nut, but I really like the look of it. It just seems…classier!
Click image to see this step on youtube
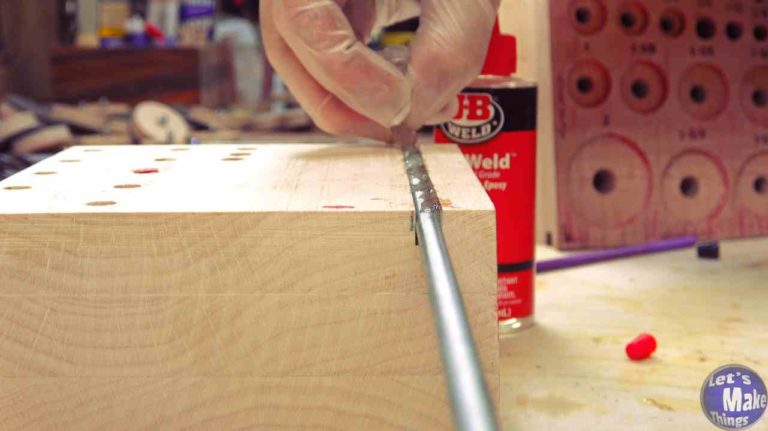
6. Epoxy work
We’ll mix up a little epoxy to attach each rod to each block. Of course, you don’t want to attach both blocks to the threaded rods.
I used a baby bottle nippIe as a way to mix the epoxy and then to disperse the epoxy. If you’d like to learn more about this method, check out my video here: epoxy baby bottle nippIe.
Click image to see this step on youtube
7. Surface finishing (Optional)
While you don’t technically need to add a finish to your new drill bit block, you’ll more than likely leave behind dirt in time, so it might not be a bad idea. In the video I used polyurethane and danish oil. Any good finish will work fine so long as they’re rated to keep dirt off.
Click image to see this step on youtube
8. Install
Installing is simple. The blocks will sit on top of the the washer part of the drill press column. Both threaded rods slide across the column (either in front or behind it) and then a pair of nuts of some kind are twisted to lock it in place.
If there’s ever a problem with movement, add a couple strips of carpet runner to the sides of the blocks.
Click image to see this step on youtube
Tip Jar
If you enjoyed or found this useful, throw me a tip →