The Fence Sleeve is a simple add-on that slips over your existing table saw fence to create a stronger, more adaptable foundation. It’s designed as a base layer that can support additional fences and accessories, allowing the system to expand without rebuilding or replacing parts.
ATTENTION: These plans are provided as a gift from me to you. You are free to use them to create this project for yourself. However, please do not sell or distribute these plans as your own. I make no money from these, and I kindly ask that you respect basic copyright laws. If you share your build publicly, I’d appreciate it if you gave credit to Make Things for the plans.
watch all steps in this video before starting
“Playlist of all bitesize tips used” (YouTube Link)
Please use the material and tool list below as a guide to finding the products locally.
Materials
(2) 1/2″ x height of fence + 1 3/4″ x 24″ plywood
(1) 1/2″ x width of fence + 3/8″ x 24″ plywood
(2) 1/4″ x width of fence&melamine + 1/2″ machine screws
As an amazon associate I earn from qualifying purchases.
Step by step instructions
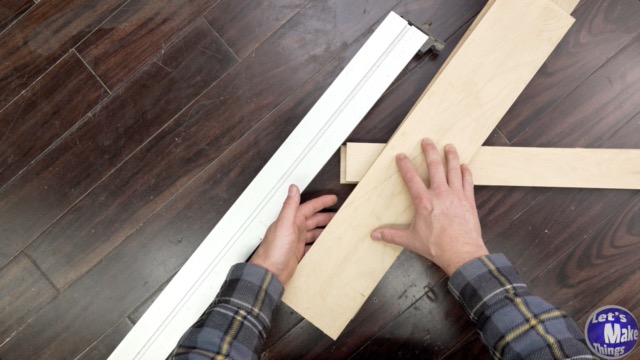
1. Materials
We’re using 1/2-inch plywood here to keep the Fence Sleeve narrow, but you could bump this up to 3/4-inch plywood if you want a stiffer build. Measure your table saw fence and adjust the dimensions to match your setup.
As a starting point, cut your plywood so it’s about 1 3/4 inches taller than your fence and roughly 3/8 inch wider. These dimensions give you enough material for strength without adding unnecessary bulk.
Click image to see this step on youtube
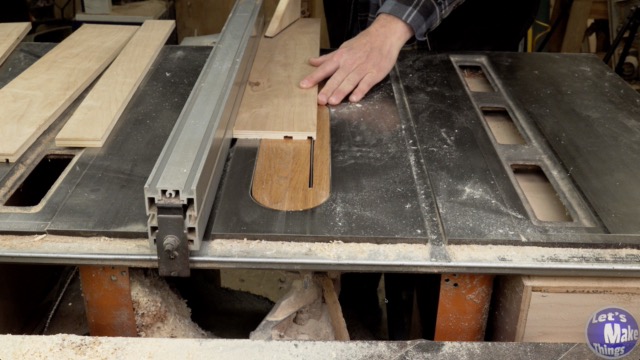
2. Dados fence sleeve
On the tall plywood pieces, cut both dados and rabbets. These joinery cuts create a strong sleeve that resists bending and helps the Fence Sleeve stay square and true.
You can use a dado stack for this, but I find it just as easy to make multiple passes with a standard blade and adjust the fence between cuts.
Click image to see this step on youtube
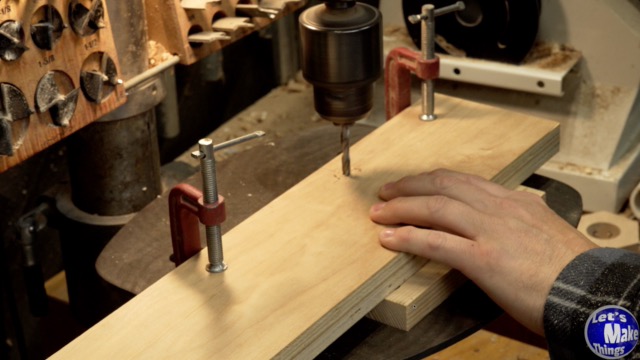
3. Drilling fence holes
With the sleeve shape formed, drill a pair of holes that will be used later to attach things like a fence or other add-ons. I drilled these holes about one-third of the way in from each side, using a 1/4-inch brad point bit.
To keep everything aligned, stack the plywood walls together when drilling. This helps ensure the holes stay parallel and line up cleanly during assembly.
Click image to see this step on youtube
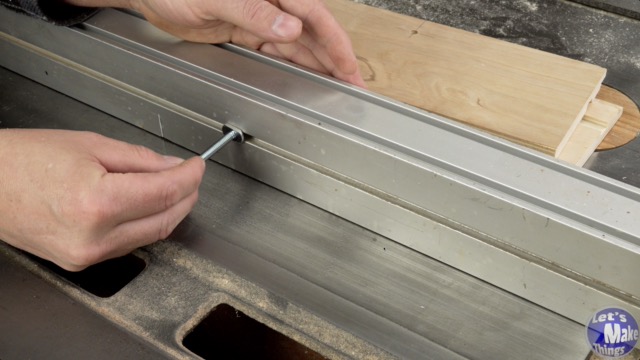
4. Fence attachment
There are a couple ways to attach this. The way I attached it can be clicked on in the attached image.
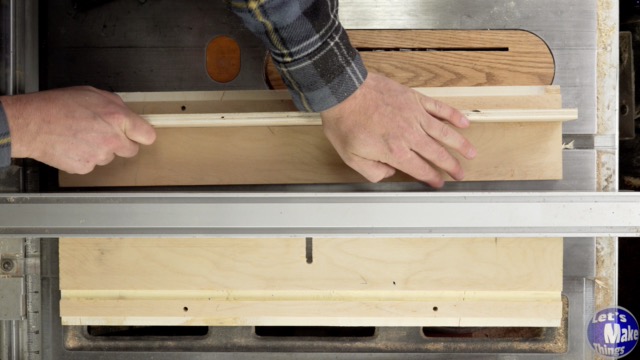
Finally, glue the sleeve together…and honestly, that’s it. This creates a strong, rigid sleeve that can be used as a base for future jigs and add-ons. Make sure the fit is snug so it slides on securely, but also include a way to lock it in place on the fence.
When clamping, use clamps first to seat the frame during glue-up, then clamp the assembly against the table saw fence. Clamping to the fence ensures the sleeve stays square and aligned with the original fence.
Click image to see this step on youtube
Tip Jar
If you enjoyed or found this useful, throw me a tip →