Using a flat surface for glue-ups is essential for achieving strong, stable, and visually appealing woodworking projects. It helps in maintaining proper alignment, preventing warping, and ensuring a smooth and professional finish. The problem is finding a surface that’s not only flat but that makes clamping easy. With this jig, I think I found that kind of solution for narrower glue ups.
ATTENTION: These plans are yours to use…they are offered as a gift from me to you. You have every right to use them to make this project for yourself, but please, do not sell or give these plans away as your own. I make absolutely no money off of these so I would appreciate those who view these plans to abide by basic copyright laws.
watch all steps in this video before starting
Please use the material and tool list below as a guide to finding the products locally.
As an amazon associate I earn from qualifying purchases.
Step by step instructions
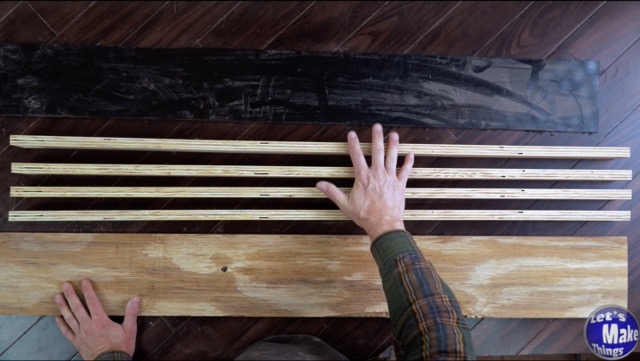
1. Materials (with breakdown)
All the materials needed will be up above, but I use construction grade plywood…nothing fancy. It is 3/4 inches in thickness and you’ll want obviously have boards with few voids in them.
Click image to see this step on youtube
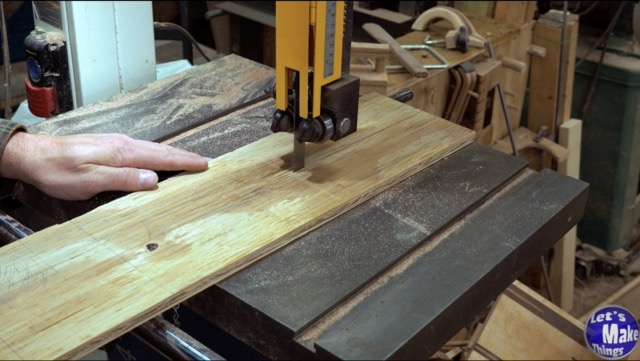
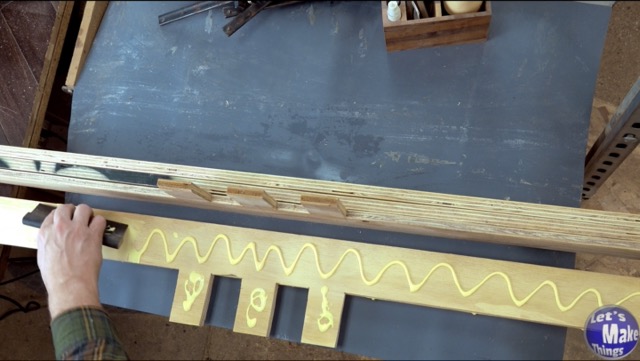
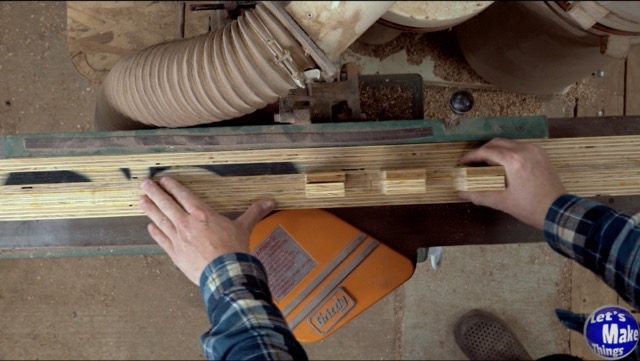
2. Creating the tongue
The truth is, we’ll need to have something that will fit inside of the vise. But that leaves a small void on the surface that can’t be clamped. I made the tongue with gaps in it so that I could use clamps within the center of the jig. This is up to you, but you’ll need a jig saw or a hand saw to do it.
Another option is to use a narrower tongue…but obviously not too narrow as you’ll need to support both the jig and the material you’re clamping…and the heavy clamps.
Click image to see this step on youtube
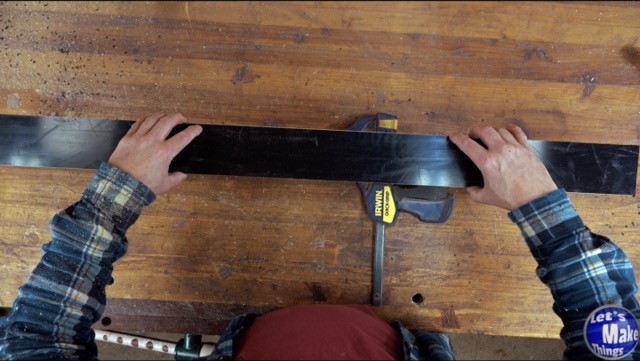
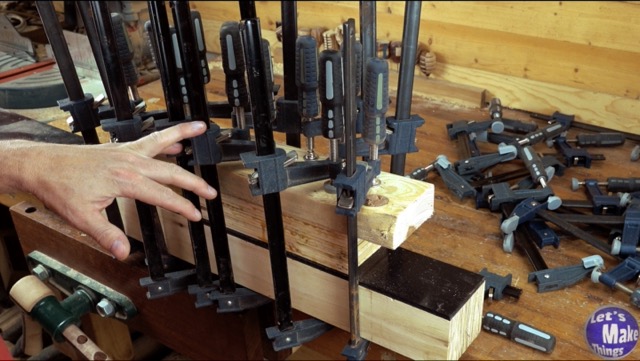
3. Glue up
We all know how the glue up works, but if you do a good enough job keeping all of your plywood straight with the glue up, you can skip step 4 (something I tried to do by using the top of my table saw…and failing).
Click image to see this step on youtube
4. Leveling the surface
Now we’ll level the surface with a jointer. If you don’t have a jointer but have a hand plane (and don’t mind doing a lot of sharpening of that blade), feel free to use that instead. You’ll want to use a block plane if you go this route.
Click image to see this step on youtube
5. Adding hdpe strip
You really don’t need to complete this step, but you’ll really want to wax the top of the jig to prevent glue from getting stuck to the top. Oh what a mess that would be!
Click image to see this step on youtube
6. example
I’ve created an example in the video you can watch. Maybe it’s helpful, maybe it’s not. It’s much easier to see this example with your own projects…it really has been a lifesaver for me.
Click image to see this step on youtube
Tip Jar
If you enjoyed or found this useful, throw me a tip →
To support me with patreon, click here → Patreon
Click here to Subscribe to me on youtube → Youtube
If you found any errors on the page, please use my email below and contact me!