Last year, I created this little glue box. It was made to address the problem with glue bottles, which was the dried glue that forms as the bottle sits upright. This little box allows the glue bottle to be upside down where it eliminates the space that allows drying.
With that problem solved, I found another problem to fixate on. While I love this glue box solution much more than the glu-bot that I used to use, the lid frequently glued itself to the bottle. To fix that problem, I created the Glue PryBar that helps lift the lid as well as a nail on the backside that allows me to easily remove glue from the bottle top as well as from silicone glue brushes.
Today’s project will be to create that PryBar.
watch all steps in this video before starting
Please use the material and tool list below as a guide to finding the products locally.
As an amazon associate I earn from qualifying purchases.
Step by step instructions
Measuring and Materials
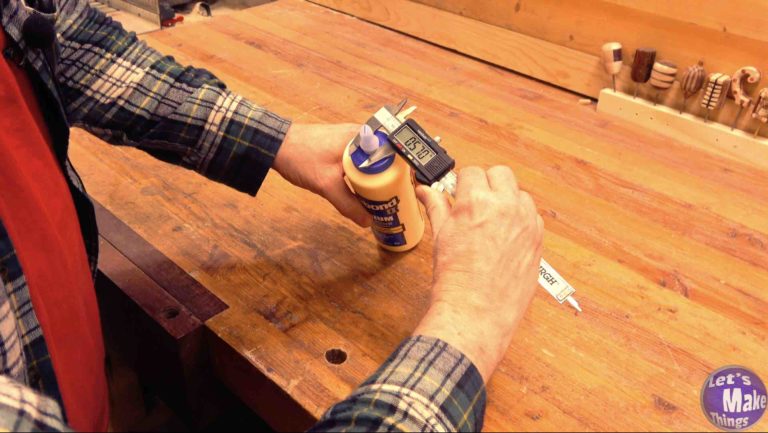
With a caliper, we’ll find the diameter of the bottom of our glue cap. If you don’t have a caliper, you could always use a set of mechanic wrenches to find the right size. This step by step instructional will assume your diameter is 9/16″, but you can always adjust it according to your needs.
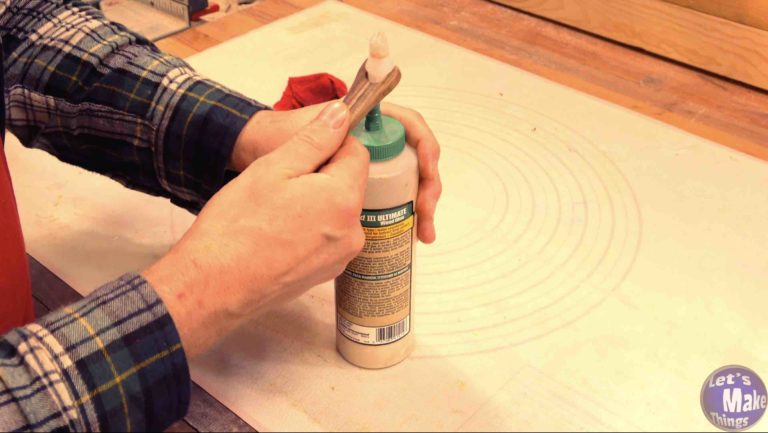
Grab the free printout and cut it down so that it’s roughly the size of the shape and use a little wood glue to attach it to your wood block.
Click image to see this step on youtube
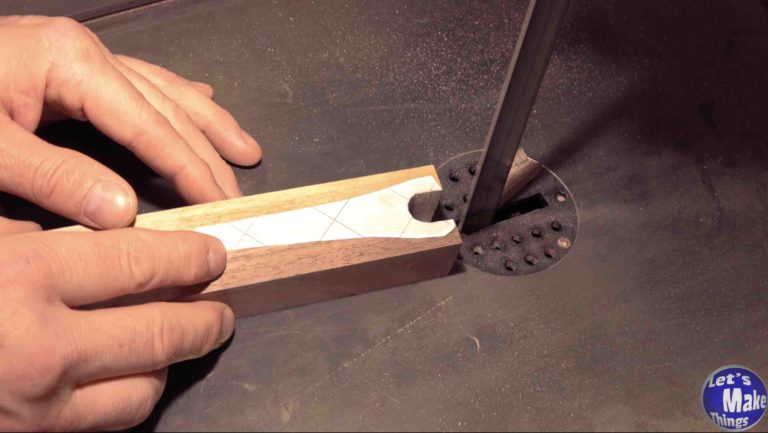
Shaping the notch
We’ll use a forstner bit and drill out the mark before heading to the bandsaw and finishing the cut until the cap fits neatly in the notch.
Click image to see this step on youtube
Body Work
You’ll need to measure the width of the cap (below the widened area) and rip your wood thickness to that length.
Then you’ll cut the body down to shape.
Click image to see this step on youtube
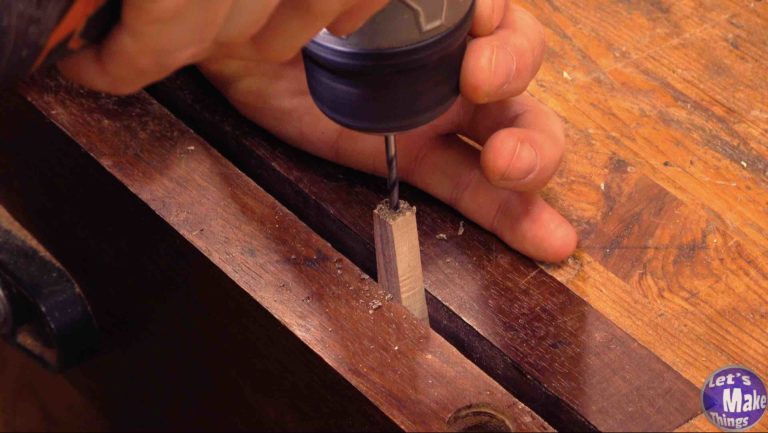
Adding a nail
On the opposite side of the notch that we made, we’ll drill a hole in the square end. I used a 1/16″ brad point bit which is a bit larger than a 6D nail. With epoxy I filled the difference and let it cure.
Click image to see this step on youtube
OPeration
To use this, you’ll place the notched end under the glue cap and push down which will lift the cap up. The opposite side is great for removing glue from the glue cap as well as the glue brush.
Click image to see this step on youtube
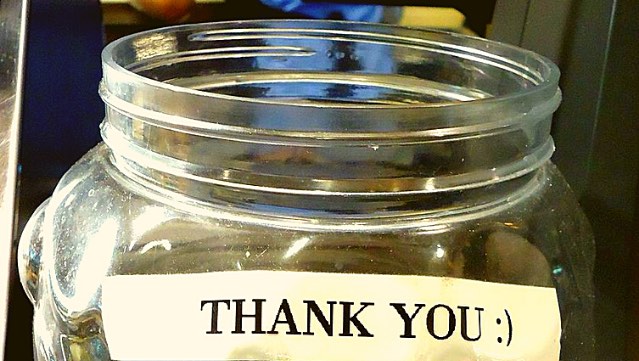
Tip Jar
I want to thank you all so much for checking out this webpage. This website is done out of a labor of love as I have dedicated it to help others that are new or looking to do newer, creative woodworking things. Unfortunately, there are a lot of expenses. If you’d like to add a few bucks to the tip jar or even sign up for patreon, it would help greatly to keep this website going.
If you’d like to support me through Patreon, you’ll get these benefits:
Weekly exclusive video
Early Access to both my Make Things and Let’s Make Things Channel
Get recognition at the end of each of my main channel videos for your contribution