
How to Apply Oil-Based Polyurethane: Start to Finish
Published September 9th, 2026
PREPARING THE SURFACE, APPLYING THE FINISH, BUILDING COATS AND FINAL CURE
Oil-based polyurethane is a durable, dependable finish—but getting good results involves more than brushing it on and waiting for it to dry. Scratches, dust, sharp edges and mistakes between coats can all remain visible beneath the finished surface.
A common misconception about clear finishes is that they create the beauty. In reality, polyurethane adds depth and protection, but it also magnifies whatever is underneath it. That’s why a smooth finish begins long before the can is opened.
Using a white oak toilet seat as our test subject, we’ll walk through the complete process: preparing the surface, applying oil-based polyurethane, building between coats and allowing the finish to cure properly.
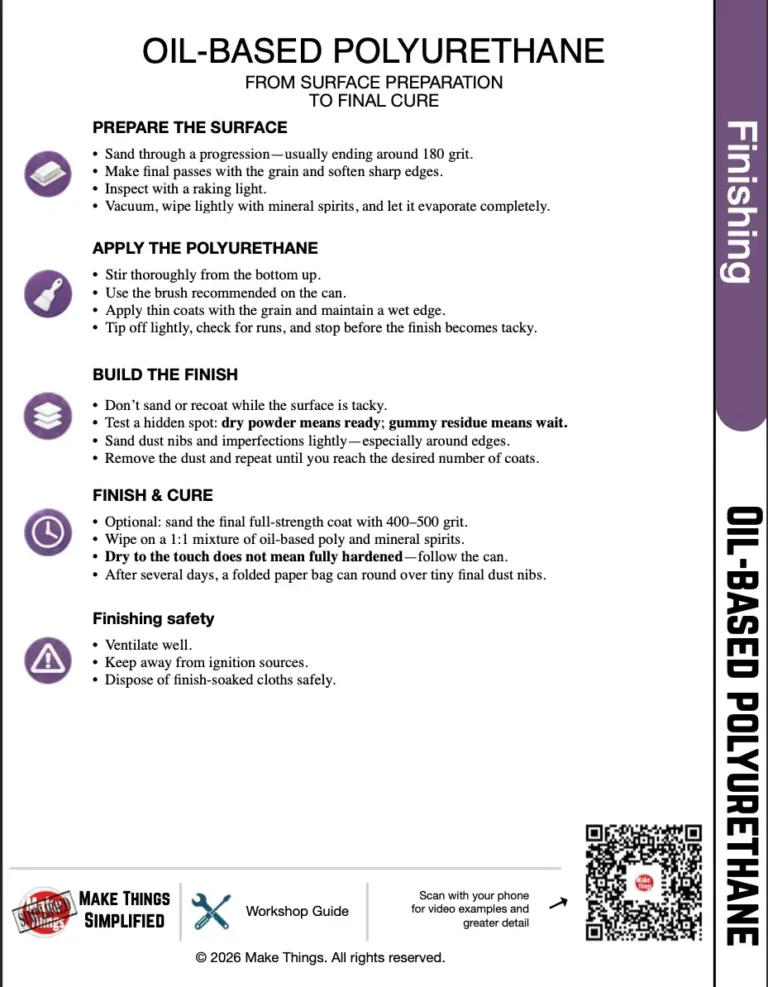
Free workshop guide
Download the free Oil-Based Polyurethane Workshop Guide for a quick reference you can keep in the shop. It covers the complete finishing process, including surface preparation, applying the polyurethane, building between coats and allowing the finish to cure properly.
VIDEO CHAPTERS
Click any image below to jump to that part of the video.
1. Preparing the Surface
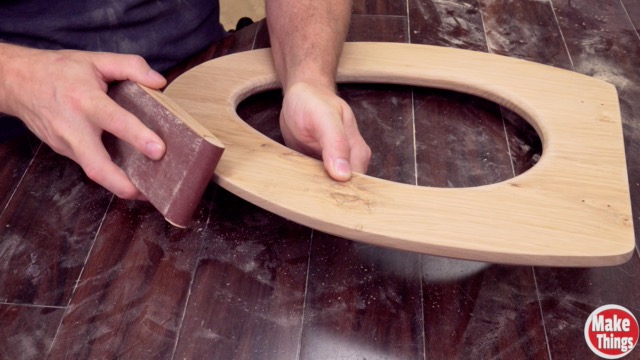
A smooth polyurethane finish begins with careful surface preparation. Clear finish adds depth, but it also magnifies scratches, sanding marks and other defects that may have been difficult to see on bare wood.
Sand through the grits progressively rather than jumping directly to a fine grit. Going finer isn’t always better with a film finish; stopping around 180 grit gives oil-based polyurethane a properly prepared surface to bond to. Finish with a few light hand-sanding passes in the direction of the grain, then inspect the wood under raking light to reveal scratches or uneven areas.
Remove the sanding dust with a vacuum, paying close attention to corners, edges and engraved details where dust tends to collect. Wipe the surface with mineral spirits and a clean, lint-free cloth to expose any remaining flaws. Allow the mineral spirits to evaporate completely and correct those problems before applying the finish.
Finally, soften sharp edges slightly. Polyurethane tends to pull away from a sharp corner, leaving a thinner and more vulnerable film. A gently rounded edge gives the finish better coverage and improves its resistance to wear.
CLICK IMAGE TO WATCH THIS CHAPTER ON YOUTUBE
2. Applying the Finish
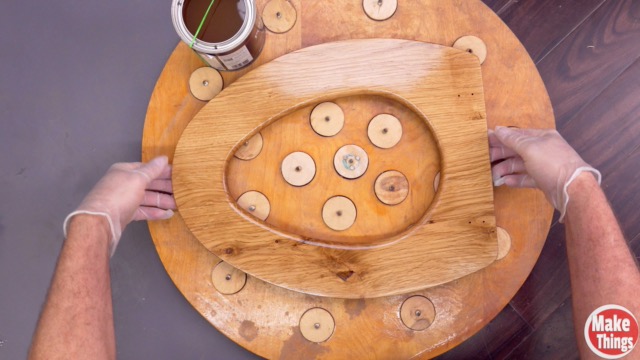
Before applying oil-based polyurethane, stir it thoroughly for several minutes, lifting the finish from the bottom of the can instead of only stirring near the top.
Check the can for the recommended applicator. Oil-based polyurethane typically uses a natural-bristle brush, although some products can also be applied with a foam brush. Dip only about one-third of the brush into the finish and remove the excess.
Start with the least visible side and use light, overlapping strokes to maintain a wet edge. A finish board or finishing pyramids will let you coat both sides along with the outside edges and inner rim.
Once everything is covered, make a few long, feather-light passes with the tip of the brush. This is called tipping off, and it helps smooth brush marks and break small bubbles. Do it while the polyurethane is still wet—then leave it alone.
CLICK IMAGE TO WATCH THIS CHAPTER ON YOUTUBE
3. Building Between Coats
Before sanding between coats, make sure the polyurethane is ready. Drying time can change with temperature, airflow, humidity and coat thickness. Test a hidden area using the grit recommended on the can. If sanding produces fine, dry powder, it’s ready. If the finish gums up or smears, give it more time.
Lightly sand away dust nibs and other raised spots until the surface feels smooth. Check the sandpaper for buildup as you work, and use extra care around the edges, where it’s easy to sand through. Vacuum the dust, make a light pass with a tack cloth, then stir the polyurethane and apply the next thin coat.
After three full-strength coats, I sanded with 400- or 500-grit paper and applied a final half coat—equal parts polyurethane and mineral spirits. This thinner coat dries faster, giving new dust less time to settle.
CLICK IMAGE TO WATCH THIS CHAPTER ON YOUTUBE
4. Final Cure
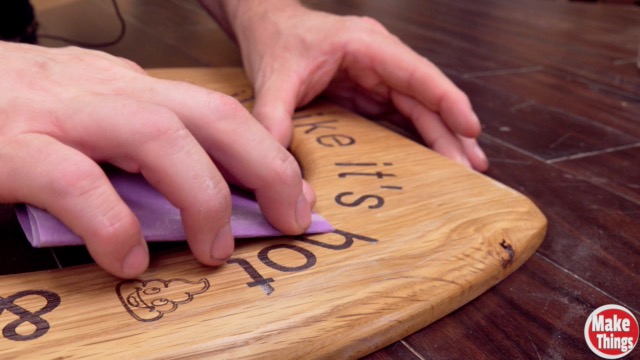
Once the final coat is applied, the hardest part is waiting. Temperature, airflow and coat thickness can all affect how long oil-based polyurethane takes to harden. Follow the directions on the can, but don’t rush to put the project into service just because the surface feels dry.
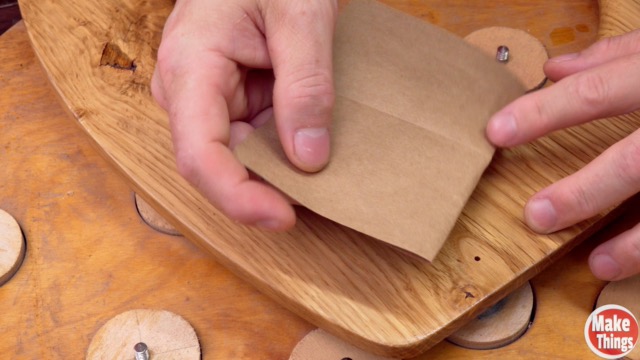
After the finish has hardened for several days, a clean brown paper bag can gently smooth tiny dust nibs trapped in the final coat. Fold a clean, smooth section into a pad—don’t crumple it—and test it on a hidden area first. If it leaves scratches, stop and allow the finish more time.
This trick won’t remove runs, brush marks or larger imperfections. It’s strictly a dust-nib knocker for putting the final touch on an otherwise finished surface.
CLICK IMAGE TO WATCH THIS CHAPTER ON YOUTUBE
Support Rob
If these videos and workshop guides have helped you in the shop, there are a couple of ways you can help support future Make Things projects and keep these resources free.
Tip Jar
If you’d like to help support future Make Things projects and keep these workshop guides free, you can leave a tip here.
Become a Patron
Support Make Things on Patreon for project updates, behind-the-scenes extras, and other ways to follow along with what I’m working on.