Leveling end grain can be destructive and dangerous. As people make end grain cutting boards, what is the best way to clean and level the surface? Running them through planers can have disastrous results…if you have a drum sander, you could make several passes. But if you have a large amount of removal needed, that could take a long time and that’s a lot of sandpaper you’ll go through.
Instead, try this router rail idea. It can be made for less than $20-30 with construction lumber and melamine shelving. All plans are completely free but I ask you to send me some pictures of yours when you’re done…I love seeing what people come up with!
Email link at the bottom of the page.
watch all steps in this video before starting
Please use the material and tool list below as a guide to finding the products locally.
Cut and material list
Router rails main body:
(8) 3/4″ x 3 1/2″ x 2 1/2″
(10) 3/4″ x 3 1/2″ x 8″
(2) 3/4″ x 3 1/2″ x 7″
(4) 3/4″ x 3 1/2″ x 4″
1/4″ x 8″ x 8″ particle board
(2) (1/2″ to 3/4″) x 3 1/2″ x 48″ Open faced shelving boards
As an amazon associate I earn from qualifying purchases.
Step by step instructions
1. Materials
I’ve listed the materials and tools you’ll need above. One important note is to make sure you use an open faced particle board. Obviously, using shelving that has both sides that are melamine faced would make it impossible to glue to it. You could substitute it with plywood, but it would need to be a very stable plywood like baltic birch.
Click image to see this step on youtube
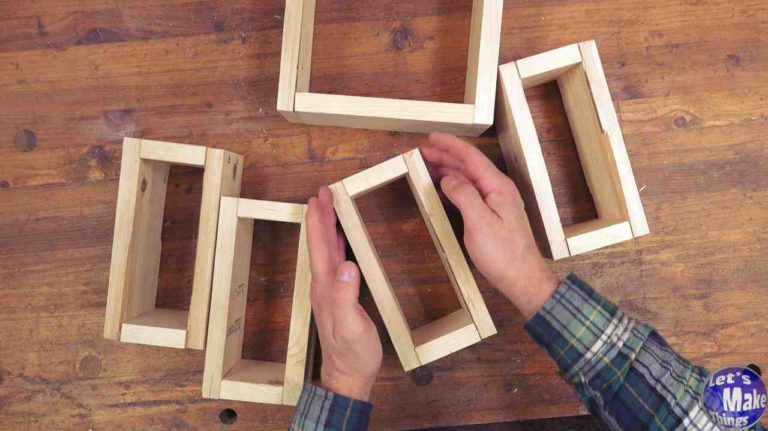
2. Building Boxes
In this step we’ll build five boxes. If we think of our router planer like a wall, we’ll be adding essentially 2×4 structures for strength. Also in this step I’m using a trick from a bitesize shorts video that I made, which can be found here. While I did use screws to attach the boards, you could easily substitute dowels…but do not try to use glue alone.
Click image to see this step on youtube
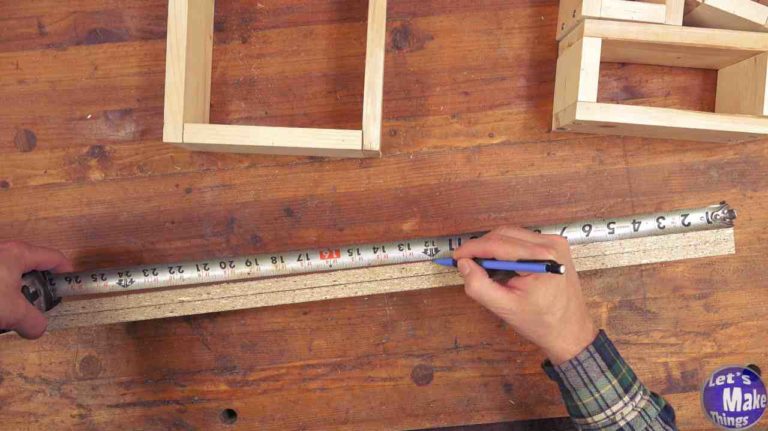
3. Finding centers
We’ll find the centers of each of our boxes (the edge sandwiched between the two 1 x 4’s) by measuring and cutting the distance in half and add a mark. On each of the rails, we’ll measure in 2 inches from each end, 12 inches from each end and finally 24 inches in the middle, adding a mark at each coordinate.
Click image to see this step on youtube
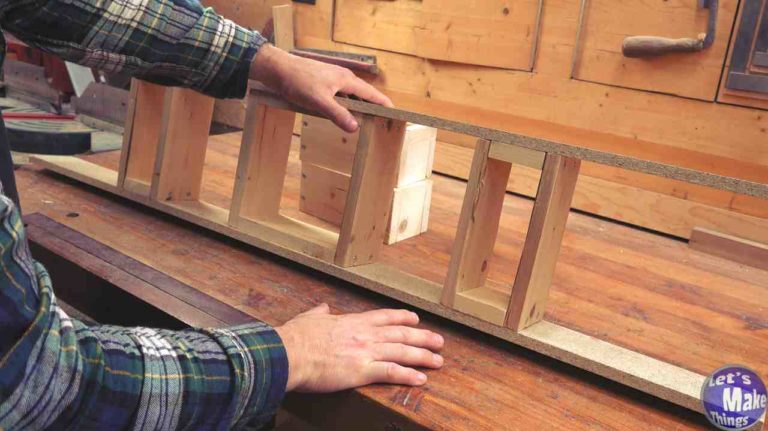
4. Adding skeletal strength
It’s important to note here that edges that will be glued on the boxes as well as the rails needs to be sanded to prep the wood. I have a bitesize video showing why it’s critically important, here.
To attach the middle box, place both rails on a surface that is flat and place the 1/4″ router plate below the middle box. Add glue to the position on the rails that the box will be glued. I strongly suggest adding 4 toothpicks below the router plate to make sure it is off the surface. When the center has dried, add the next 2 boxes, again using toothpicks. After another 2 hours, add the end boxes…yep, toothpicks again.
Click image to see this step on youtube
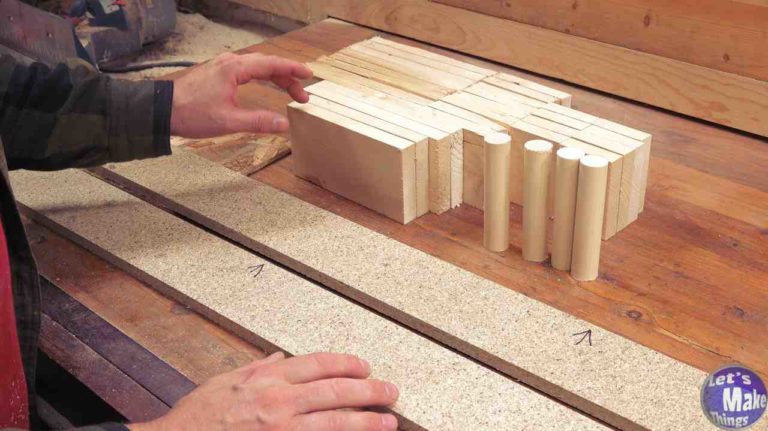
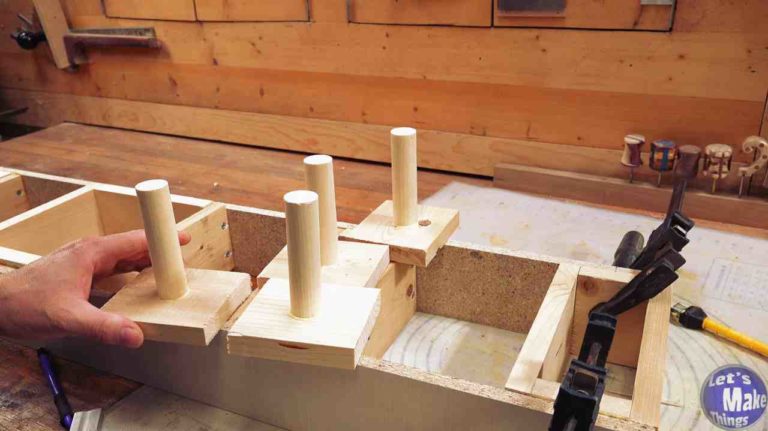
5. Creating handles
While the boxes and rails dry, we’ll create the handles. We’ll take each of the 3 1/2″ x 4″ pieces and find the center before drilling out holes for our 1″ x 4 3/4″ dowels. Add a little glue inside the holes add add the dowels. Simple!
Click image to see this step on youtube
6. Installing the handles
Just like step 3, we’ll find centers on each of the boxes, but now on the perpendicular edge. In doing this we’ll know where to place each of the handle blocks we made in the last step. I added glue on the lip of each of the boxes before adding a pilot hole and a screw.
Click image to see this step on youtube
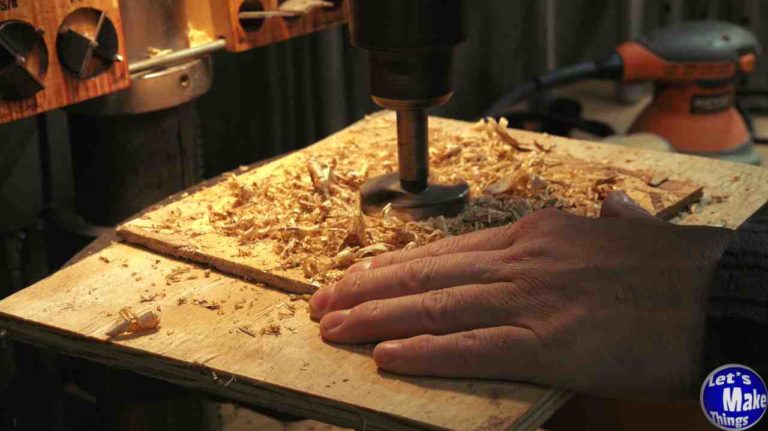
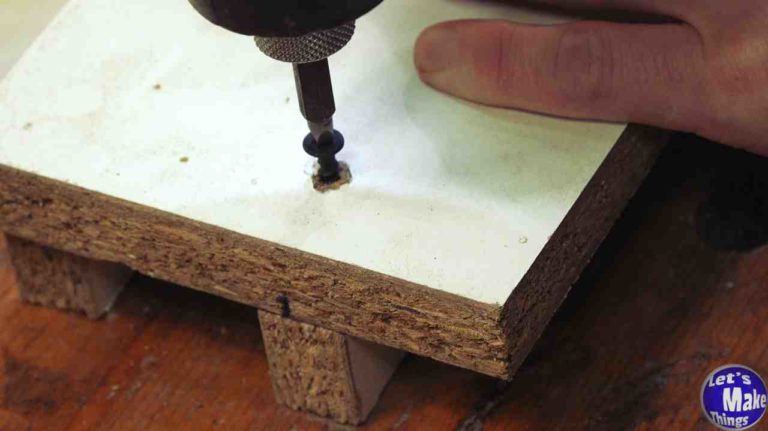
7. Router Plate
Now we’ll concentrate on the router plate. We’ll again, find the center, and use a forstner bit that’s larger than the actual planer bit we plan on using. Both of the planer bits I have above are 2″ in diameter, so I recommend using a forstner bit that’s at least 2 1/8″ wide. If you don’t have one that large, chisel out the center.
With double sided tape we’ll then attach it to our router and mark the screw holes. We’ll drill them out with the drill bit that’s the thickness of your screws. When that’s done, we’ll glue the plate onto the bottom of the center box.
Click image to see this step on youtube
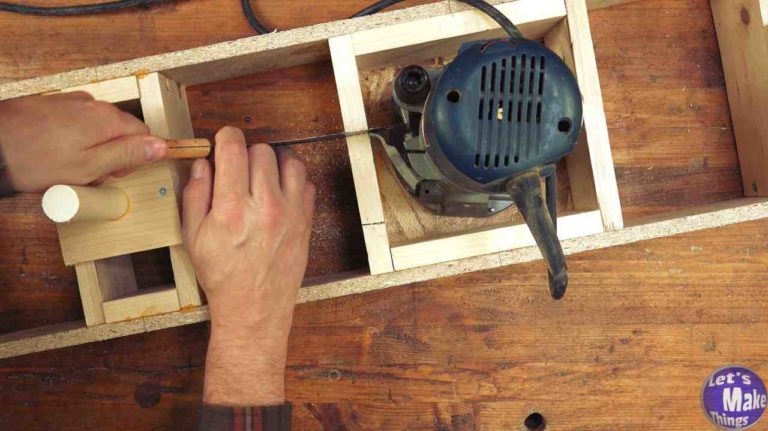
8. Router clamp fix (oops)
One thing I missed was the clamp on the side of my router. Easy fix! We’ll just carve out the edge so that the clamp opens. I left this in here because I didn’t want to redo it (ha!), but also to show that there’s a little flexibility with the center box.
Click image to see this step on youtube
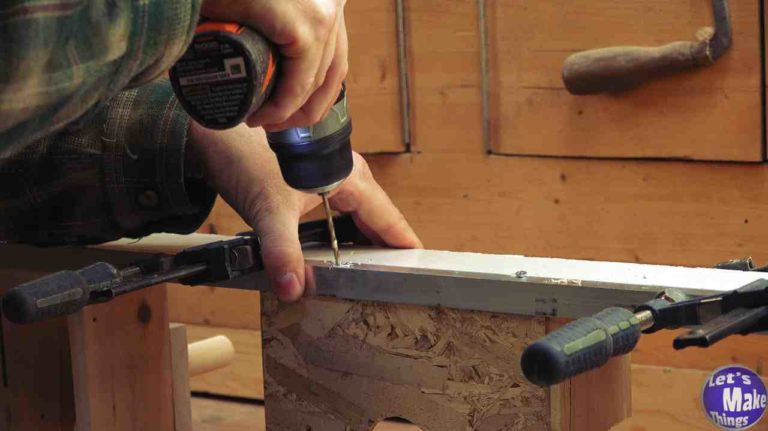
9. Aluminum protection
No matter what material you use, you’ll eventually wear the bottom of the rails off. We’ll add aluminum “L” channels to prevent that from happening. I used epoxy with a baby bottle nippIe (a little trick from a bitesize video) to prevent sawdust from pushing the rail up as well as screws on the sides, into the boxes.
Click image to see this step on youtube
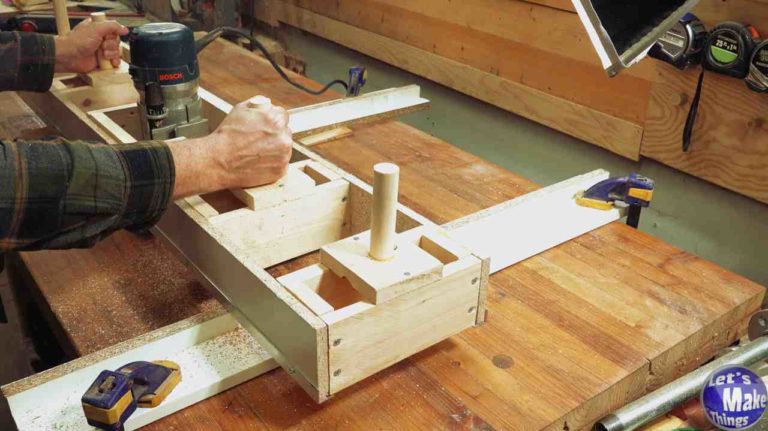
10. Riding rails
Of course, you’ll want something to slide your router rails on. I, again, used melamine shelving. I do have a future mechanism type idea to raise and lower the arms on the box, but for now we’ll just use stacking and adding things to the sides to raise the arms up. This works really well if you’re making cutting boards and just need a single fixed size. Because I used melamine, I backed it up with epoxy to reinforce the hole strength.
Click image to see this step on youtube
11. Example I
In the first example, I used an inch piece of melamine screwed to the the face of a 5″ piece of melamine. This gave me about an inch and a 3/4th’s above the surface of my table, which allowed me to plan my cutting board to the final size of 1 3/8″. I will note here that in both this and the next example you’ll want to make sure that the wood your planing doesn’t have any play or movement. I used a shim to keep it flat to the table.
Click image to see this step on youtube
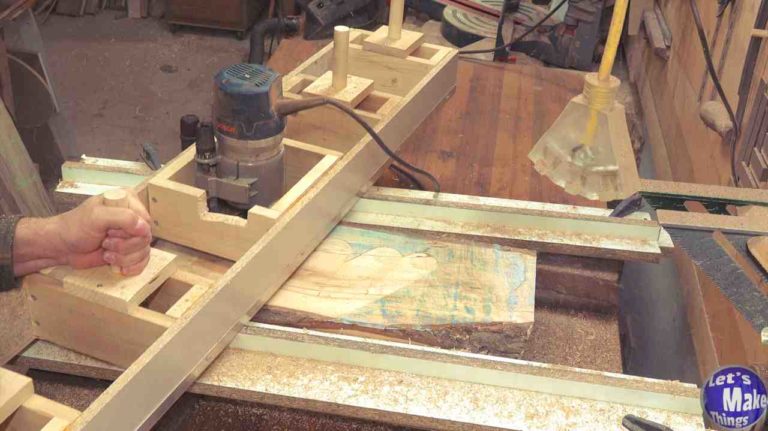
12. Example II
In this example I used concrete blocks with the riding rails to get it to the thickness I was looking for. I am, again, working on a prototype that will allow the user to adjust the fence in a logical way that keeps both sides parallel to the table. When it’s done I’ll leave a tab on this page that will take you to it.
Click image to see this step on youtube
Check out the old router rail!
If you’d like to see the older version, I’ve left that video here. I think it’s still a viable option but I think it’s a little more complicated and requires a few more skills/tools to complete. It’s still going strong though and has a very simple disconnect plate making it easier to add the router to the jig.
Click the youtube logo to watch!
Tip Jar
If you enjoyed or found this useful, throw me a tip →