Published April 16th, 2023 / UPDATED October 19th, 2023
A good mark is a difficult process to achieve on your stock. If you’re going to add dowels into the end of a piece of wood, for example, who wants to measure the center of both sides and then draw a line? With this marking gauge, you set it to the width you’re looking for and use the base as your straight edge to add the mark. This is simplistic and can be made for less than 5 dollars from items that are in your local hardware store.
I really think this tool should be in everyone’s shop…it’s just so each to use and absolutely accurate as it can be. The entire build is below, which I recommend watching first.
My earlier version of this useful tool is → here ←.
Marking Gauge Bitesize
watch all steps in this video before starting
Please use the material and tool list below as a guide to finding the products locally.
As an amazon associate I earn from qualifying purchases.
Step by step instructions
1. Material explanation
We’ll need only three materials to make this, excluding wood glue, epoxy and graphite. The grain direction of the hard/softwood needs to be vertically longer so that the end grain is narrower than the side grain.
While you could use welding steel, it’s more of hassle compared to the zinc coated rods. Stainless steel will be incredibly difficult to drill through so sticking with mild steel is your best option.
For the tool side, you’ll really want a cobalt 5/64″ drill bit…you’ll do less swearing later on, trust me.
Click image to see this step on youtube
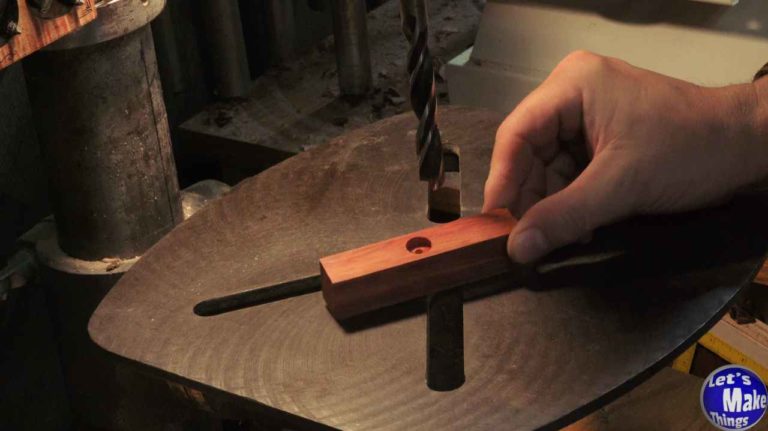
2. Magnet channel
Brad point and Forstner bits require a center point to guide the rest of the cutter head, so we’ll drill this first before making the channel for the square dowel. I crossed my blocks and found the center before drilling with a 1/2″ bit.
Click image to see this step on youtube
3. Cutting a channel
Now we’ll cut a channel by centering our block to the blade and rotating each cut and moving the fence away from the blade after each set of passes. We want our depth to be half the depth and the full width of the square dowel.
Click image to see this step on youtube
4. Magnet hole adjustments
Inevitably, the hole isn’t going to be deep enough, so we’ll drill a little further until the magnet is parallel to the notch we cut out in the last step.
Click image to see this step on youtube
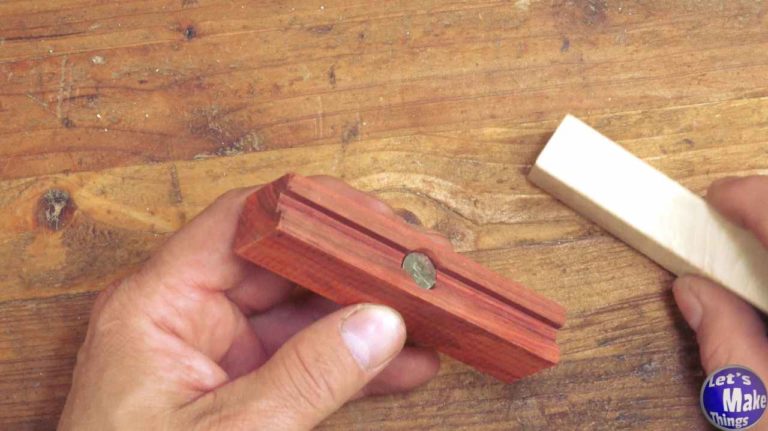
5. Gluing body
We’ll glue both halves together, but go ahead and add epoxy to the magnet…something I didn’t do and wish I had. I added the bar with the glue up to keep things straight and came back after about 30-60 minutes (with the clamps still on) and smacked the dowel until I removed it and cleaned off the glue.
Click image to see this step on youtube
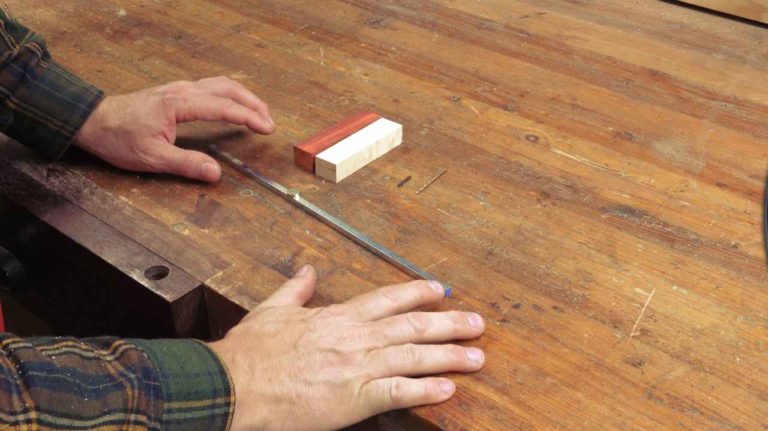
6. Bar work
We’ll move in about a half to three quarter inches from the end of the bar and mark it with a punch before drilling the hole out at 5/64″.
Click image to see this step on youtube
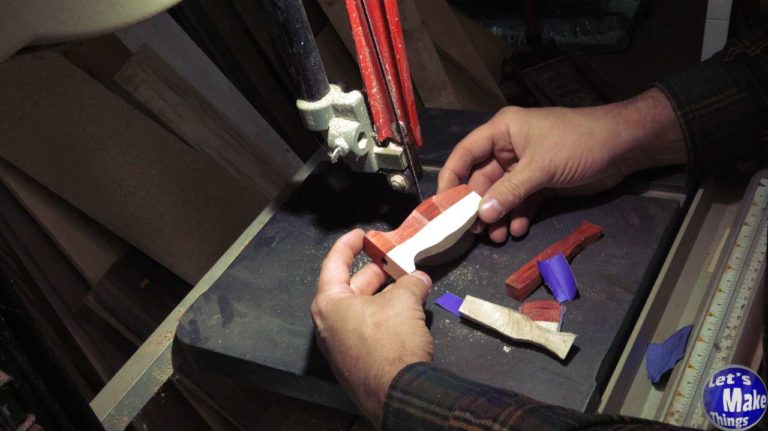
7 & 8. Shaping the body
Shaping the body is completely up to you. This can be used as a solid block and does not need to be cut down…but keep the full width for the very top part that will ride along the surface.
Click image to see this step on youtube
9. Usage, sharpening, magnet
Using it is pretty self explanatory: Use a ruler and set the height. I used a file to give me a nice bevel. The point of the lead should go in from the broken part of the graphite so that it doesn’t push out when you use this, but I strongly recommend adding a magnet to the top, above the graphite. It makes such a big difference.
Click image to see this step on youtube
10. UPDATE: Optional, flipper
The magnet works, it really does. But the one folly it has is that it…catches anything that’s magnetic on your workbench. It’s annoying and it’s avoidable. I created a separate video that shows how to navigate around this problem by creating a little flap that’s able to be moved to insert a piece of 2mm graphite and slid and locked back. It requires a 4-40 bit and drill bit and fixes the problem. Click on the image to watch the video.
Click image to see this step on youtube
Tip Jar
If you enjoyed or found this useful, throw me a tip →