Routers are precision tools, but they’re limited by the size of their base. Once you need to cut a surface larger than the plate itself—like a wide lap joint or a slab—control becomes nearly impossible. That’s where the Router Sled comes in.
This jig dramatically increases the surface area your router references during a cut. Whether you’re leveling a slab, cleaning up wide joinery, or prepping a face before planing, this sled gives you the reach and stability your router alone can’t.
The heart of the system is a flush-mounted plexiglass baseplate. By recessing the plate into plywood and building a structural frame on top, you get a rock-solid platform without losing bit depth. A trim router, a full-sized router—it doesn’t matter. Once mounted, the sled supports the router across a much larger area, allowing for cleaner passes and more confident control.
Want to flatten slabs? Just add steel corner rails to the underside, and it rides smoothly across Unistrut for easy slab planing. With 5-foot rails, you can flatten material up to 28 inches wide—without breaking your back or hunching over.
ATTENTION: These plans are provided as a gift from me to you. You are free to use them to create this project for yourself. However, please do not sell or distribute these plans as your own. I make no money from these, and I kindly ask that you respect basic copyright laws. If you share your build publicly, I’d appreciate it if you gave credit to Make Things for the plans.
As an amazon associate I earn from qualifying purchases.
Step by step instructions
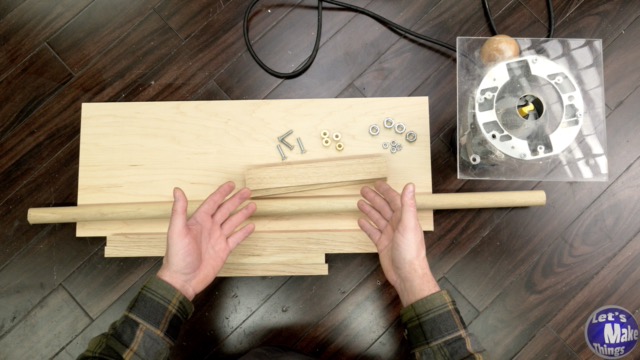
1. Materials
Check the materials list, but everything needed can be found very easily at your local hardware/home improvement store. Plexiglass can also be found locally, but I found a cheaper piece, 1/4″ x 8″ x 12″ piece that works well for this. You can find that here.
Click image to see this step on youtube
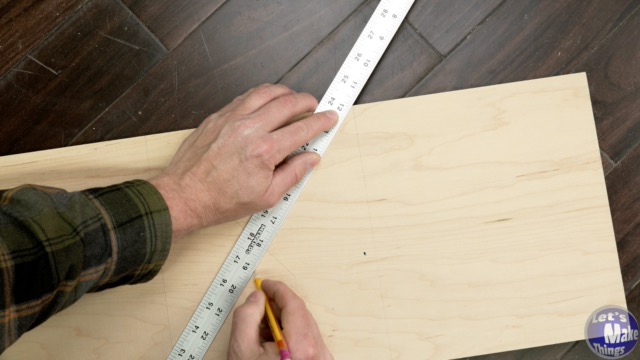
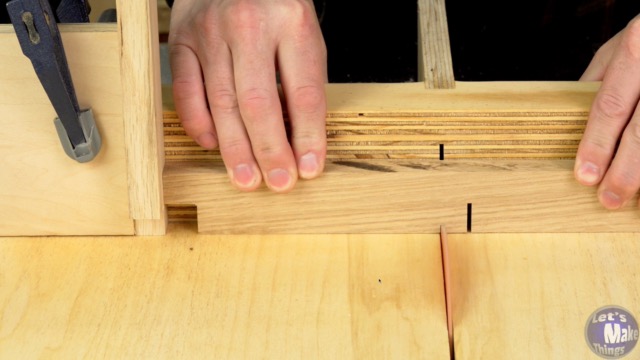
2. mappings
In this step we’ll find the center and then mark out the area we need to cut out for the plexiglass to fit into. The plexiglass will need to already be fit and ready to use on the router. If you haven’t done that, click here to watch it on youtube.
Click image to see this step on youtube
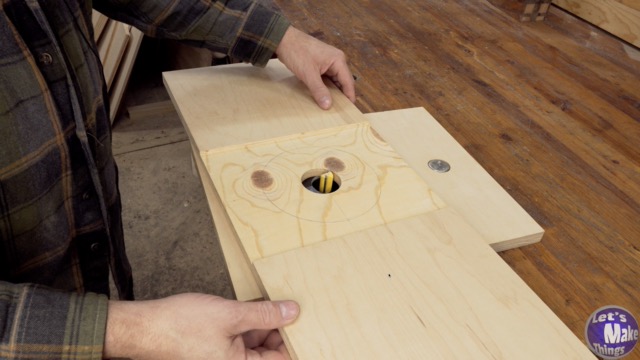
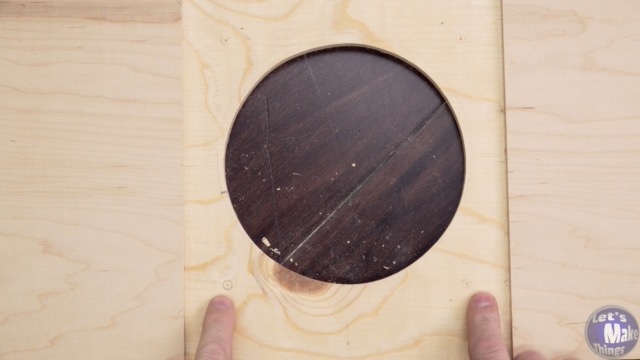
3. shaping
I used both a table saw and a router—mounted and handheld—to cut out the opening. If you’re using the Bosch router (see the Tools section), you should be able to slide it through the opening. But depending on your router model—especially if it has fixed handles—you may need to detach it from the base, position the plexiglass from underneath the plywood, and then reattach the router from the top.
If you don’t have a table-mounted router, you can also cut the opening using a jigsaw or scroll saw.
Click image to see this step on youtube
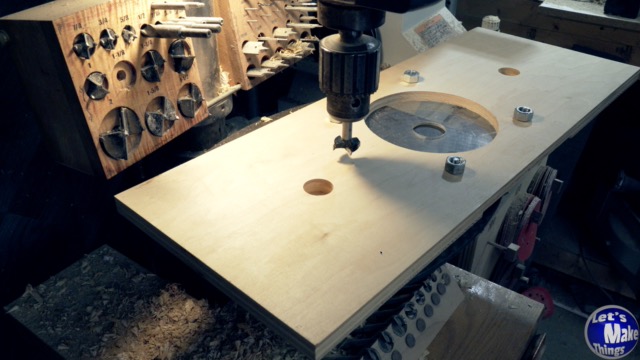
4. Attachment holes
This will need to attach to the plate. If you’ve already made the router anchor, you’ll have two holes cut in the plastic. In this step I show how to make two holes on the opposite side as well as making 4 fresh holes if you choose not to make the router anchor.
I used a drill press to do it. If you can drill straight, a hand drill will work just fine.
Click image to see this step on youtube
5. Lap joint braces
I created lap joints to make the braces for the top. The full body brace is absolutely important to keep the plywood from curling in the future, but you can attach the braces however you choose. Butt joints would work, but I would reinforce with screws.
You absolutely do NOT need to add handles to this. Holding the brace can be done, but I think handles completes it, especially if you’re cleaning up a slab. I found that using the brace on the top works really well, especially if you’re doing fine cleanup work.
Click image to see this step on youtube
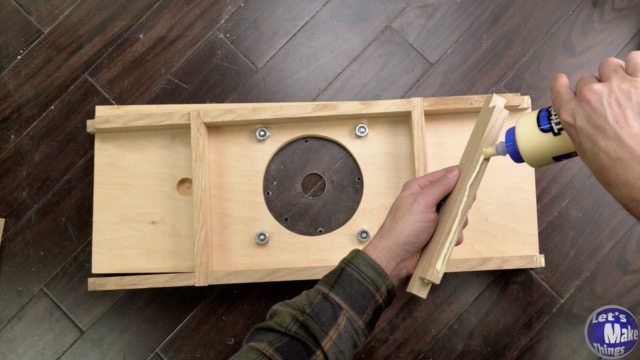
7. Glue up
I did the glue up in two steps with a 30 minute break in the middle. I added the middle braces first and then connected the outside braces on the second glue up along with attaching it to the plywood below. Because you’ll want that plywood to be flat, be sure to use a table top that is relatively flat as well as something heavy to way it all down. A bucket of water was my main attack and it came out really well.
Click image to see this step on youtube
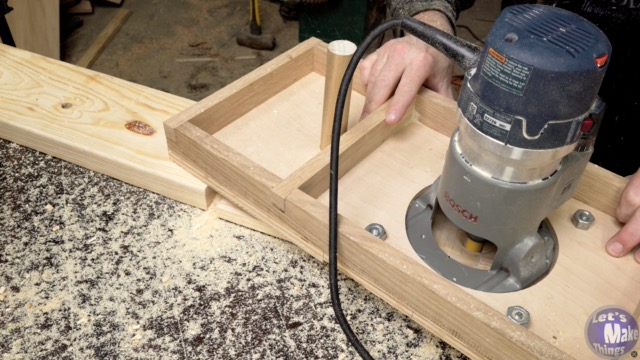
8. Example
Click the image attached to this step to watch an example for what we’ve created so far. This was a tool that I sorely needed for a table saw cabinet base. I needed to create extra large lap joints, and this was my method to do it.
Click image to see this step on youtube
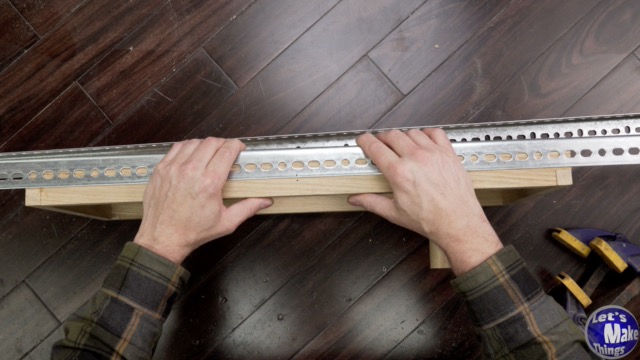
9. Beyond
If you really want to supersize this for large surfaces, you can’t go wrong by adding slotted angles with a few wood inserts. This can easily turn your router into a very inexpensive slab planer.
Note: be careful not to leave your router in one spot when using this for slabs as you’ll get burns from the bit. Also, you’ll need two parallel surfaces to run it across. I used uni-strut with particle board as spacers.
Also note: you’ll still need to do a little sanding when you’re finished with the router, unless you have a very sharp bit.
Click image to see this step on youtube
Tip Jar
If you enjoyed or found this useful, throw me a tip →