I’ve never liked push blocks. It wasn’t until I really dived into making videos that I began to see my fingers and how perilously close I got them to the blade that I decided that I really needed to take it more seriously.
But the ones I had tried never gave me the control I felt like I got with my hands. There’s a certain grip you feel when you push the wood through the blade as your hand is twisting towards the fence. Try as I might, I couldn’t get that same satisfaction from traditional push blocks.
This is when I decided to make a rotating pin that would allow me to position my effort towards the fence.
I had mentioned early on when I discovered tracker runner that I thought it would be revolutionary. Used with my old design and it is unbelievable. I’ve included the old video that I made, years ago but this website contains an easier, better make. Enjoy!
Please use the material and tool list as a guide to finding the products locally.
As an amazon associate I earn from qualifying purchases.
Step by step instructions
Patterns
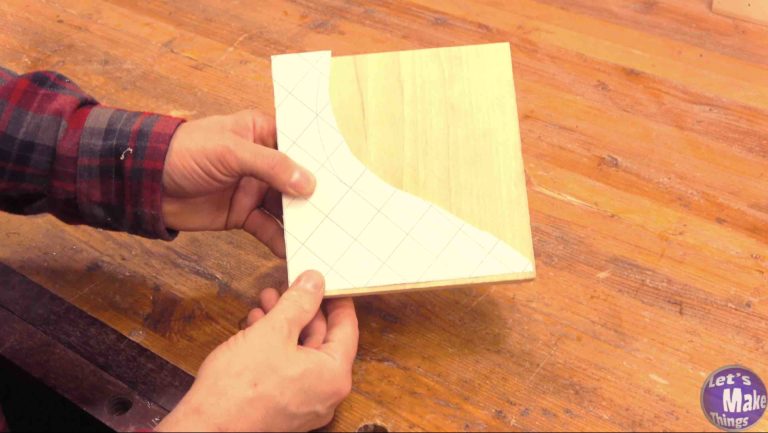
You’ll be starting off with a 6 and 5/8″ square. You’ll want it to be real wood and not MDF or plywood. If you don’t have a solid piece of wood…make one by gluing several together.
The pattern spoke of in this step is here. Make sure the diamonds on the pattern equal 1″. Of course, you don’t have to use the same exact pattern I have, just the rough dimensions you’ll need to complete this.
Click image to see this step on youtube
Cutting the handle groove
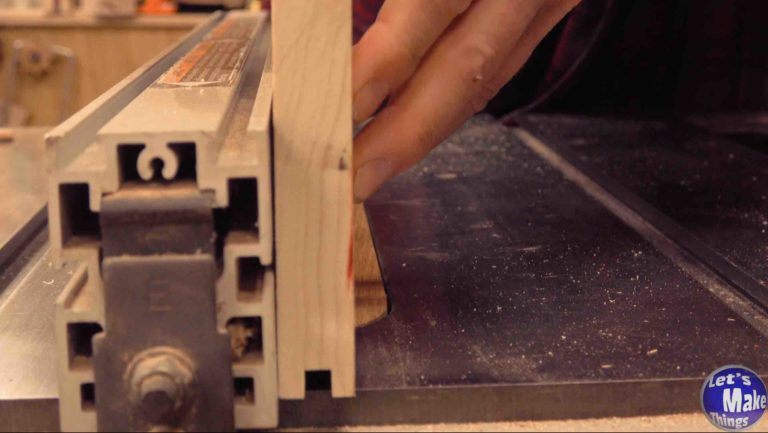
We’ll cut a groove for a dowel that will connect to the pin. This is a simple method where we’ll find the center of the thickness of the board we started with and move the fence until we reach a cut that’s a little bigger than 1/4 inch.
The depth of the cut needs to be slightly larger than 1/4 inch
It’s important that you don’t cut the end grain, but the side grain (see picture).
Be sure to check after each set of cuts to see if the dowel fits.
Click image to see this step on youtube
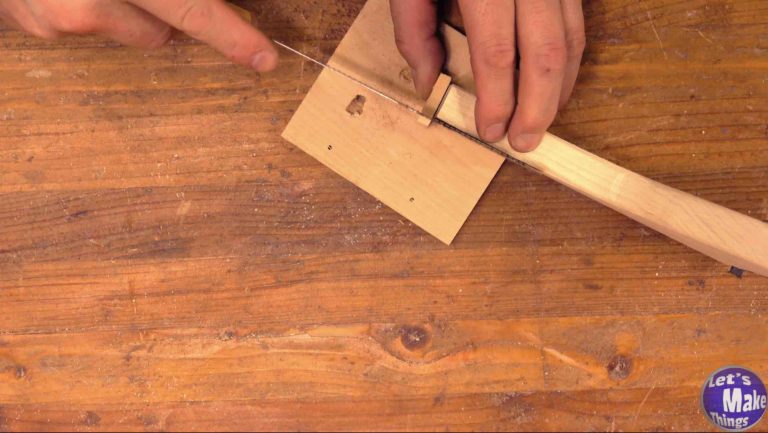
cutting the end cap
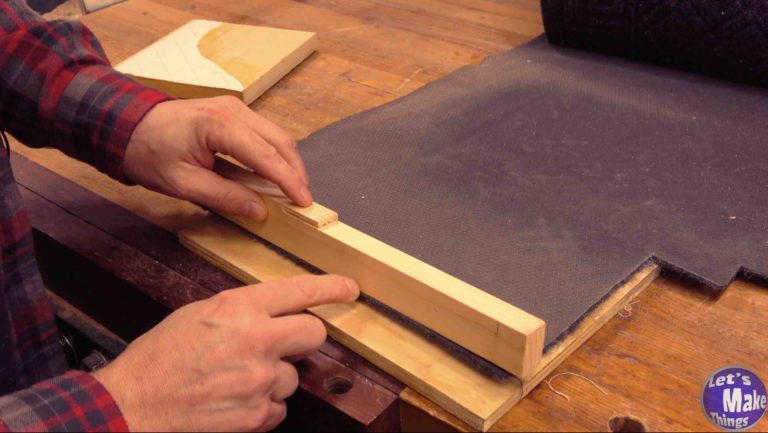
As we cut the center out in the last step, we’ll now want to cover it. We’ll take a 1 x 2 and cut an 1/8 inch strip that’s 6 and 7/8 inches long.
Be sure to cut only the length of the block and pull the wood back out of the blade.
Use a hand saw to cut the length to size after the width has been cut. Do not use the table saw for this.
Click image to see this step on youtube
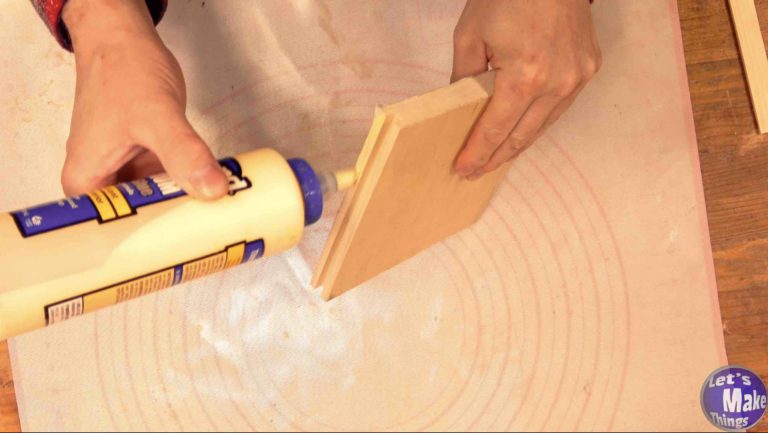
Gluing the end cap
Now we’ll glue the end cap on being very careful we don’t get glue in the gap. A few clamps with the left over 1 x 2 we started from will work to help apply even pressure.
Click image to see this step on youtube
cutting the pin
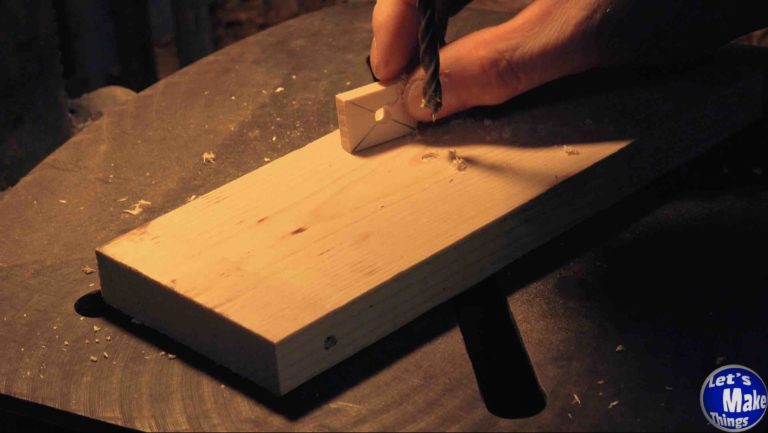
The pin is a 1/4″ piece from the left over 1×2 we started from. We’ll cut 2 inches up and cut off a 1 inch section, again with a handsaw.
We’ll connect our diagonals and drill out the center with a 1/4″ drill bit.
Click image to see this step on youtube
tracker runner
We’ll cut a section of tracker runner that will work on the bottom of the push block as well as the pin, using either 50/50 solution of white glue or Mod Podge. Both will be saturated with the glue and pressed against each wood piece.
Click image to see this step on youtube
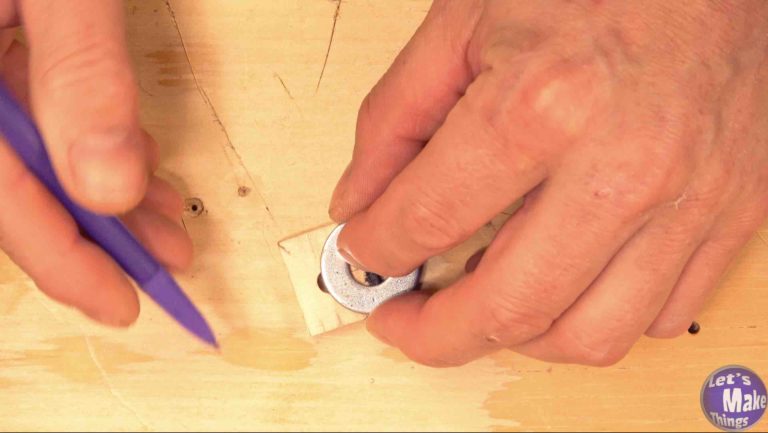
shaping the pin
With a 1″ (outer diameter) washer, we’ll create a half circle that’s slightly above the center hole we created in the pin.
Next we’ll shape it with a sanding block or a sander.
Click image to see this step on youtube
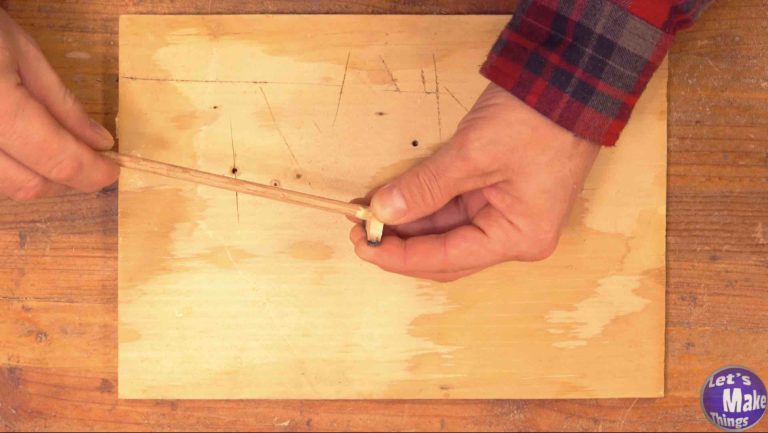
gluing the pin to the dowel
We’ll glue the pin to the dowel. Do not try to cut the dowel to it’s final size.
Click image to see this step on youtube
gluing the dowel cap
With the pin dried (give it about 30 minutes), we’ll work on the dowel cap that will sit on the top of the push block and prevent gravity from pulling it out.
We’ll go back to the strip we cut the pin from and cut the other inch out. Like the pin, we’ll connect the diagonals and drill the center with a 1/4″ drill bit.
Do not glue this onto the dowel yet!
You may round or shape the ‘cap’ at this point, so long as you’re careful not to cut into the center.
Click image to see this step on youtube
cutting to shape
It’s time to cut the shape of the body. I used a bandsaw, a coping saw would work just fine.
Click image to see this step on youtube
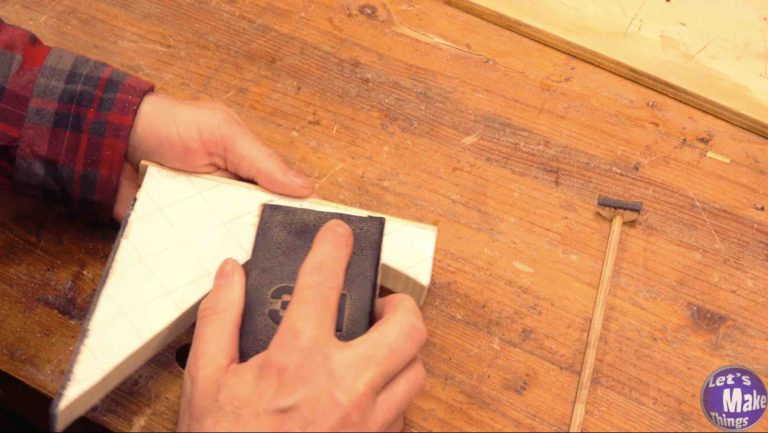
cleanup
We’ll clean the handle edges off so that it’s easier to hold. A sanding block works just fine but you could use a oscillating spindle sander or the edge of a belt sander to do the same thing.
Click image to see this step on youtube
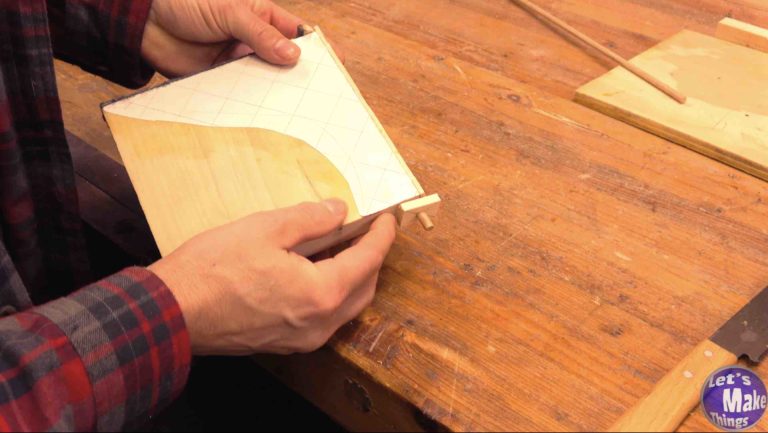
installing the dowel assembly
We’ll insert the dowel with the connected pin through the handle and add the cap to the top. The pin should have a little play so that it’s about half the distance of the back cover, or an 1/8″. This will allow you to do thinner wood pieces as well as thicker.
Next. when you’ve determined the size needed for your dowel, cut above the cap and add glue to the cap.
Click image to see this step on youtube
Final cleanup
If you didn’t cut the square to size above, now would be a good time to do that. Of course, you don’t need to cut it at all. It’s hip to be square?
Click image to see this step on youtube
Usage
To use this push block with the advanced cam pin, you’ll put the pin on the edge of the wood and twist the handle so that it points to the fence. Then you’ll both push the block against the fence and forward. You’re done! Get yourself a sundae for all your hard work!
Click image to see this step on youtube
Tip Jar
I want to thank you all so much for checking out this webpage. This website is done out of a labor of love as I have dedicated it to help others that are new or looking to do newer, creative woodworking things. Unfortunately, there are a lot of expenses. If you’d like to add a few bucks to the tip jar or even sign up for patreon, it would help greatly to keep this website going.
If you’d like to support me through Patreon, you’ll get these benefits:
Weekly exclusive video
Early Access to both my Make Things and Let’s Make Things Channel
Get recognition at the end of each of my main channel videos for your contribution