A good nut / bolt identifier can cost as much as $40. But wait, $40 for what?! A collection of nuts and bolt and a plastic board connecting them all? I came up with something to bypass that money hole.
Not only can you get a PDF file with the pattern on it, you can also get a Light Burn file or an SVG file that can be used for a laser engraver or CNC. All of this and it is absolutely free!
watch all steps in this video before starting
Please use the material and tool list below as a guide to finding the products locally.
As an amazon associate I earn from qualifying purchases.
Step by step instructions
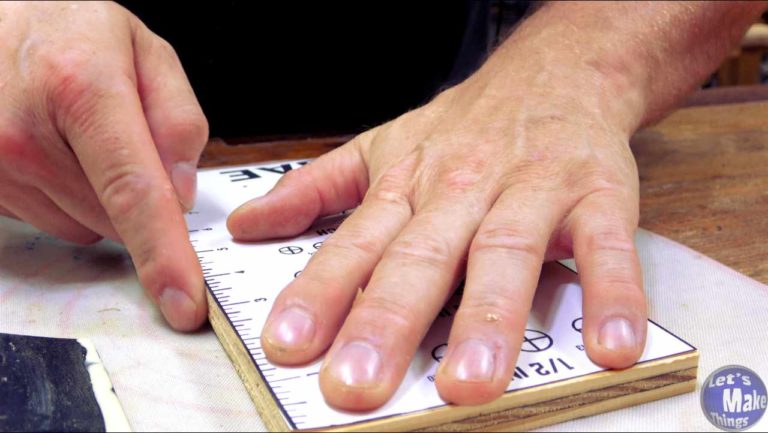
1. Printout
Printout is up above. After printing the file, hold a ruler up to it and make sure that the ruler on the paper is to scale. I used Mod Podge to the surface of the paper which is liking adding a layer of plastic to prevent it from being damaged or dirty.
I did also add an SVG and Light Burn file. If they’re not working, send me an email (address is below). These are my first attempt at creating them…I hope I did it right!
Click image to see this step on youtube
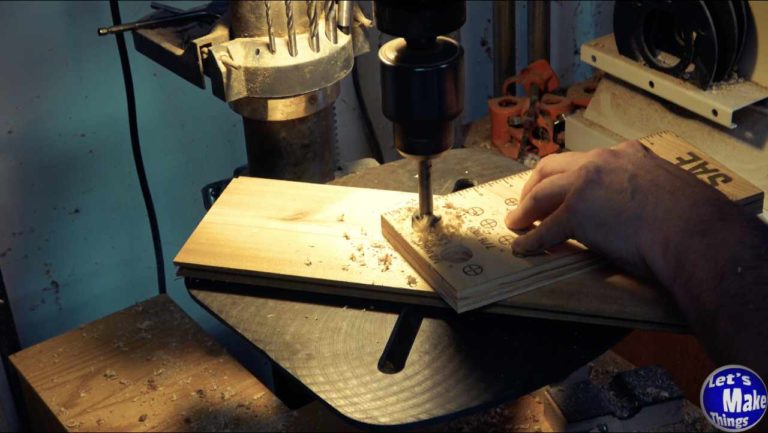
2. Drilling
Drilling is self explanatory. Be sure to drill the large holes first, of course. I think a step is an excellent bit to use but you’ll need one that is large enough to make it through at least half of the plywood. Some of the holes are a little snug for the nuts. Use a bolt and washers on the opposite side to snug them in.
Also, take your time drilling. Slowly cutting the surface is better than trying to take out the hole all at once. Remember, there is a sense of fulfillment that comes when we take our time and make things nice!
Click image to see this step on youtube
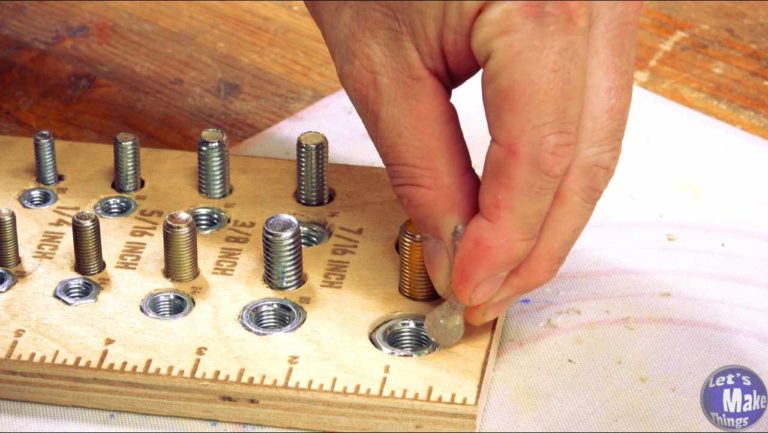
3. Epoxy work
I used my silicone baby bottle n/pp/e trick here. If you’re interested in it, I made a quick shorts video that explains it: here.
I would epoxy the nuts first and then the bolts after the epoxy has set. If you’re having trouble keeping the bolts straight, add a washer and a nut to the front…just be sure you don’t get any epoxy on the nut!
Click image to see this step on youtube
Tip Jar
If you enjoyed or found this useful, throw me a tip →