If you’re here from this little bitesize video, it means you’re looking for a few pointers to get you started. This idea was used a couple years ago in the video below. What wasn’t mentioned in the bitesize video is that there are many other ways that the u-bolt clamp is effective. It works well with miter saws, clamping boards to the surface of a table as well as a stop block for the table saw.
But you came here to make, and let’s get into this!
watch all steps in this video before starting
Please use the material and tool list below as a guide to finding the products locally.
As an amazon associate I earn from qualifying purchases.
Step by step instructions
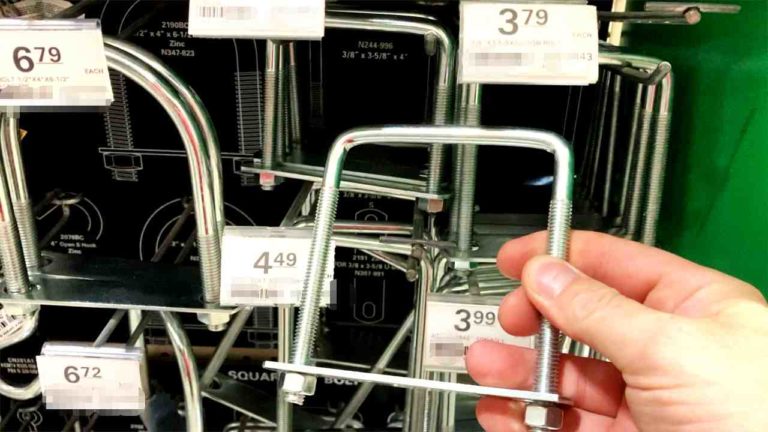
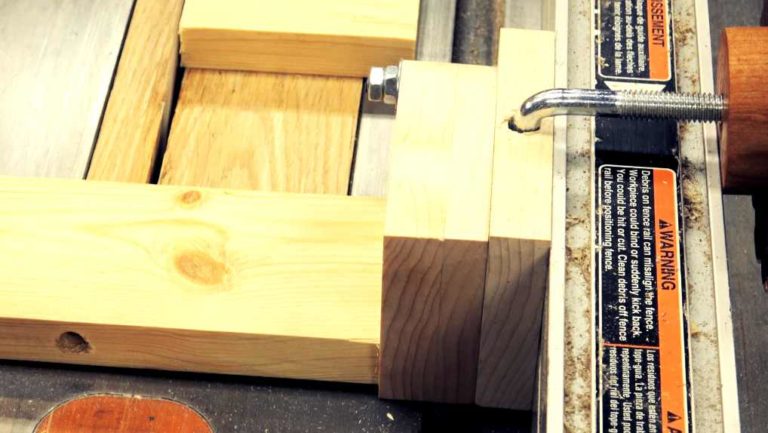
1. U-bolt type
There really isn’t any tricks to this. The one thing you’ll absolutely need is a square u-bolt. Square u-bolts have 90˚ angles that allow for a better squeeze. Rounded U-Bolts are more likely to bend when clamped. Before you go out and buy any old U-Bolt, measure the width of your fence. You’ll need to know this width to know the length of the U-Bolt you need to get. You’ll also want it to be slightly larger than the wood washer you’ll be making in step 3, as well as long enough that the knob will be able to twist onto the bolt.
Click image to see this step on youtube
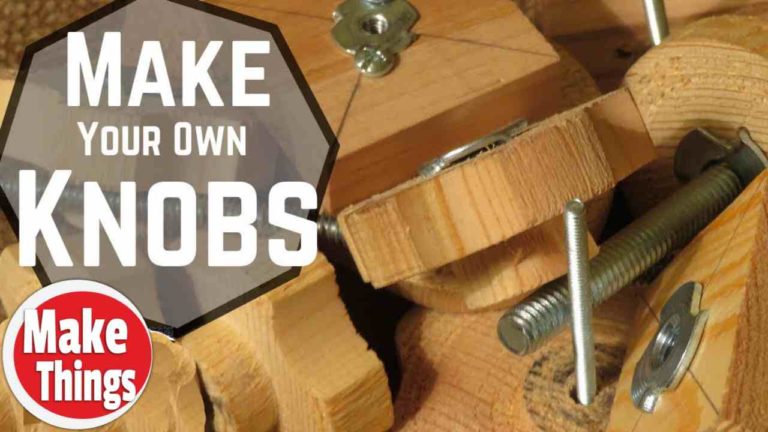
2.Threaded knob
For years I have advocated against buying manufactured knobs…they are so easy to make and will make you feel good when you make them…especially with the crazy cost of these things. You really only need a 3/8-16 inch t-nut, a scrap piece of plywood and a little epoxy. If you’d like a better explanation to making one of these, click on the video attached to this step, or click here.
Oh! I also created a step by step page to make these over on instructables.
Click image to watch the knob video on youtube
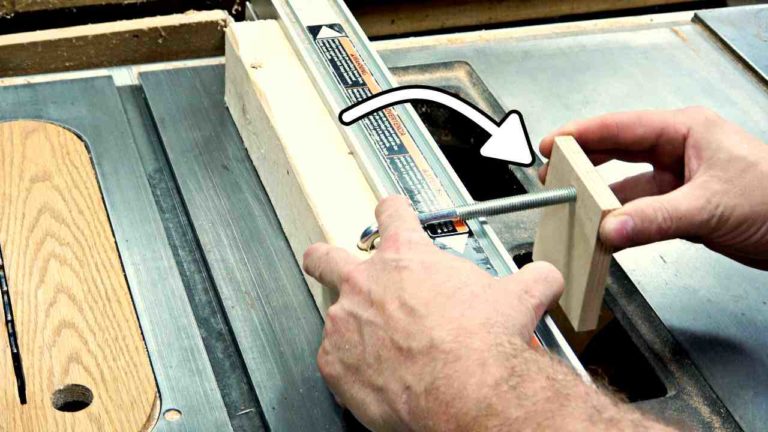
3. Fence stock
Though not mentioned in the video, this is a bit of a no brainer. You’ll need a straight and true board that’s no higher or lower than the fence. If you’re looking to add a taller fence, you’ll simply glue a wider boarder to the face of the board that rests against the fence.
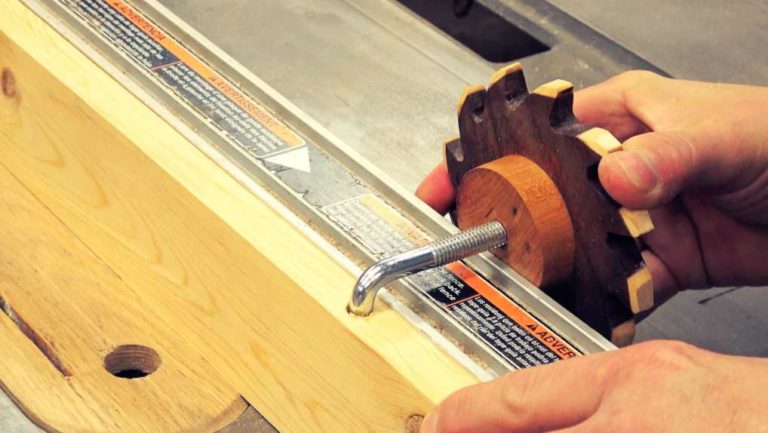
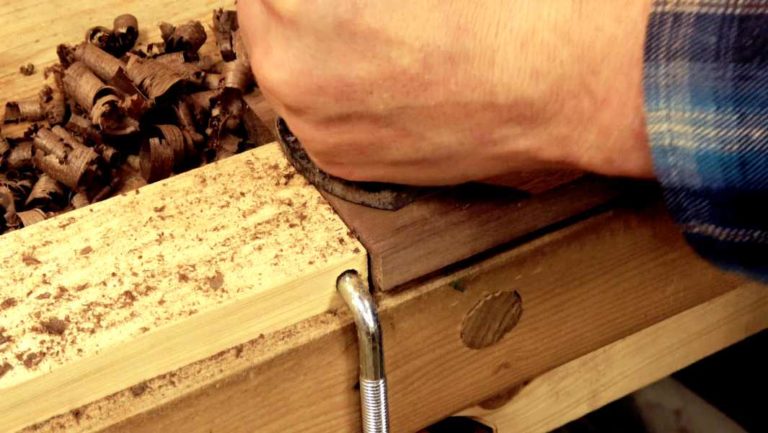
4. Wood washer
The “wood washer” is nothing more than a board that will sandwich your fence. It’ll give something for the knob to bite into. You’ll notice it’s smaller in the video connected to this step and the full length of the fence in the bitesize (above). Both will work but I quite fancy the longer one.
In the ‘advanced’ version (the next step), I made a knob with an underside that was larger than the fence, eliminating the need for a “wood washer”. That is totally up to you but really, it is a far easier, more sleek addition that meant fewer pieces I needed to hold onto later.
Click image to see this step on youtube
5. Advanced!
This is the advanced clamp. You’re seeing the knob I used to make what I think is the better version. Of course, you might not enjoy putting as much *ahem* detail into yours.
Click image to see this step on youtube
6. Uses 1
Here are a few uses that I found with this. Maybe you’ll find more, who knows! This is a simple idea that I find I use in my shop quite frequently…even spending a critical amount of time once to find it when I needed it (I finally added a hook and store this on the wall).
Click image to see this step on youtube
7. Uses 2
Thank you so much for stopping by. Any problems, send me an email (address below). Want to say “Hi!”, send me an email (I like email).
Click image to see this step on youtube
Tip Jar
If you enjoyed or found this useful, throw me a tip →