Belt sanders are powerful tools for quickly removing material and smoothing surfaces, but they often lack precision, making them challenging to use for fine woodworking tasks. The biggest problem that comes with this is that there isn’t a reference point we can judge our stock. To get around that problem, we’ll use a table saw fixture that will give us a means to judge how vertical our stock is in our hands as we use it.
watch all steps in this video before starting
Please use the material and tool list below as a guide to finding the products locally.
Materials
3/4″ x 2″ x 7 1/2″ (Body) stock
3/8″ x 1″ x 2″ (Tail) stock
Thickest part of your shim squared x 1″ (Shim) stock
As an amazon associate I earn from qualifying purchases.
Step by step instructions
1. Materials & Build
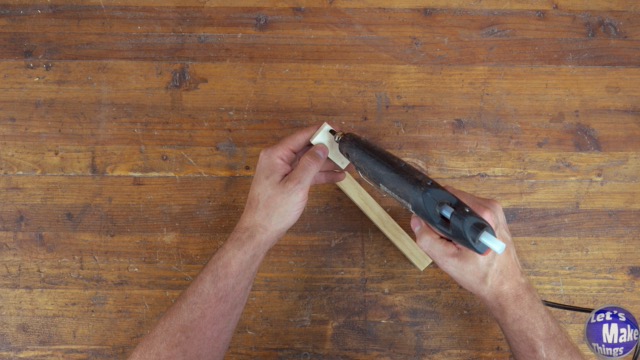
This jig only requires three pieces of stock: The body, the tail piece and a wedge that will be the thickest part of your shim or wedge.
We’ll attach the tail piece to the body and then the shim next to the tail piece. Very simple. I used hot glue but you could create a more permanent connection with glue or super glue.
Click image to see this step on youtube
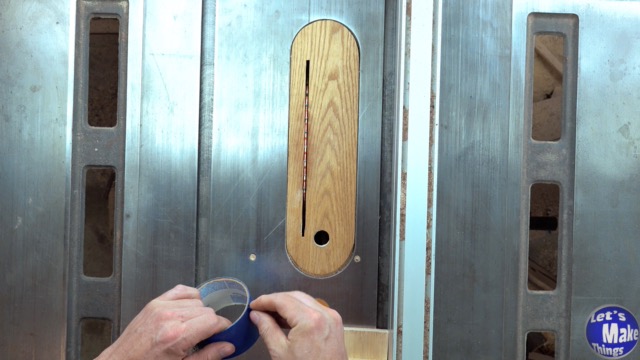
2. Setting up for repeatability
In this step we’ll add a reference point for repeatability on the surface of the table saw by using Bitesize 102 (video). This will make it incredibly easy to create fast cut pieces that are precise.
Click image to see this step on youtube
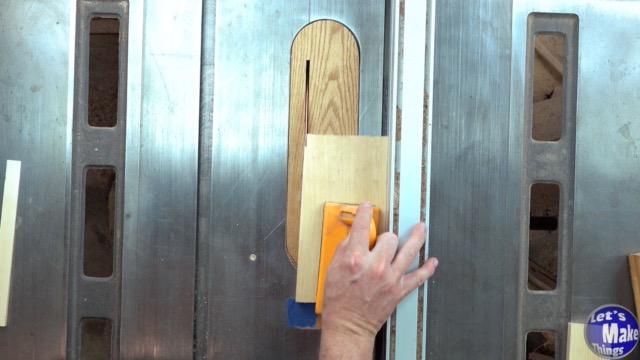
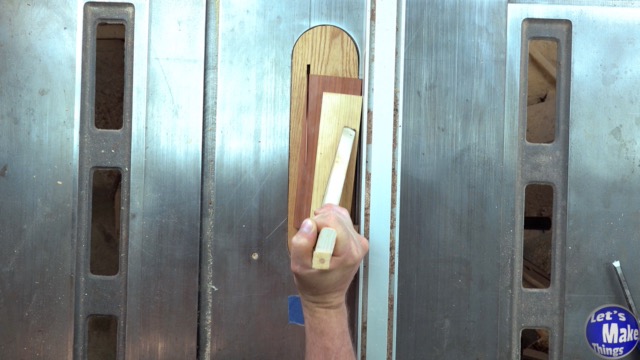
3. The Process (cut flip cut)
The process is very simple. We’ll make a cut with the jig which will give us a taper on the stock, remove the jig, flip the stock over and make a cut on the other side, once again squaring up the stock. The process continues until our needs are met…or we cut up to the jig. Never cut into the jig (see step 5).
Click image to see this step on youtube
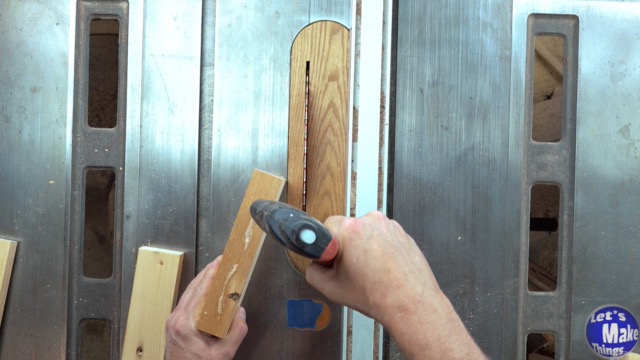
4. Making shims
Click on the included image to see an example to make shims with a 1/4″ thickness.
Click image to see this step on youtube
5. No scraps left behind
As cutting into the jig should never be done, if you find that your stock is narrower than the jig, grab a piece of stock the same thickness as the stock to be cut, and add a little hot glue to the edge to give yourself more material to work with. It should be noted that cutting into the jig can be dangerous.
Click image to see this step on youtube
6. A few more examples
We cut some wedges in this example that are a half inch at the widest section. Click on the image to see the example on YouTube.
Click image to see this step on youtube
Tip Jar
If you enjoyed or found this useful, throw me a tip →
To support me with patreon, click here → Patreon
Click here to Subscribe to me on youtube → Youtube
If you found any errors on the page, please use my email below and contact me!