Drilling a precise 90-degree hole with a hand drill can be a daunting task, often leading to misaligned holes and frustration. This hand drill jig is the perfect solution, ensuring that every hole you drill is perfectly perpendicular, just like using a drill press. This jig is designed to provide stability and accuracy, transforming your handheld drill into a precision tool.
Crafted from materials you probably have on hand, this hand drill jig uses a flat base and a v-notch that you can index drill bits to for a more reliability.
It doesn’t matter if you’re working on furniture, cabinetry, or any other project requiring precise drilling, this jig is an essential addition to your toolkit. Say goodbye to crooked holes and enjoy the confidence that comes with perfect 90-degree angles every time.
ATTENTION: These plans are yours to use…they are offered as a gift from me to you. You have every right to use them to make this project for yourself, but please, do not sell or give these plans away as your own. I make absolutely no money off of these so I would appreciate those who view these plans to abide by basic copyright laws.
watch all steps in this video before starting
Please use the material and tool list below as a guide to finding the products locally.
As an amazon associate I earn from qualifying purchases.
Step by step instructions
1. Materials
The materials needed are not many…as you can see in the materials list. Everything needed can easily be picked up at the store…and most scraps will work just fine.
Click image to see this step on youtube
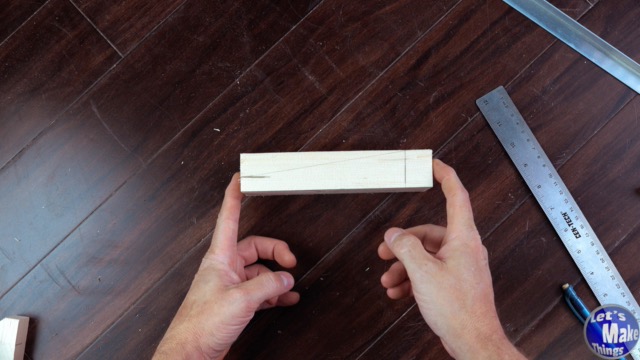
2. mapping out cut lines
Will mark out the lines. You can adjust this however you’d like, there’s nothing really critical about the block, except that we need a ninety degree notch in the front of our board and some sort of slope on the backside of it.
Click image to see this step on youtube
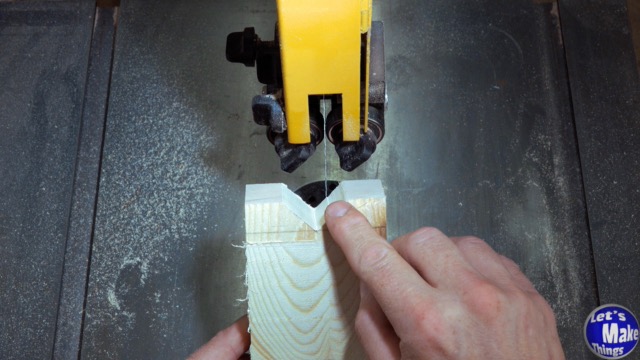
3. Bandsaw work
Next we’ll cut out the lines that we made in the second step, easy peasy.
Click image to see this step on youtube
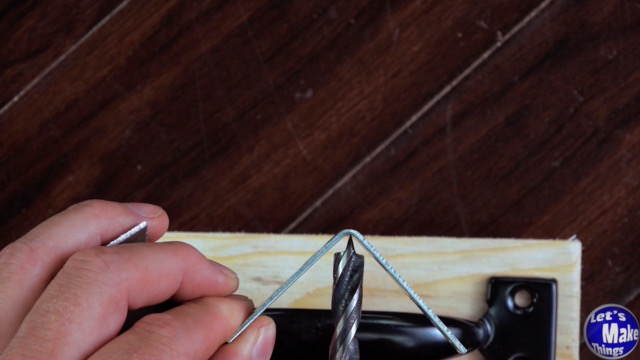
4. adding the angle
At this point you can use a steel angle or butt up a couple pieces of steel to for a 90. Be VERY careful to make sure that the pieces are flush to the stock and that they’re at a ninety to the bottom of the body.
Click image to see this step on youtube
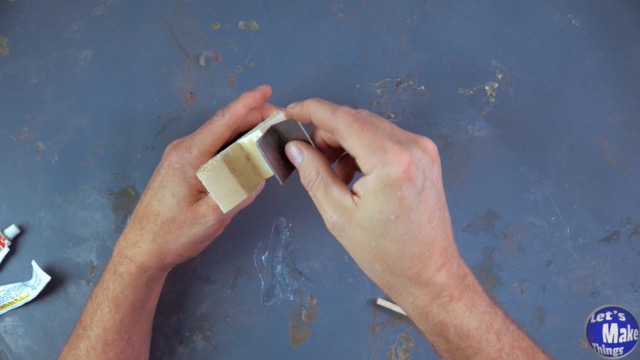
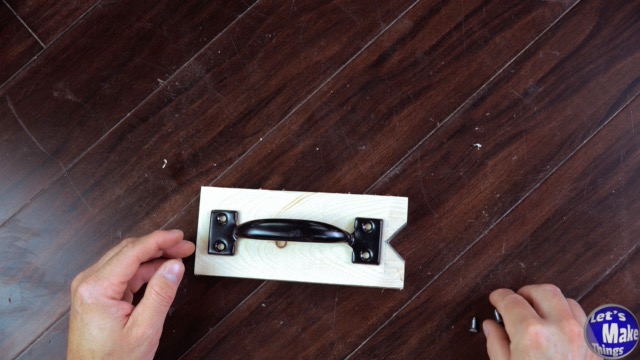
5. handle and clean up
We’ll add the handle and I did a little unnecessary cleanup that just streamlines it a little more.
Click image to see this step on youtube
Advanced Build
I encourage everyone to make beautiful tools. They’ll feel like a million dollars in your hands, and I guarantee they’ll make you a better woodworker.
Tip Jar
If you enjoyed or found this useful, throw me a tip →
To support me with patreon, click here → Patreon
Click here to Subscribe to me on youtube → Youtube
If you found any errors on the page, please use my email below and contact me!