A sled is essential for ensuring accuracy and safety, giving you a stable platform to make consistent and clean cuts. In this step-by-step tutorial, I’ll show you how to build what I believe is the easiest and best table saw sled.I’ll also demonstrate the two step and five step method to making sure you get the most precise 90˚ angle with your fence and the blade.
ATTENTION: These plans are yours to use…they are offered as a gift from me to you. You have every right to use them to make this project for yourself, but please, do not sell or give these plans away as your own. I make absolutely no money off of these so I would appreciate those who view these plans to abide by basic copyright laws.
watch all steps in this video before starting
Please use the material and tool list below as a guide to finding the products locally.
As an amazon associate I earn from qualifying purchases.
Step by step instructions
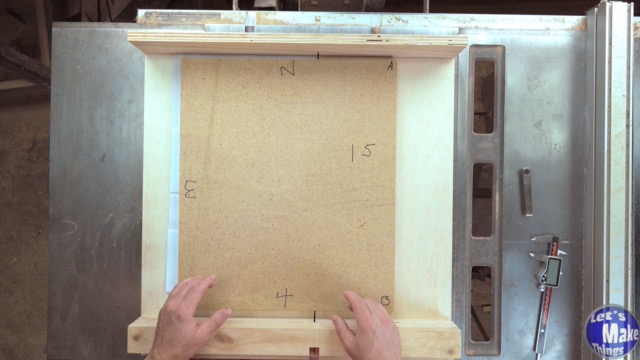
1. Material breakdown
This entire project can be made with just two sheets of 24″ x 24″ plywood from your local hardware store, but be sure it’s 3/4’s of an inch. The only major tool you’ll need is a table saw and a hand drill.
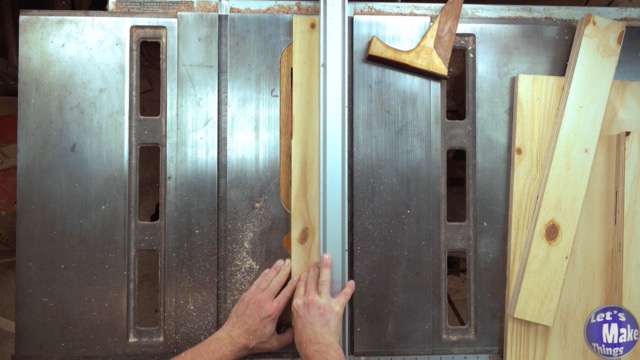
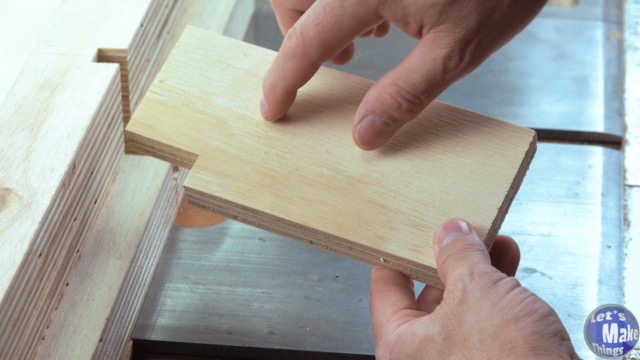
We’ll make the rails, four parts of the front fence as well as the back. The rails should move smoothly, but should be snug enough that there isn’t any back and forth play.
Click image to see this step on youtube
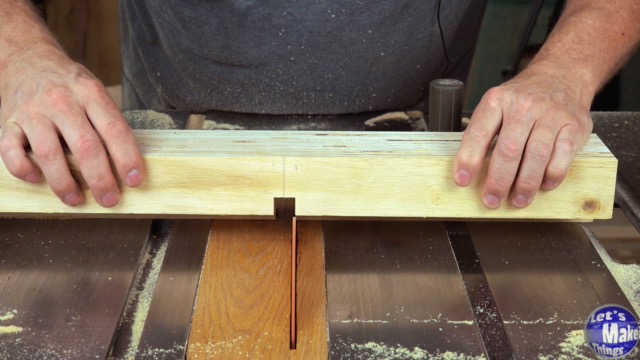
2. Gluing rails and fence
Both rails will now be added to the
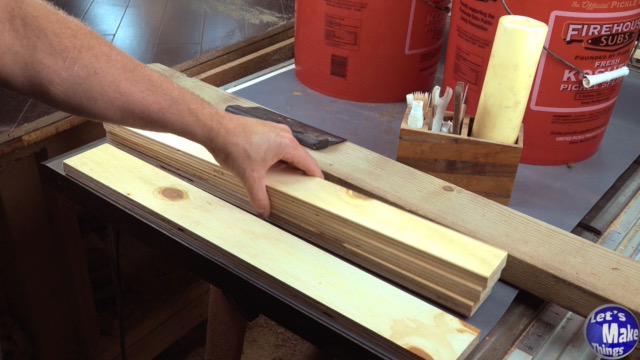
The four parts of the fence are laminated together in this step, with the widest piece the piece that will be laid next to the base. While it would be great if we lined up all the 3 pieces together with the edge of the 4th, it’s not completely necessary (although you should, of course, try to).
The rails will be glued to the bottom of the sled by adding a bead of glue and then something heavy to the top, like a couple buckets of water.
Click image to see this step on youtube
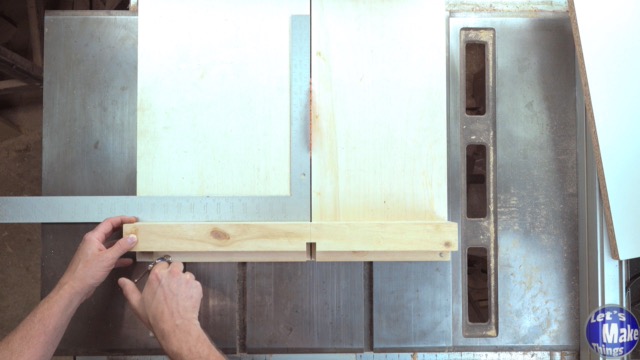
3. Squaring the fence
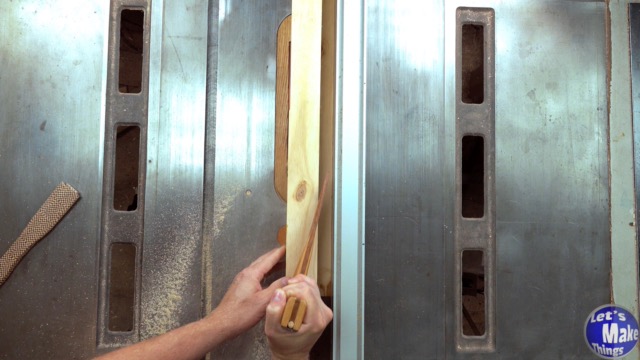
At this point we can take the freshly glued stack of plywood from step 2 and true it up with the fence of our saw. Raise the blade to a height to do this, but be sure you use a push block of some kind.
Click image to see this step on youtube
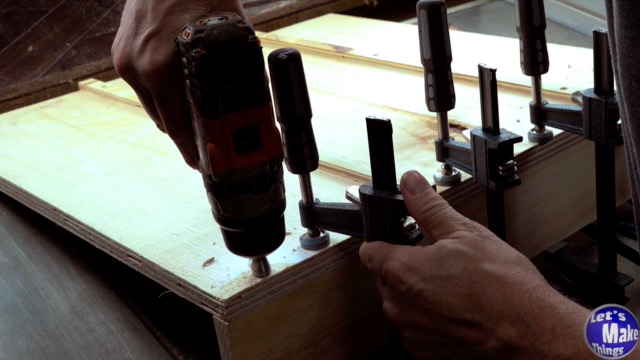
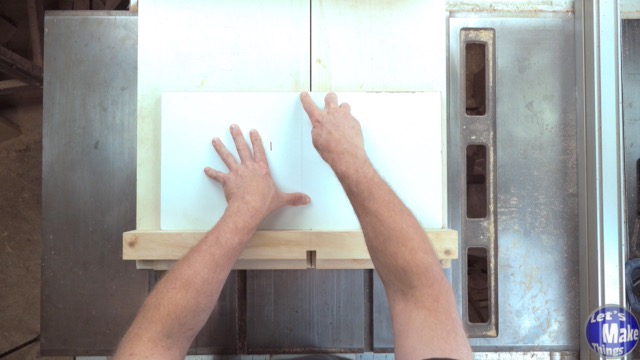
4. Attaching rails and back
In this step we’ll add screws to the rails on the bottom as well as the back fence to the back. The good news with the back fence is that it doesn’t need to be accurately placed on the base board like the front fence.
Click image to see this step on youtube
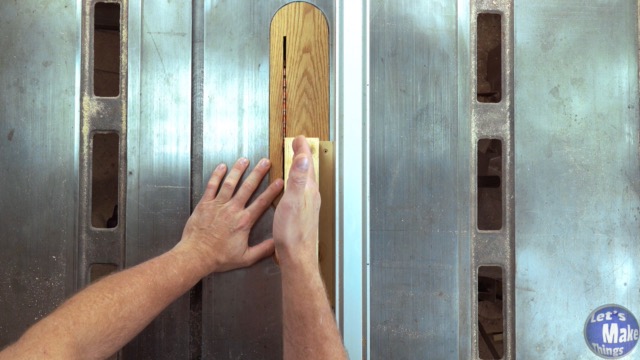
5. Cutting a safety for the fence
Click image to see this step on youtube
6. Optional dust channel
Click image to see this step on youtube
7. Attaching the fence
Click image to see this step on youtube
8a. Testing (2 Cut method)
Click image to see this step on youtube
8b. 5 Cut (5 cut method)
Click image to see this step on youtube
9. Finishing touches
Click image to see this step on youtube
Tip Jar
If you enjoyed or found this useful, throw me a tip →