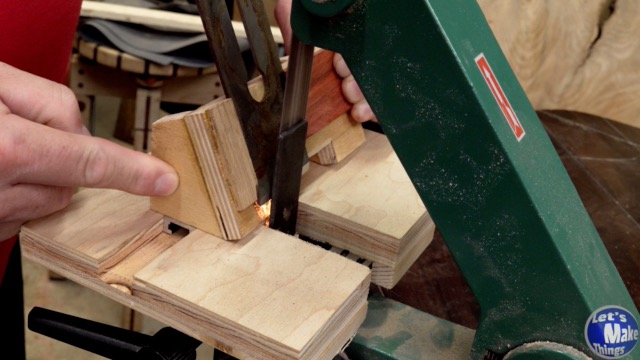
The Scary Sharp Reset jig is a simple, shop-made fixture that rides on your belt sander table and allows you to reshape damaged or uneven bevels quickly and safely. It holds your blade at a consistent angle against the platen of your sander, giving you a flat, controlled grind without needing a high-speed bench grinder. That means no hollow grinds, no overheating, and no guesswork.
This jig is especially useful for woodworkers who make their own chisels, restore old tools, or deal with blades that have taken a beating. It’s designed for thin belt sanders, and works best with a worn-down or finer grit belt — giving you smoother control and cooler cuts. With this jig, you can reset the edge in just a few passes, dip it in water to cool, and move straight to your sharpening stones with confidence.
Whether you’re a beginner learning how to maintain your tools or an experienced maker restoring vintage hardware, this jig will help you get back to sharp faster, cleaner, and with more control.
ATTENTION: These plans are yours to use…they are offered as a gift from me to you. You have every right to use them to make this project for yourself, but please, do not sell or give these plans away as your own. I make absolutely no money off of these so I would appreciate those who view these plans to abide by basic copyright laws.
As an amazon associate I earn from qualifying purchases.
Step by step instructions
1. Materials
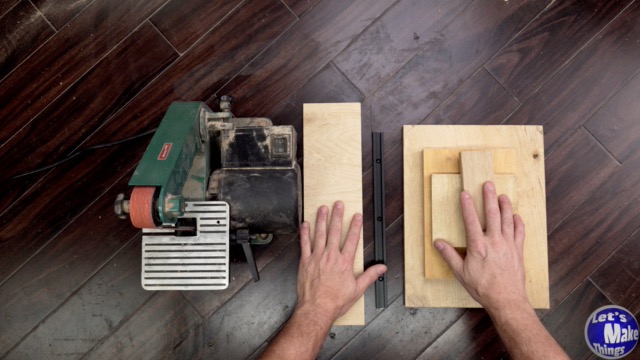
Use plywood, t-track, and common tools—most of this can be made from scrap you already have.
Click image to see this step on youtube
2. Table base plate top
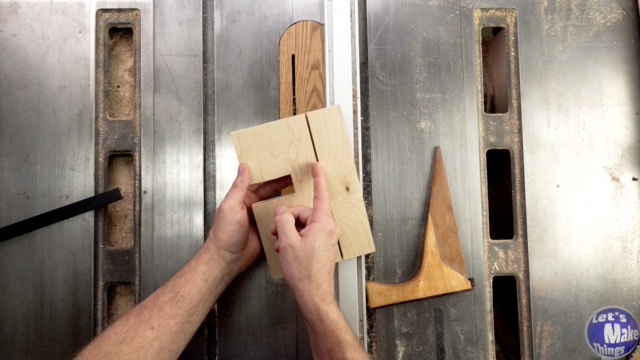
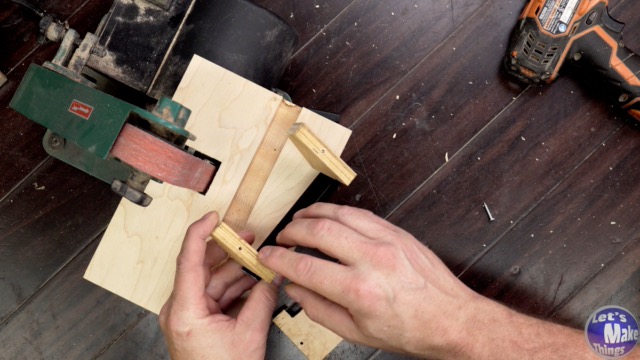
Measure and mark a cutout section to allow the plate to fit around the sander housing, centering it with about ½” of clearance on either side. Use a marking gauge to lay out lines for a groove, then cut it to fit a metal t-track. This track minimizes friction and allows the jig to slide smoothly over the surface.
Click image to see this step on youtube
3. trapping the table
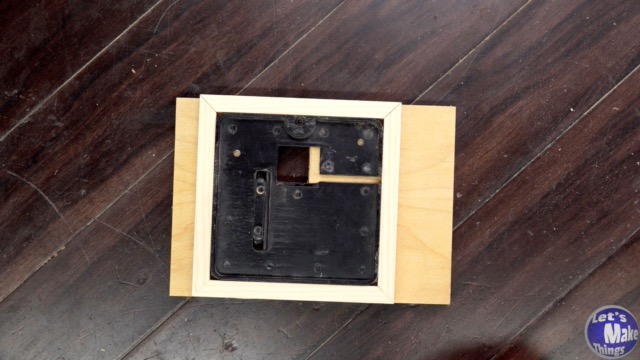
Cut ½” x ½” square dowels on the table saw to create a frame that holds the base snugly on the sander. You can simply attach strips like in the prototype, or build a cleaner mitered box. Glue the bracket around the base while it’s in place to keep everything square. Focus on aligning the front edge—this is the key registration point. Once dry, test the fit and make small adjustments if needed. When done, the base should slide on and off cleanly without knobs or hardware.
Click image to see this step on youtube
4. Cradle fence
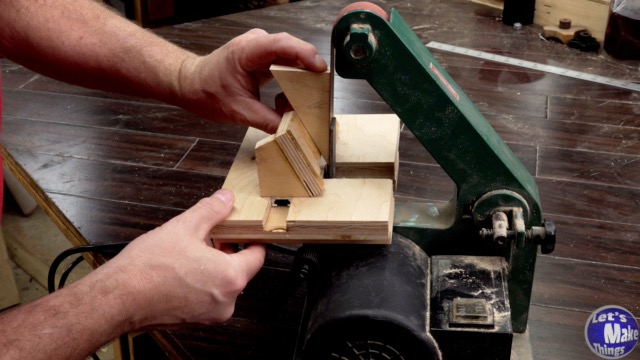
The cradle has three main parts: a front fence, angled back supports set at 25°, and a blade rest surface. Use a marking gauge to lay out your lines, starting at 5/8″ and intersecting with a ½” offset. Measure for your widest blade plus belt width—rounding up to a 4″ total opening. Mark out the cut and shape the cradle opening using the bandsaw.
Click image to see this step on youtube
5. Cradle braces
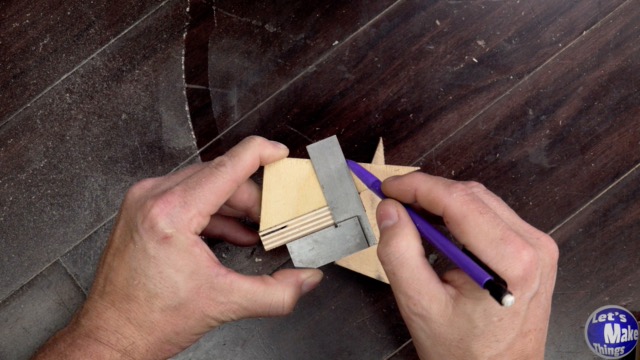
Mark in ¾” from each side of a longer piece, then use a marking gauge set to 1 17/32″ to lay out your angle. If your board is 3 5/8″ wide, this gives you a 25° slope. Cut just outside the line and clean it up later. Trim off the sharp corners for a better fit. To find the center of your plywood, count the layers—easy when it’s got an odd number. Predrill your holes carefully, since edge screwing into plywood can split it. Use wider pilot holes and screw in gently. Glue the front fence at the same angle and use screws as temporary clamps—just remove them once the glue dries. Don’t toss those offcuts—they’ll come in handy soon.
Click image to see this step on youtube
6.Cradle ledge
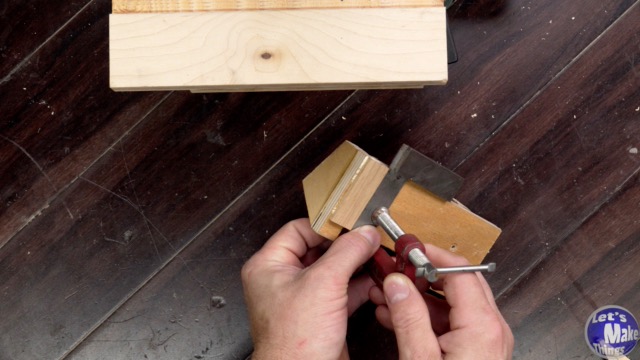
Cut a thin strip of solid stock—about ⅛” thick and 2″ long—to act as the ledge your blade will register against. This piece needs to sit perfectly square to the belt, or your grind will come out skewed. Position it so the sanding belt runs directly over the ledge, not beside it. Use a square to check alignment, then clamp it in place. A scrap block can help apply pressure while the glue dries. Take your time here—this alignment matters.
Click image to see this step on youtube
7. angle sets
This jig’s real power comes from its repeatability. Being able to quickly dial in a perfect 25°, 30°, or even 40° bevel means you can reset your blades the same way every time—no guesswork, no setup fatigue. Instead of fiddling with protractors or tilting the cradle by eye, I use a simple trick with a few pre-cut blocks that takes all the frustration out of the process.
Click image to see this step on youtube
8. push stick
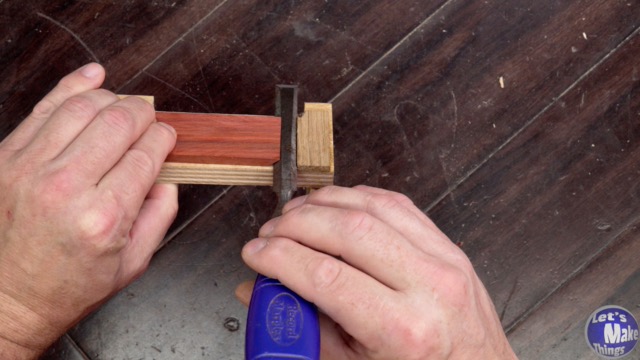
No one wants their fingers near a spinning belt, especially when you’re resetting a bevel. This custom push stick lets you apply pressure right at the edge while keeping your hands well away from the action. It’s angled to match the cradle, shaped for control, and takes just a few minutes to make. Small detail—big difference in safety and confidence.
Click image to see this step on youtube
9. Demonstration
In this step I show how the jig works. Click the image to watch it in action.
Click image to see this step on youtube
Tip Jar
If you enjoyed or found this useful, throw me a tip →