The extended fence builds on the Fence Sleeve by adding height and support where it matters most. A taller fence helps keep workpieces upright and stable, especially when cutting tall or narrow stock that can tip or twist during a cut.
This also allows a miter gauge to be used safely against the fence. Narrow pieces, specifically, aren’t safe to guide along the fence alone. Using a miter gauge with a tall, fence gives better control and makes joinery cuts like lap joints and tenons safer and more accurate.
ATTENTION: These plans are provided as a gift from me to you. You are free to use them to create this project for yourself. However, please do not sell or distribute these plans as your own. I make no money from these, and I kindly ask that you respect basic copyright laws. If you share your build publicly, I’d appreciate it if you gave credit to Make Things for the plans.
watch all steps in this video before starting
“Playlist of all bitesize tips used” (YouTube Link)
Please use the material and tool list below as a guide to finding the products locally.
As an amazon associate I earn from qualifying purchases.
Step by step instructions
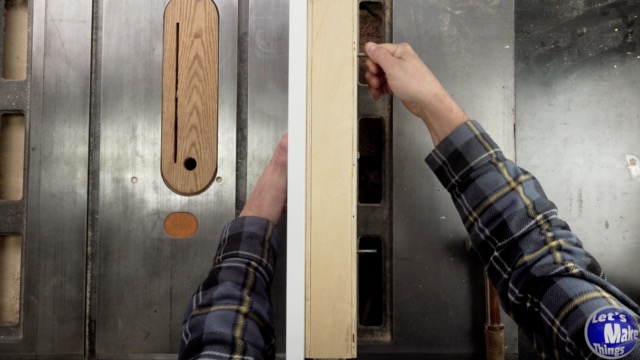
6. Attaching the tall fence
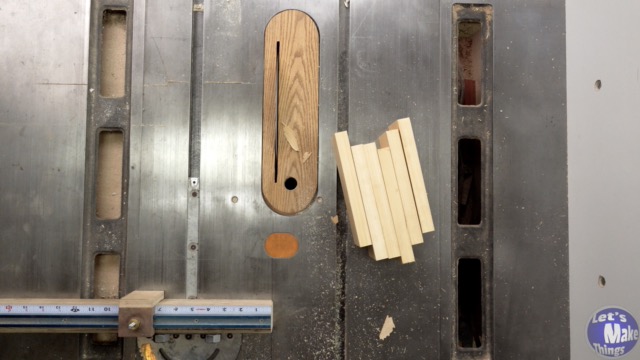
For the extended fence, start with a long piece of melamine, about 12 inches tall. The extra height gives you much better support when cutting tall or narrow parts, and the added length helps keep the work supported before and after it passes the blade.
I prefer using 3/4-inch melamine here. Later on we’ll be cutting a channel into this fence, and the extra thickness helps it stay stiff and flat after material is removed. Thinner material can flex once it’s slotted, which is the last thing you want when you’re using a table saw.
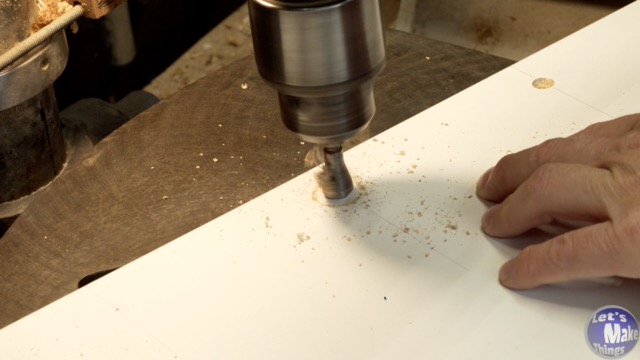
We’ll use 1/4″ brad point bits to mark the melamine and then drill those holes out on the drill press, being sure to countersink for our bolts.
Click image to see this step on youtube
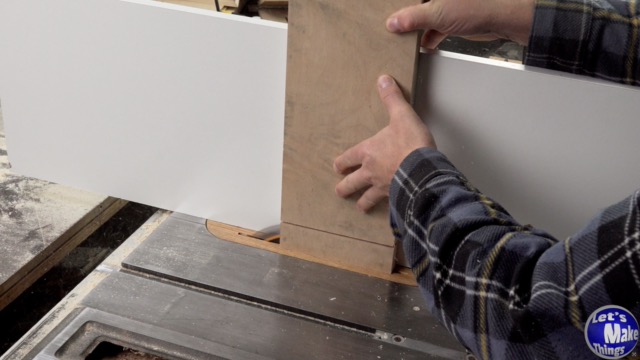
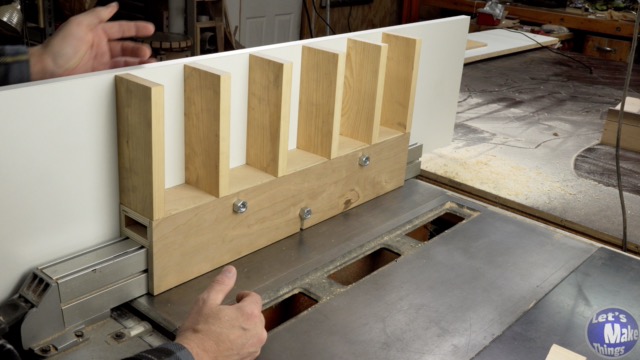
7. Tall fence example
At this point, we can attach the melamine fence to the Fence Sleeve. If all you need is a tall, stable fence for ripping panels, cutting rabbets, or working with tall stock, you can stop right here. There’s no need to add the miter-gauge channel unless you plan to use it.
This setup works best for larger pieces, like cabinet panels or tall parts that need extra support. Stock narrower than about 6 inches shouldn’t be cut this way, since guiding small pieces along the fence alone isn’t safe.
Used like this, this tall fence gives you great support and control for straight cuts on taller workpieces without adding things you may not need.
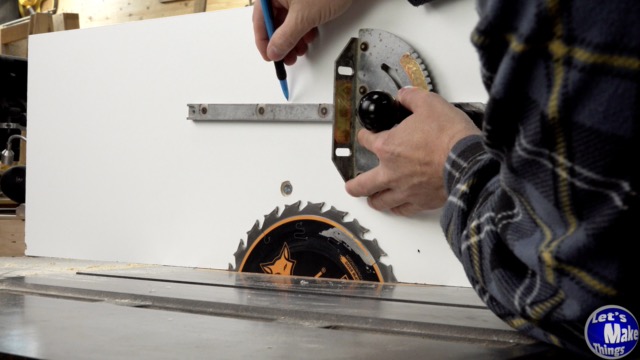
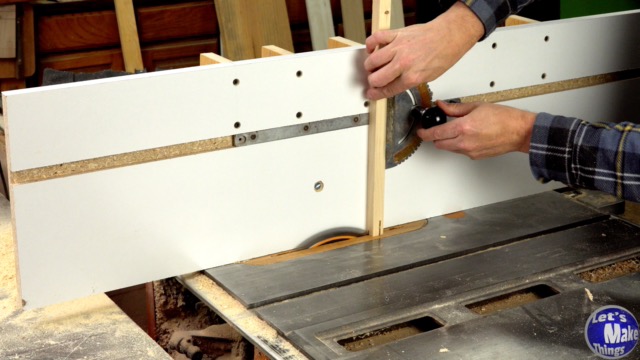
Before using the miter gauge with the extended fence, raise the blade to its maximum height. This lets you clearly see the full blade path so you can position the miter gauge at a safe distance away from it.
Once you know you won’t cut into the gauge, add a pencil mark. We’ll return to this mark later when we need to cut our dado out.
Click image to see this step on youtube
10. cutting ribs
Since we’ll be cutting a dado for the miter gauge in the front of the melamine, we need to add more support to the back of the fence. To do that, we’ll cut a series of ribs that run from the fence sleeve all the way up to the top of the melamine fence. These ribs help stiffen the fence and keep it from flexing once material has been removed (for the dado slot for the miter gauge).
Click image to see this step on youtube
11. spacing and marking
I used a simple spacing trick to evenly space the ribs, but you don’t need to be overly precise here. Once you’re happy with the spacing, transfer those locations to the front of the melamine. This gives you reference points for drilling and ensures that each hole lines up centered on its corresponding rib.
The important part isn’t perfect spacing…it’s making sure every fastener lands solidly in the middle of a rib.
Click image to see this step on youtube
12. drilling and screwing
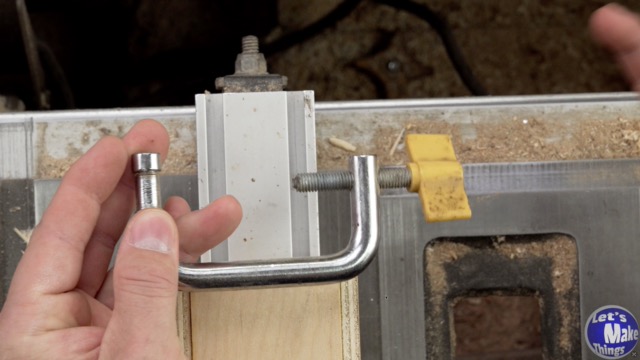
Using a single-flute bit, drill the holes at the marks you made on the front of the melamine. Clamp each rib in place with F-clamps, then drill through the melamine and into the rib.
I used black phosphate drywall screws here. They’re inexpensive, easy to find, and work just as well as wood screws for this.
Click image to see this step on youtube
13. miter gauge example
Click the image to see the miter gauge in action.
Click image to see this step on youtube
Tip Jar
If you enjoyed or found this useful, throw me a tip →