Cutting accurate parts on the table saw isn’t the hard part…controlling long stock while trying to make short, repeatable cuts is. When you’re fighting the mass of a long board, leverage disappears, accuracy becomes harder to trust, and safety starts to suffer.
This miter bar reference guide solves that by letting you reference from the opposite side of the miter bar. It gives you a positive, repeatable reference, keeps the long board supported, and removes the need to trap a cutoff between the blade and a stop. Blade thickness doesn’t matter, setups are fast, and the whole thing stays simple.
The full build and setup are shown in the video below, which I recommend watching first.
ATTENTION: These plans are yours to use…they are offered as a gift from me to you. You have every right to use them to make this project for yourself, but please, do not sell or give these plans away as your own! I make absolutely no money off of these so I would appreciate those who view these plans to abide by basic copyright laws.
watch all steps in this video before starting
Please use the material and tool list below as a guide to finding the products locally.
As an amazon associate I earn from qualifying purchases.
Step by step instructions
1. Materials
Before jumping in, make sure you’ve got everything from the materials list above. You’ll also need to have the miter arm built first, since this guide mounts directly to it. A few shop-made pieces get added along the way in the video, but everything you’ll need is already listed up top.
Click image to see this step on youtube
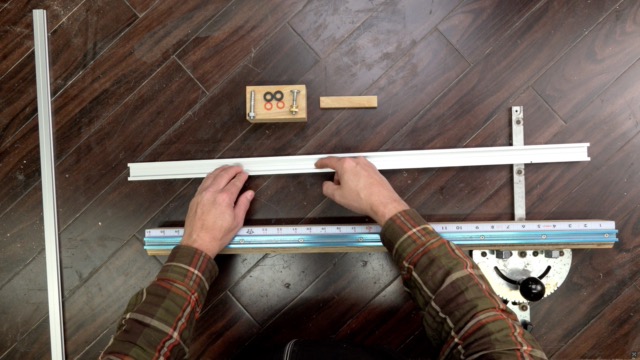
2. Miter track holes
We’ll start by positioning the miter track so it sits flush at the end and centered on the miter bar. Since the track is slightly wider than the slot, it’s worth taking a minute here to get the layout right.
Once it’s positioned, we’ll mark the center and drill through both the wood and the aluminum. Pay attention to hole placement near the ends — this track becomes the reference for everything that follows, so keeping it square and consistent matters.
Click image to see this step on youtube
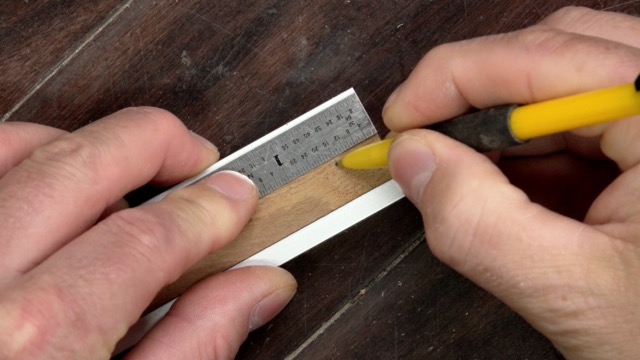
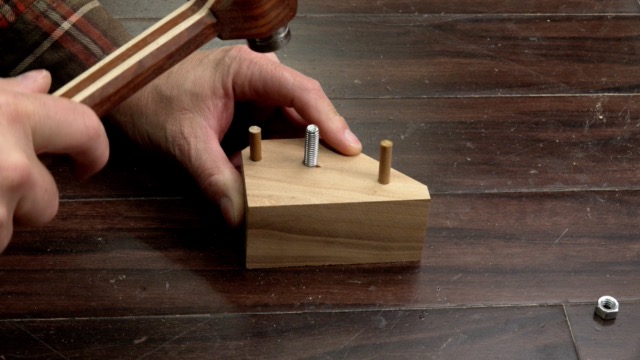
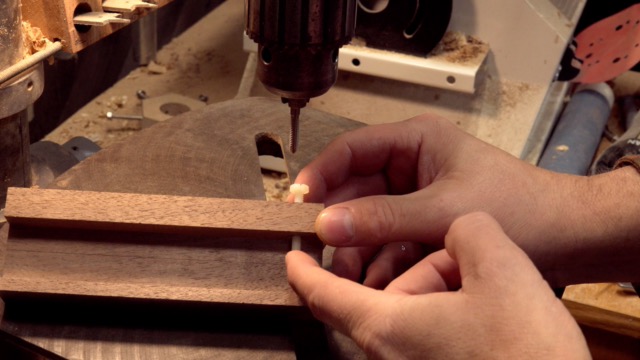
3. Reference block
We’ll start by laying out the reference block and drilling the holes that will control how it pivots and where it stops. These locations matter, because later on this block needs to swing out of the way cleanly without bumping the stock.
I use a few marks and a marking gauge to mark the hole positions, then drill them to match the hardware we’re using. One of these holes will accept the hanger bolt, and the others will be used for the stop dowels.
We’ll also remove material from the back of the block and break the nearest corner. That cut off keeps the block from hitting the workpiece when it swings.
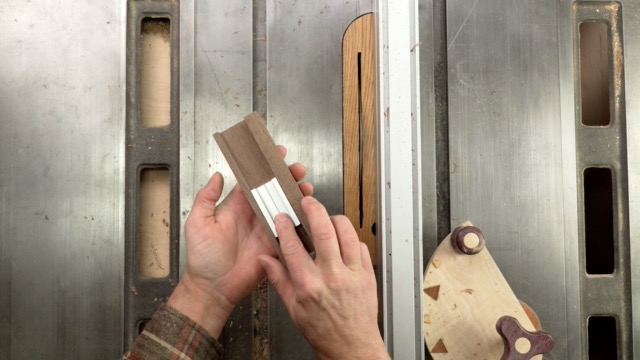
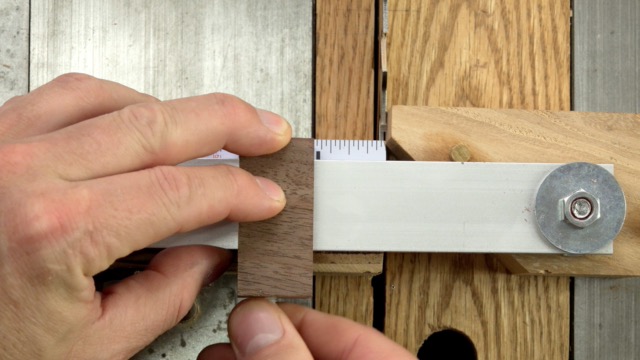
4. Slide measurement arm
Next, we’ll cut a shallow channel in the sliding arm so it rides cleanly over the miter track. This just needs to fit snug enough to guide it…it doesn’t have to be fancy.
Click image to see this step on youtube
Click image to see this step on youtube
5. Tapping the arm
We’ll add a bolt to the side so the arm can be locked in place when we’re setting a cut. I use a nylon bolt here so it locks without chewing anything up and still slides easily when it’s loosened.
Click image to see this step on youtube
6. arm to size
We’ll trim the arm to length. The exact size isn’t critical…all that matters is that we’re referencing from the front edge, so anything beyond that is just extra.
Click image to see this step on youtube
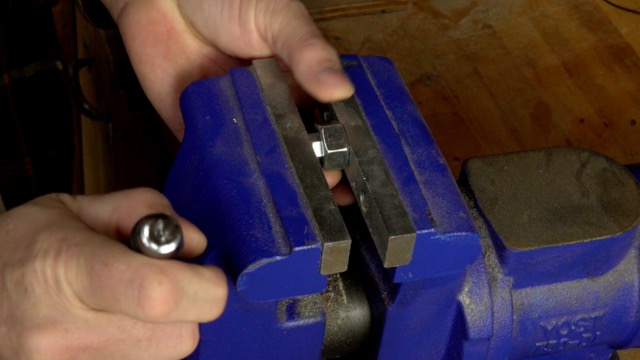
7.Bitner nut
To lock the sliding arm in place, we need something that’s easy to tighten by hand. Knurled thumb nuts in this size can be hard to find, so instead, we’ll just make our own.
I do that by pressing a smaller nut into a larger one. The outer nut gives you more surface area and torque, so it works just like a thumb nut…without having to hunt one down.
Once it’s pressed together, we can thread it onto the bolt and use it to lock the arm wherever we need it.
Click image to see this step on youtube
8. Example
Click the attached image to watch the example.
Click image to see this step on youtube
Tip Jar
If you enjoyed or found this useful, throw me a tip →
To support me with patreon, click here → Patreon
Click here to Subscribe to me on youtube → Youtube
If you found any errors on the page, please use my email below and contact me!