Create smooth convex curves in solid wood using nothing more than a router and a simple shop-built jig. This project walks through the process of building a pivoting cradle sled and fence fixture that allows a standard flush trim router bit to carve perfectly controlled arcs.
By rotating the board through a series of light passes, the jig gradually reveals a smooth curved surface that would normally require specialty cutters or complex shaping techniques.
One of the interesting things about this setup is how adjustable it ends up being. Narrow boards barely show the curve at all, while wider boards reveal more and more of the arc. By adding simple spacers between the cradle and the pivot, the jig can shape boards up to about five inches wide.
That opens the door to a lot of possibilities. Whether you’re making curved box lids, decorative panels, or just adding a subtle rounded edge to a board, this jig gives you a simple way to create smooth convex curves with a router.
1 minute video explaining everything
ATTENTION: These plans are yours to use…they are offered as a gift from me to you. You have every right to use them to make this project for yourself, but please, do not sell or give these plans away as your own. I make absolutely no money off of these so I would appreciate those who view these plans to abide by basic copyright laws.
As an amazon associate I earn from qualifying purchases.
Step by step instructions
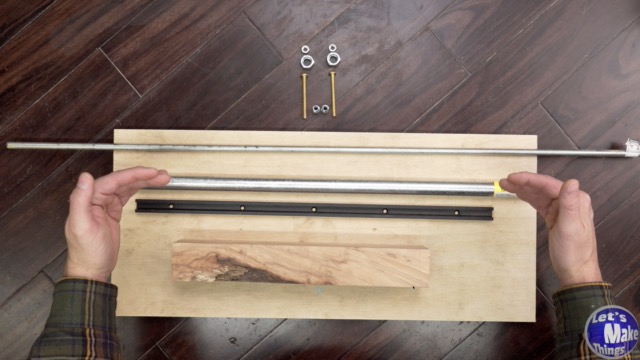
1. Materials
Break down of the materials needed.
Click image to see this step on youtube
2. Sled base build (shape rods and t-track)
I start by cutting a groove that fits a 3/8″ metal bar. The blade is set precisely to 3/16″, and the groove is widened gradually until the bar fits snugly and just barely touches the bottom.
Once that channel is dialed in, a second groove is cut down the center to hold the T-track. This track will later allow the jig to clamp and adjust as the cradle rotates.
With the channels complete, the metal bar is cleaned, epoxied into place, and clamped until cured. After that, the T-bolt and hardware are added so the upper sled can lock securely to the base.
Click image to see this step on youtube
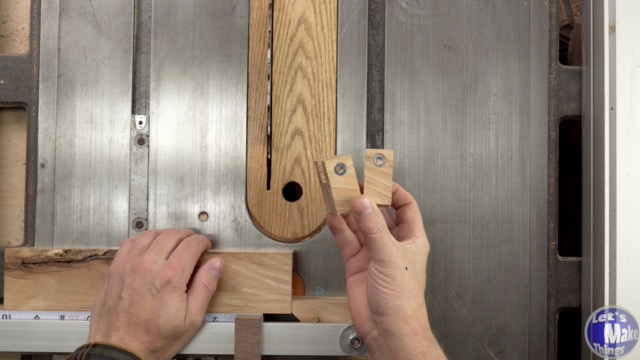
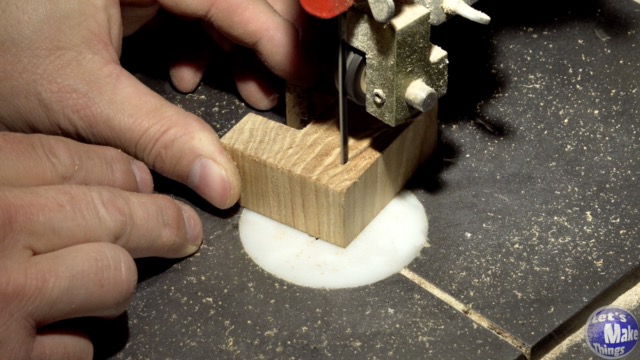
3. pivot block
Next up are the pivot blocks. These are what hold the pipe and allow the board cradle to rotate smoothly while it passes over the router bit.
There are four blocks total…two attach to the sled base and two attach to the pipe. Each block needs a perfectly sized groove to cradle the pipe. So we’ll set the blade height on the table saw to match the pipe thickness exactly. Just like before, the groove is created by making a cut, flipping the stock, and widening the channel until the pipe fits snugly.
Once the pipe channel is dialed in, two blocks are cut to size and drilled for threaded inserts so they can clamp down securely on the pipe to keep it from moving. After that, we’ll cut two more pieces that will attach to the pipe itself.
Click image to see this step on youtube
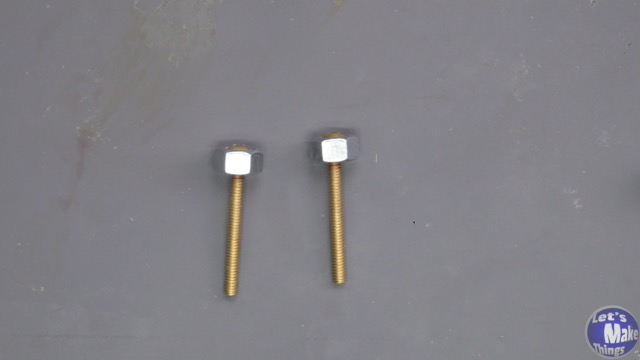
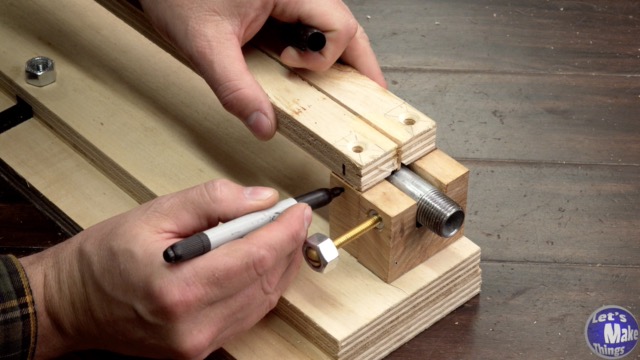
4. (brass) friction brakes
To keep the pipe from spinning while the jig is in use, I added a couple simple friction brakes. These are just threaded brass bolts that I turn into thumb screws by pressing two nuts together.
I used thread locker (permanent) to lock the thread and nuts together. When tightened against the pipe, these brass screws create enough friction to hold the pivot exactly where you want it.
Click image to see this step on youtube
5. Pivot block (attaching)
With the two pivot blocks made, they can now be attached to the sled. I start by marking where they’ll go and using hot glue as a temporary bond. A couple black phosphate screws hold them to the sliding part of the sled.
Click image to see this step on youtube
6.Cradle blocks (attaching)
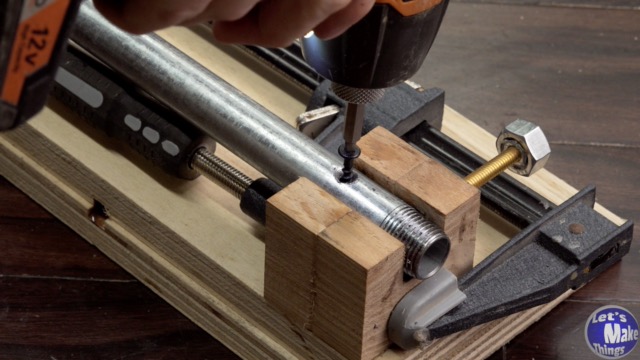
Next, the cradle blocks are positioned directly on the pipe. Once they’re in place, holes are drilled through the pipe and into the wood so everything lines up perfectly.
Because we’re drilling into the pipe, we’ll use a center punch, which helps keep the drill bit from wandering on the metal surface. I drilled through the pipe and used a screw to mark the cradle block and drilled it out. Then I finished by adding the screw.
Click image to see this step on youtube
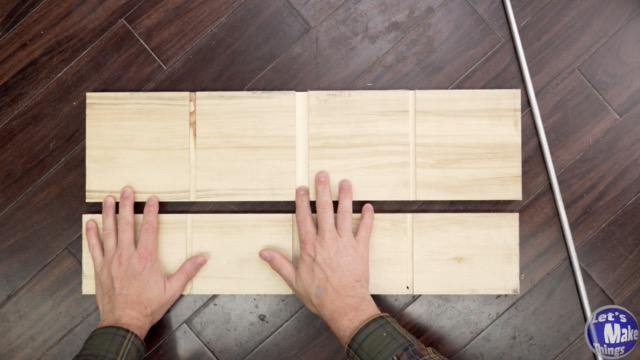
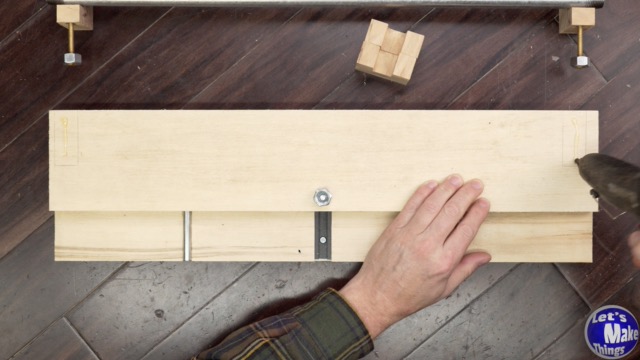
7. Cradle
Next, a cradle will need to be made. This is what your stock sits on. Screws will slide through the cut we make in the middle.
I cut two strips of plywood to size and used a chamfer bit to create a valley my #4 screws can slide through.
Then it’s just a matter of gluing both sides with the spacers in the middle.
Click image to see this step on youtube
8. Cradle blocks (finishing)
The cradle is centered over the pivot blocks that we attached to the pipe. I temporarily held it on with double sided tape so that I could drill the center out of the 4 corners. This is where out bolts will thread into later on.
Afterwards, I widened the cradle holes so that I could add threaded wood inserts. This allows me to line the cradle with the cradle blocks to add machine screws later.
Be careful not to split the wood when adding the threaded wood inserts. Hardwood is important here…I used hickory because I think it’s much more flexible and forgiving.
Click image to see this step on youtube
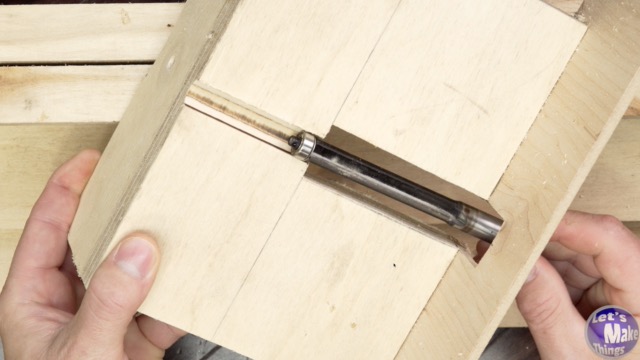
9. Fixture & bit needed
With the jig complete, the last piece is a fence fixture for the router table. This setup uses a long flush trim router bit, and the bearing rides inside a track on the fixture to keep the bit stable while cutting.
The fixture mounts to the router fence and extends the reference surface so the jig can slide smoothly across the fence while still leaving the cutter exposed for shaping the curve.
Click image to see this step on youtube
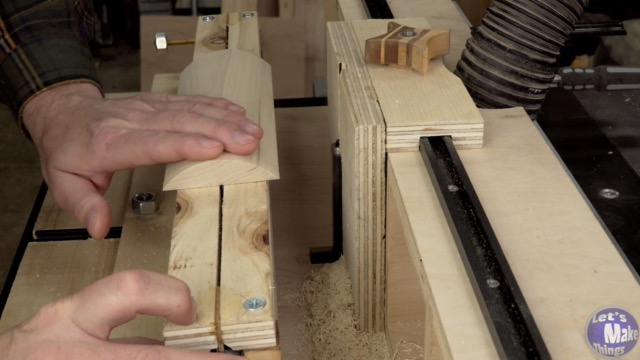
10. Example
In this step I show how the jig works. Click the image to watch it in action.
Click image to see this step on youtube
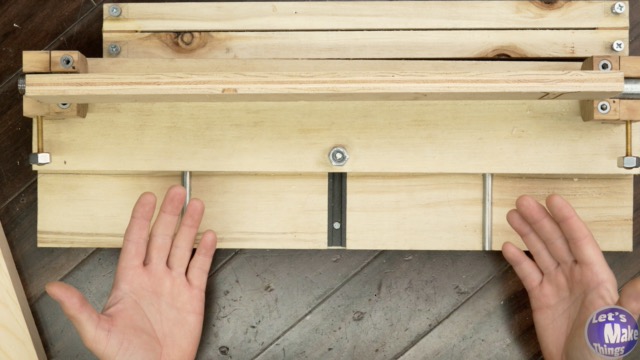
11. Finishing thoughts
If I were going to change anything about this jig, it would be moving the T-track that’s in the middle over to one side and adding a second T-track on the opposite side. The span of the board here is wide enough that you can get a tiny bit of racking. Because of that, it’s also important to make sure both edges are evenly spaced before locking everything down.
Click image to see this step on youtube
Tip Jar
If you enjoyed or found this useful, throw me a tip →