It’s frustrating when I’m up in the rafters in my garage, looking for stock as I’m balancing myself on a ladder trying to use a tape measure. This little tool is a great and an easy way to quickly find thicknesses I’m looking for.
watch all steps in this video before starting
Please use the material and tool list below as a guide to finding the products locally.
As an amazon associate I earn from qualifying purchases.
Step by step instructions
1. First Method
The first method is…well, there’s not much to it. You’ll print off the included printout (above) and glue it onto a piece of plywood that’s roughly 2 1/2″ x 5″. Be sure when you print it out that you set your printing to be at 100% (some browsers like to shrink it). Also, measure the line on the top of the gauge and make sure that it’s an inch long. Here’s a handy little squeegee I used for the glueup.
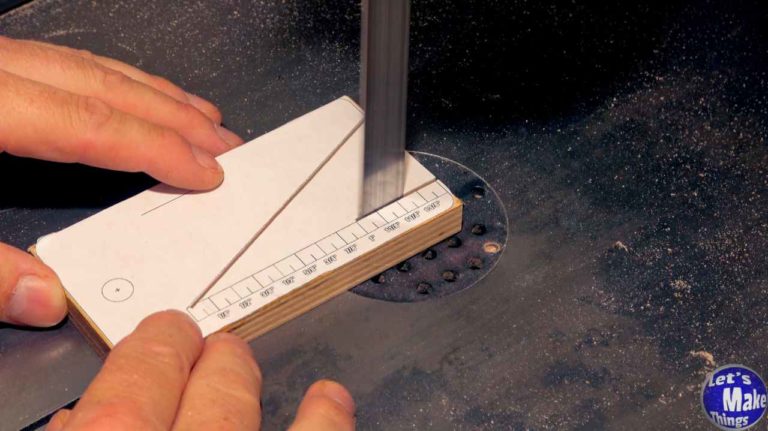
You’ll cut it out with a bandsaw, being very careful to leave the line on the paper and only cutting up to it.
Click image to see this step on youtube
2. Second method
Second method is still very easy but requires a bit of measuring. It is absolutely critical that you start off with a piece of plywood that is exactly 5 inches by 2 1/2 inches. Follow the video clip in this step get all the plots.
Click image to see this step on youtube
3. Gauge marking
With our shape made, we’ll add marks every 5/16″ along the tongue, using a chisel to add marks. When they’re all set, added your numbers and then cut it out on the table saw, being very careful to leave the pencil lines behind.
Click image to see this step on youtube
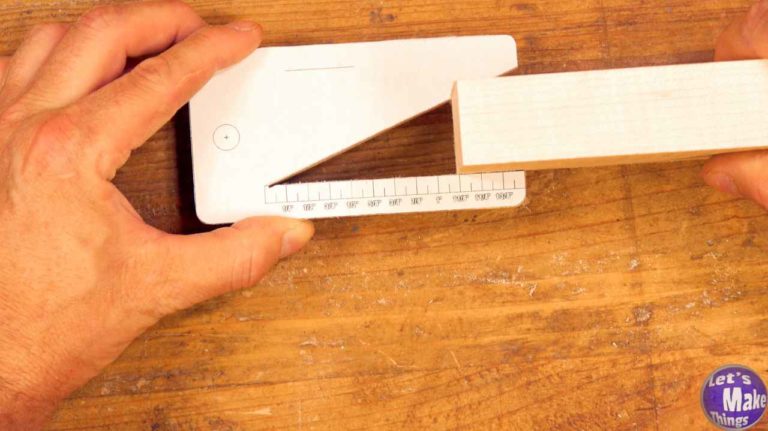
4. Using it
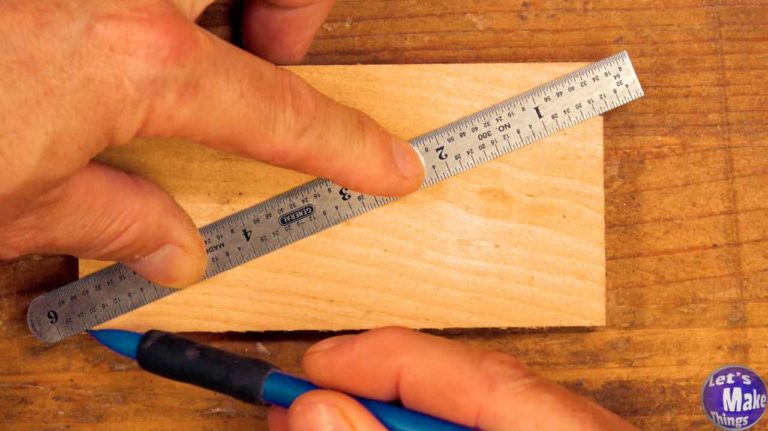
Now it’s time to try it out. The very end of your gauge must read 1 1/2″. Grab a ruler and check that each mark is correct. You don’t want to ram stock into the mouth…be gentle. I mean, it won’t bite.
Click image to see this step on youtube
5. Adding a hole
I left an optional hole that you can drill out on the pattern, but it’s just a 3/8 inch hole on the left side. Add a 5/16″ dowel to your wall and slide it on.