Bending wood:
hot Pipe
October 30th, 2024
The hot pipe bending method is a time-honored technique rooted in the art of luthiery, where instrument makers use heated pipes to bend thin strips of wood for guitar sides, violin ribs, and other precisely curved elements. This process, which has been essential to fine woodworking for centuries, allows for controlled, elegant bends without the need for complex steam boxes. By simply heating a metal pipe and applying moisture to the wood, the fibers soften and become pliable, making it possible to shape wood into tighter, customized curves with minimal equipment.
In this project, we’ll explore the hot pipe method from a practical perspective, taking cues from luthiers who value precision, efficiency, and artistry. Using a propane torch and a well-positioned stainless steel pipe, we’ll achieve smooth bends that hold their shape. Whether you’re a woodworker looking to add graceful curves to your projects or simply curious about traditional bending techniques, this guide will walk you through the essentials of hot pipe bending—right from the basics to some pro tips for getting reliable, repeatable results.
ATTENTION: These plans are yours to use…they are offered as a gift from me to you. You have every right to use them to make this project for yourself, but please, do not sell or give these plans away as your own. I make absolutely no money off of these so I would appreciate those who view these plans to abide by basic copyright laws. If you share your build with others, please credit me!
watch all steps in this video before starting
Please use the material and tool list below as a guide to finding the products locally.
Sketchup file
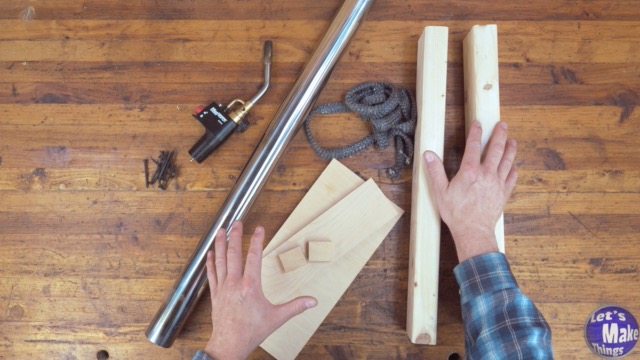
Materials
- (2) 2 x 4 x 20″ Construction lumber
- 2″ Stainless steel pipe
- 5/8″ x 6′ Tape gasket
- 3/4″ x 6″ x 13″ Plywood
- 3/4″ x 3″ x 13″ Plywood
- (2) 3/4″ x 1 1/2″ x 1 1/2″ Plywood
- PVC Cement and Primer (optional)
- PVC 4″ drainage pipe (optional)
- PVC 4″ Drainage cap (optional)
- Softball whiffle ball (very optional)
Tools Needed/used
- Table saw
- Drill press/hand drill
- Angle grinder
- Propane torch
- Propane cylinder (short and fat)
- Pliers
- Spray bottle
- Heavy gloves
- Compass (if using a bandsaw)
- 2 1/2″ Hole saw (optional)
- Marking gauge (optional, but oh so nice)
As an amazon associate I earn from qualifying purchases.
Step by step instructions
1. Materials
The materials are simple…and besides the pipe, should be easily available locally at any home improvement box store. The plywood needs to be 3/4’s. For the 2×4’s, try to find the straightest boards you can without knots (if possible). I didn’t include the drainage pipe in this as it’s meant more for wetting the wood.
2. Structure supports
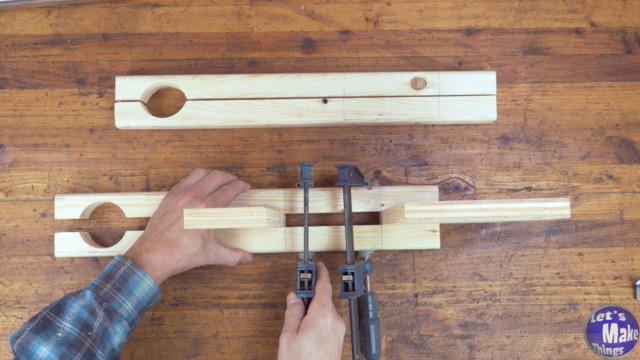
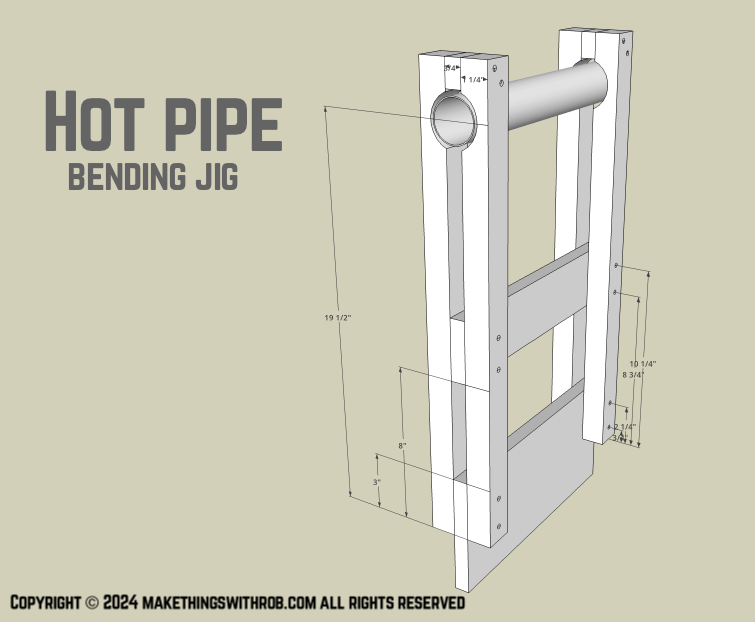
We’ll make both the supports for this by adding a 2 1/2″ hole, 19 and a 1/2 inches from the base of the 2 x 4’s. The hole can be cut on the bandsaw, but it really should be 2 1/2″ in diameter for the tape to fit later.
Screws can be place anywhere; I’m a bit of a perfectionist, though, and tried to make them look symmetrical.
3. Pipe work
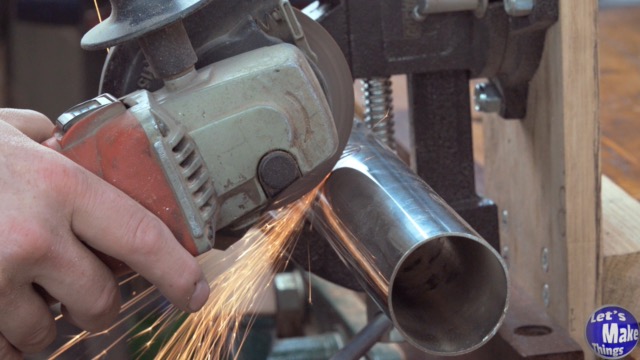
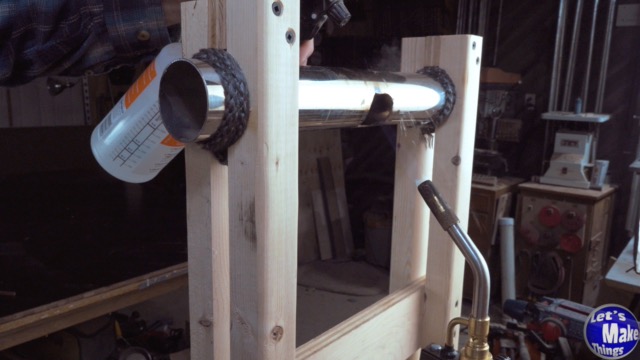
We’ll cut the pipe off at 15 inches (if you’re using a 30 inch pipe). It’s entirely up to you to create a hole to the inside of the pipe. I found it easier this way as it directs the flame inside of the tube so that you’re not burning your stock as you work with it…not to mention it heats up the surface you plan on working on much quicker.
4. Final assembly
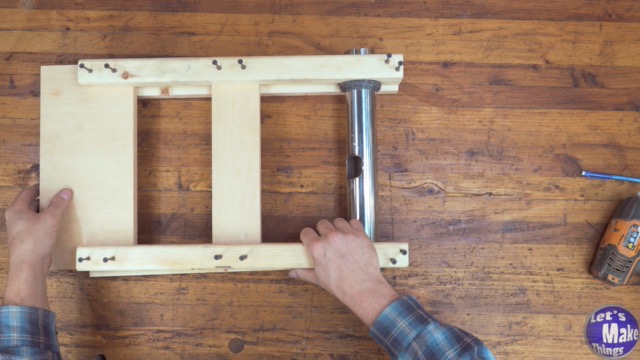
In step 2 we put the entire ensemble together to set our screws in the right spots. Now we’ll take off just the outer support arm on both sides so that we can wrap our pipe with the gasket tape. When it’s attached, place it in the frame and reattach both pieces.
6. The bends
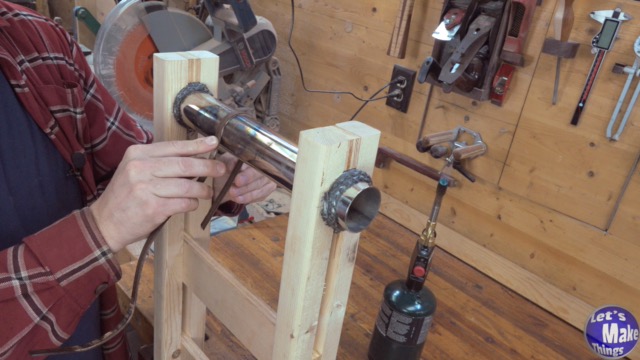
Be very careful not to touch the pipe…it’s very hot! Working with gloves is the best way to keep your hands safe, but if the gloves get wet, they will also get very hot. I suggest using a board placed against the wood you intend on bending to keep your fingers away from the pipe.
Tip Jar
If you found any errors on the page, please use my email below and contact me!

