
Advanced Box Corner Clamps
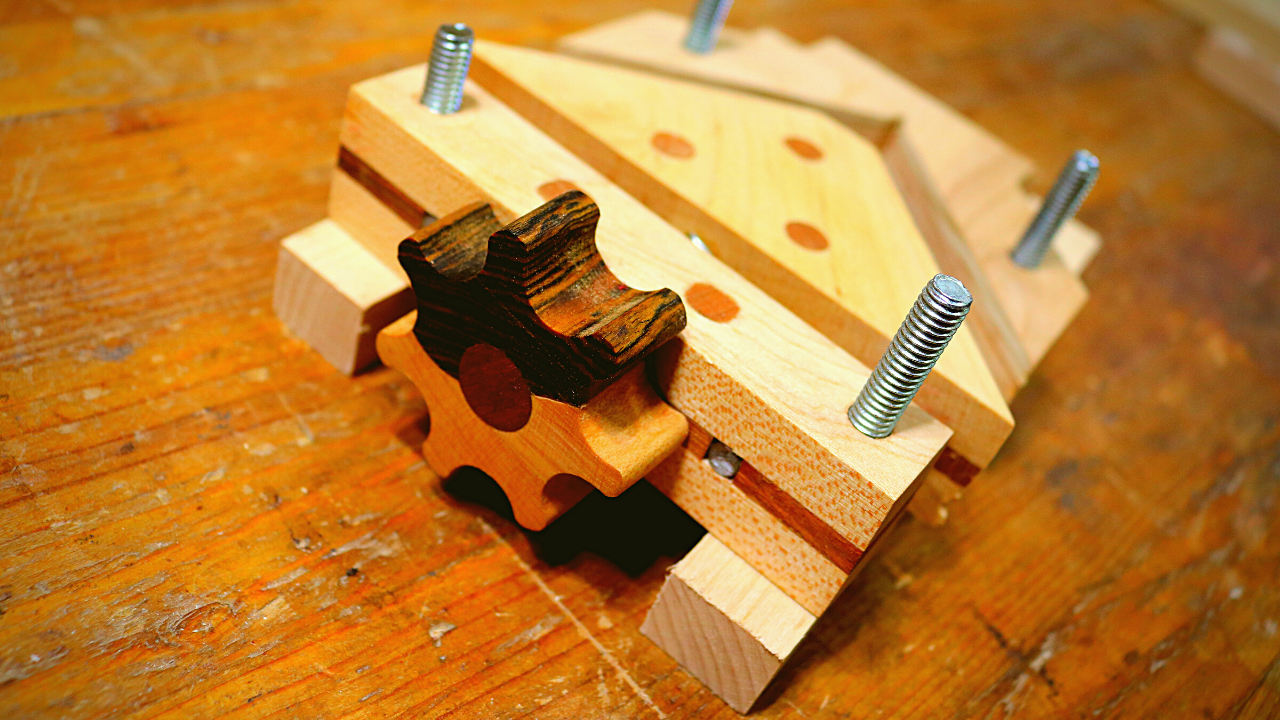
A Unique way to clamp! These clamps worked great for boxes…even for picture frames.
We’ll be covering everything in this video, on this webpage.

Patterns & Material/Tool/Cutlist
If you plan on making these clamps, you’ll first need to download the PDF. Clicking here will get you that file.
It’s important that you pick one of the diagonal squares on the page and measure it. It should be 1 inch by 1 inch.
You’ll also need the Material/Tool/Cutlist, which you can find here.
Step 1.
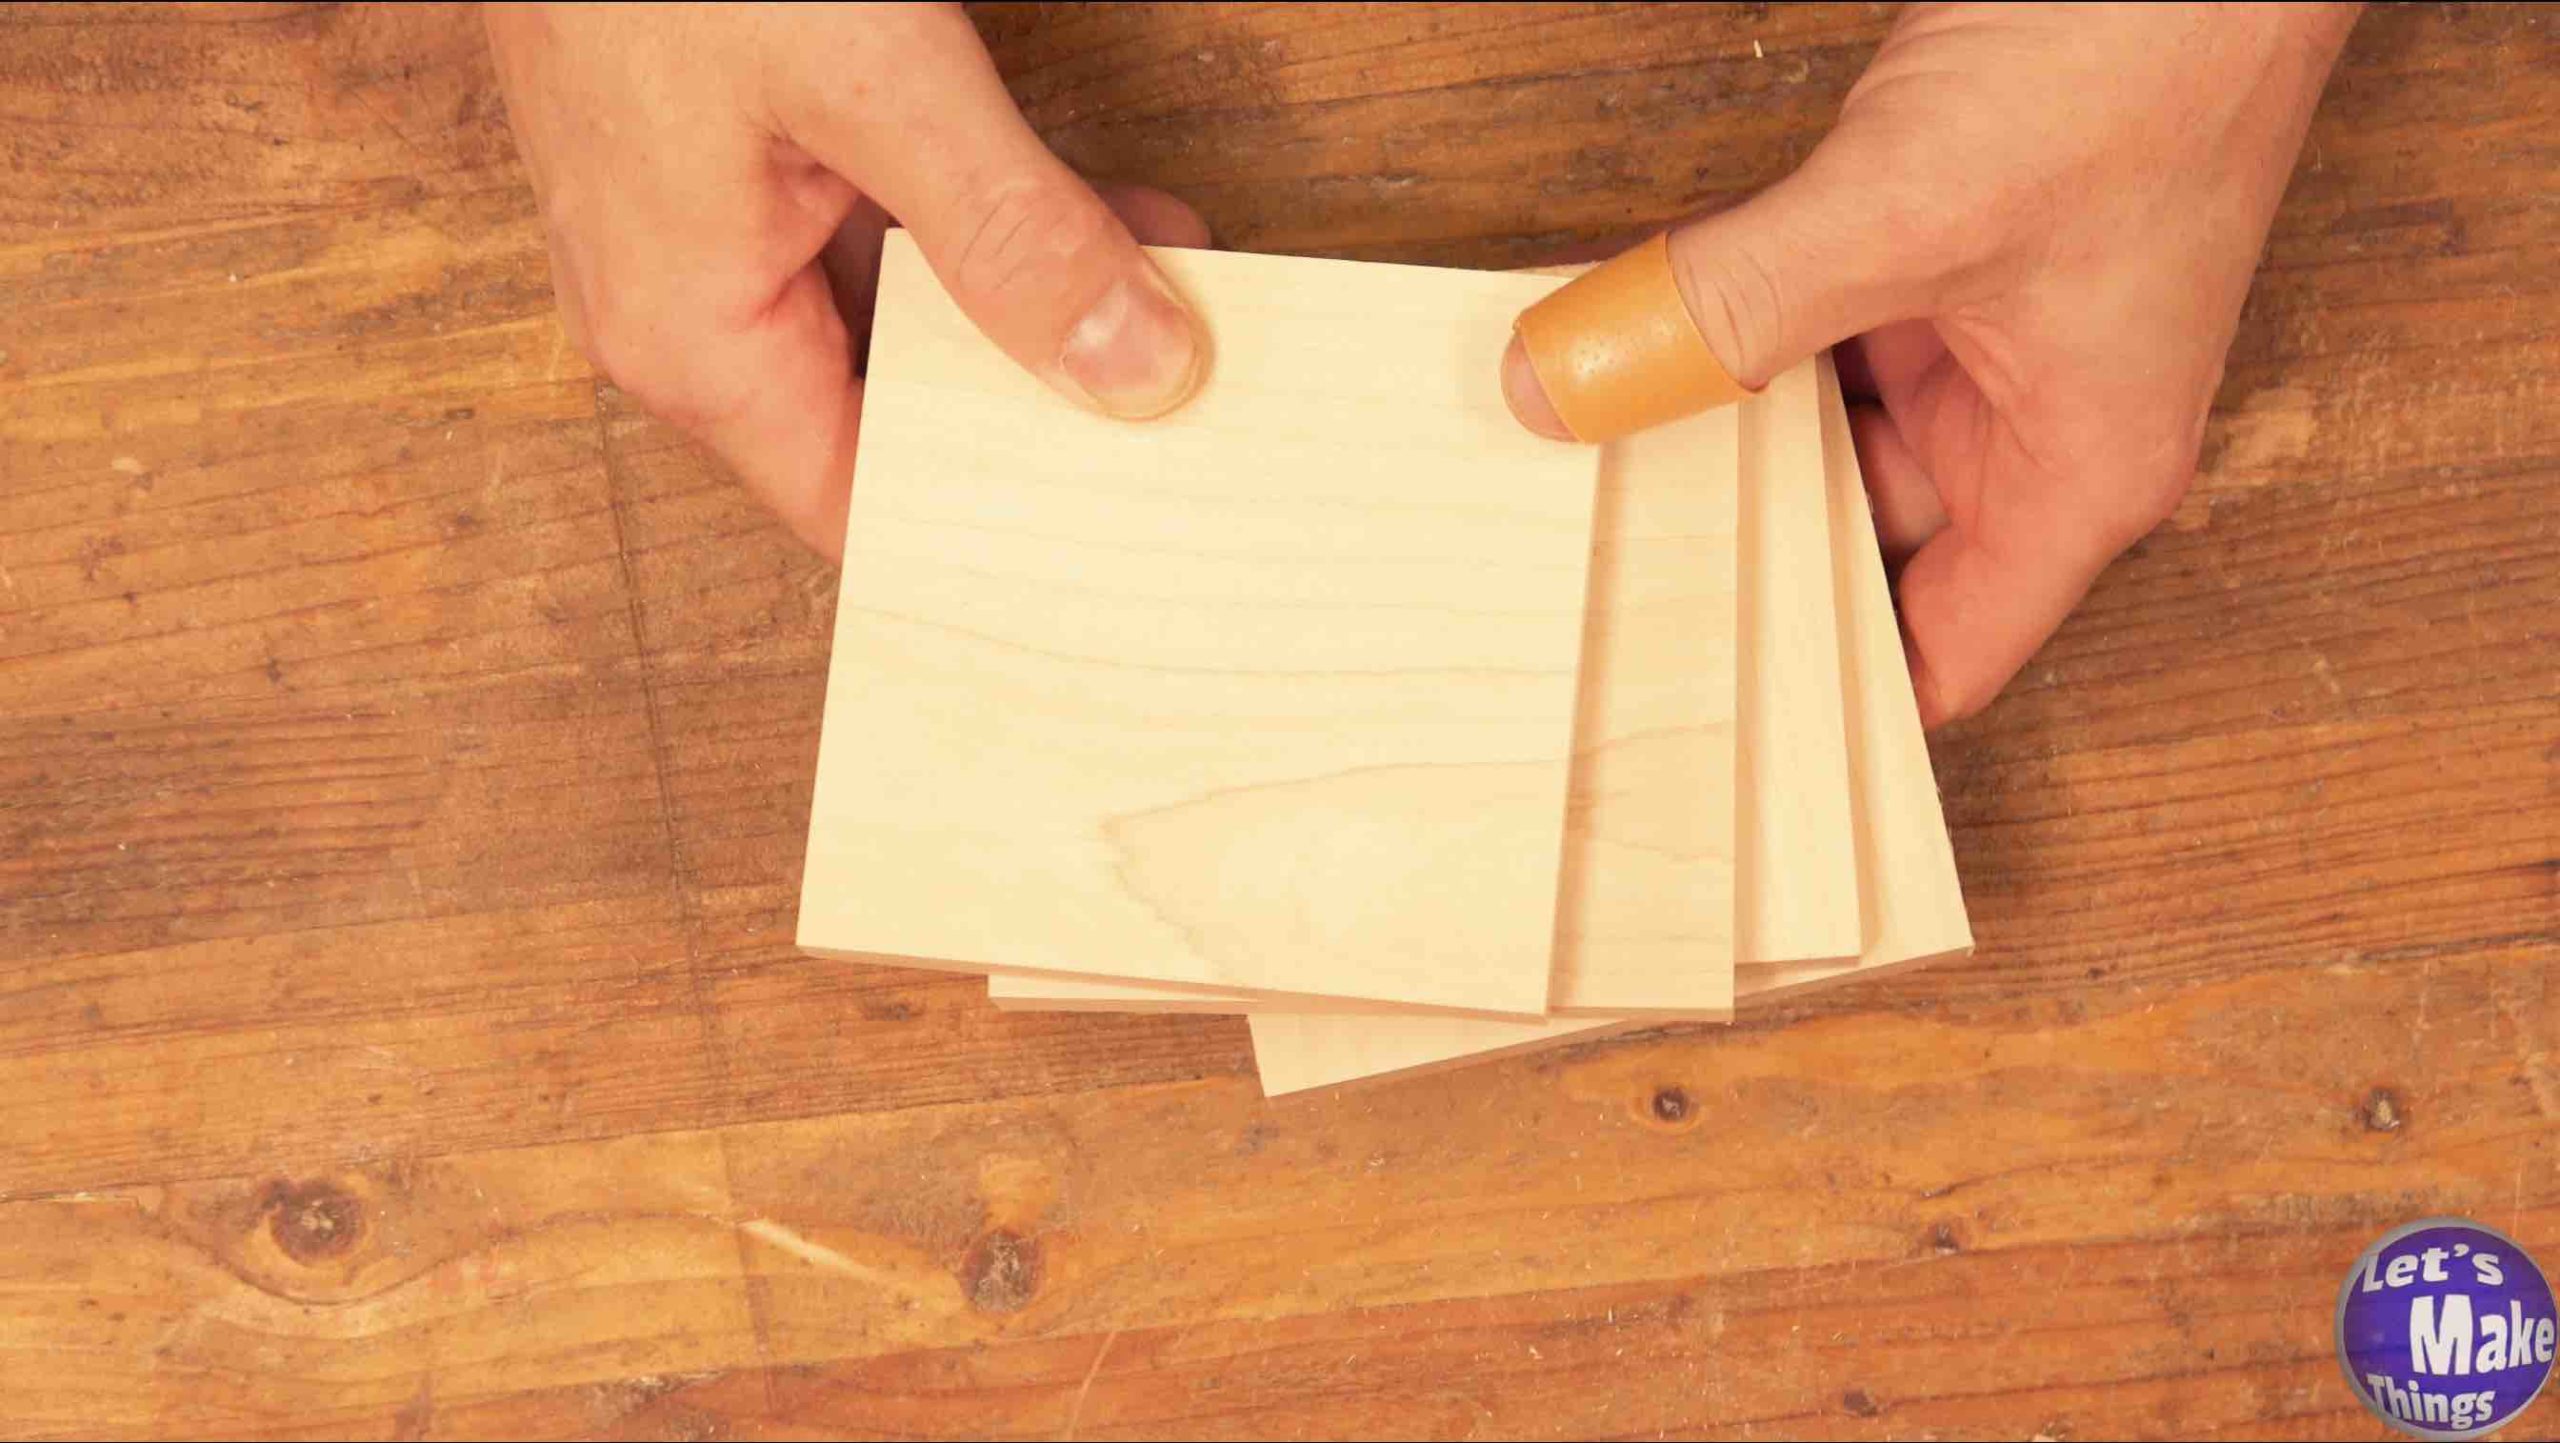
For all 4 clamps, you’ll need to cut (4) 1/2″ x 4 1/4″ x 4 1/4″, as well as (2) 1/4″ x 4 1/4″ x 4 1/4″ pieces in all. The most important part of this: You’ll need the 4 corners to be perfect 90 degree corners. If it’s a hair off, you WILL have trouble with clamping later on.
Note: Clicking the picture on the right shows this step in motion at youtube.
Step 2.
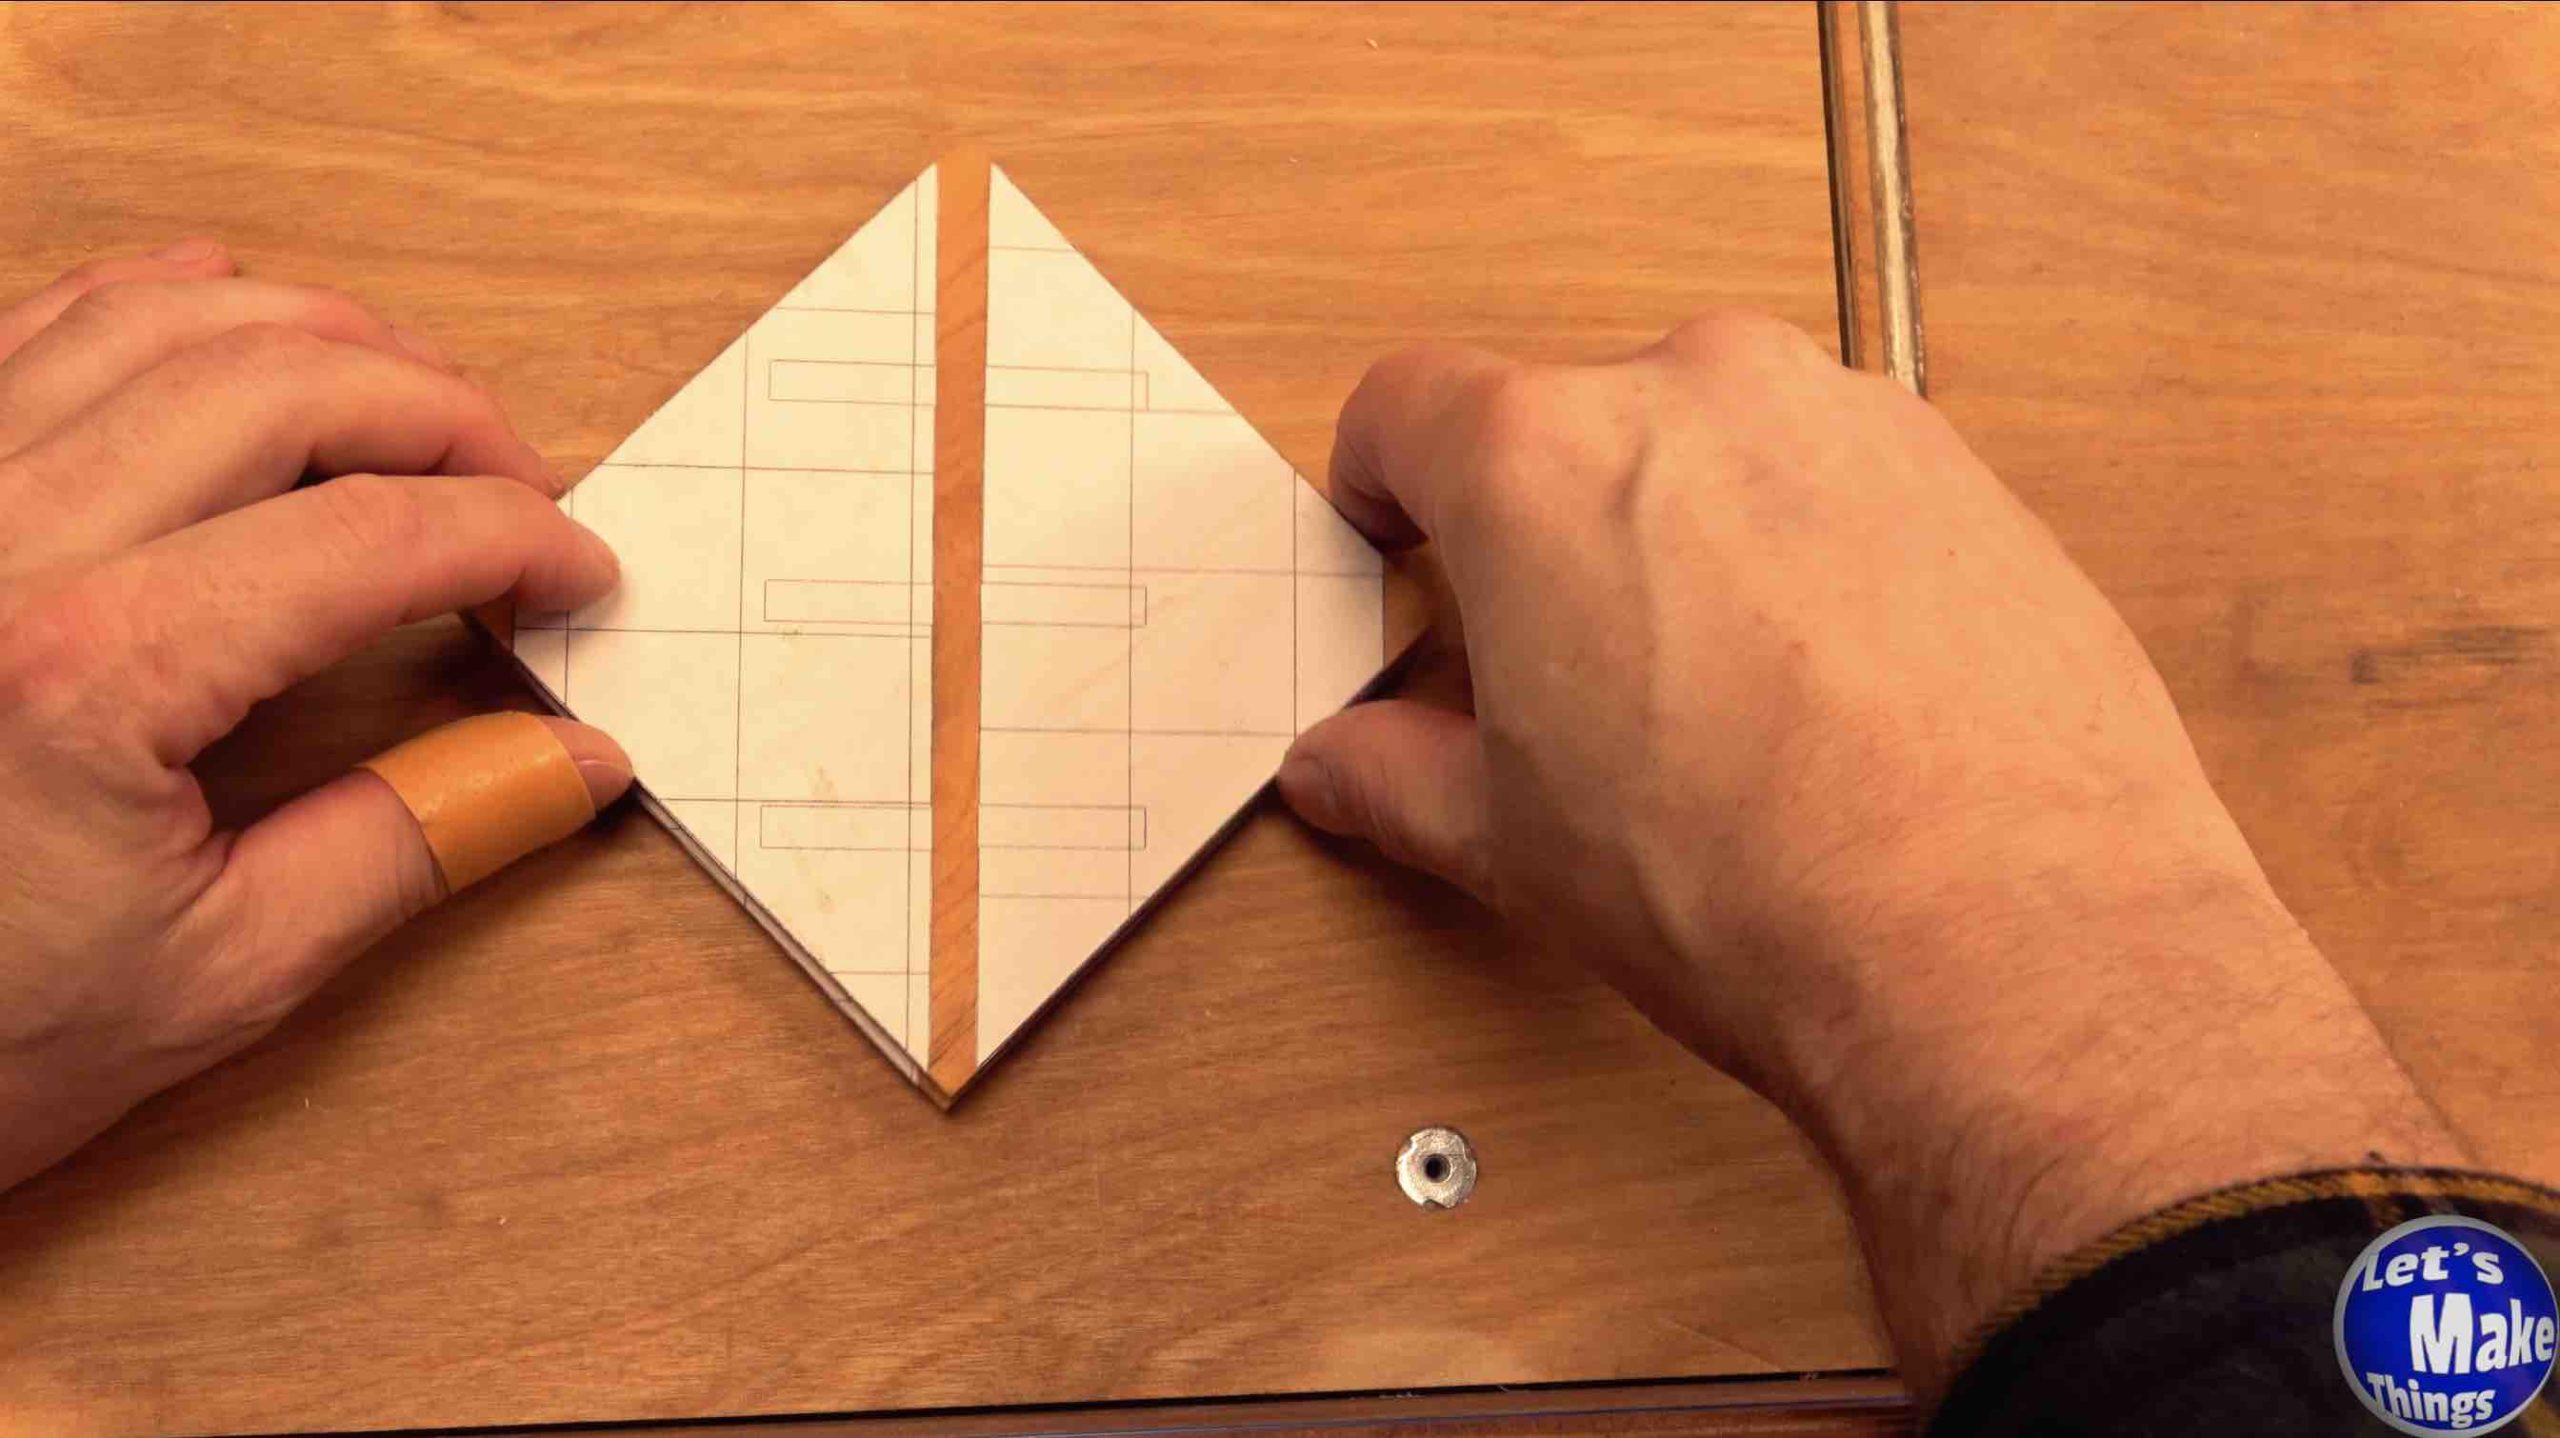
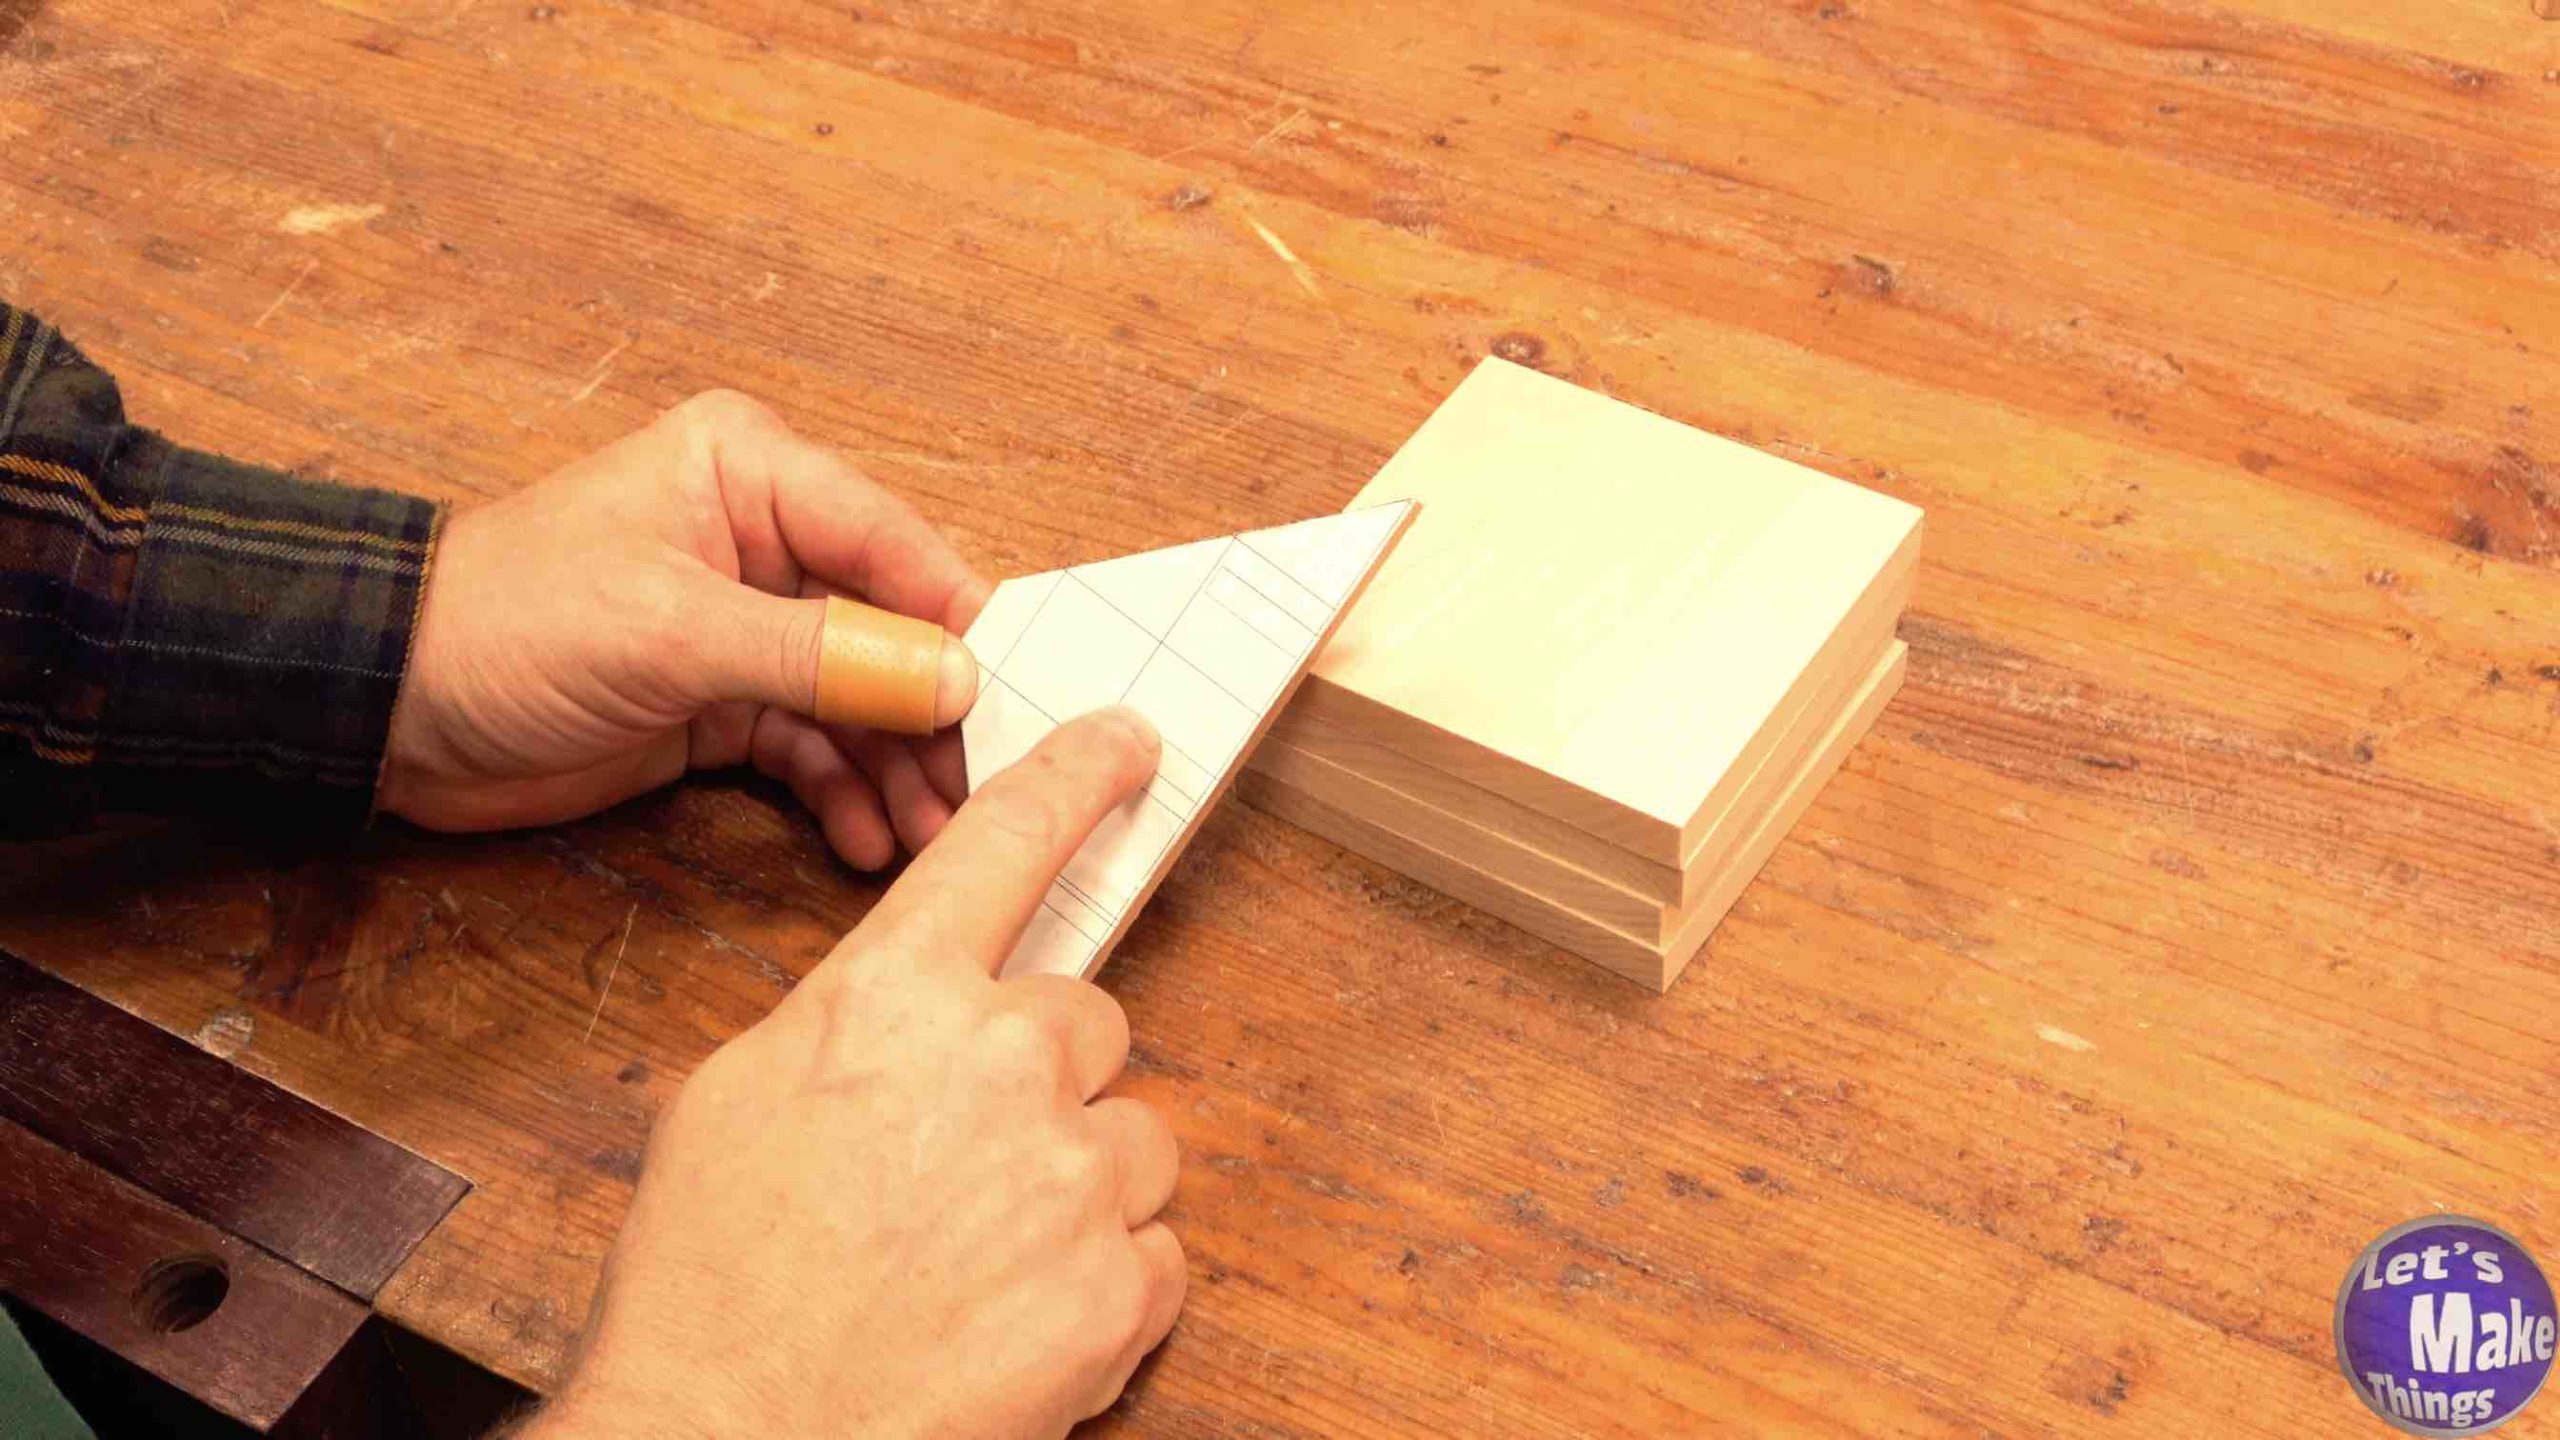
If you haven’t yet downloaded the PDF’s for this project, go up a little on this page and download the packet. Essentially, you’ll cut the pattern out, as directed in the video, and use wood glue to attach them to the 1/4″ pieces. After cutting those 1/4″ pieces in diagonals, you’ll use those triangles to draw the triangles you’ll need on the 2 outside 1/2″ pieces mentioned of in the last step. Once the diagonals have been drawn in the middle, cut them out.
Here’s the video I talked about in this step: Perfect Miters on your Table saw
Note: Clicking the picture on the right shows this step in motion at youtube.
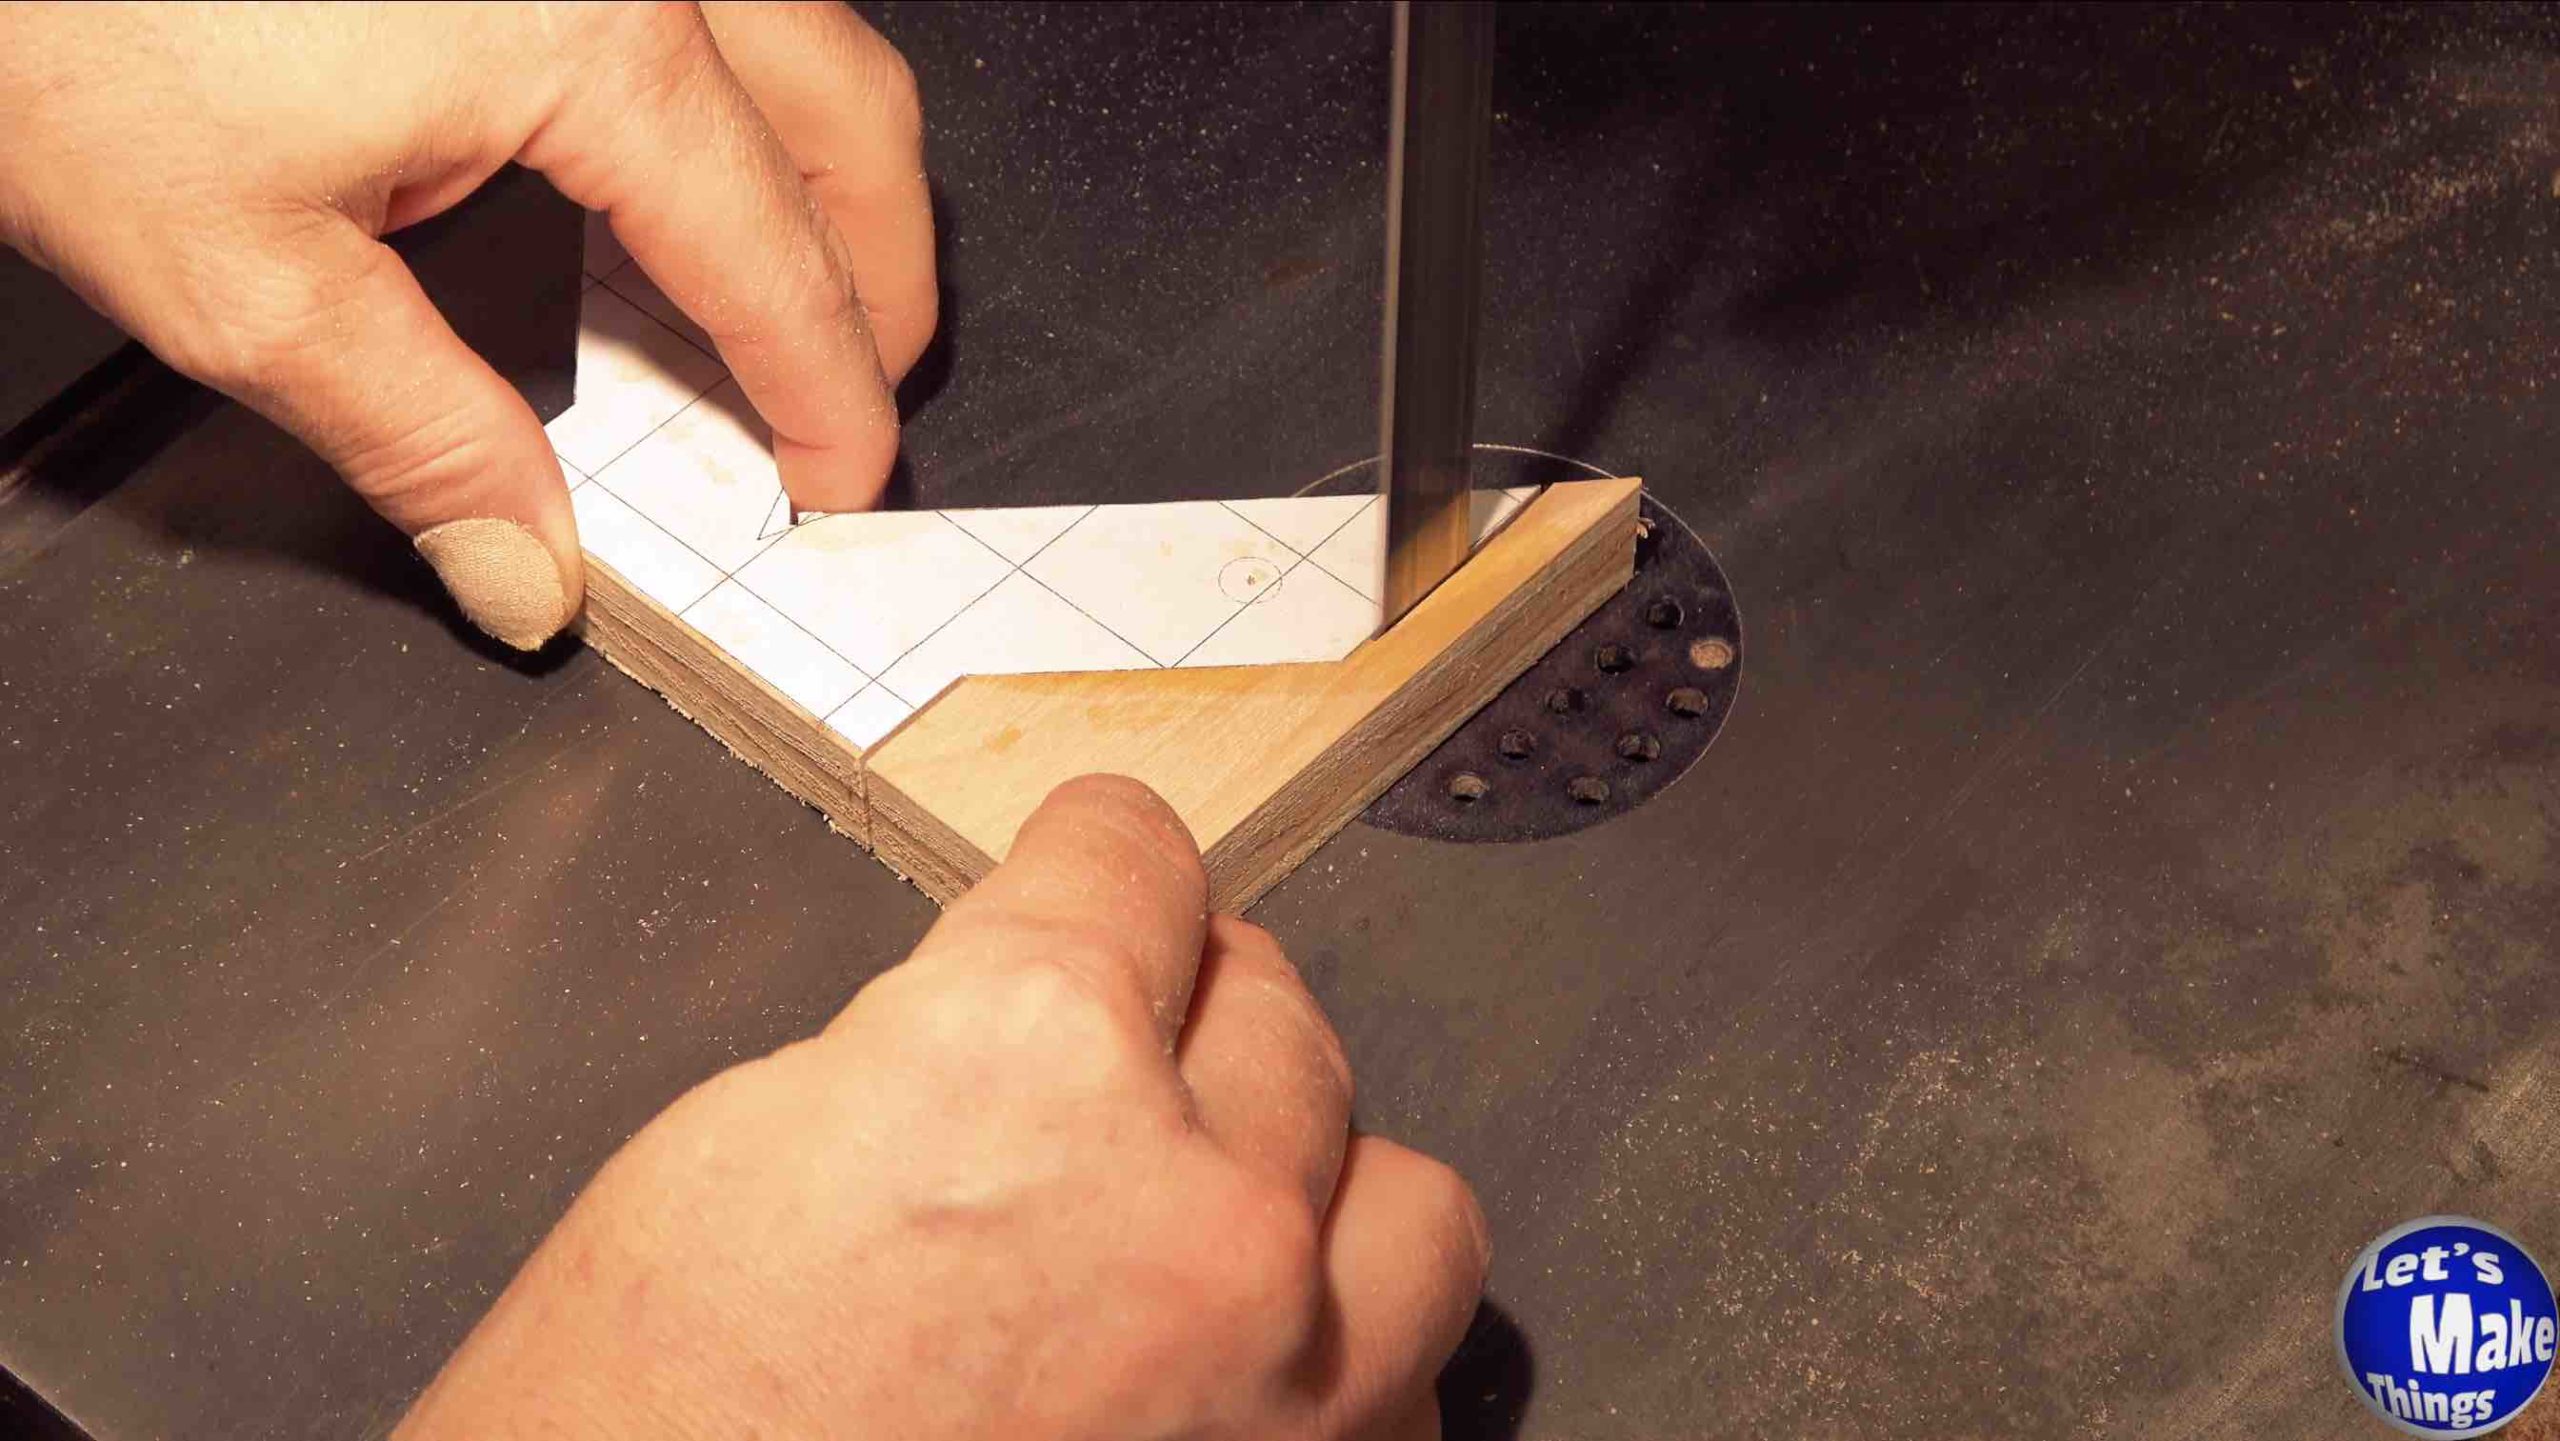
Step 3.
Now we’ll cut out the 3 notches on the pattern that you glued to your 1/4″ piece. Be very careful that you only cut enough that you can slide a 1/4″ bolt in. Also be careful not to break those center pieces as they will be fragile at this point. Then you’ll glue the 3 parts together, being very careful to make sure you keep your 90 degrees.
When the 3 glued parts are dry, use a drill and a 1/4″ drill bit to drill each of the 3 holes out again. That’ll clean any glue out as well as making sure they are, indeed 1/4″.
Note: Clicking the picture on the right shows this step in motion at youtube.
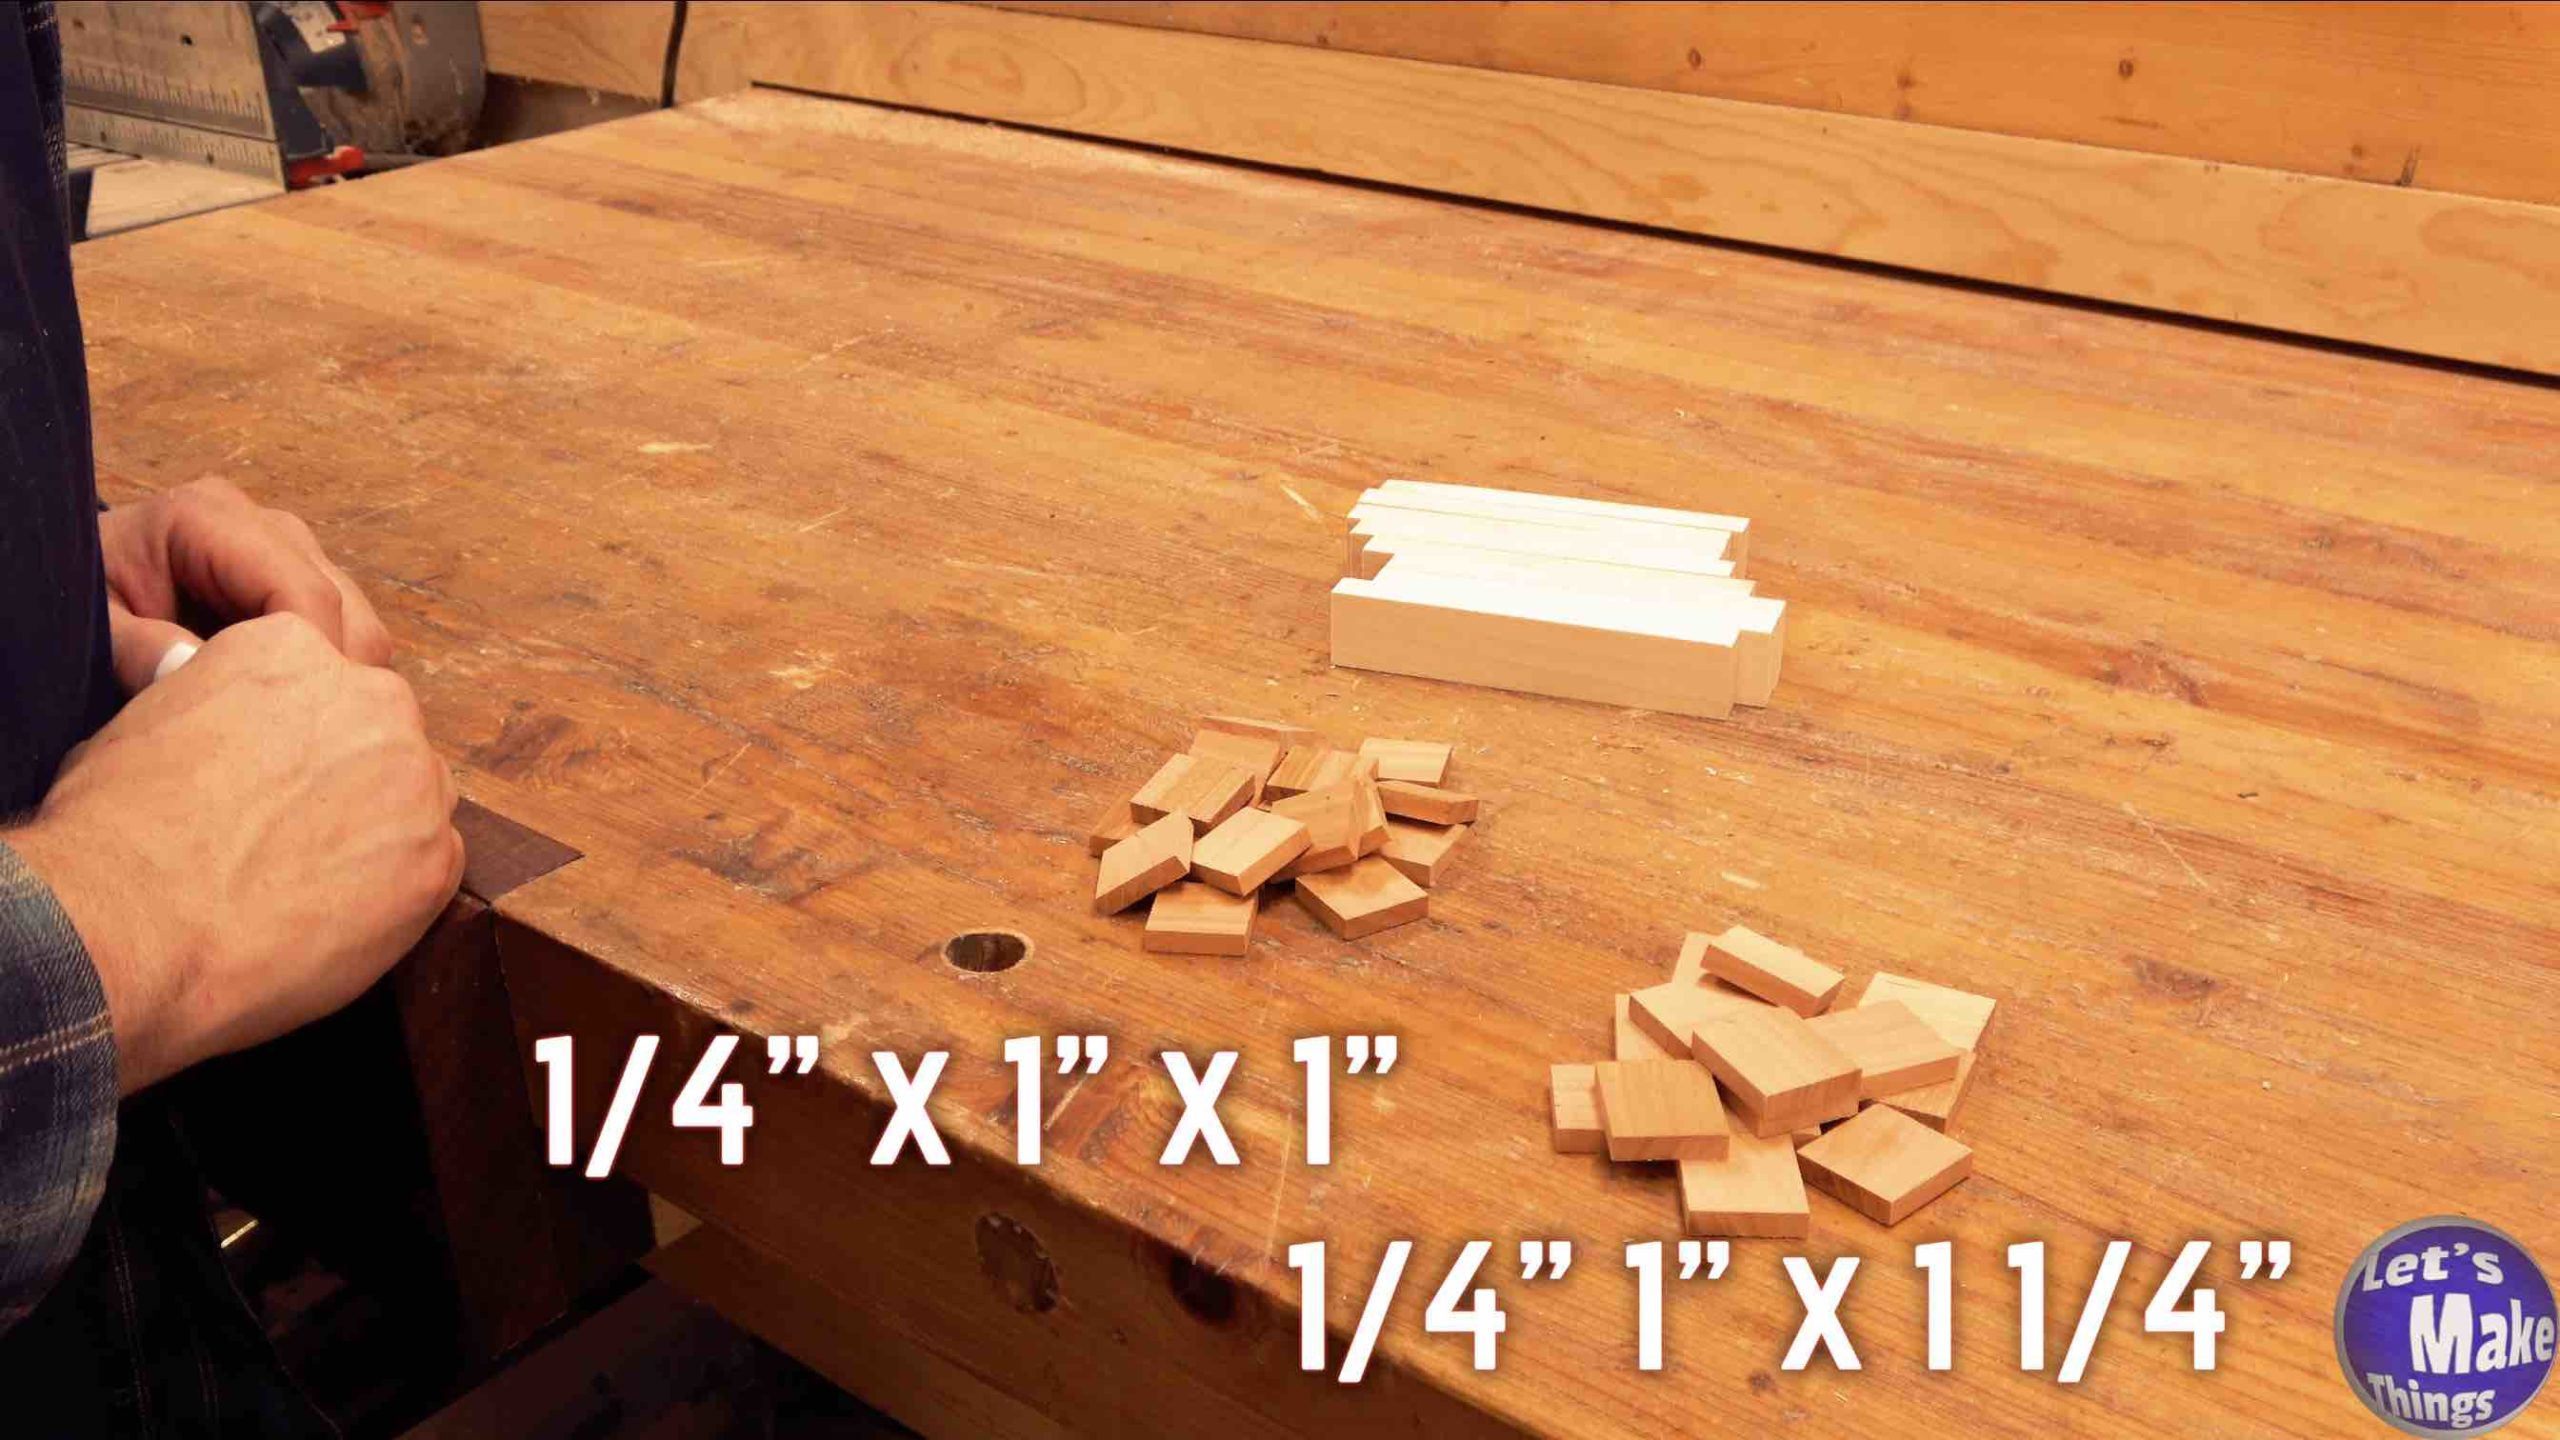
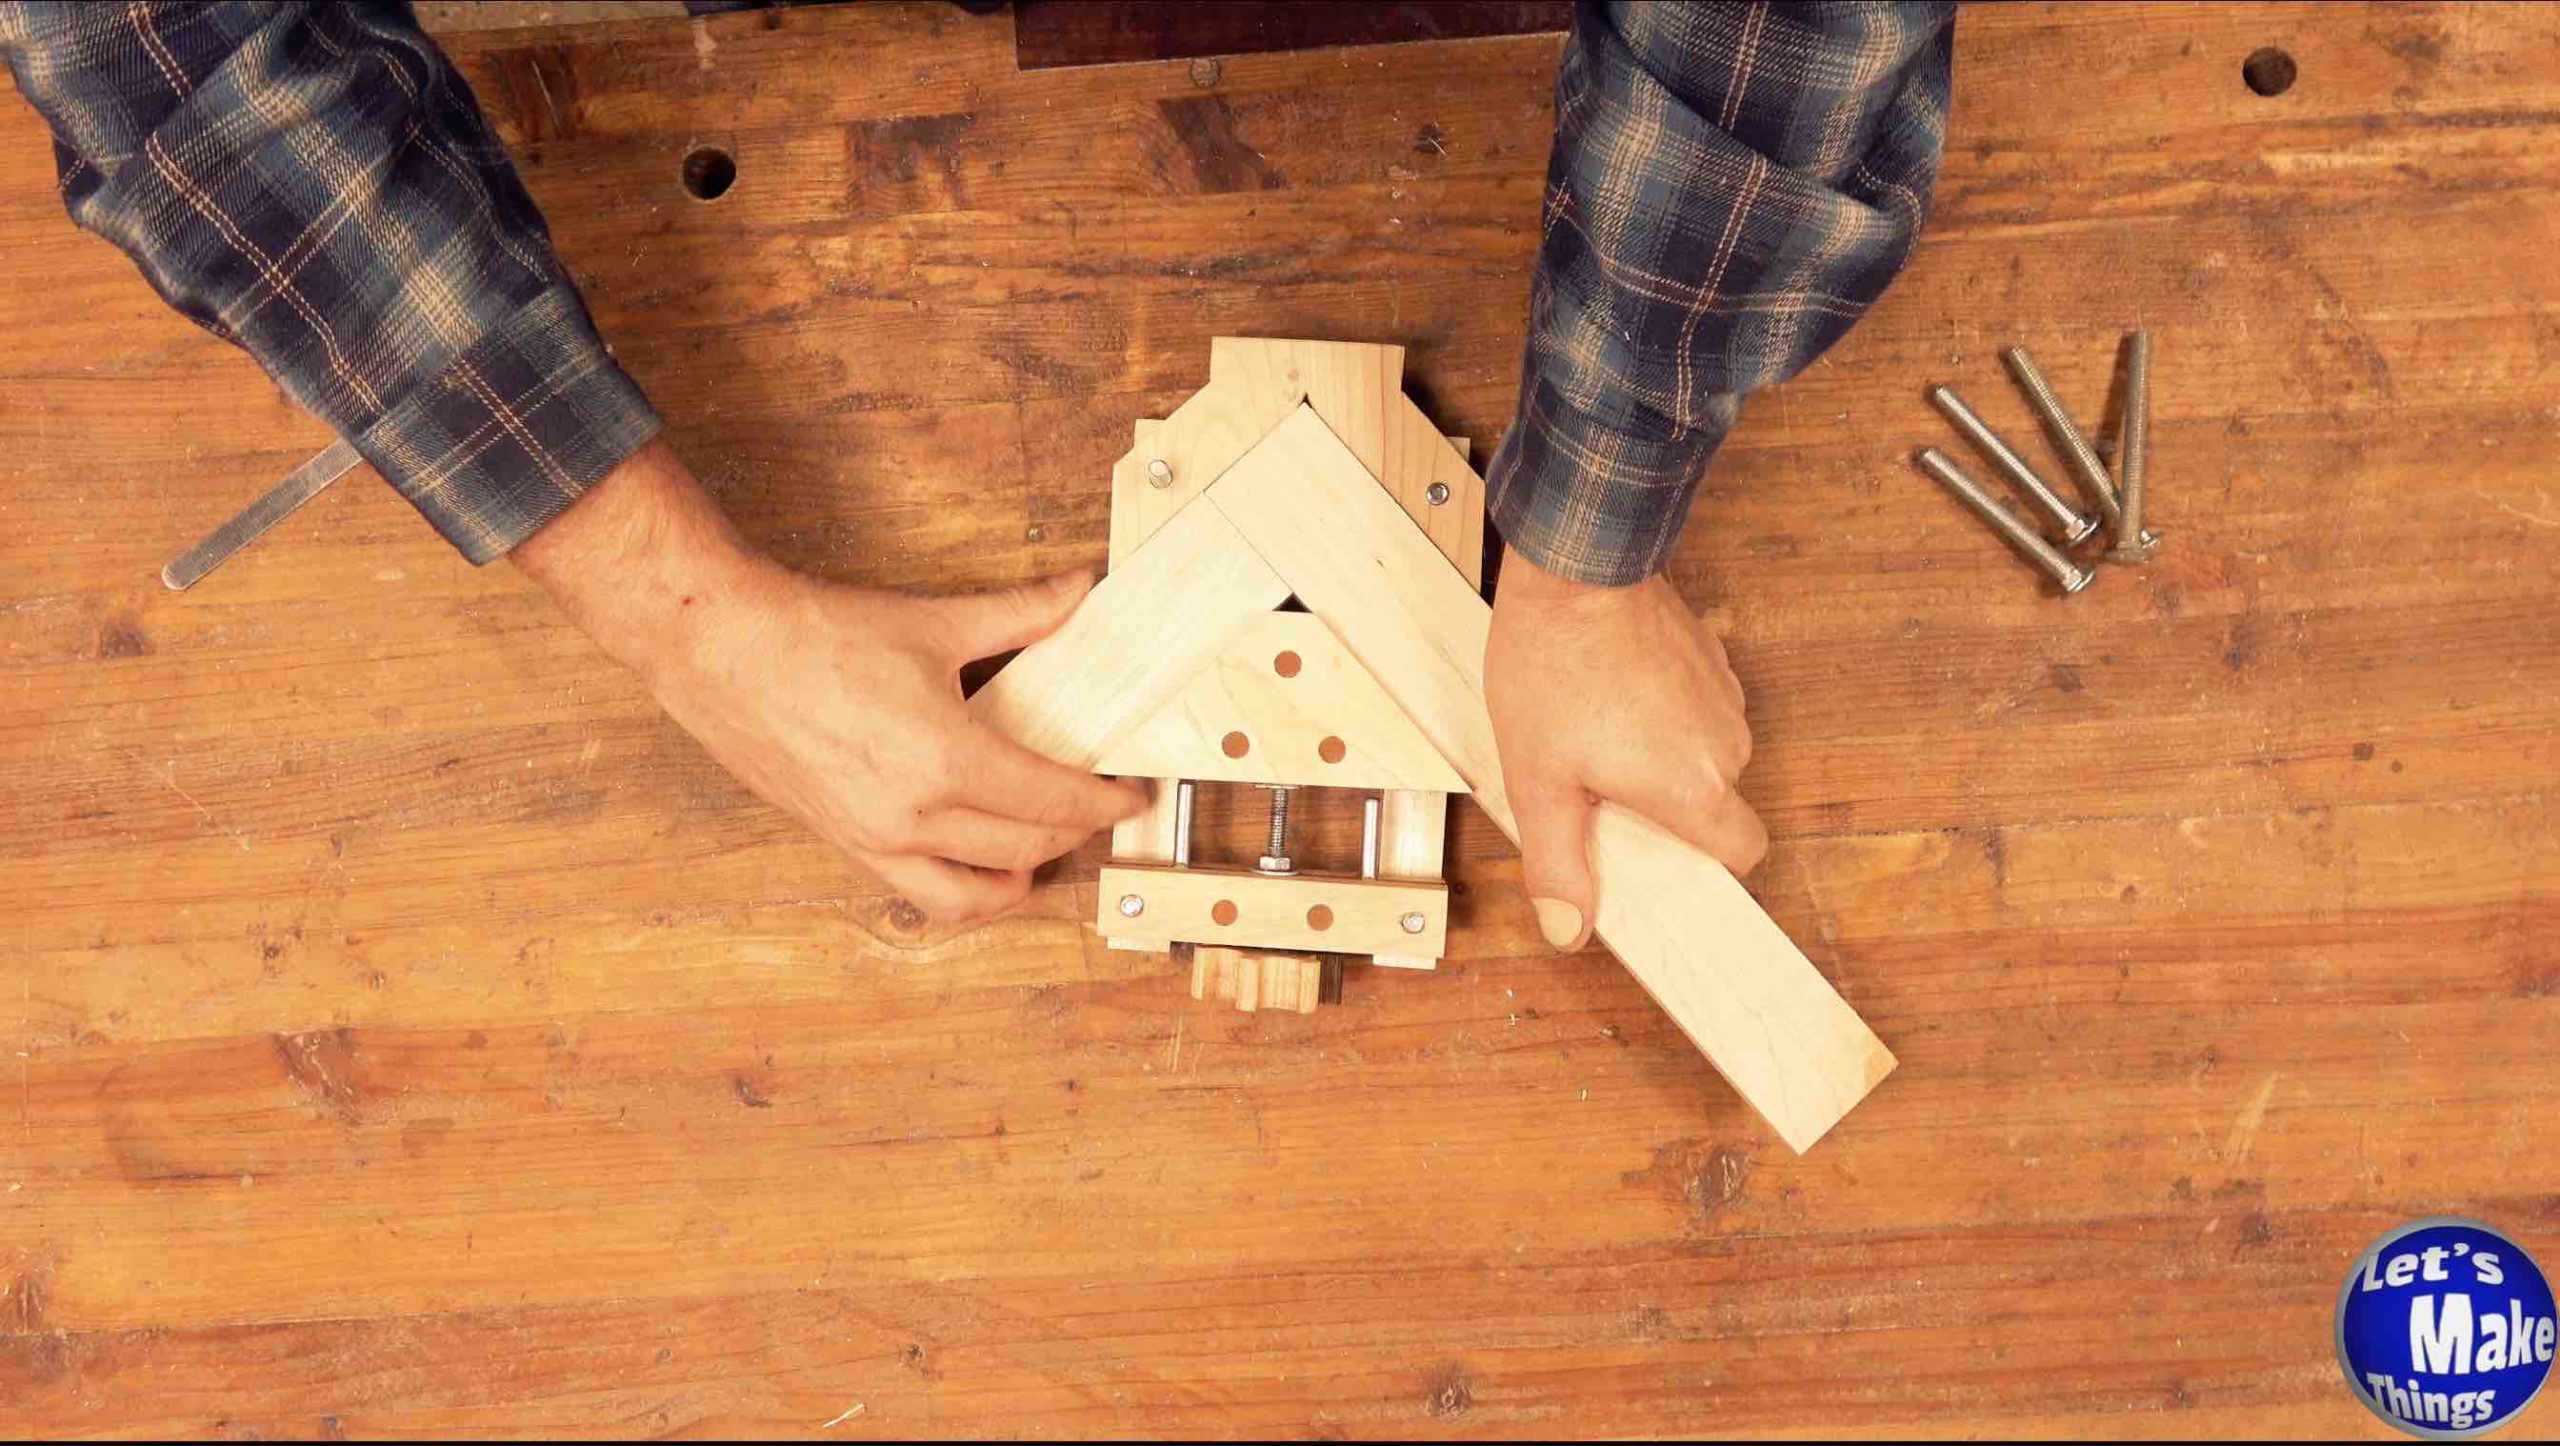
Step 4.
Now we’ll cut the arms, as well as the pieces. You’ll need to cut (8) 1/2″ x 1″ x 5″ outer pieces. For the center, you’ll need to cut (8) 1/4″ x 1″ x 1″ pieces, as well as (8) 1/4″ x 1″ x 1 1/4″ pieces. You’ll use (3) 1/4″ by 2″ bolts on each arm, and build the arms as specified in the video. Then you’ll clamp it up.
Note: Clicking the picture on the right shows this step in motion at youtube.
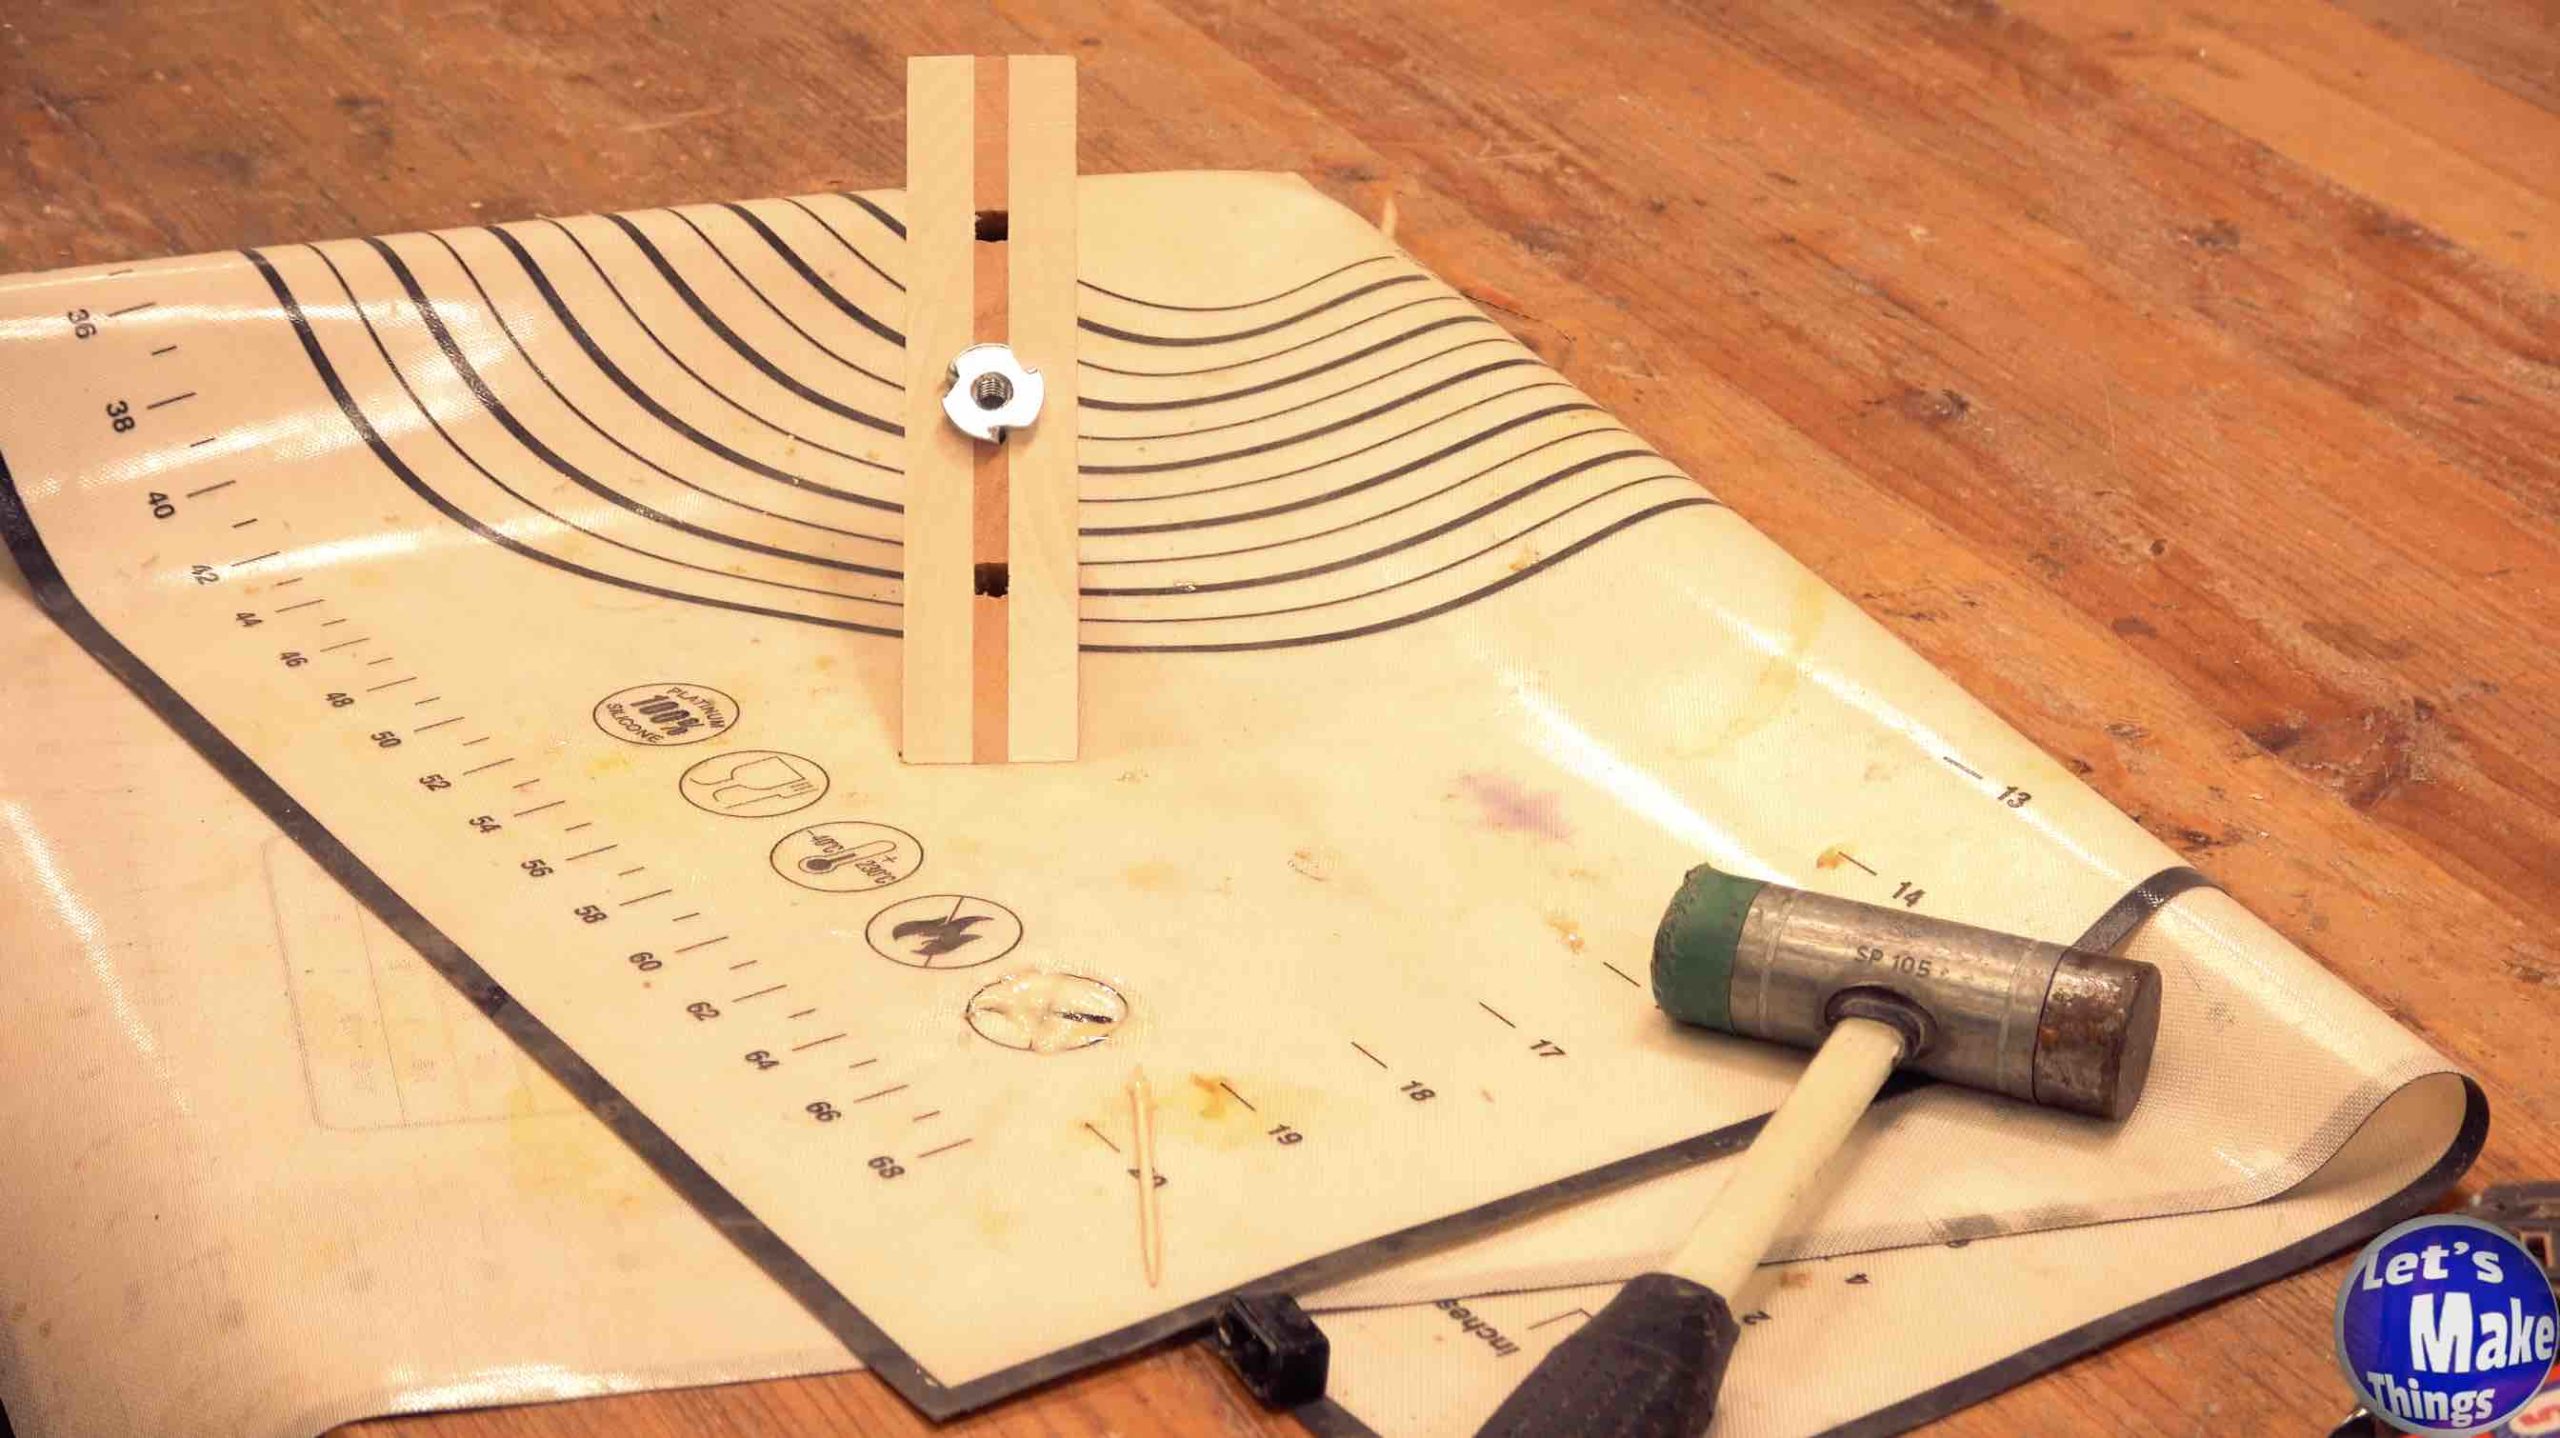
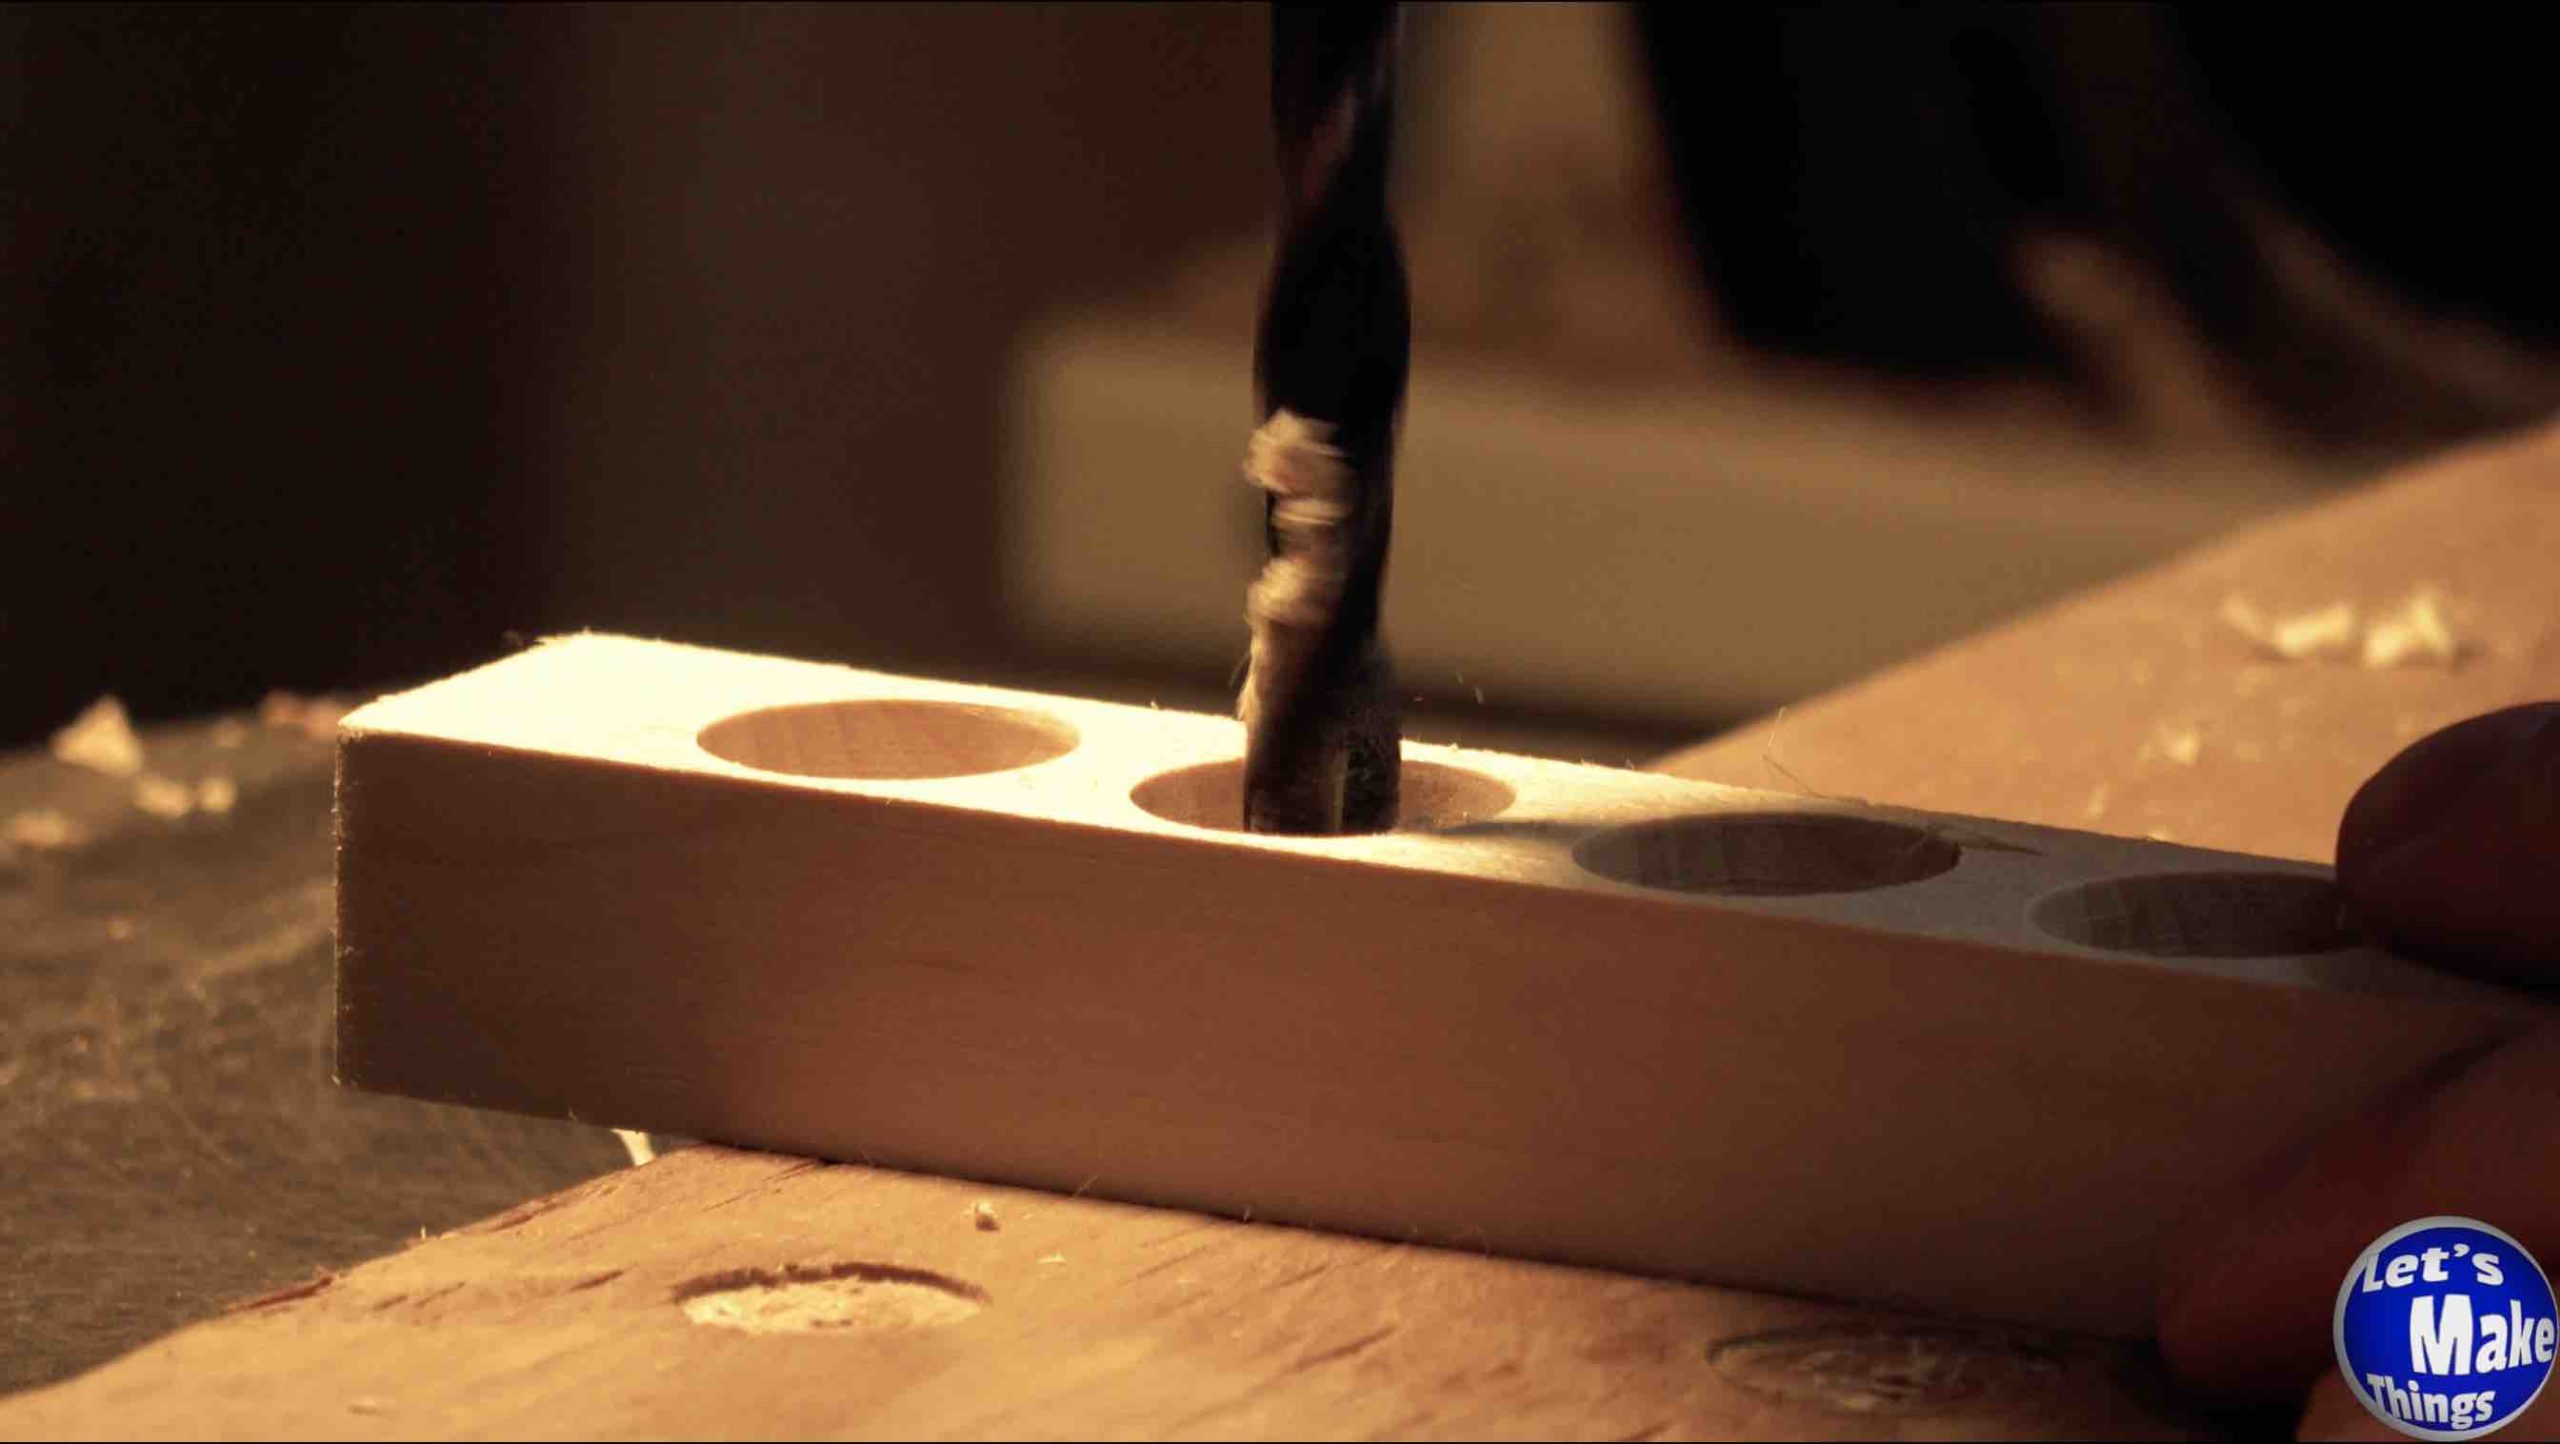
Step 5.
Now we’ll need to add a t-nut to the center hole of the main body. Use a step drill bit to make the center hole 5 1/16″. Add the t-nut, tap it and drill each of the holes out for the tines. We’ll use a little epoxy to hold it in place.
Note: Clicking the picture on the right shows this step in motion at youtube.
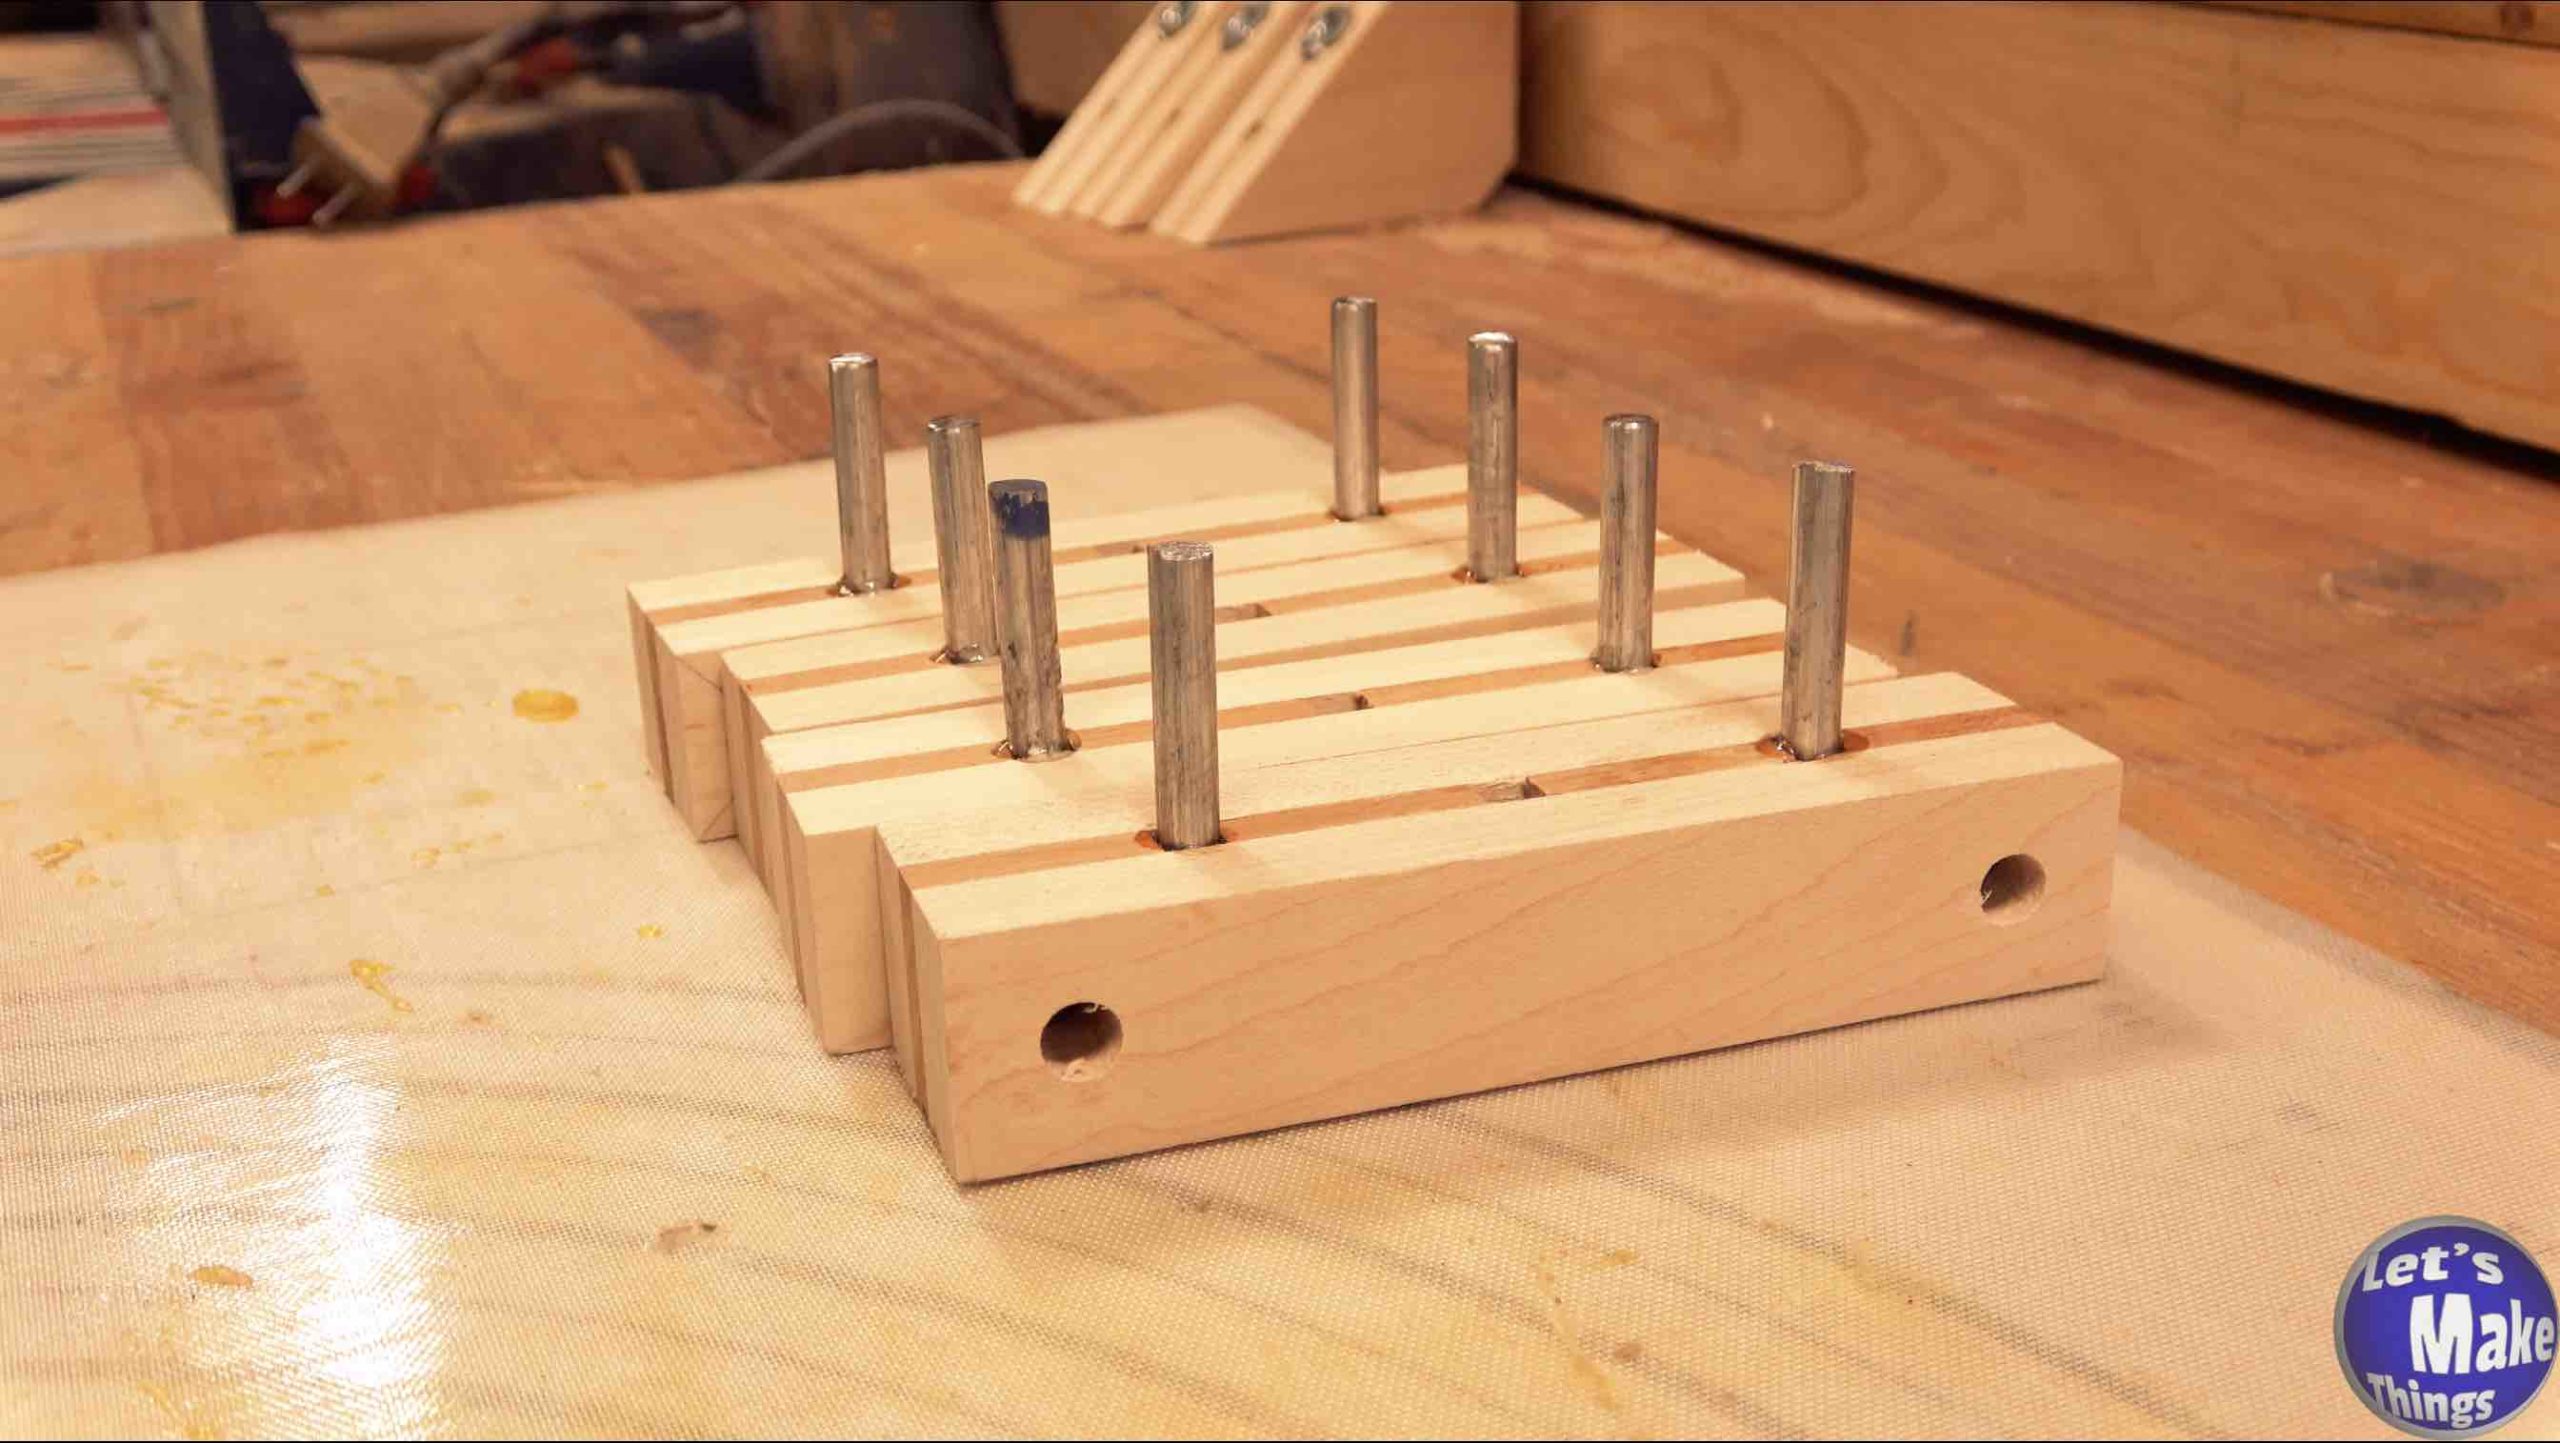
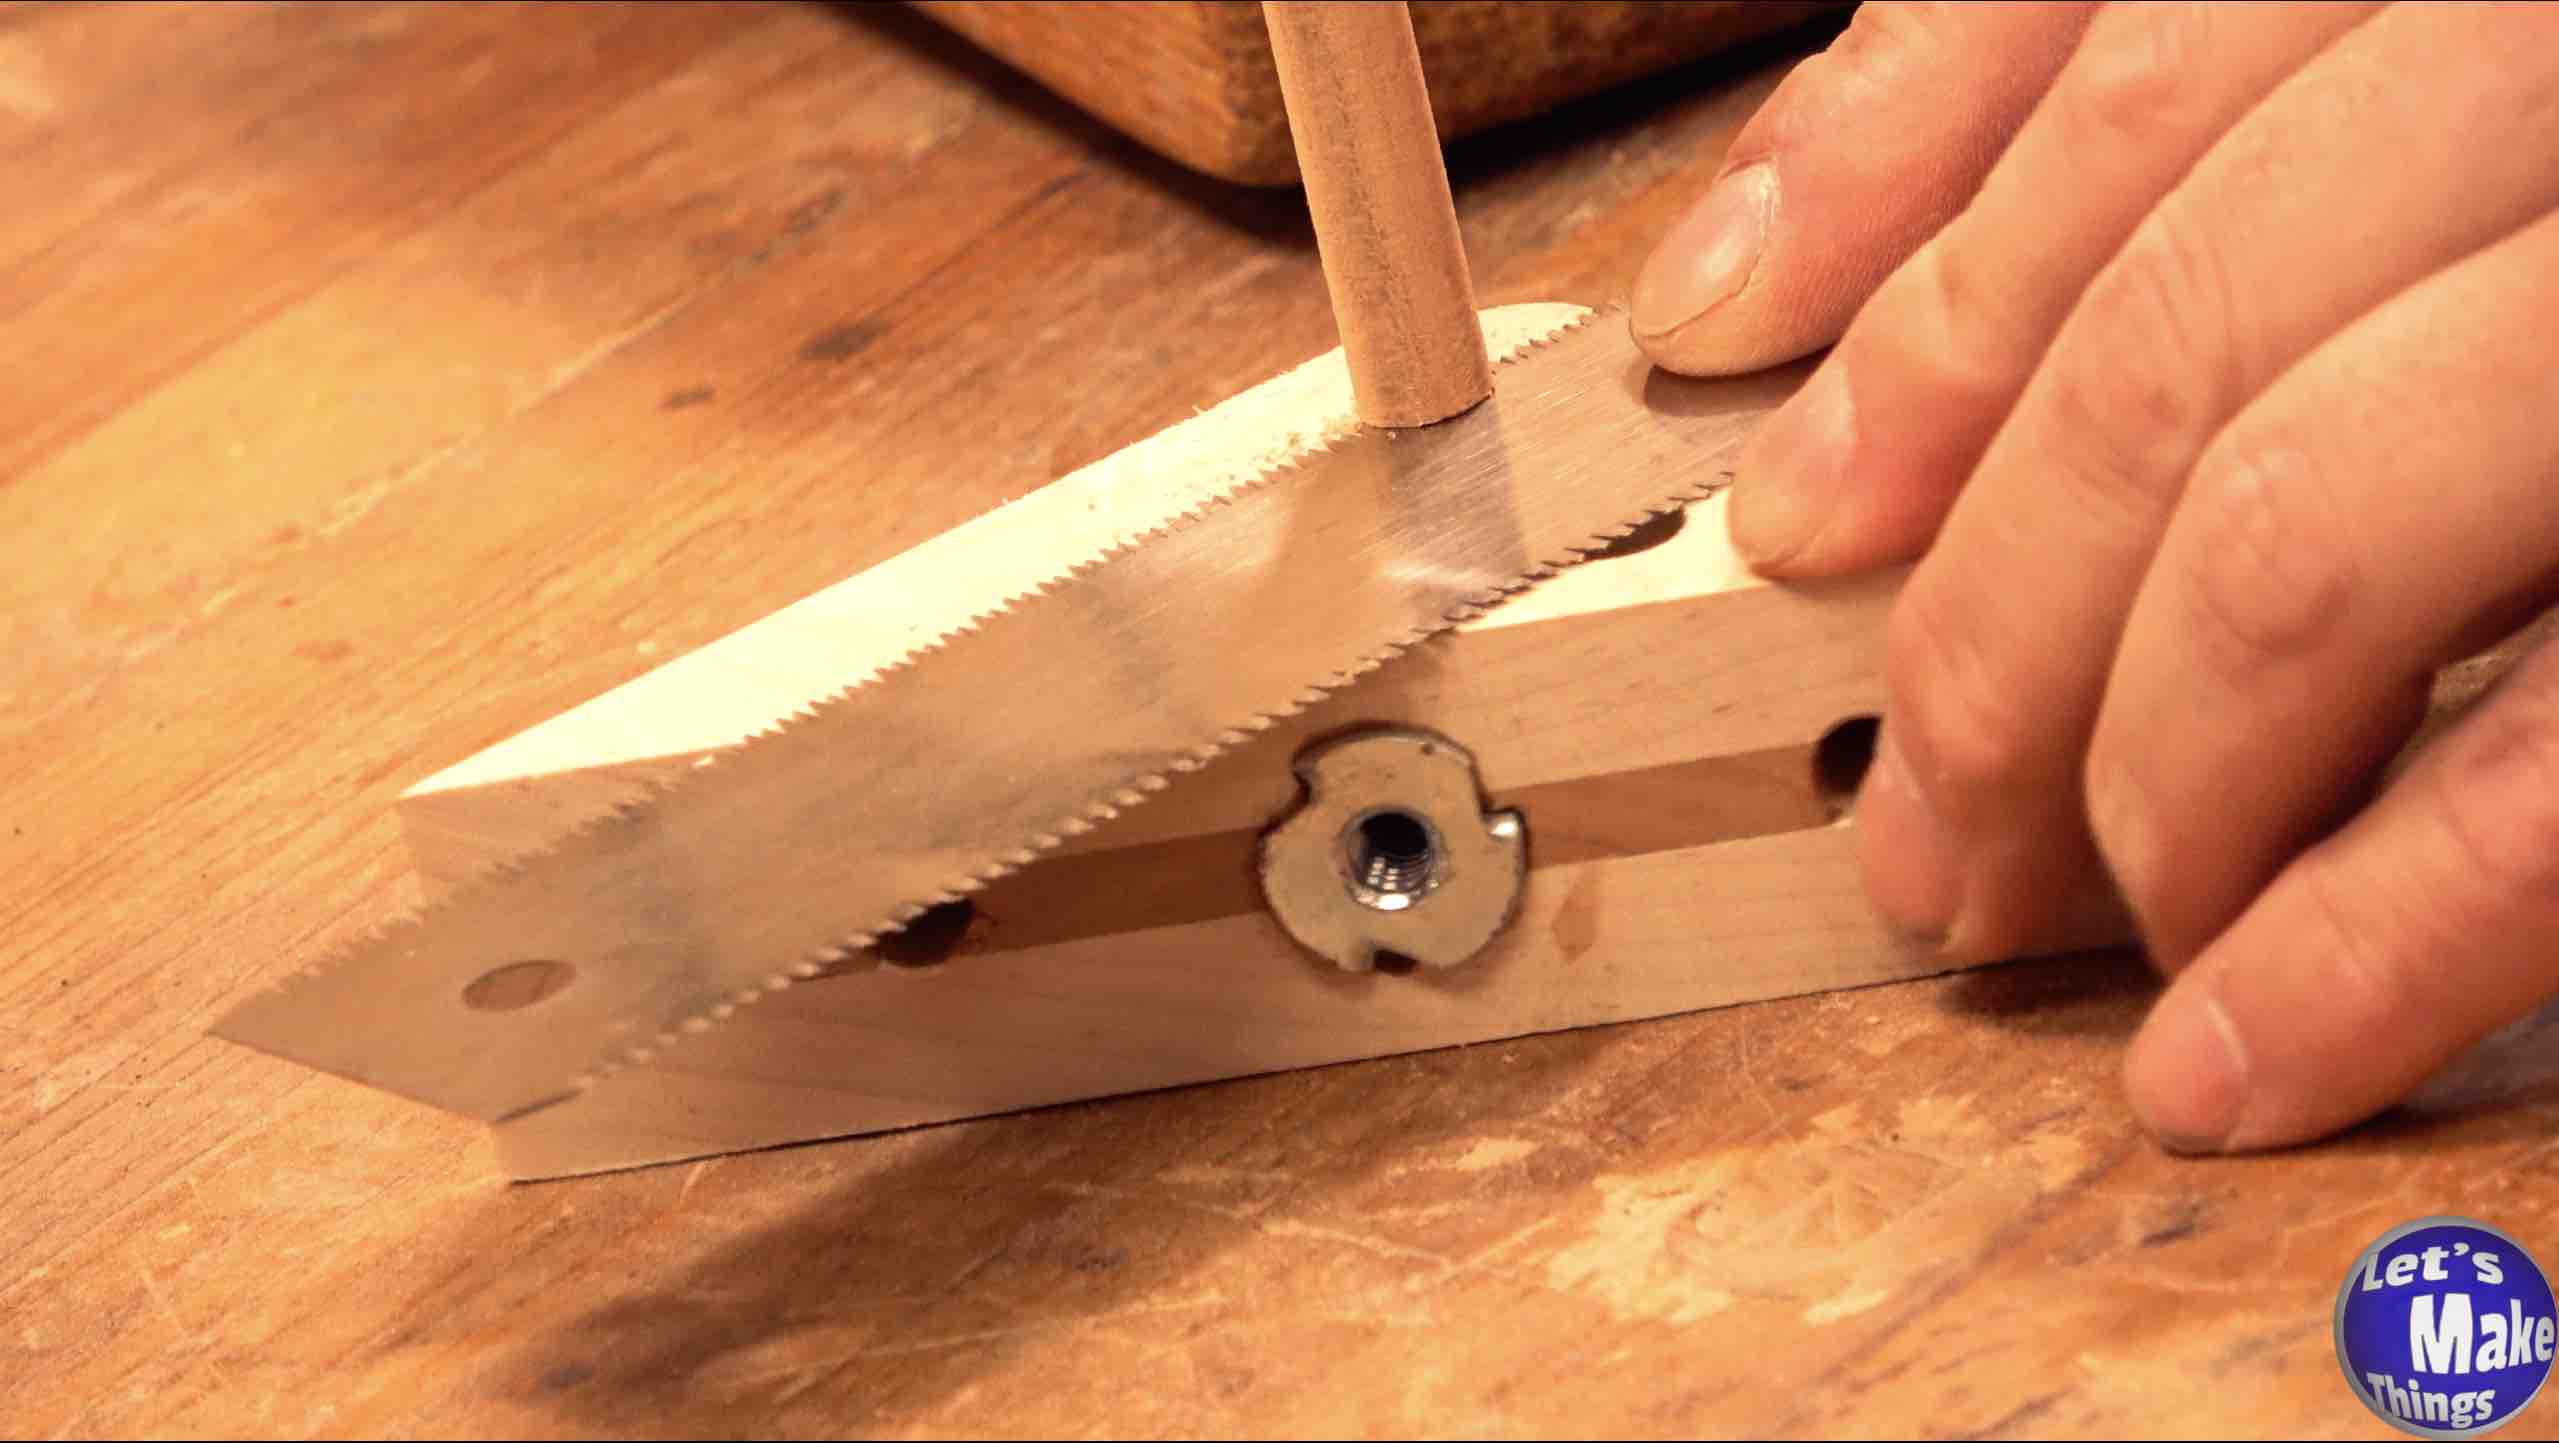
Step 6.
On each arm, we’ll need to drill holes on either side of the arm that are 5/16 of an inch, 1/2″ by 1/2″ from the edge and top. Afterwards, we’ll cut pins off for the arms. You’ll need to cut (2) 1/4″ x 2″ metal rods for each clamp, adding epoxy before pushing them in.
Note: Clicking the picture on the right shows this step in motion at youtube.
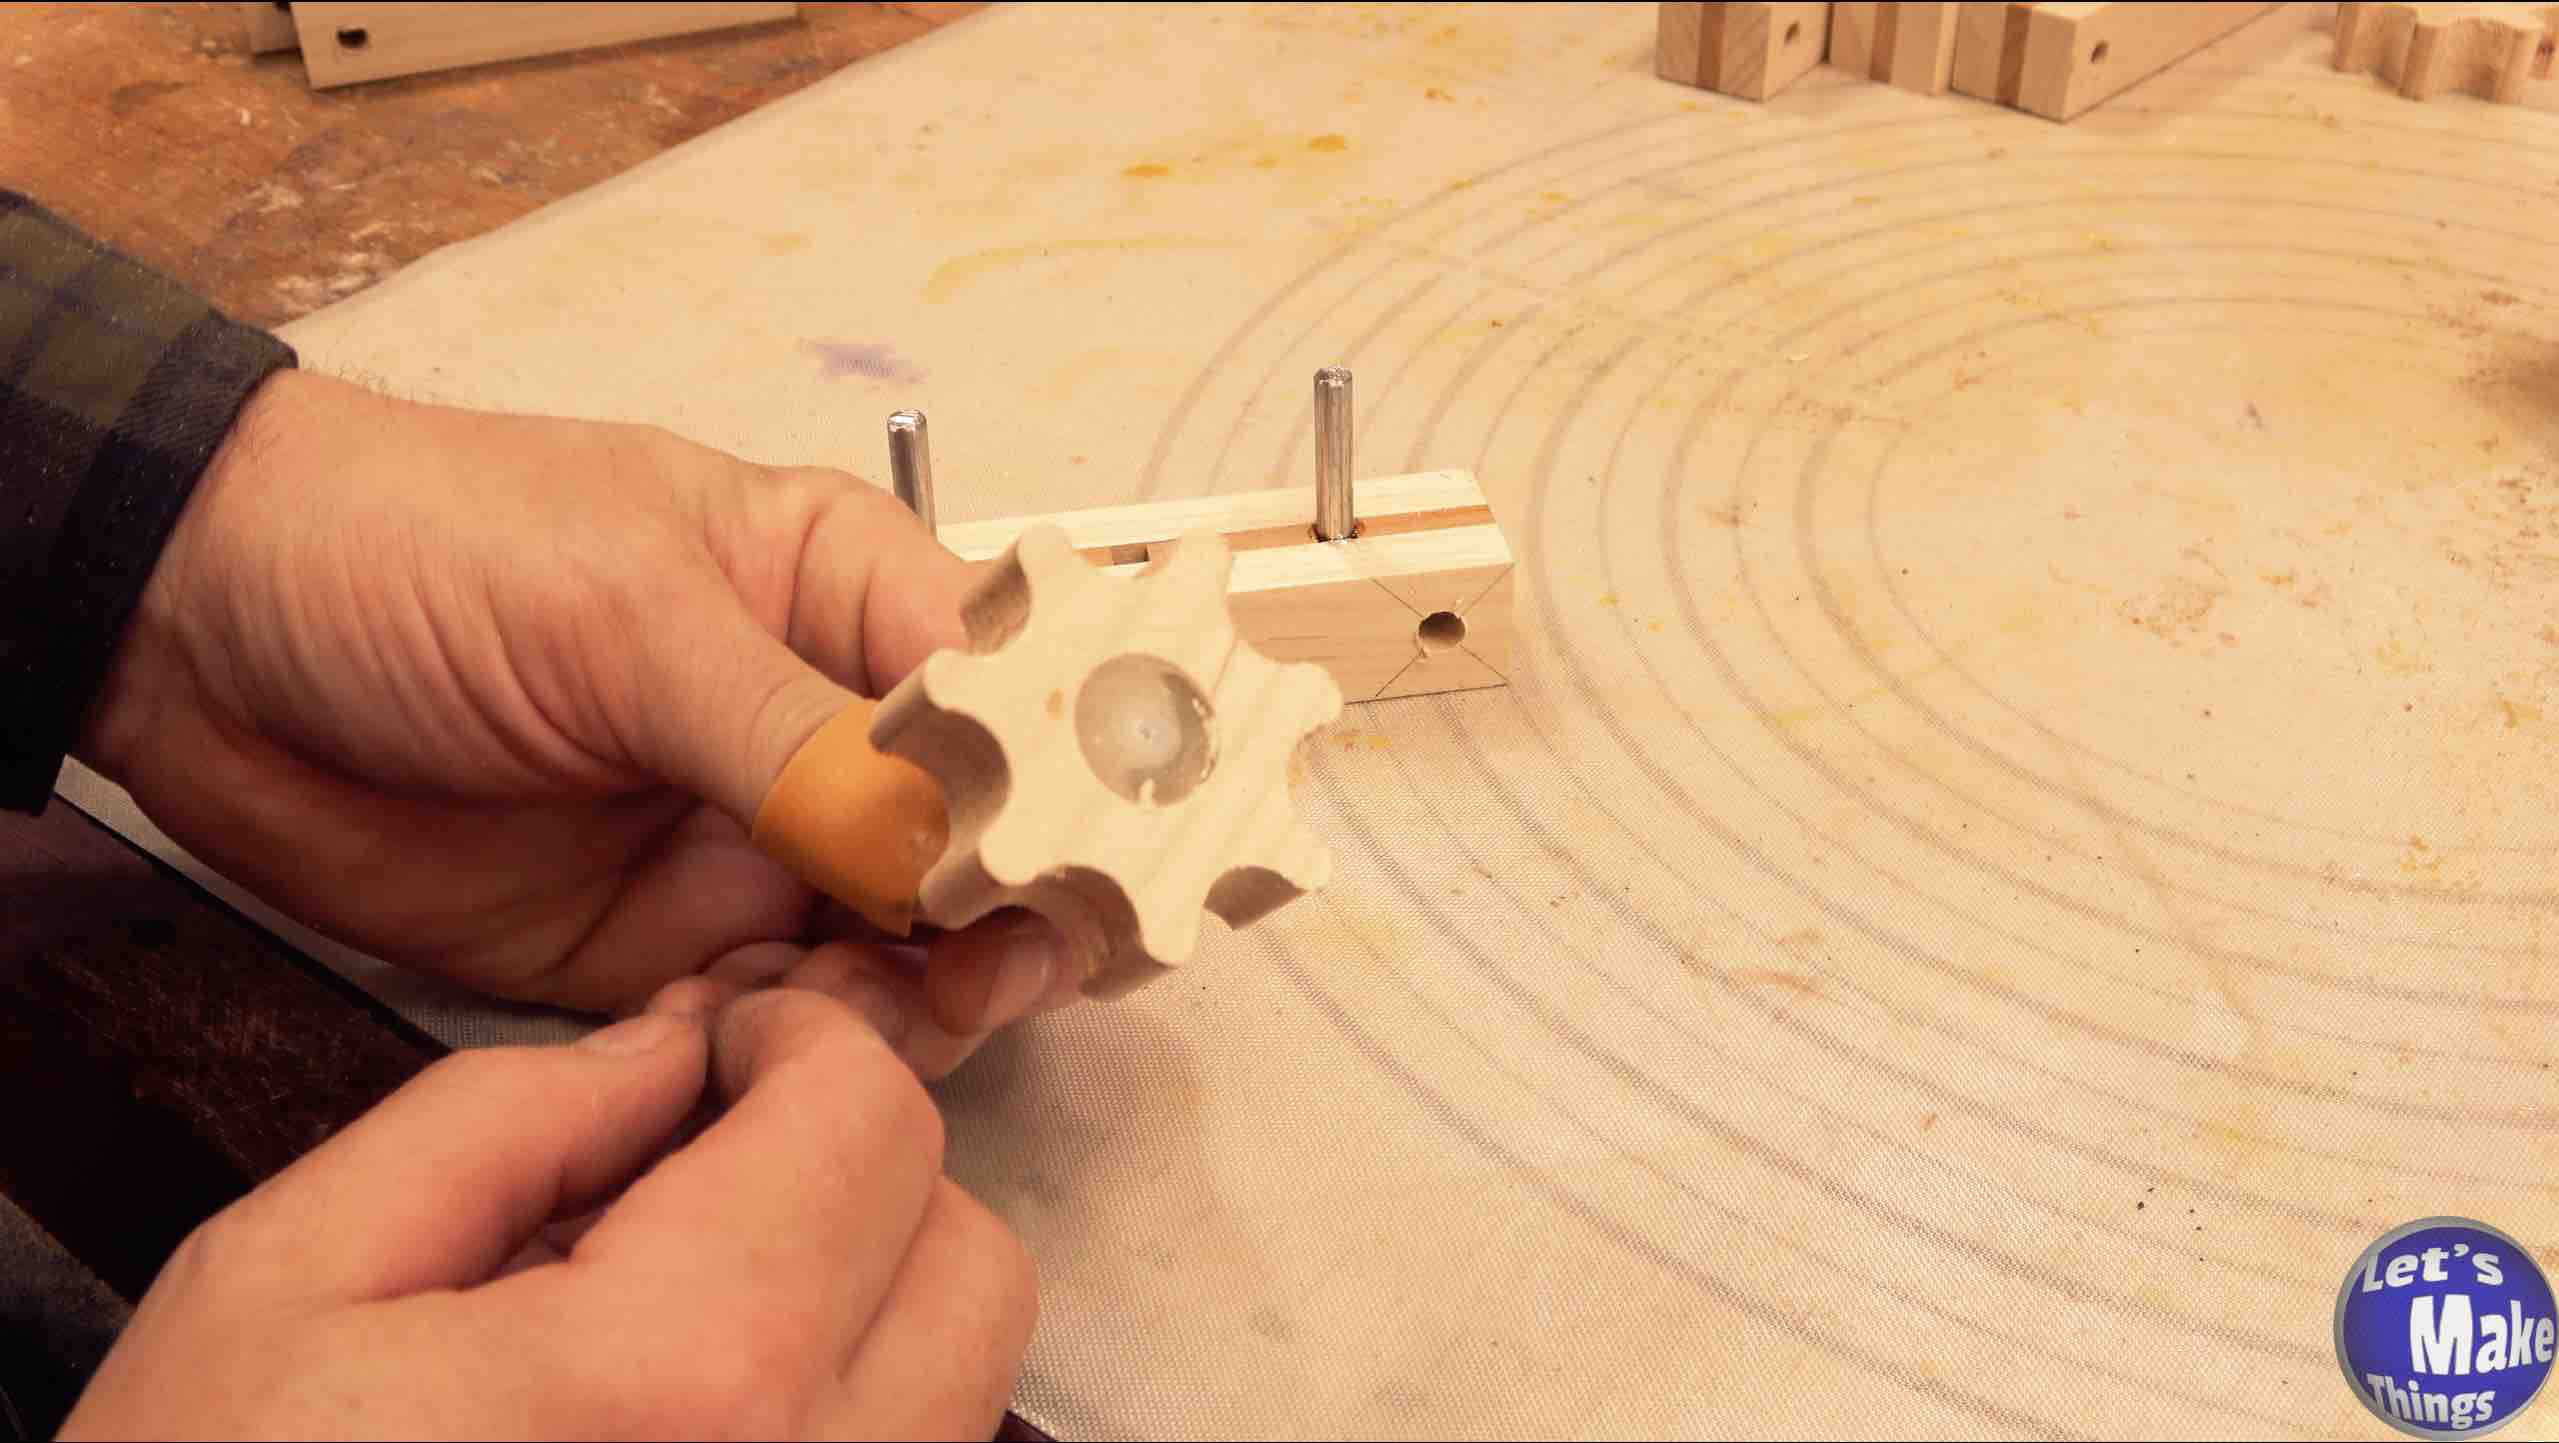
Step 7.
Now, you could buy 4 knobs that have 1/4″ studs on them, or you can make your own. Your PDF packet will have a pattern in it, and the video to make those knobs is here: Making your own knobs.
Note: Clicking the picture on the right shows this step in motion at youtube.
Step 8.
I chose to add dowels, but you probably don’t need to. Due to the way the wood grain is positioned, I like to add dowels as a failsafe, but I’ve never had any problems. It’s up to you. There is a PDF file that shows how I added dowels.
Note: Clicking the picture on the right shows this step in motion at youtube.
Step 9.
Stretchers are what will pull your clamps together. You’ll drill out 3/4″ holes so that 5/16″ carriage bolt heads will fit, and 5/16″ holes for the bolts.
Note: Clicking the picture on the right shows this step in motion at youtube.
Step 10.
Think of the backbrace as what will catch and mold the wood to the front wedge. You’ll need a piece of plywood that is about 3/4″ x 5 7/16″ x 12″. You might be able to go with a 1/2″ piece of plywood…but I can’t tell you how that will fair.
Note: Clicking the picture on the right shows this step in motion at youtube.
Assembly
Assembly is simple at this point. Click the video to the right to get a better explanation than I can give here.
Note: Clicking the picture on the right shows this step in motion at youtube.

Tip Jar
If you enjoyed these free plans and have a few bucks sitting around, why not help us keep the website going and feed the tip jar? Completely optional!