
Simple Corner Clamps
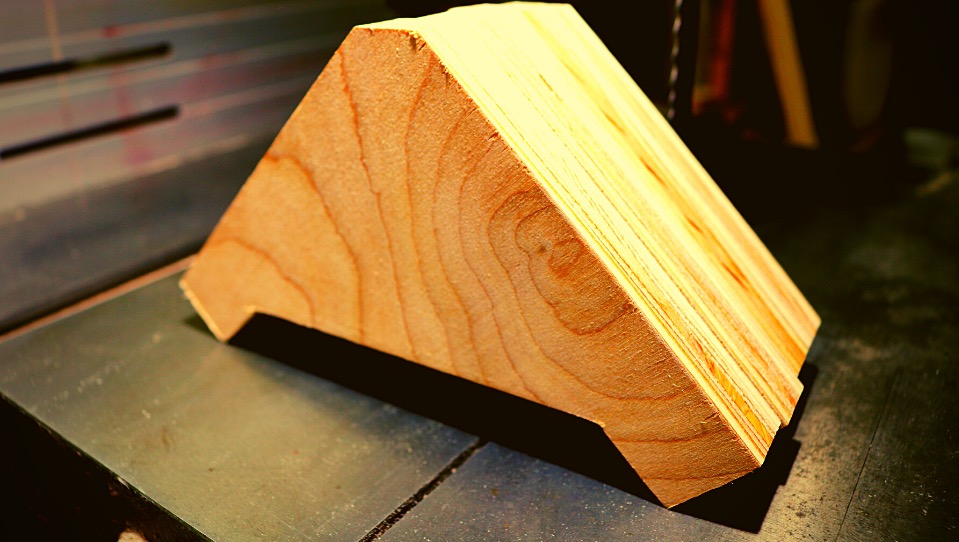
A simple way to clamp! These easy clamps are perfect for picture frames, but they’ll work fine for boxes as well.
We’ll be covering everything in this video, on this webpage.

Patterns
If you plan on making these clamps, you’ll first need to download the PDF. Clicking here will get you that file.
It’s important that you pick one of the diagonal squares on the page and measure it. It should be 1 inch by 1 inch.
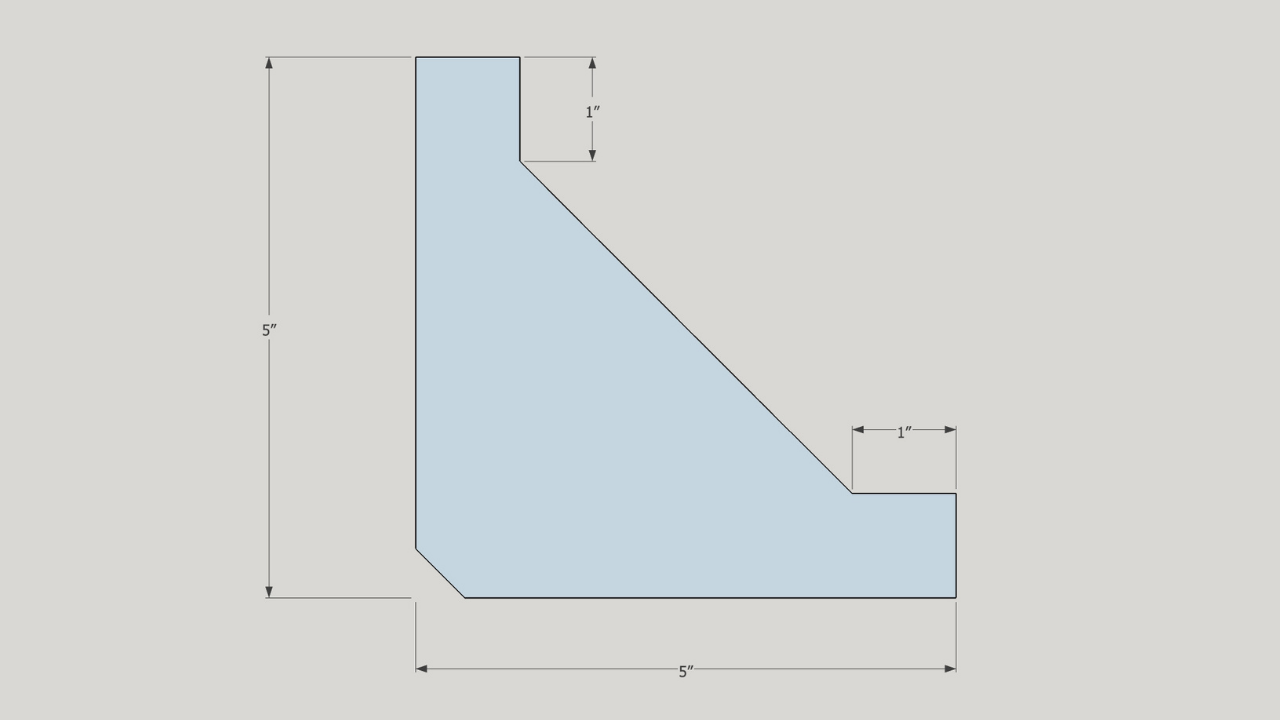
Dimensions
I kept this design simple. I’ve seen other designs where you use a square piece of wood with holes drilled on each side where clamps fit in. But it seemed to use more wood than necessary…and then you have to use the same clamp heads that fit those holes. These corner clamps can accept any type of c-clamp or f-clamp design.
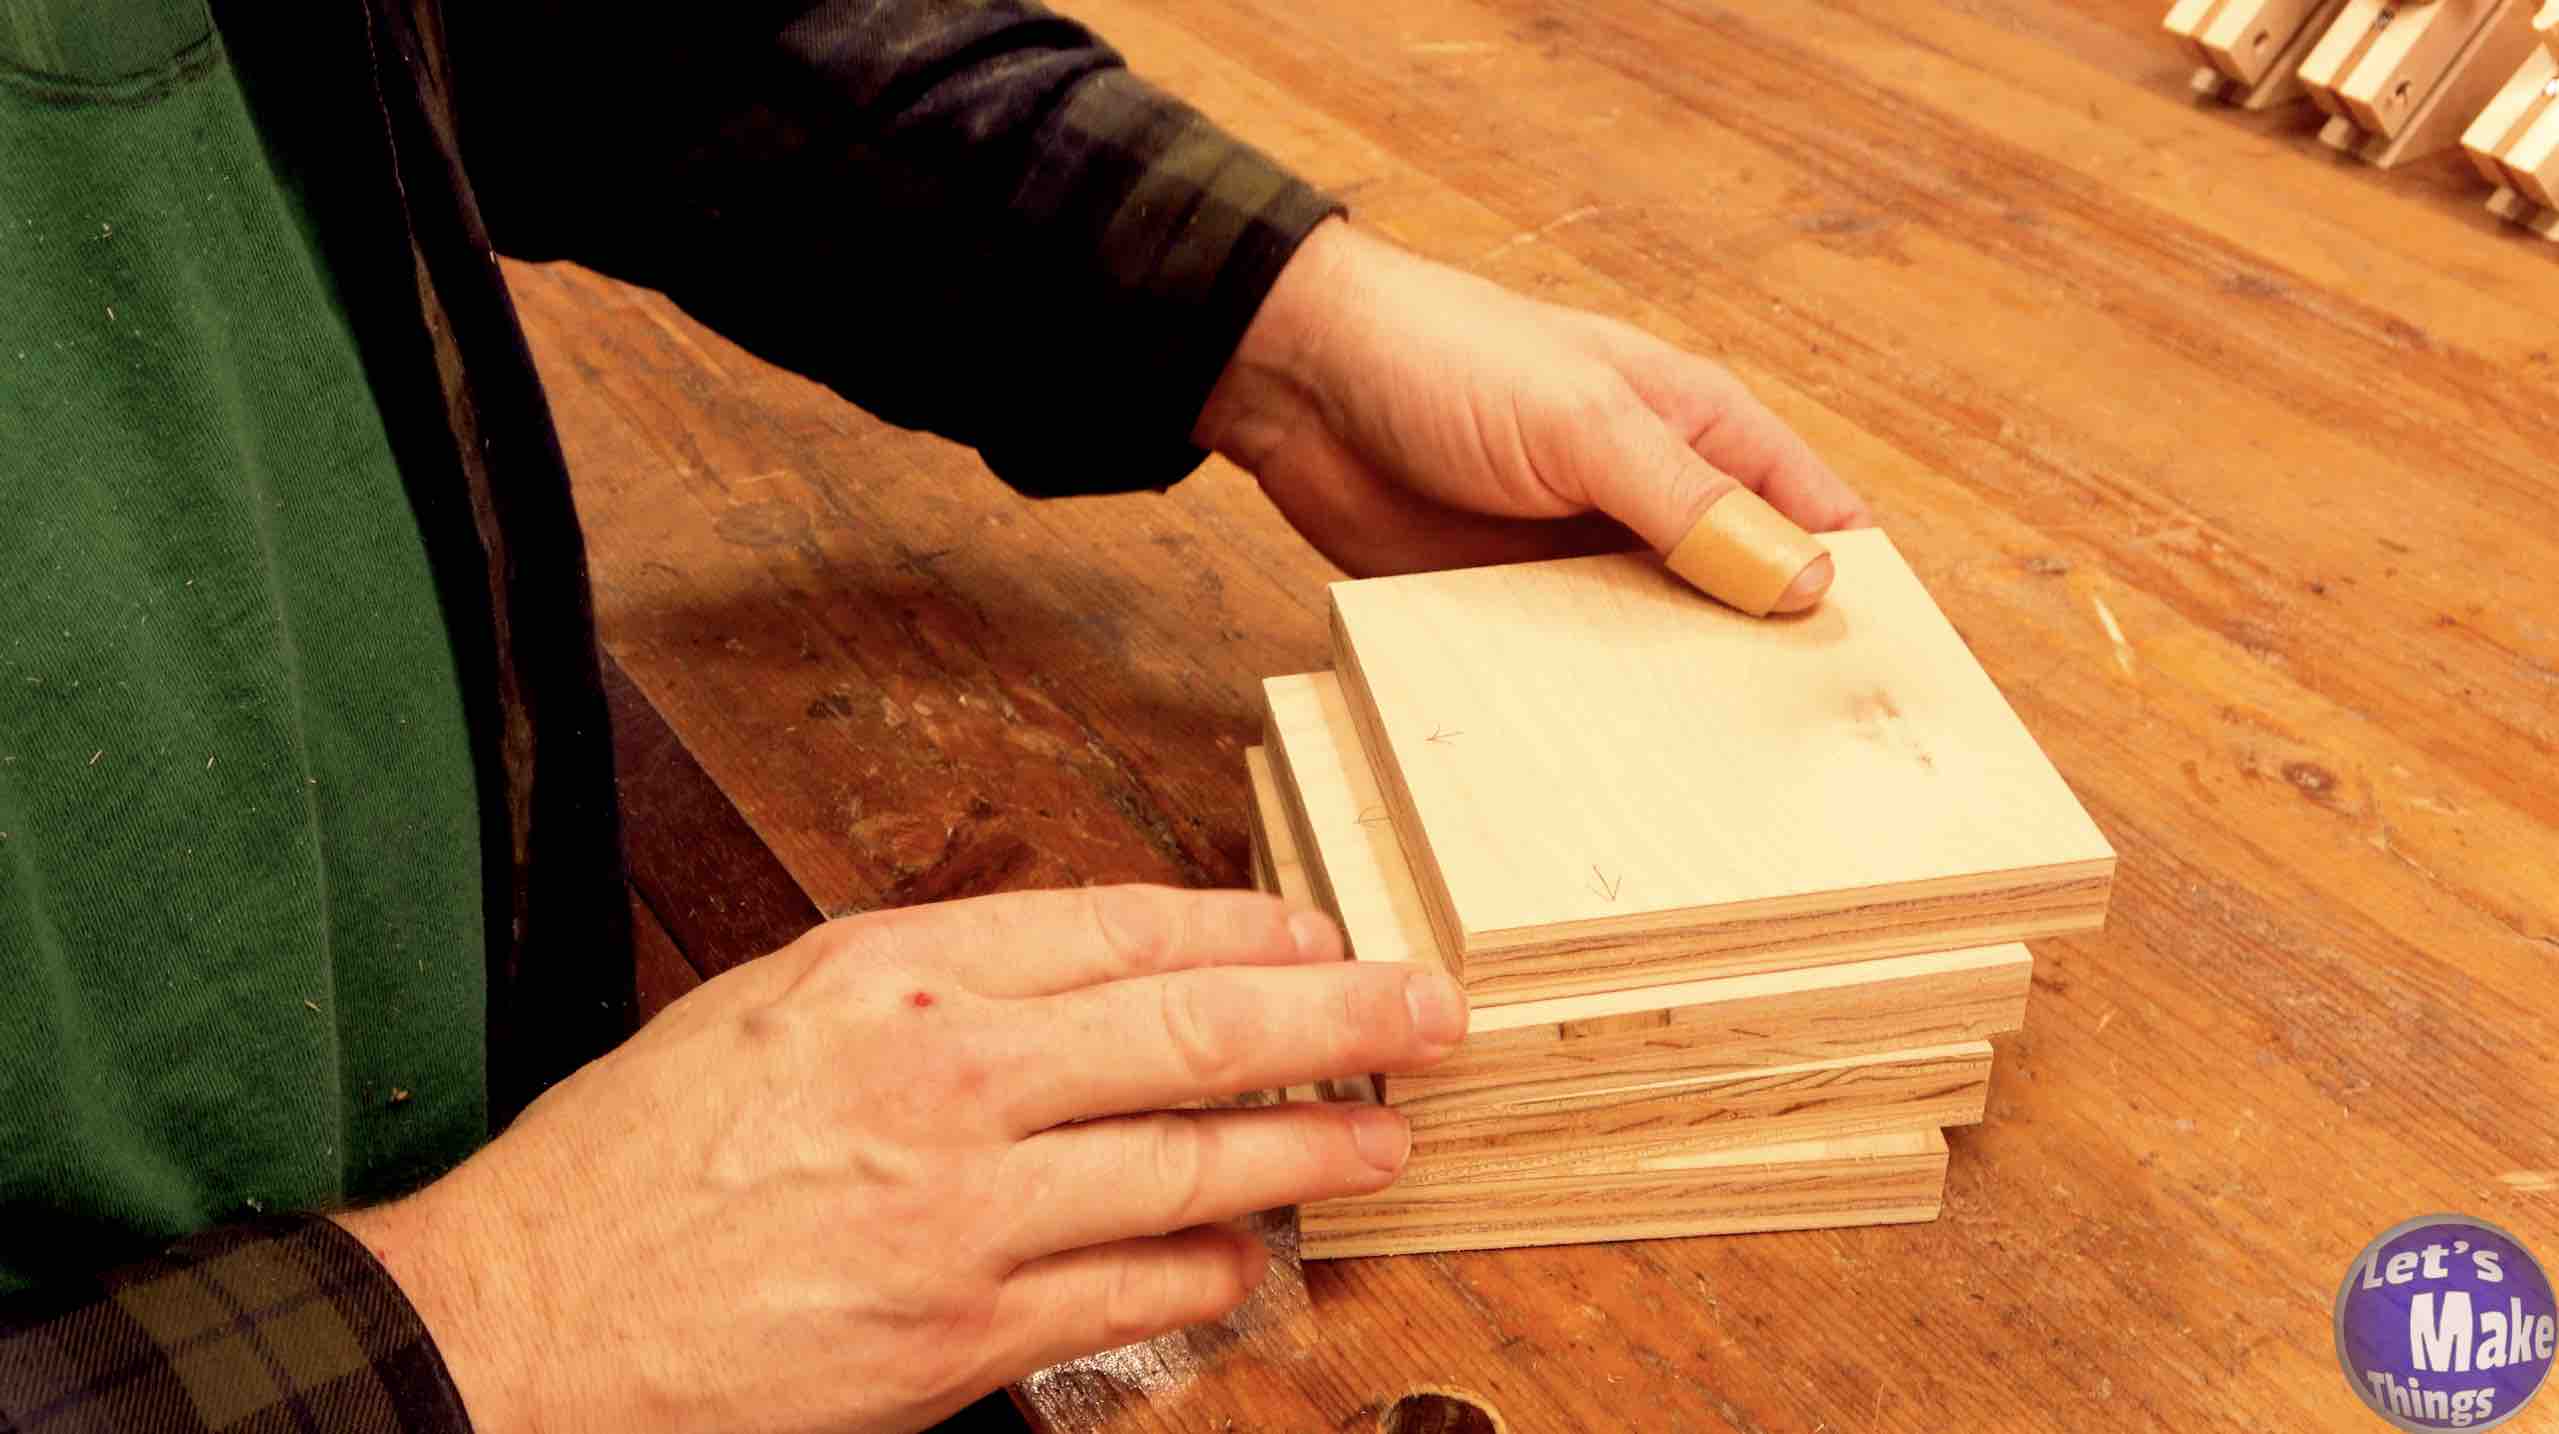
Step 1
To make a set of these simple corner clamps (4 in all, of course),you’ll need to cut 4 pieces of plywood to be 5 inches by 5 inches. On each of the 4 blocks of plywood, one corner must be exactly 90°. The video to the right explains how you can go about achieving that with store bought plywood. Of course, if you have a table saw sled that cuts at exactly 90°, you don’t need to worry about buying a sheet of plywood to do this. A few scraps of plywood, again, cut at 5″ by 5″ will work fine.
Note: Clicking the picture on the right shows this step in motion at youtube.
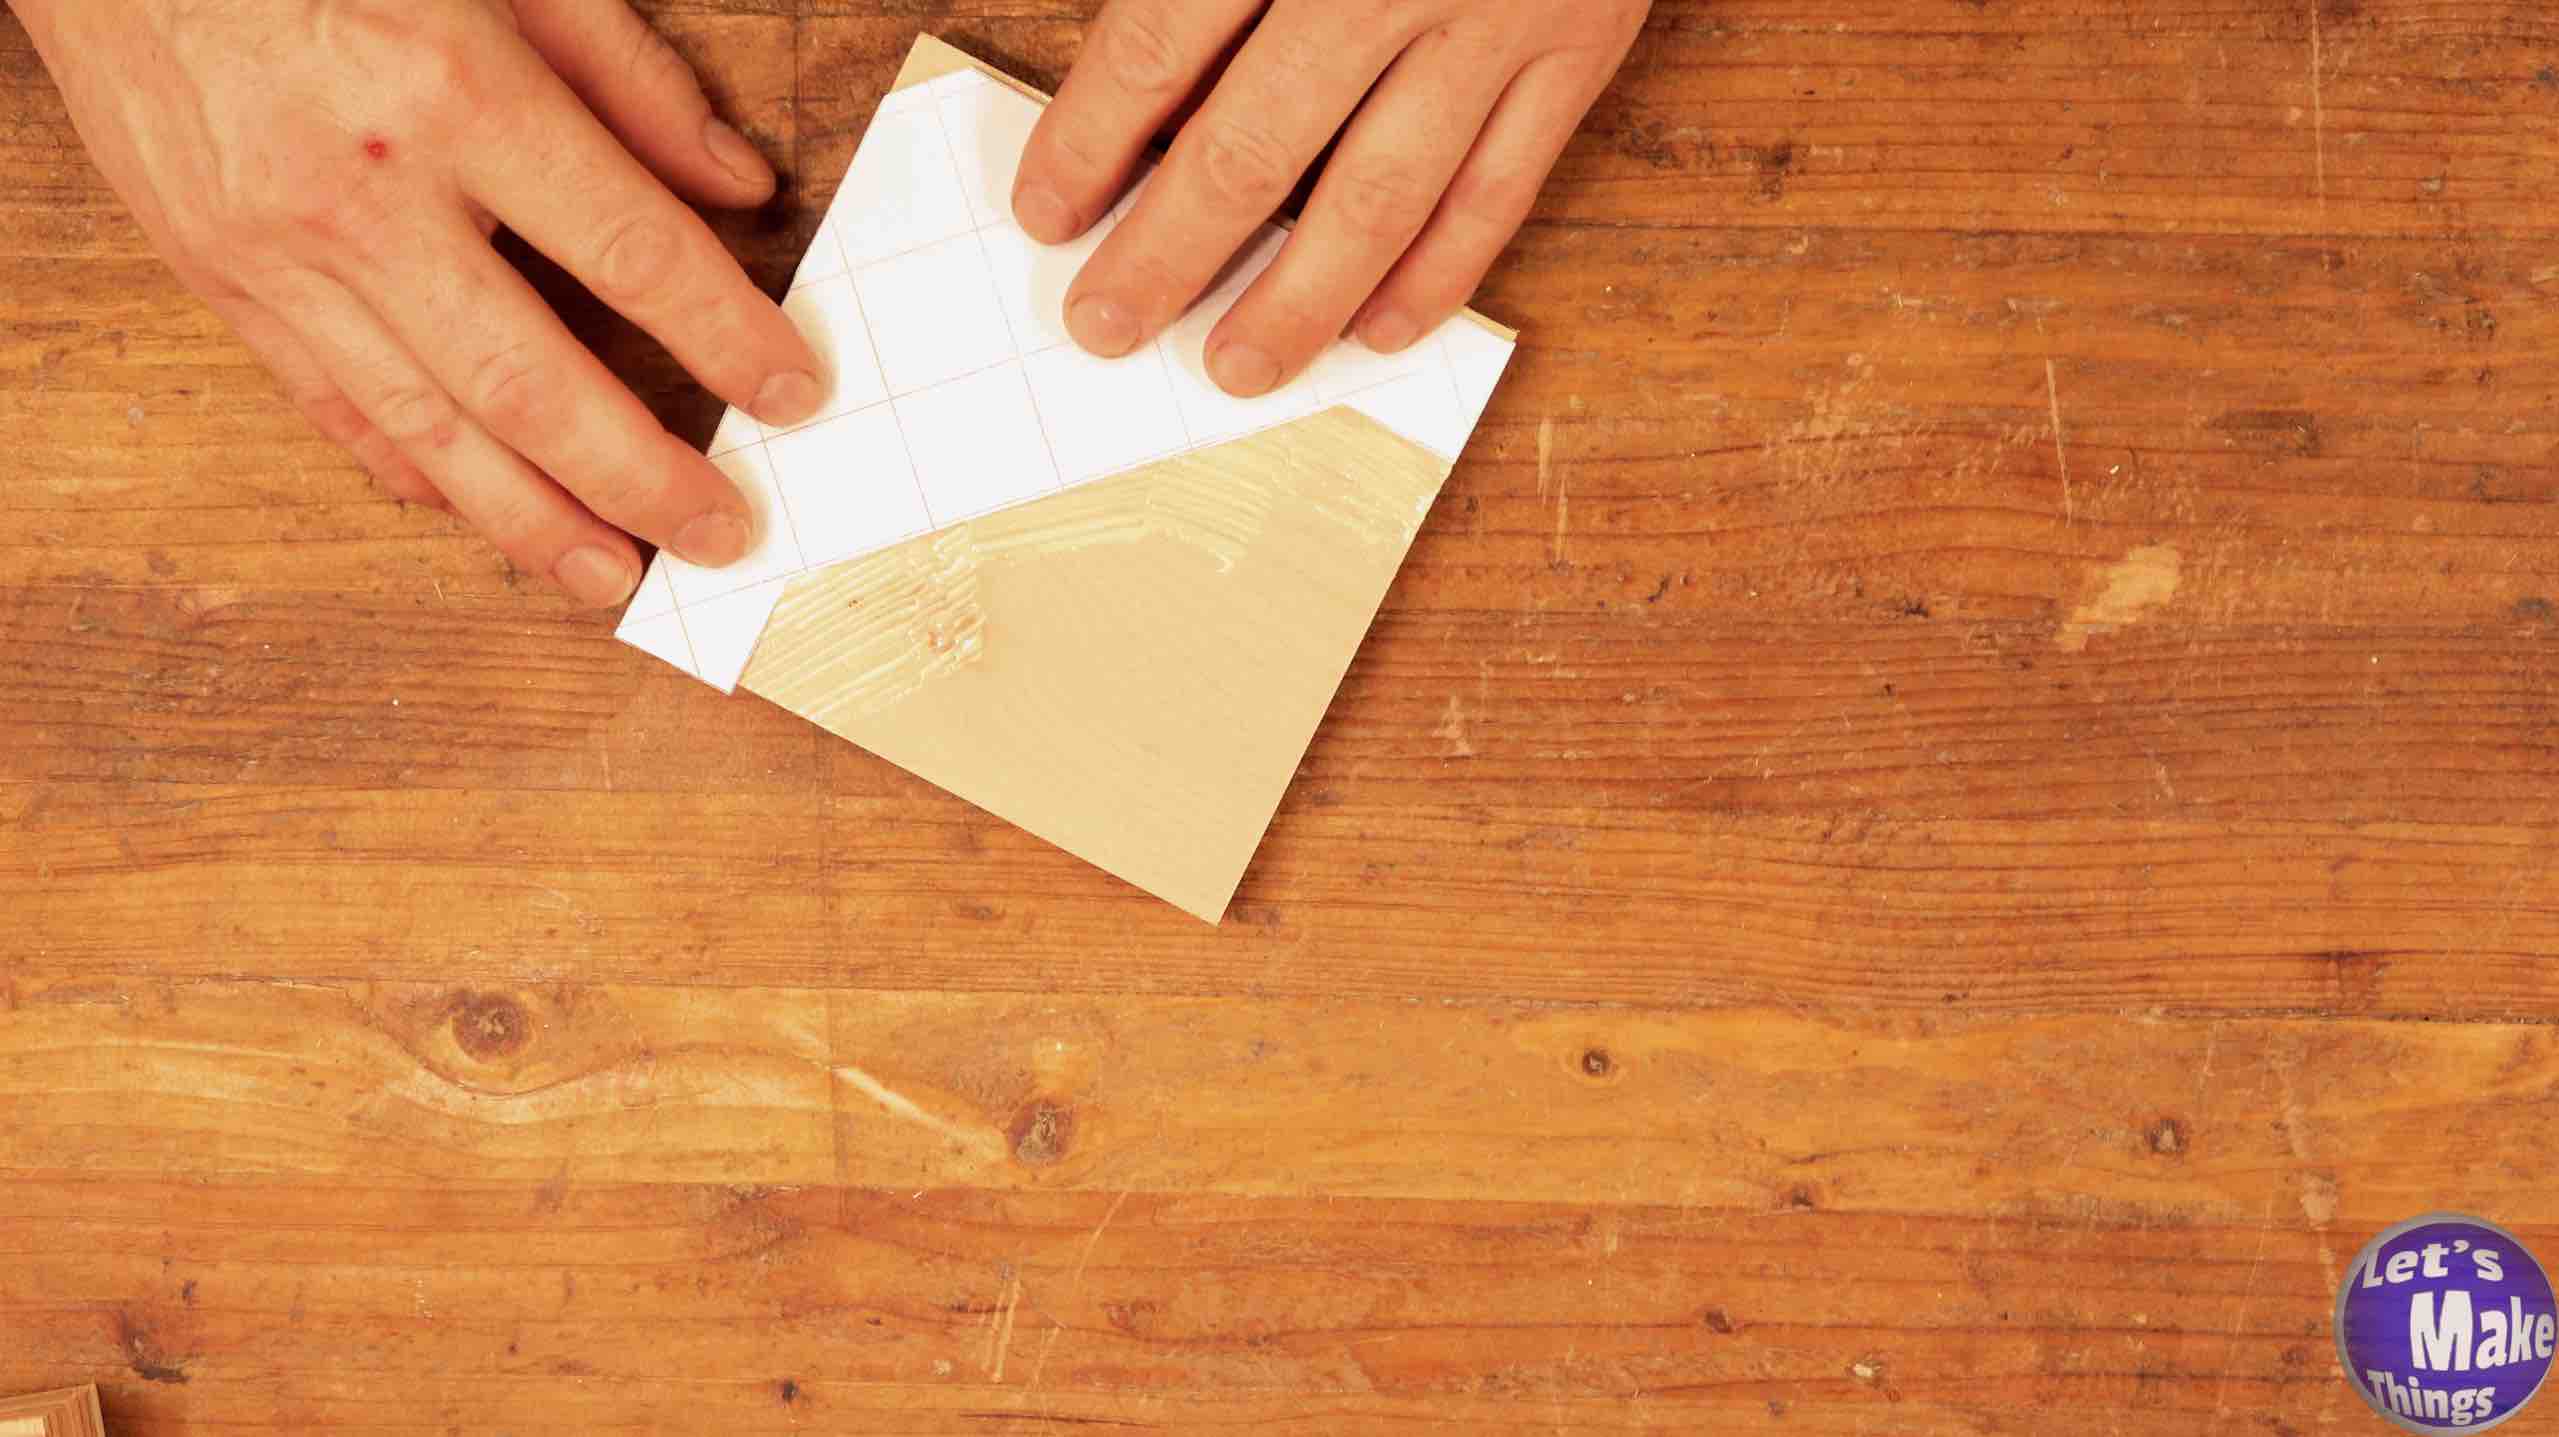
Step 2
When you’re sure you have a perfect 90°, mark arrows on the corner of that 90° so that you don’t confuse them in the future. Cut out the PDF that I’ve included earlier in this article, and you’ll line up the 90° part of the pattern to the edge of your perfect 90°. A little wood glue on the surface, line it up, let it dry. Simple.
It should go without saying that you’re extremely careful not to get any glue on the 90° edges, otherwise you might run into a problem where you’ve left a bump that will throw it off.
Note: Clicking the picture on the right shows this step in motion at youtube.
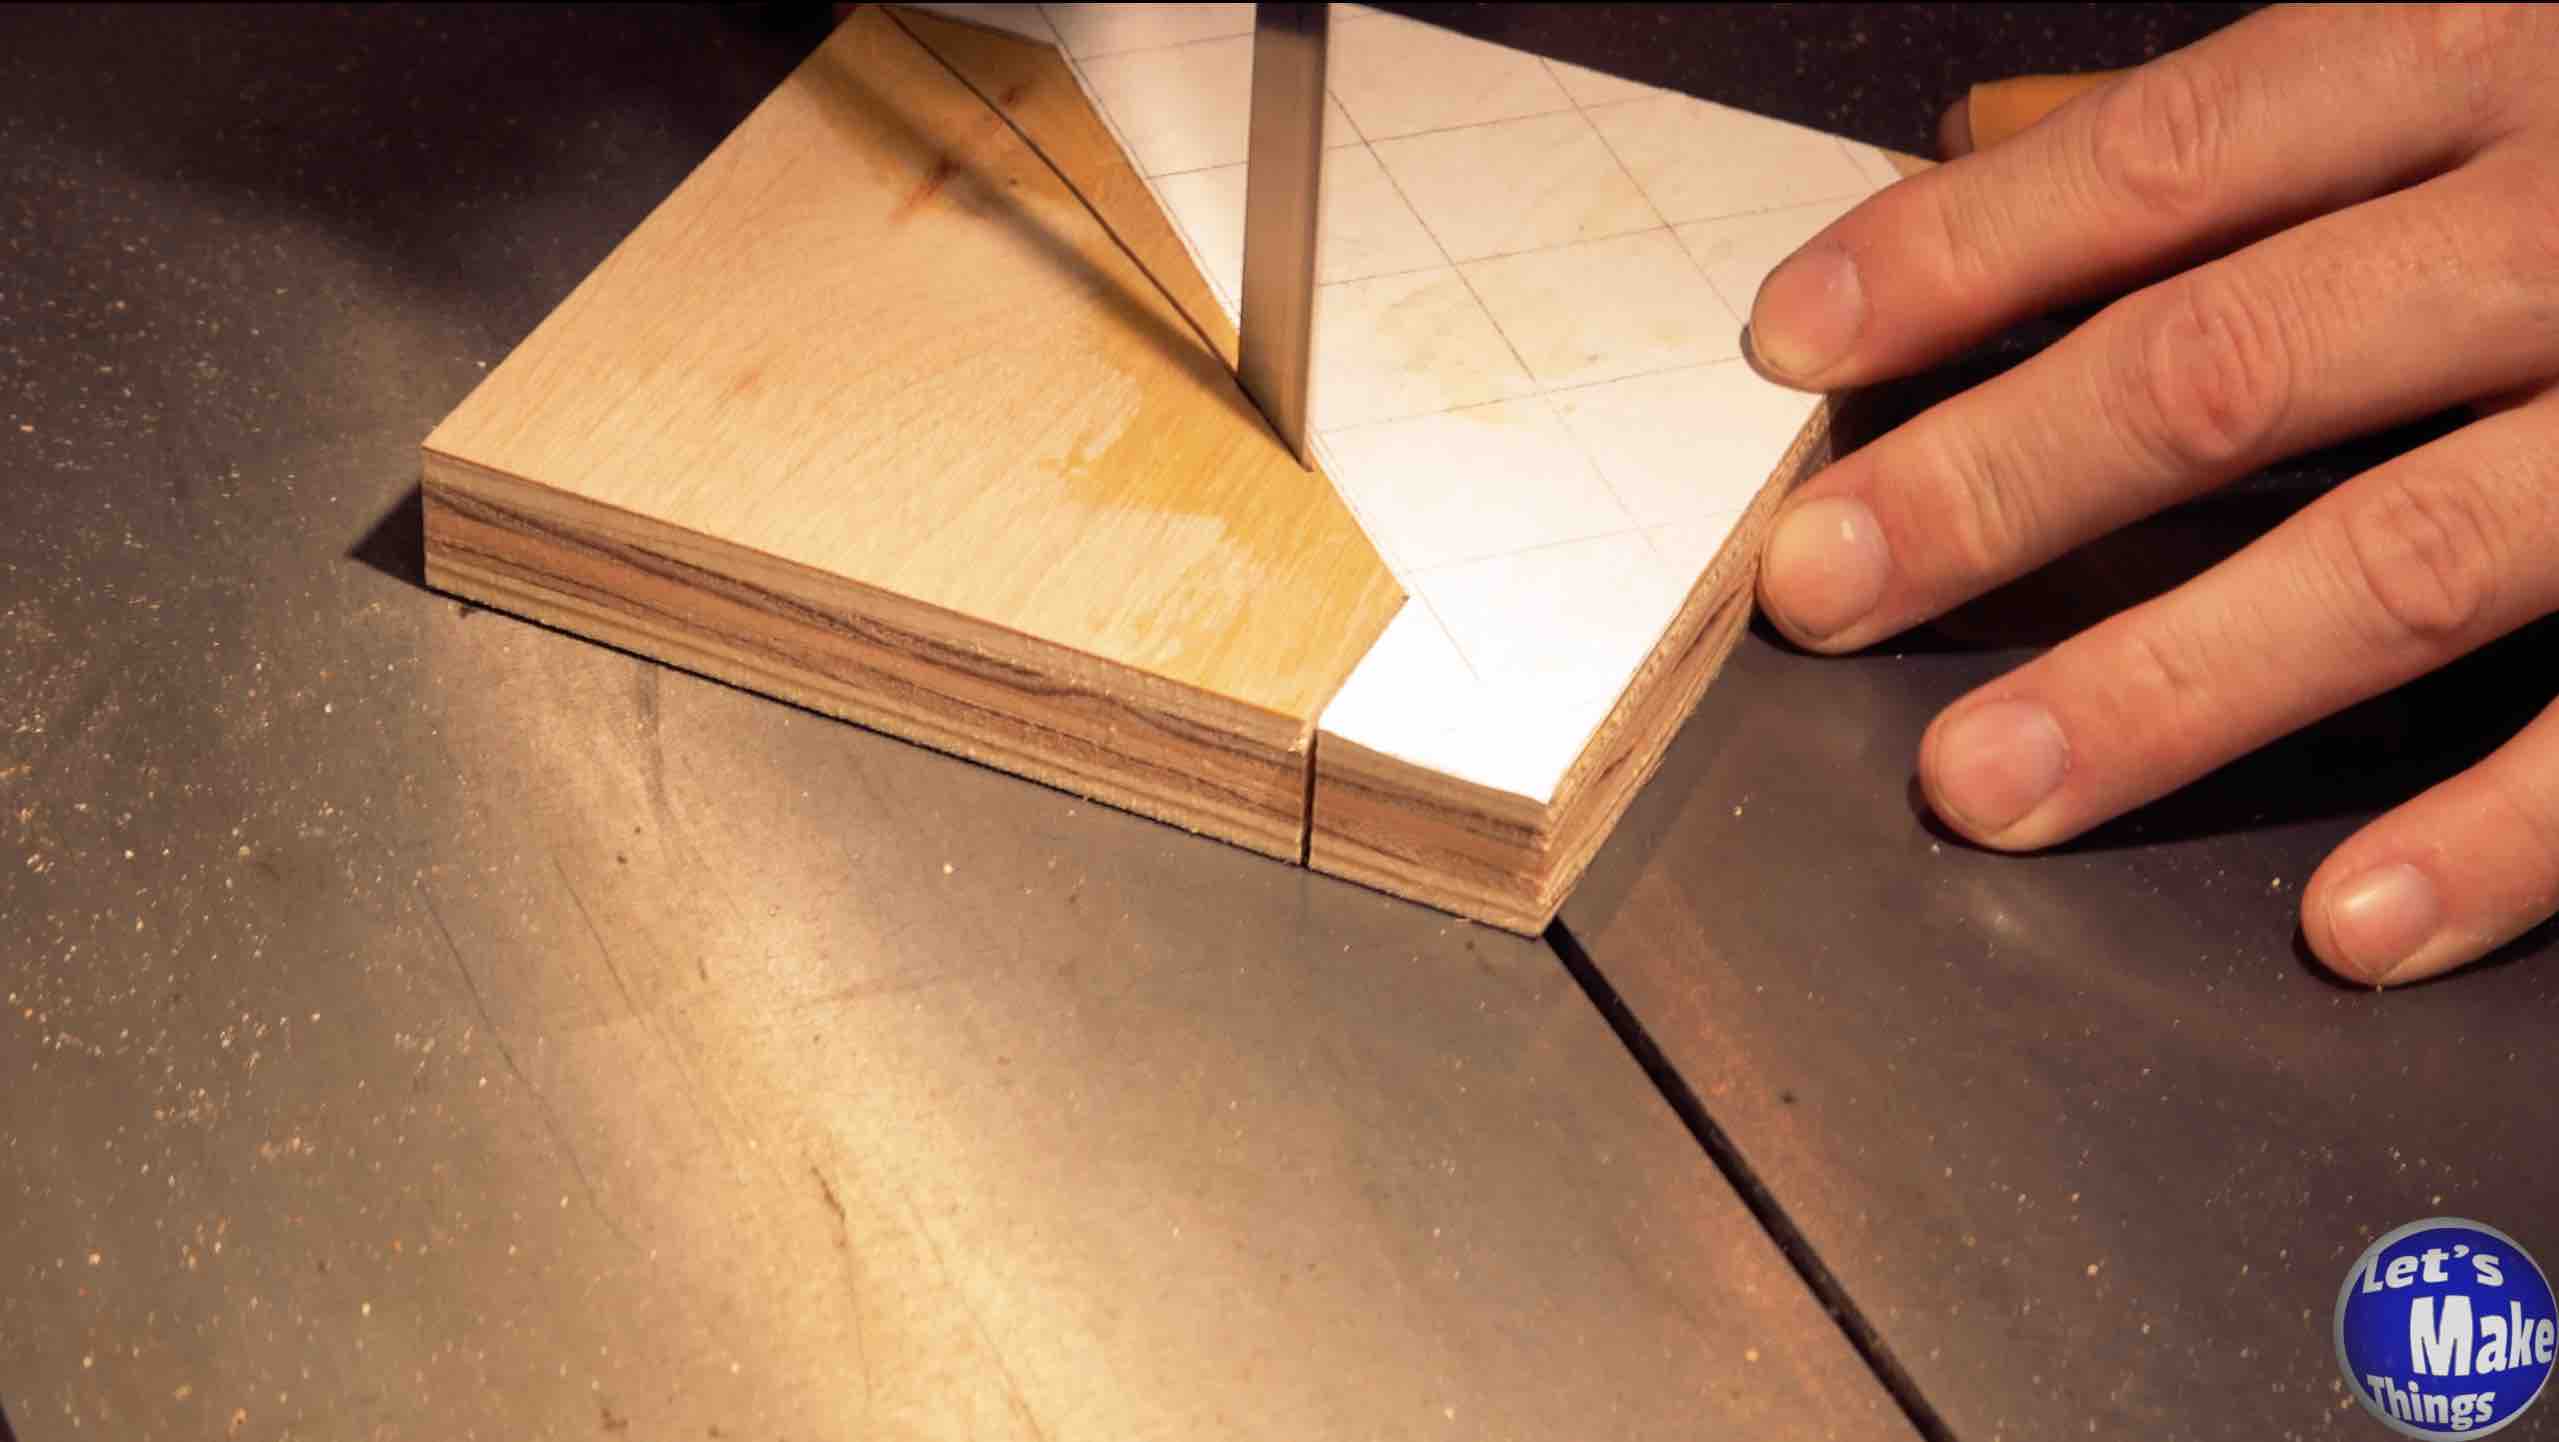
Step 3
Now it’s time to cut this pattern out. You can use whatever method you choose to cut these blocks out. Of course, you will not cut anything on the 90° side, just the opposite. This means you could use a box cutter if you were so inclined (and I’d love to see a video of someone cutting this out with a box cutter!).
Note: Clicking the picture on the right shows this step in motion at youtube.
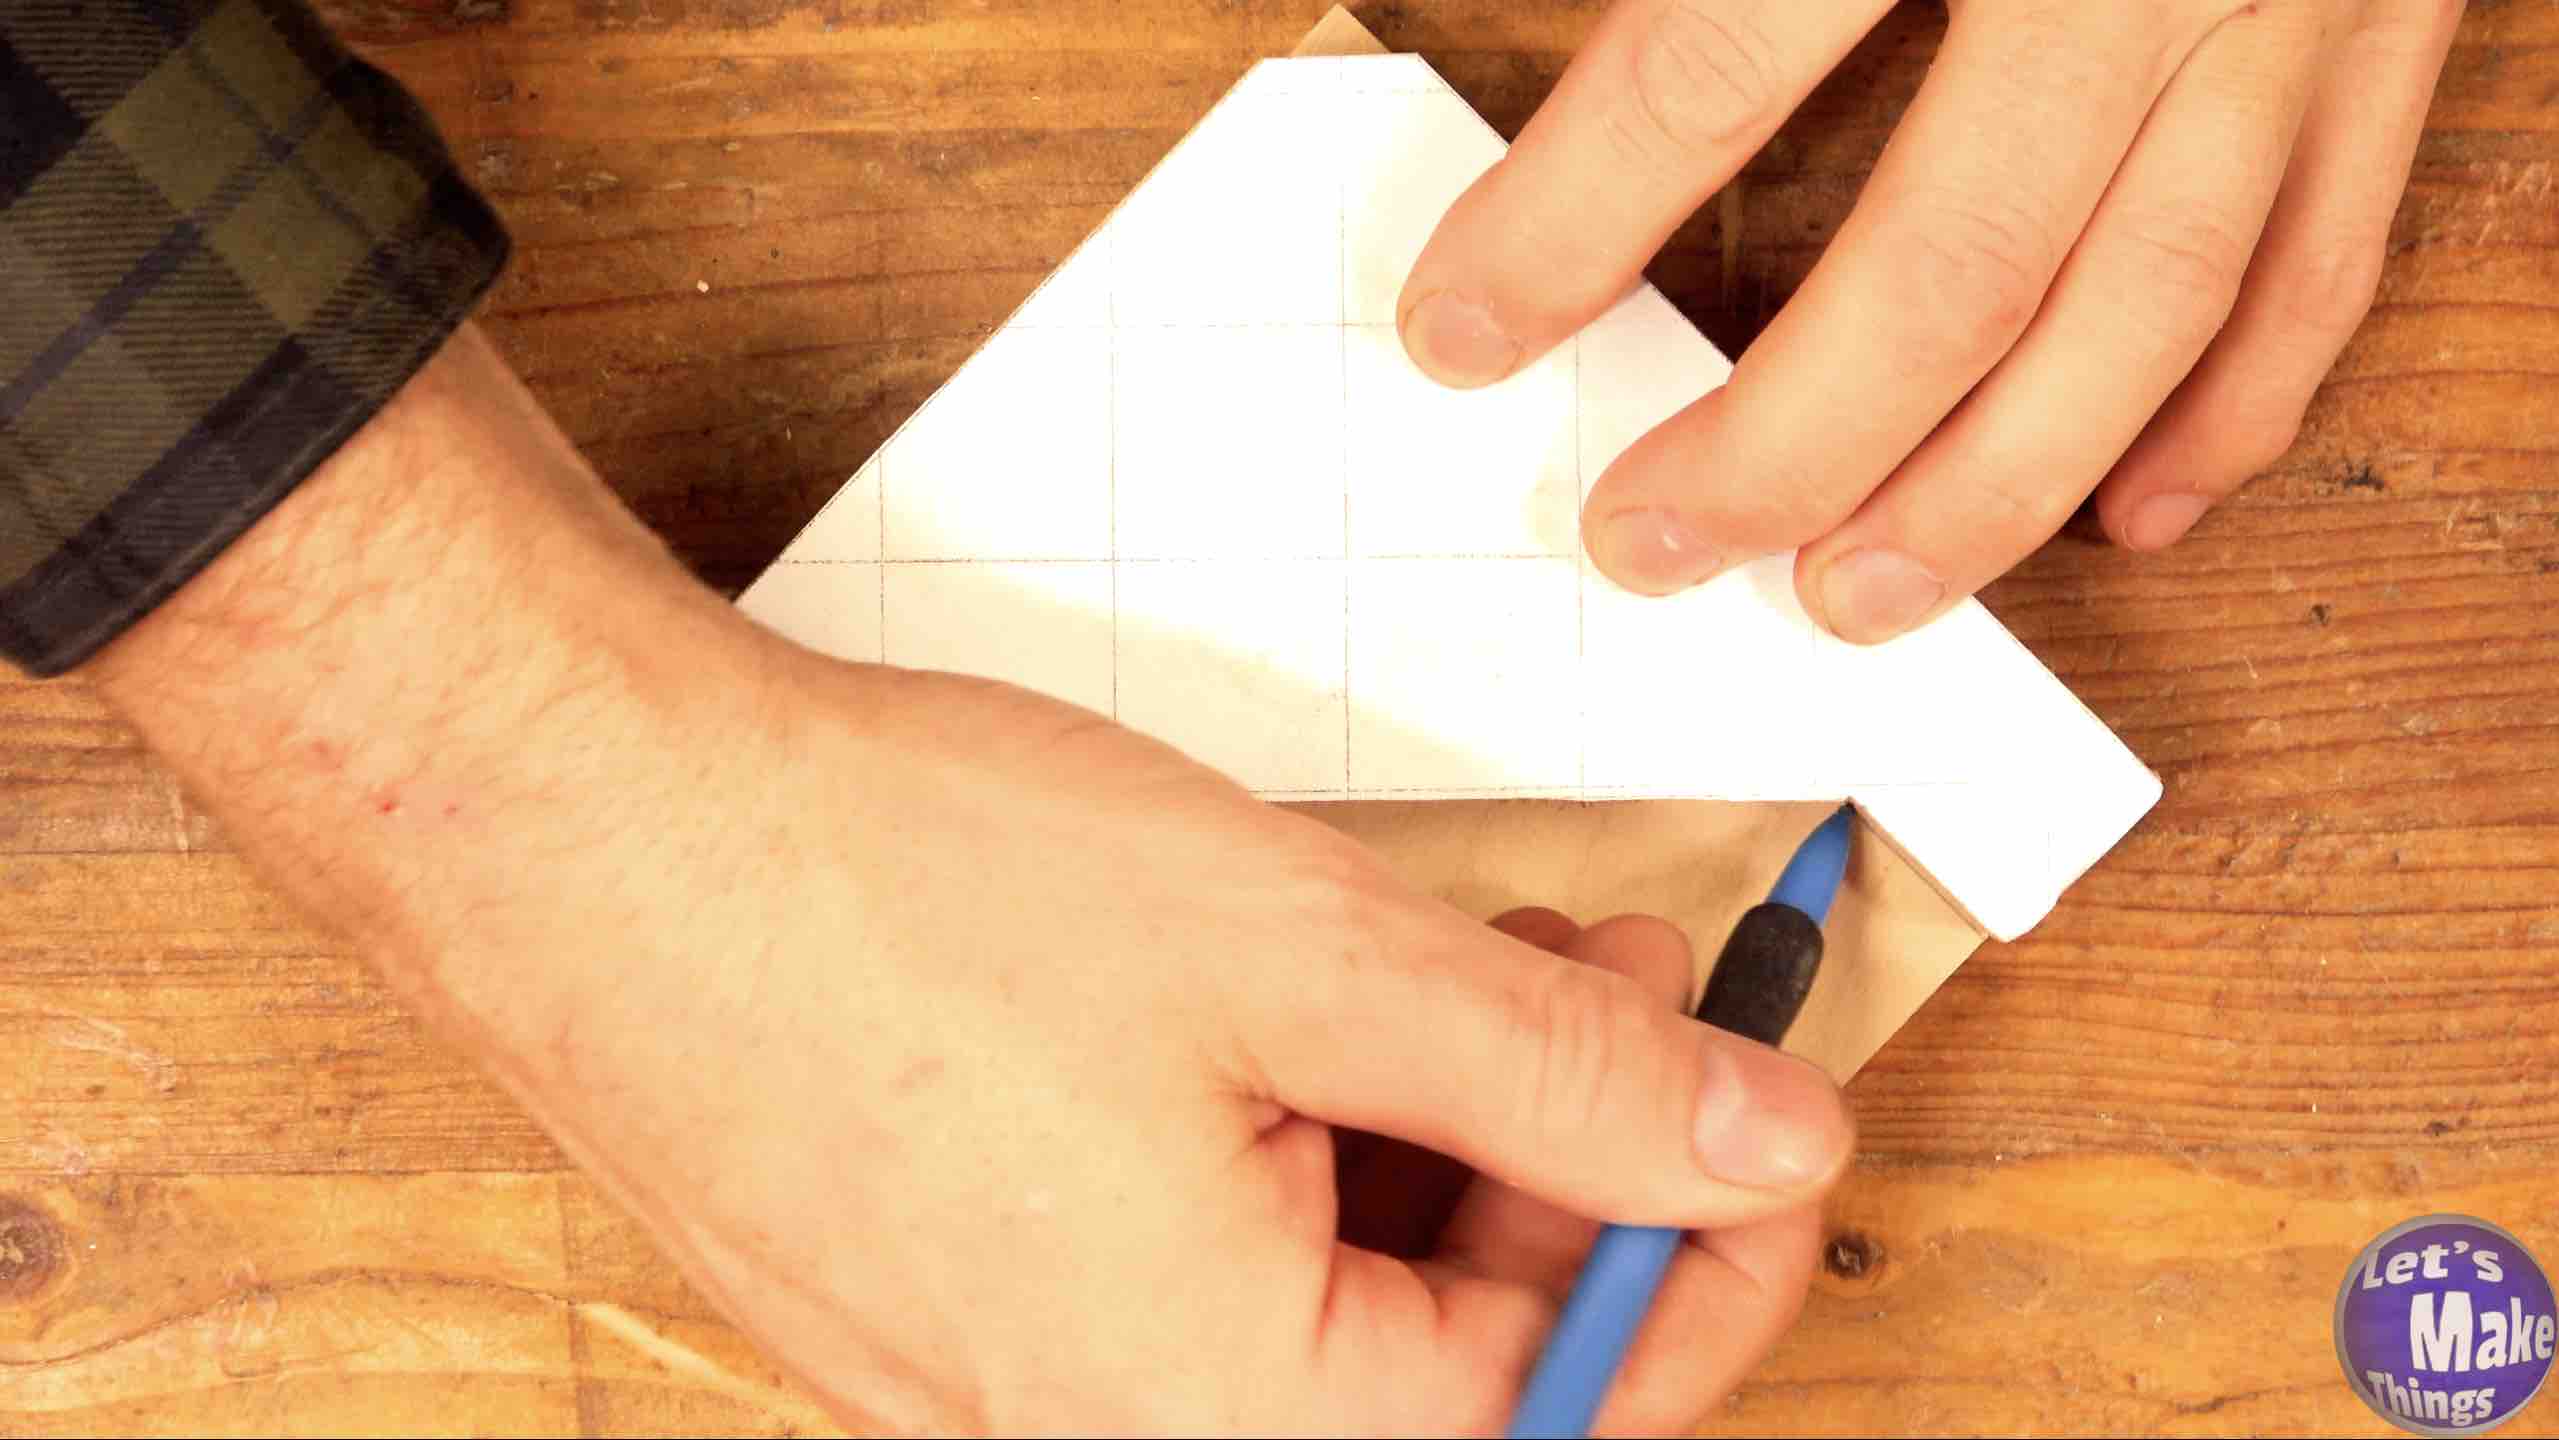
Step 4
Now take that freshly cut piece and duplicate the last step, tracing the part you cut onto the next block. As long as you remember which side is your perfect 90°, you have nothing to worry about at this point.
Note: Clicking the picture on the right shows this step in motion at youtube.
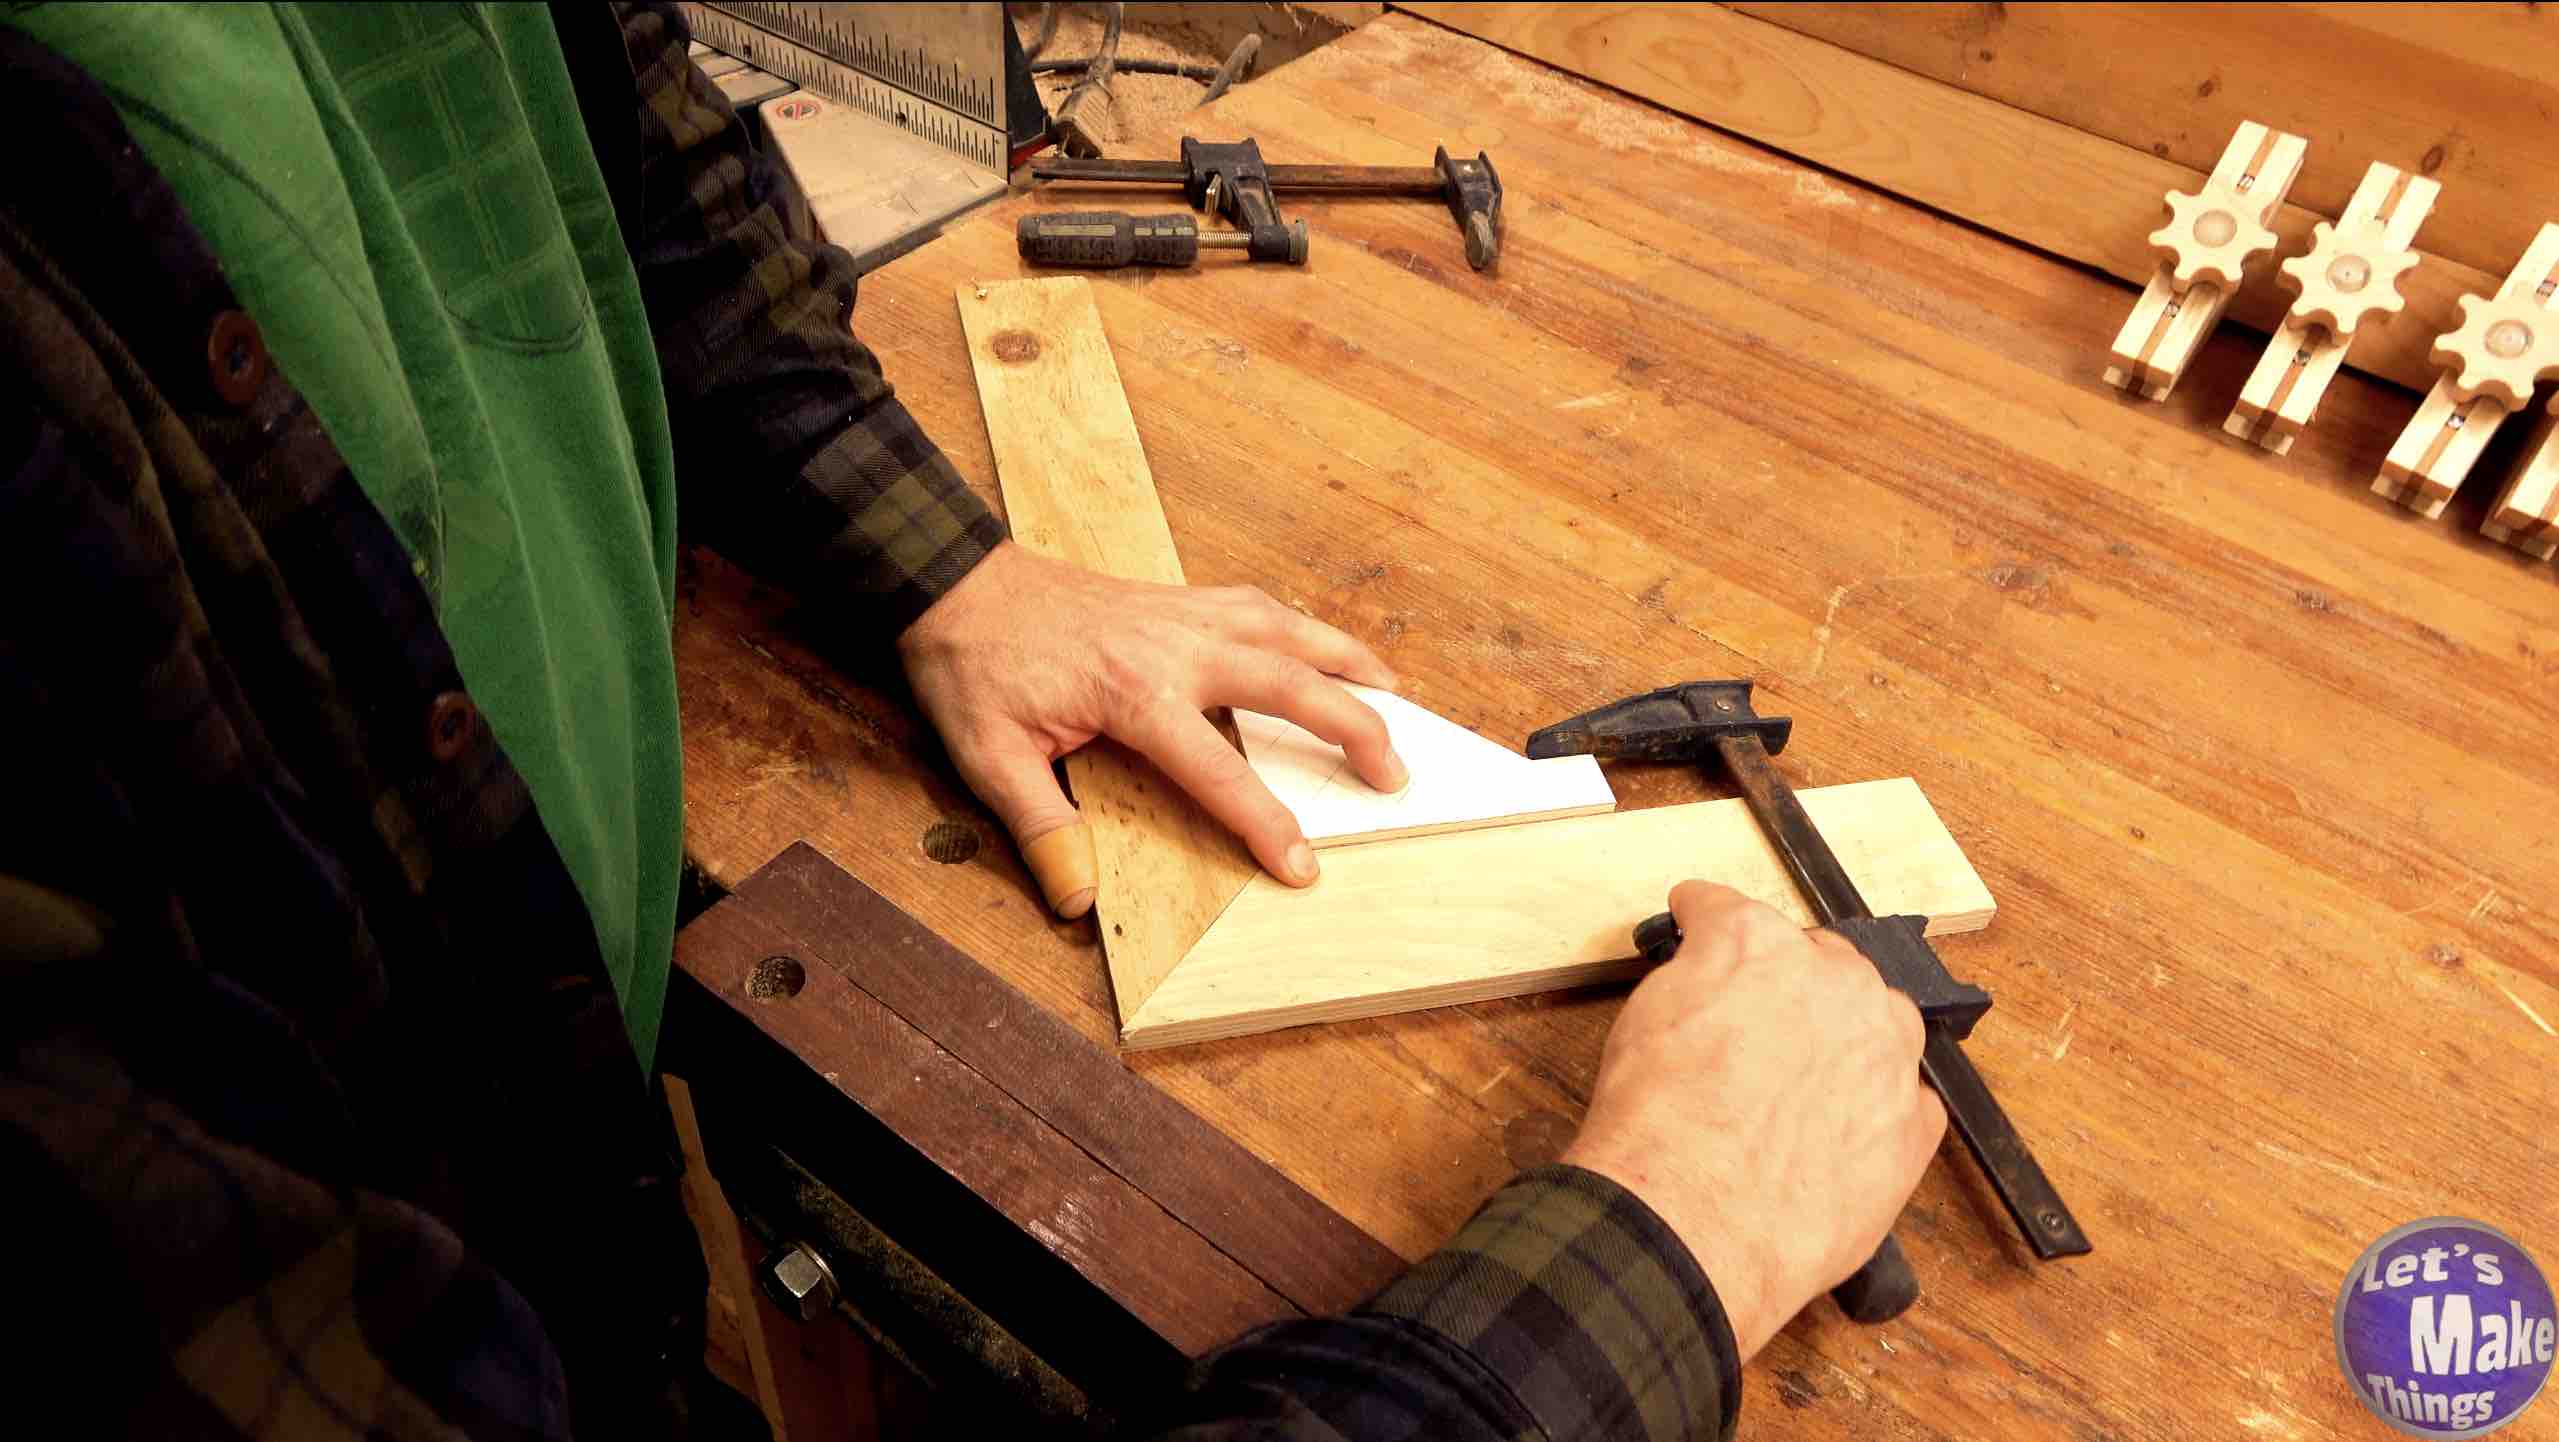
Directions for use
At this point, using this is very simple. You’ll take your 2 boards that you’ll want to line up, put your clamp in the corner of the two and then add some type of clamp to each ‘wing’ of the corner clamp.
Note: Clicking the picture on the right shows this step in motion at youtube.
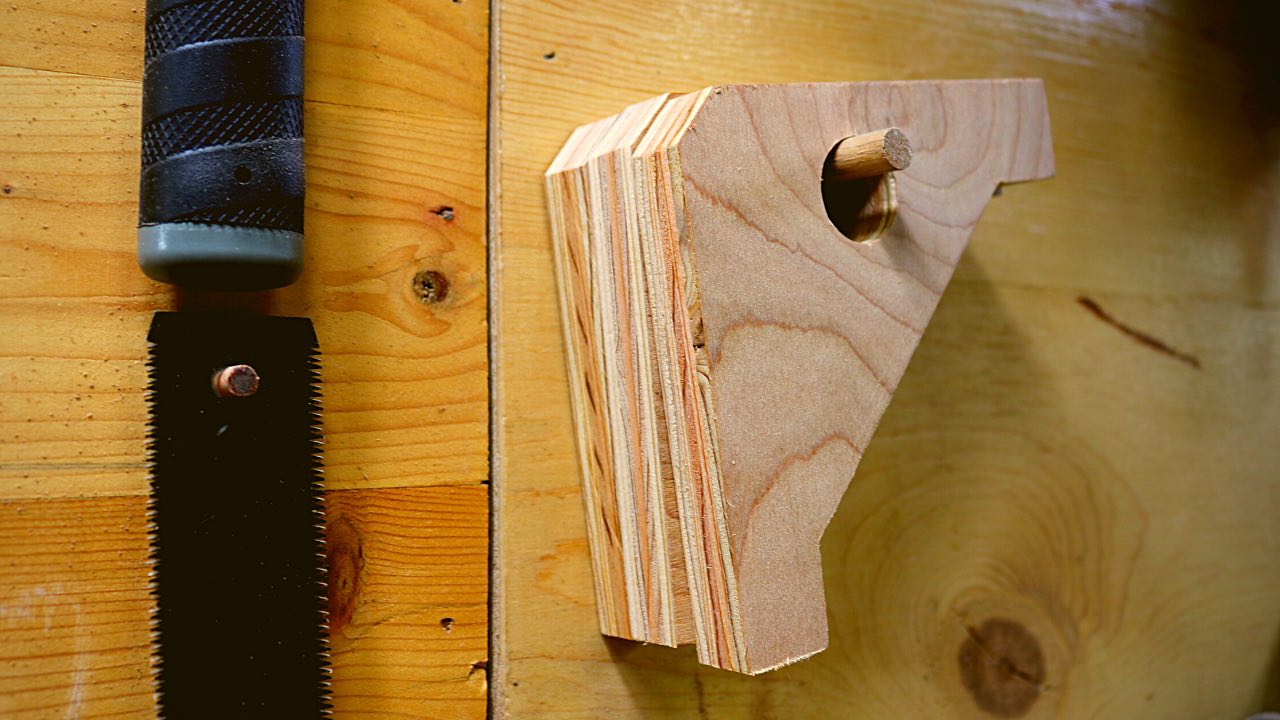
Bonus…Storage!
Something I didn’t touch on in the video but will divulge here, is that it is very simple to store these clamps, if you drill a hole through the center of each of the blocks. Then, you’ll just need to add a dowel to your wood wall and string them on.
Where to put the hole? I found that close to the center of one side seemed to work pretty well. It really doesn’t matter and you might find a place on your wall where a tilt one way or the other works better for you. In the end, (probably), you’ll just want to make sure that all the holes line up evenly. I used a forstner bit after I made the one and then lined up the others to the hole and marked them accordingly.

Tip Jar
If you enjoyed these free plans and have a few bucks sitting around, why not help us keep the website going and feed the tip jar? Completely optional!