Woodworking bench vises are traditionally built into the bench: Great for woodworking projects, terrible for cutting or working on metal.But mounting a steel vise to the surface can get in the way of larger projects.We can get around that by making a vise on a jig that’s easily able to be removed when not needed.I’ve got two different jigs I’ve come up with that will work: One with a woodworking vise, the other if you don’t have a vise but don’t want to mount your steel vise to the table.
watch all steps in this video before starting
Please use the material and tool list below as a guide to finding the products locally.
Materials
3/4″ x 6″ x 12″ Hardwood (rift or quartersawn are better choices)
(2) 3/4″ x 1 3/4″ x 5 3/4″ Hardwood (Glued together)
(4) 3/8″ x 1 1/2″ Stove bolt (flat head)
(4) 3/8″ Lock nuts
(4) #14 x 1 1/2″ Flat head screws
Double sided tape
5/8’s bolt (with 4 inches of non threading) (V.2 Only)
As an amazon associate I earn from qualifying purchases.
Step by step instructions
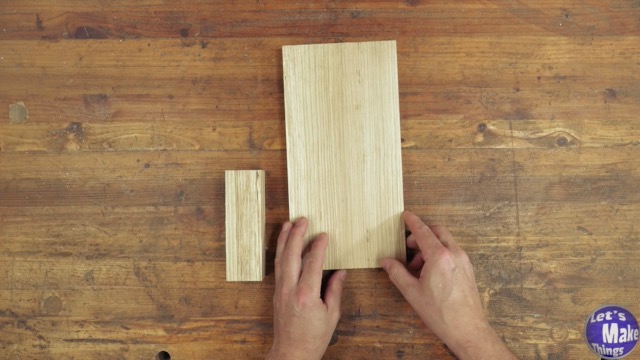
1. Materials (V.1 & 2)
Check to make sure you have all of the stock cut to thickness, width and length. If you can get your hands on some quarter or rift sawn lumber, you’ll stock will have less of a chance of twisting later on.
Click image to see this step on youtube
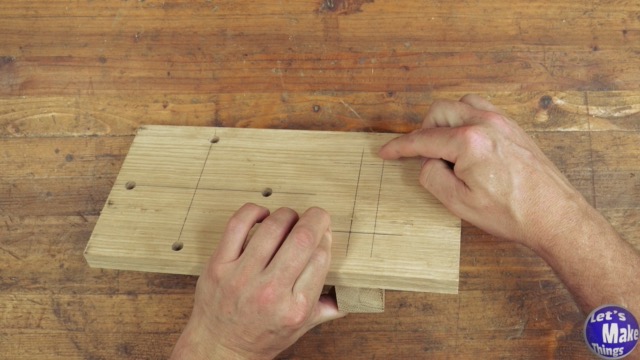
2. Steel vise mapping (V.1 & 2)
We’ll mark out both the horizontal and vertical line that the Goehner’s vise will sit on, like a crosshair. Place the vise on top and line each of the lines up in each hole.
Click image to see this step on youtube
3. Adding crossbars (V.1)
The crossbar will need to be a few inches away from the edge. It’s a good idea to add a few thick (fat) screws as it’ll need to be held on securely.
Click image to see this step on youtube
4. Adding crossbars (V.2)
Really, the only difference between the last step and this one is the placement of the crossbar. If you decide to do the second, dog hole version, the stock will sit at the end of the jig.
Click image to see this step on youtube
5. Adding a dog hole (V.2)
To add a dog hole, you’ll need to see where your jig sits on the table and mark the front edge of your bench dog hole. I used a spade bit to calculate the distance for the center of the hole and drilled it out.
Click image to see this step on youtube
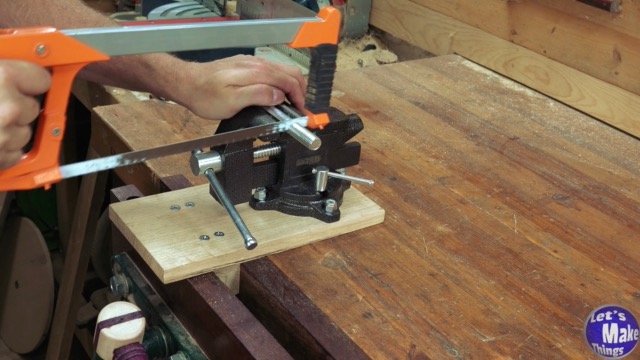
6. Adding the vise (V.1 & 2)
The vise will be easy to add but remember to check for the arc on the underside so that it swings in the dead center. You’ll also want the locking handle to be pointed to the crossbar side of the jig.
Click image to see this step on youtube
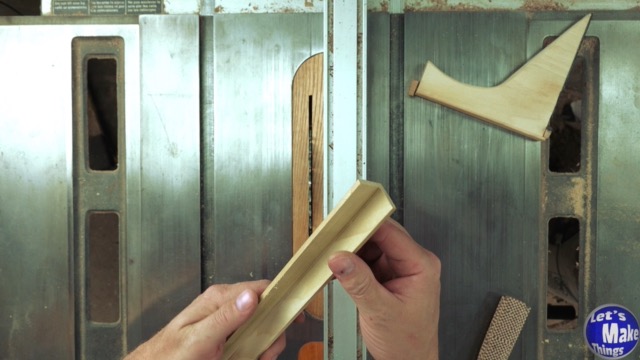
7. A few cuts
I made a few cuts to show it off…click the image to see the tests.
Click image to see this step on youtube
8. Bonus: wood jaws
If you do plan on using your vise with wood stock, I’ve got a little tip here for making vise teeth that will protect your stock.
Click image to see this step on youtube
Tip Jar
If you enjoyed or found this useful, throw me a tip →
To support me with patreon, click here → Patreon
Click here to Subscribe to me on youtube → Youtube
If you found any errors on the page, please use my email below and contact me!