Advanced Bandsaw Sled
Circle Jig
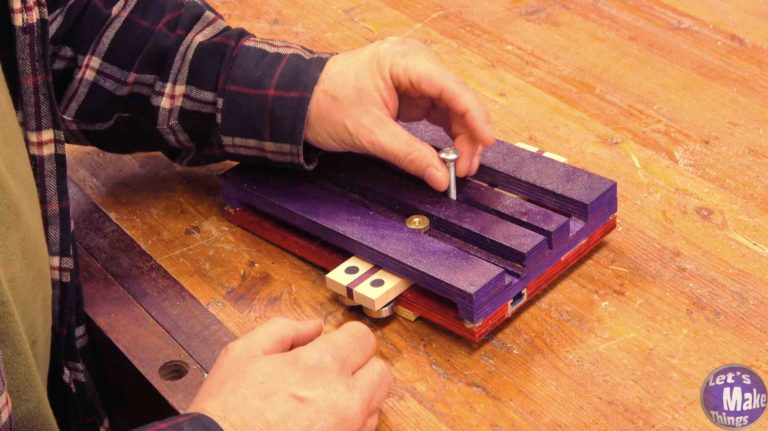
A few years ago, I made this circle cutting jig. It worked but there was something about it that I didn’t like: you had to lock it into place to use it, you had to drill a center hole and you most certainly had to use a very thin blade.
Again, it worked, but I didn’t like the limitations it set. Below is a better circle cutting jig that allows me to fix all of those problems.
watch all steps in this video before starting
Please use the material and tool list below as a guide to finding the products locally.
Printout
Materials
- 1/2″ x Your bandsaw cut width x 6 inches
- (2) 1/2″ x 1/2″ x 6″ plywood runner
- (2) 1/8″ x 1/4″ strips of wood, your bandsaw cut width
- (8 (see step 2)) 1/2″ x 1/8″ rare earth magnets
- 1/4″ x 1″ x 1″ plexiglass
- 1/4″ Hex nut
- 1/4″ x 1″ bolt, head removed
- Wood glue, epoxy
Tools Needed/used
- Bandsaw
- Drill press
- Table saw
- Strip belt sander
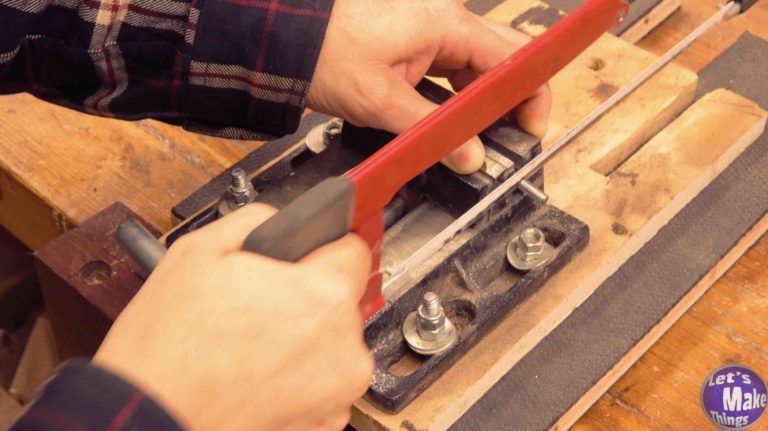
- hack saw (or a grinder)
- Speed square
- Fine ruler
- Pencil
- Glue mat
- Awl
- 1/16″ drill bit
- 1/2″, 3/4″, 1″ forstner bit
- step bit (with half inch increments)
As an amazon associate I earn from qualifying purchases.
Step by step instructions
1. cutting the body
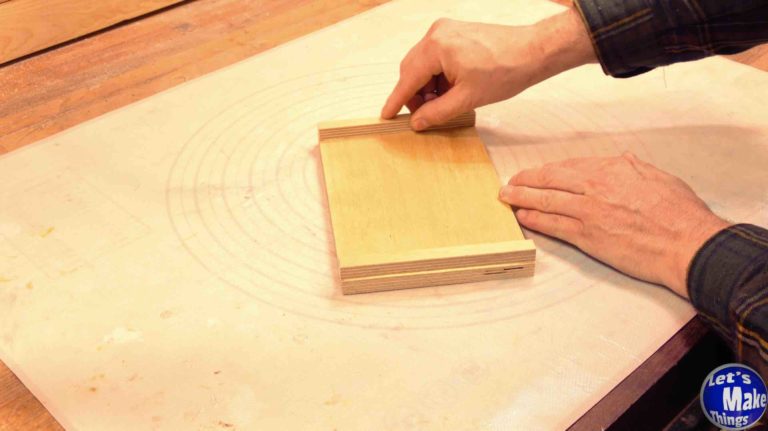
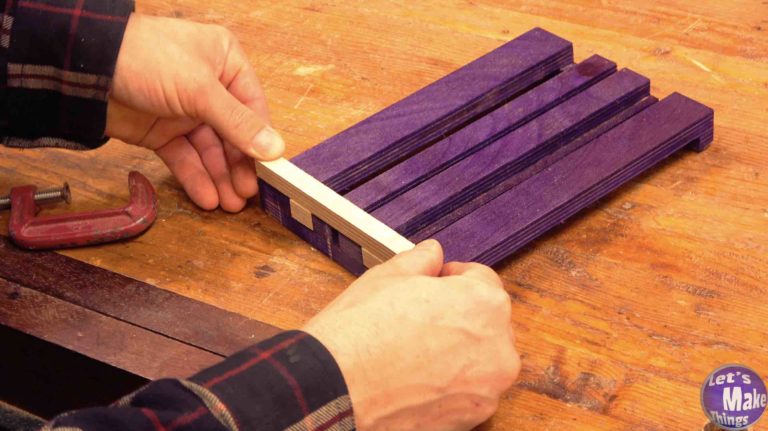
We’ll take our base and cut out a platform that’s exactly the same size, along with 2 runners that are a 1/2″ x 1/2″ x 6″.
We’ll glue the runners to the new plywood piece and clamp it down.
2. adding magnets
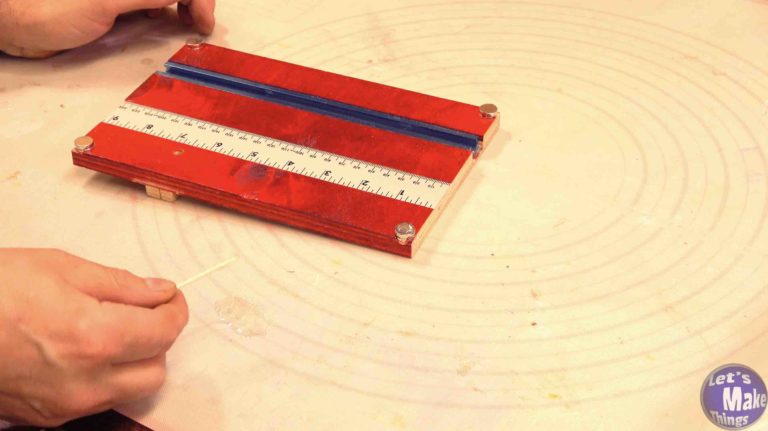
I added 4 magnets to my base as well as 4 magnets to the circle jig. This was overkill. If I were to do this again, I would have used 4 total, both of which on the edge farthest from the blade.
I added an X to each of the 4 ends of the runners and used a 1/16″ drill bit through them. Reattaching them to the base, I drilled through each corner. Next, where both the circle jig and the base connect together, I used a forstner bit and epoxied magnets into each of the holes.
3. access channels
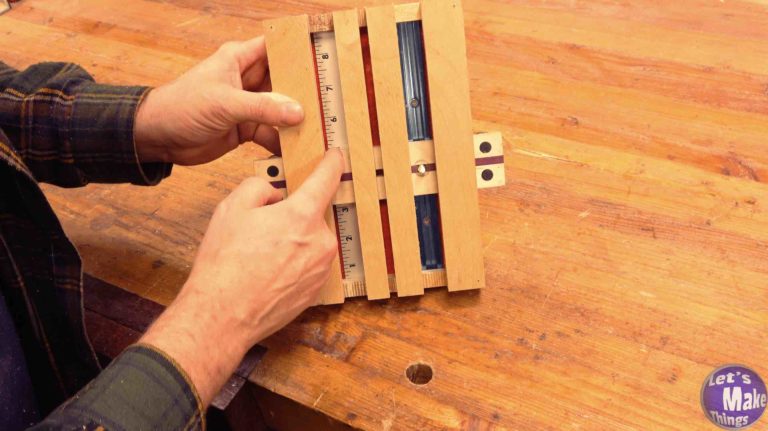
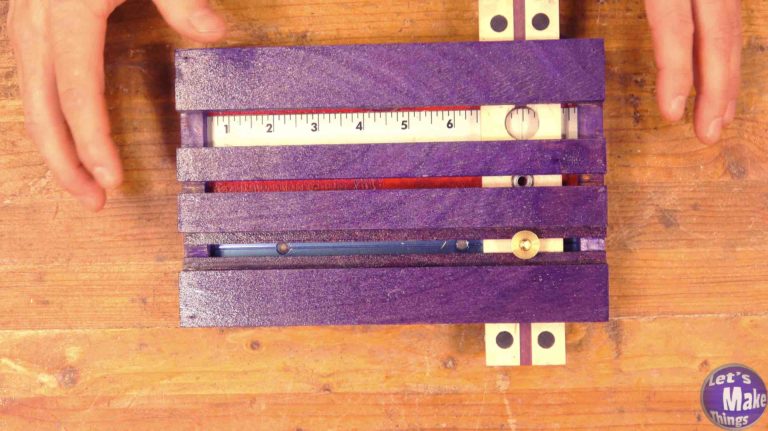
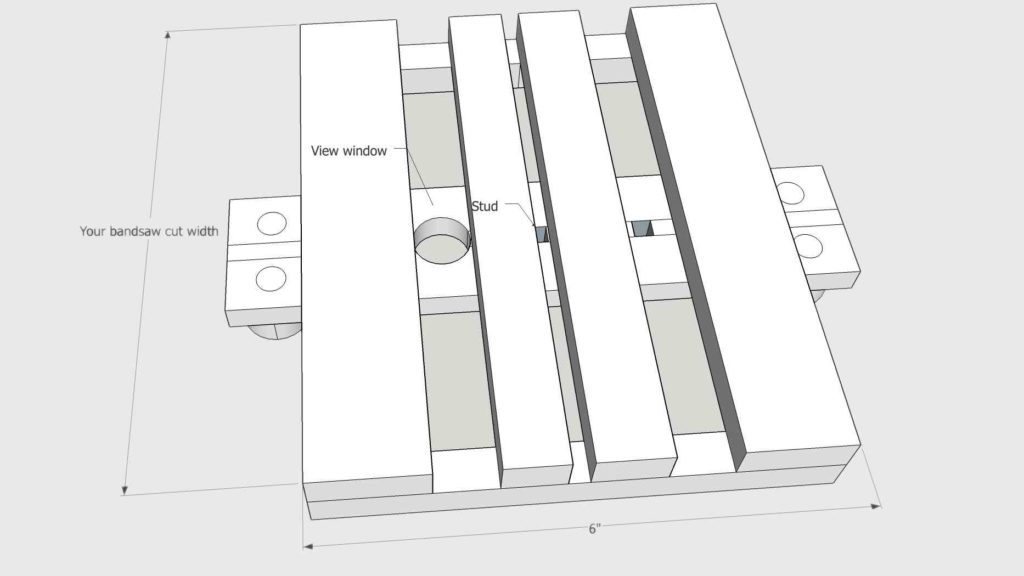
Next we’ll add 3 access channels, which are just cuts in the plywood. In the printout section above you’ll find the dimensions to cut each of the channels. Note that the channel that goes over the t-track is 5/8 inches in depth and the other two channels are a 1/2 inch.
4. locking channel
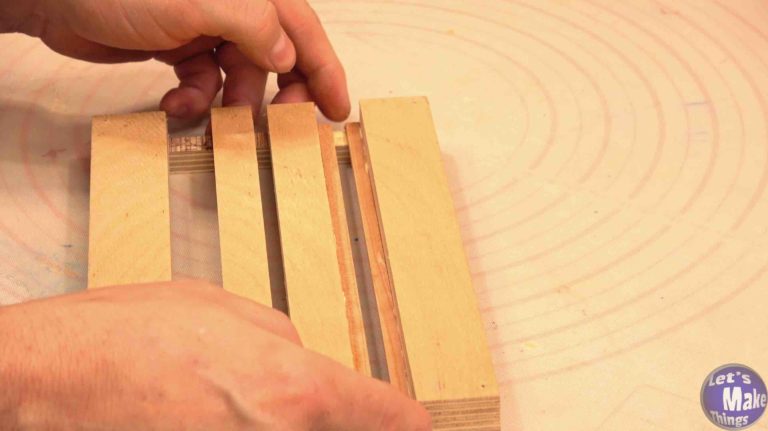
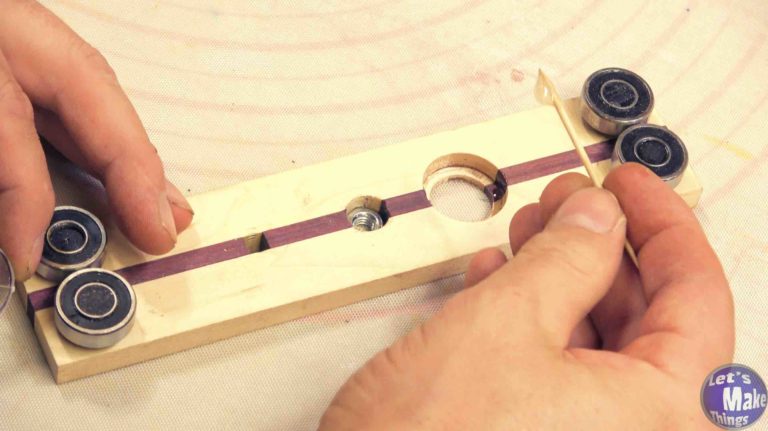
These locking channels will basically allow you to lock your circle jig to the base (which is why I don’t think using 8 magnets is that necessary). We’ll glue the pieces on to both sides, being careful that we have at least a 1/4″ gap in the center, which our bolt will run along.
5. view window
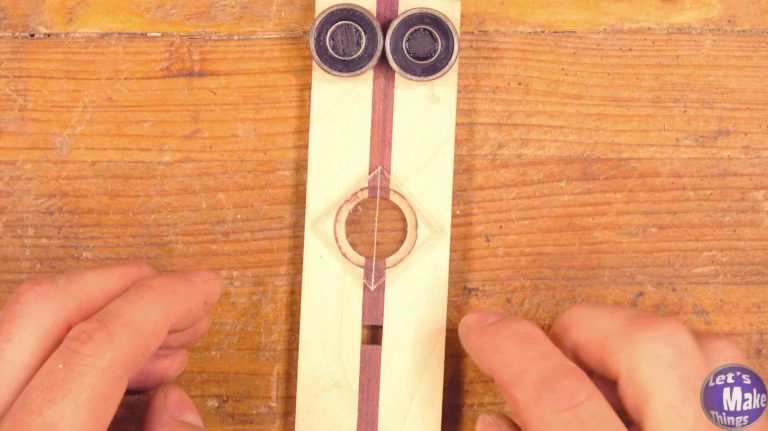
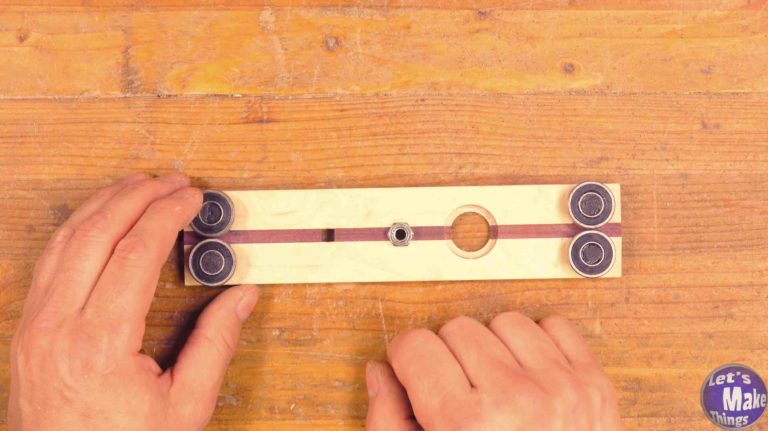
Now it’s time to modify the sliding miter arm. Flip it over so that the bearings are up. We’ll find the center of the two pieces we butted up against each other, mark it with an awl and drill down a 1/4″ with a 1″ forstner bit. We’ll finish the hole by drilling the rest of the way with a 3/4″ forstner bit.
With the 1/4″ x 1″ x 1″ piece of square plastic, we’ll use a knife and scribe from one corner to the other. This will tell us where to stop the sliding arm to cut a circle. We’ll sand the plexiglass until it fits inside of the 1″ hole.
7. epoxy work
We’ll mix up some 2-part epoxy and add it to both of the holes we worked on in the last 2 steps. Carefully make sure that the circle with the line cut in it is parallel to the edges as well as making sure that the nut is flush to the top surface of the sliding miter arm.
10. operation (with a hole)
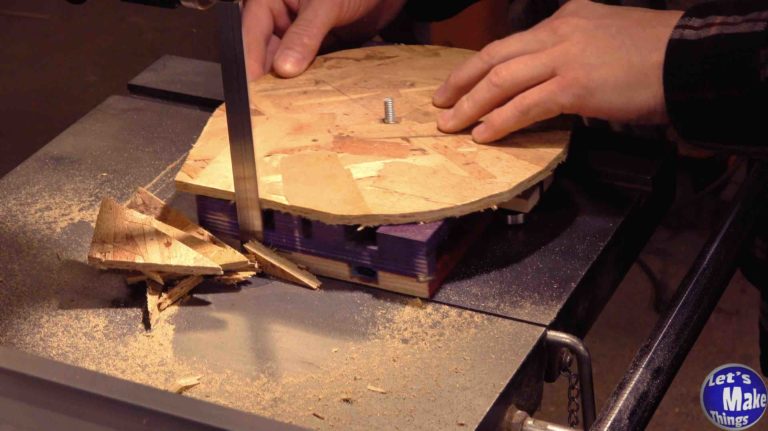
Operation works like this. You’ll decide what size circle you’ll need and cut a square out at that size. For example, if you want a 4 inch circle, you’ll want a square that’s 4 inches by 4 inches. You’ll connect the diagonals to find the center, and then drill the center out with a 1/4″ drill bit. That square will now thread onto the bolt.
It’s important to remember that when you set your arm to cut the size on the ruler, you’re setting the radius, which is half the circle. With our 4 inch circle, we’ll want to set the sliding arm to 2 inches.
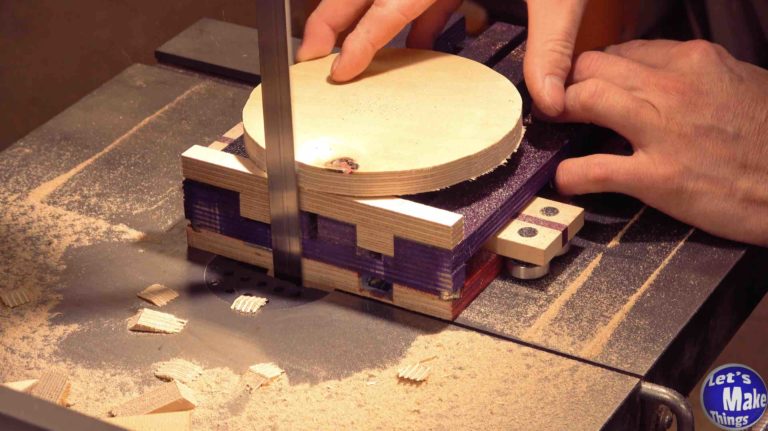
You’ll slide the sled forward, cutting a little at a time until you’re able to spin it close to the blade, creating a clean circle.
12. turntable
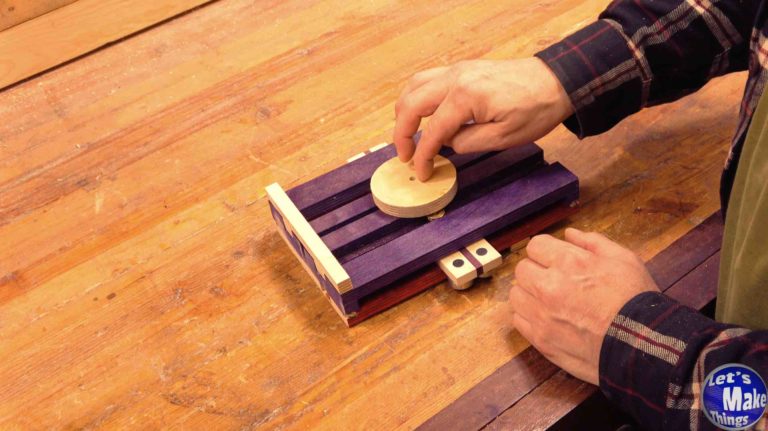
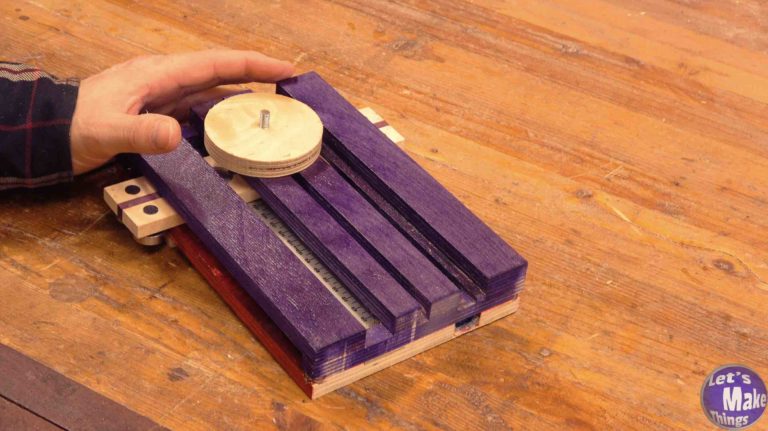
This second, more advanced solution involves adding what I’ve coined as the turntable. It’s a disk with a 1/4″ hole in the center of it that you’ll attach to a square. The 3″ circle is easy to cut out. Add a hole in the center and set your sliding miter arm radius to 1 1/2 inches.
14. shorten the stud
The center pin didn’t have a set size when we cut it back in step 9. The only important part of it was that it was tall enough to place a square with a hole in it through the bolt.
Now we’ll want to cut it so that it’s shorter than the top height of the turntable.
Tip Jar

If you’d like to support me through Patreon, you’ll get these benefits:
- Weekly exclusive video
- Early Access to both my Make Things and Let’s Make Things Channel
- Get recognition at the end of each of my main channel videos for your contribution
- A free Awl
- Secret Project Updates
- Get help for projects you’re working on
- Contest opportunities
- Free Gear Stool plans
If you found any errors on the page, please contact me and let me know!

