A dovetail joint is a type of woodworking joint known for its strength, durability, and aesthetic appeal. It is commonly used in furniture making, cabinetry, and joinery to create strong and attractive connections between two pieces of wood, typically at right angles to each other, such as in drawer construction or box assembly.
They can be quite tricky to make with a hand saw, so I’ve developed a bandsaw jig system that I think makes it much easier.
ATTENTION: These plans are yours to use…they are offered as a gift from me to you. You have every right to use them to make this project for yourself, but please, do not sell or give these plans away as your own! I make absolutely no money off of these so I would appreciate those who view these plans to abide by basic copyright laws.
As an amazon associate I earn from qualifying purchases.
Step by step instructions
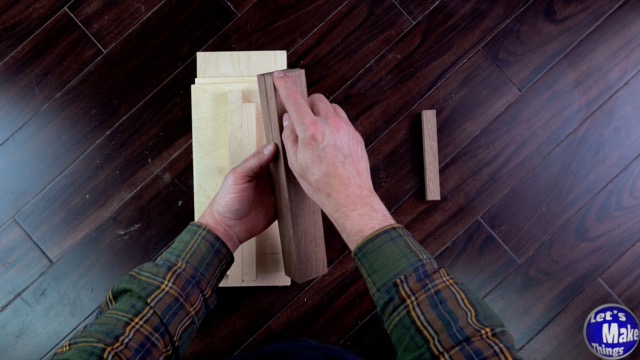
2-1. Materials
It’s really important that the material list is followed very closely, especially in regards to the 3/4″ x 1 13/16″ x 11″ hardwood pieces as these have been carefully measured so that when you make your cuts you are getting that sweet 81˚ angle we’re looking for. VERY important! You’ll also want your 3/4″ x 3/4″ strips to fit inside of your miter slot. If your miter slot is a different thickness, go with that over my dimensions.
In the video (attached next to this step) I explained cutting a groove into both the pin board and base jig.
Click image to see this step on youtube
2-2. CUTTING THE ANGLE BRACES
As I said in the previous step, this is the part that makes me lose sleep. We need a cut from point to point that is straight. The end needs to be at a point and the wider edge of the triangle needs to be 1 and 13/16″ in width.
I originally cut mine with a bandsaw but was not happy with the straightness of my cut so I switched to the table saw. Here’s a video to a little idea I came up with to make a triangle cut with the table saw.
Click image to see this step on youtube
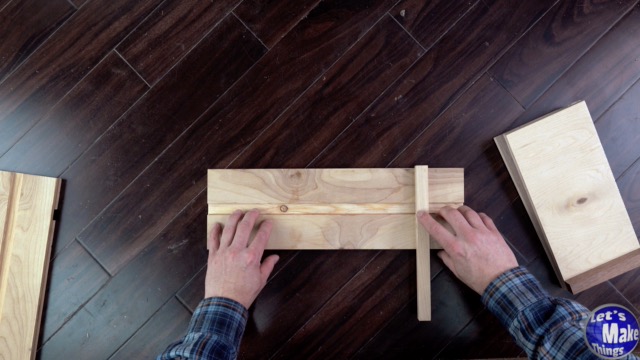
2-3. ATTACHING THE BRACES TO THE PIN BASE
The wedge shapes will now need to be attached to the 1/2″ x 5 3/8″ x 11″ plywood pieces. I used screws to temporarily attach both sides while the glue dried.
Click image to see this step on youtube
2-4. Adding the pin top surface and fence
We need to add the second half to finish the pin board jig as well as a fence that our stock will rest up against. I added the fence by attaching it with a screw in the center. With a set of clamps I attached the top and allowed everything to dry.
Click image to see this step on youtube
2-5. Bandsaw miter slot bar
We’ll need to hog out part of the base jig to allow a miter bar runner to fit in. Bandsaw miter slots differ, but mine is 2 and 3/32″ away from the edge, which is where I started cutting. I finished the dado 3/4’s of an inch away from that point. The dado thickness that I cut out was at 3/8’s of an inch.
Click image to see this step on youtube
2-6. Squaring up the fence
Finally, I added glue to the bottom side of my pin jig fence bar and lined the fence up with the blade.
Click image to see this step on youtube
Tip Jar
If you enjoyed or found this useful, throw me a tip →
To support me with patreon, click here → Patreon
Click here to Subscribe to me on youtube → Youtube
If you found any errors on the page, please use my email below and contact me!