With my short time with the lathe I’ve learned a number of things that can really make lathe work enjoyable. First and foremost, remove the bark to avoid bark face. Second, remove all corners from your stock before heading to the lathe. This will not only be more enjoyable, but the rough ride that we put our gouges through means we have to spend time sharpening and less time shaping.
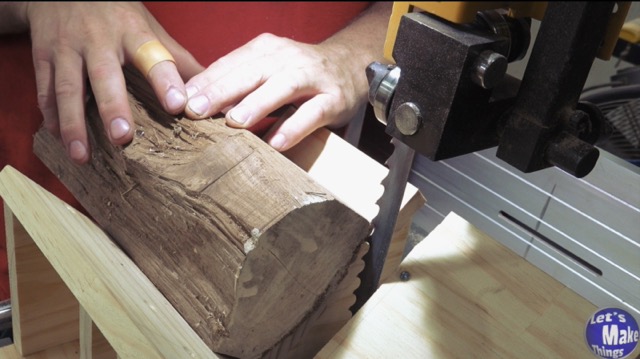
It will also break down split logs in a way that will be safer for you and your bandsaw…something I found I do a lot of when I use the lathe (Hint, never cut anything round with just a bandsaw).
On this page, I’m going to show you how I build a bandsaw jig for the lathe. If you’re interested in what this jig does, watch the short clip that’s less than 60 seconds.
watch all steps in this video before starting
Please use the material and tool list below as a guide to finding the products locally.
As an amazon associate I earn from qualifying purchases.
Step by step instructions
1. Opening
Before we get started, there’s another version of this jig that I’ve made you may want to look at. Watch that video here. It won’t necessarily give you a better jig, but maybe a different idea on how to build it. The second thing I need to mention is that all dimension in the ‘materials’ section should be cut before starting.
Click image to see this step on youtube
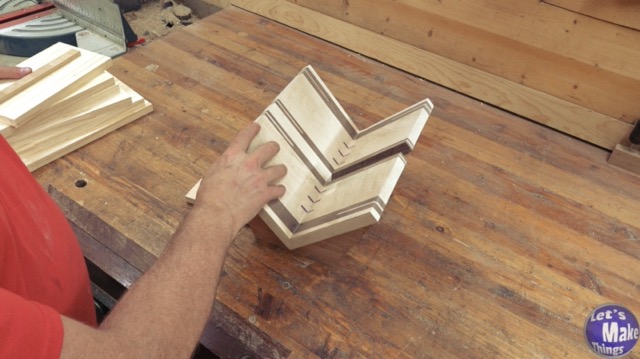
2. The four columns
We’ll build four columns that will support the bed of our jig. This only requires a pencil and a speed square to accomplish.
Click image to see this step on youtube
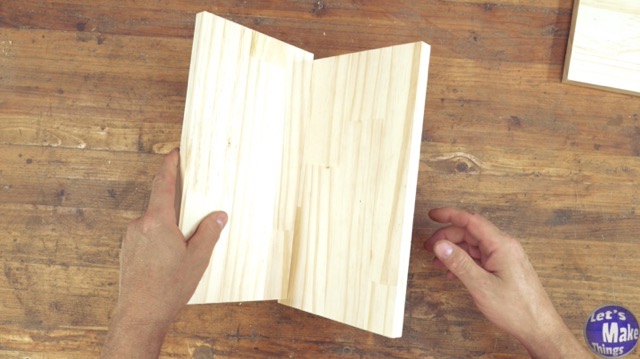
3. Making the bed
The bed is just a couple boards where the grains run horizontally. You could glue the edge together, but this jig is so easy that you can just but the two edges together and still have a strong sled bed. After the last step, you’ll just add the two boards to the v-cut base.
Click image to see this step on youtube
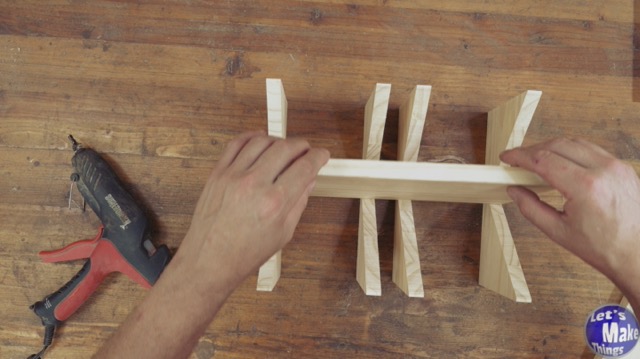
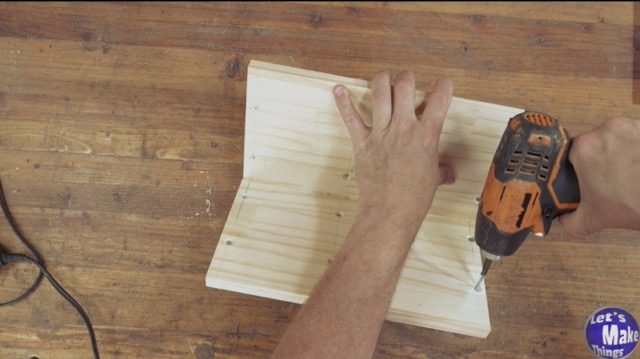
4. Attaching the columns
I used hot glue to temporarily attach the bed to the columns so that I could add pilot holes and screws. A different method would be to use glue and brad nails…or just brad nails alone.
Click image to see this step on youtube
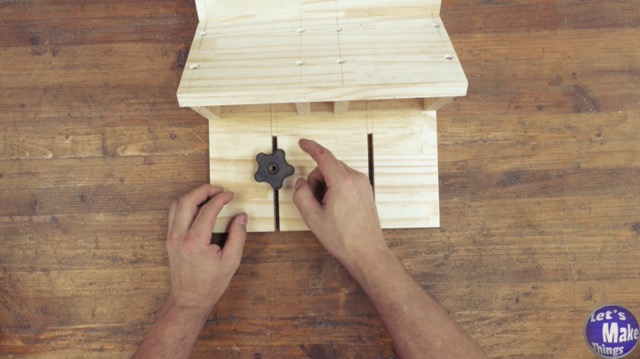
5. BASE PLATE SLOTS
We’ll add a couple slots for the expansion bar. One will lock the expansion bar inside the miter slot and the other will lock the jig to the bar.
Click image to see this step on youtube
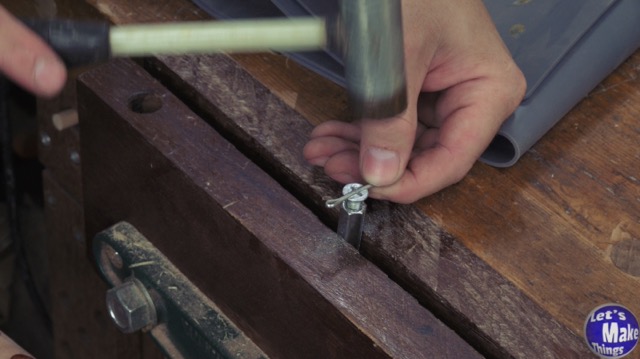
6. EXPANSION BAR
My expansion bar uses a flat head screw that, as its pulled up, squeezes both edges outward.
Click image to see this step on youtube
7. BASE AND CRADLE ATTACHMENT
We’ll attach the base to the cradle. I added screws…but you really only need a few of them.
Click image to see this step on youtube
8. Cutting the blade center
Now we’ll cut out the slot for our blade.
Click image to see this step on youtube
9. Safety precautions
Click the image to see the safety precautions!
Click image to see this step on youtube
Tip Jar
If you enjoyed or found this useful, throw me a tip →
To support me with patreon, click here → Patreon
Click here to Subscribe to me on youtube → Youtube
If you found any errors on the page, please use my email below and contact me!