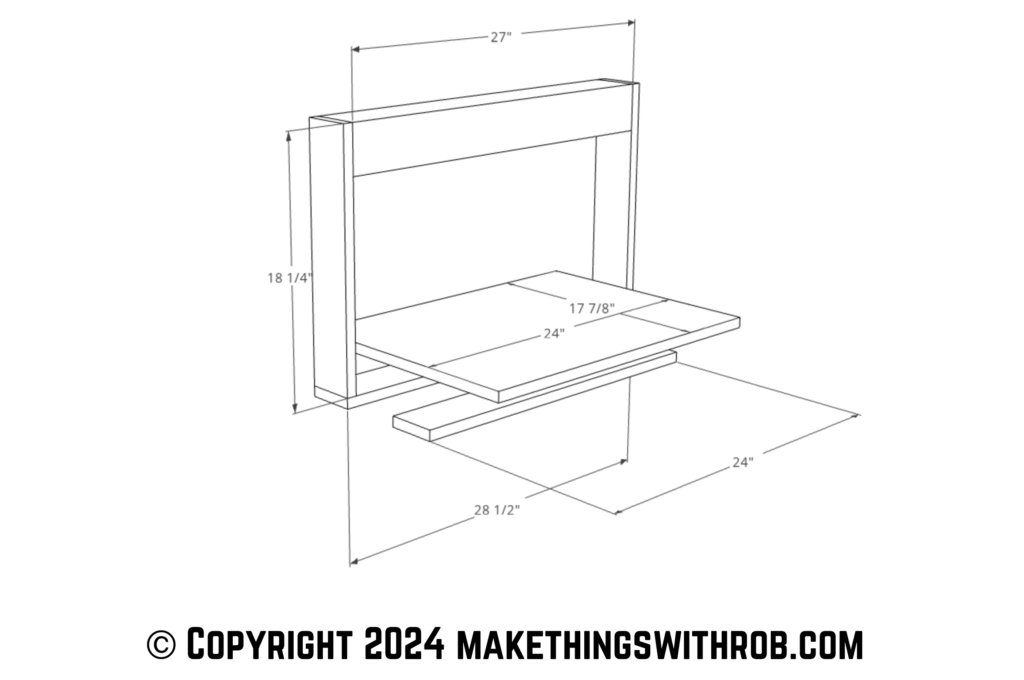
Belt sanders are powerful tools for quickly removing material and smoothing surfaces, but they often lack precision, making them challenging to use for fine woodworking tasks. The biggest problem that comes with this is that there isn’t a reference point we can judge our stock. To get around that problem, we’ll use a table saw fixture that will give us a means to judge how vertical our stock is in our hands as we use it.
As an amazon associate I earn from qualifying purchases.
Step by step instructions
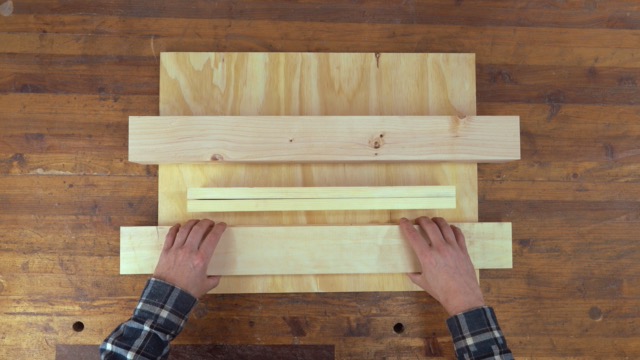
1. Materials
You won’t need a lot to make this. I made mine with 6 pieces of lumber…it’s a simple build with scalable options for your sander. I can’t imagine that this wouldn’t fit any bench top belt sander, but please, if you find that yours won’t, use the email below to let me know. I’ve included a PDF that shows how I made mine…and a sketchup file so that you can scale yours.
Click image to see this step on youtube
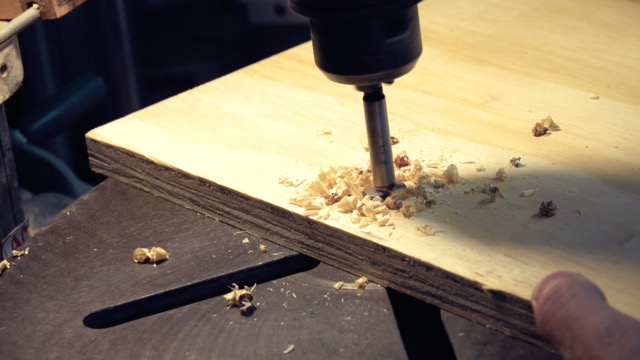
2. Attaching the base plate (PT1)
In this step I used my sander as a template to mark and then drill holes out so that it could be attached to my belt sander. Because I’m using carriage bolts, I used a forstner bit to drill holes that would allow my bots to be below the surface.
Click image to see this step on youtube
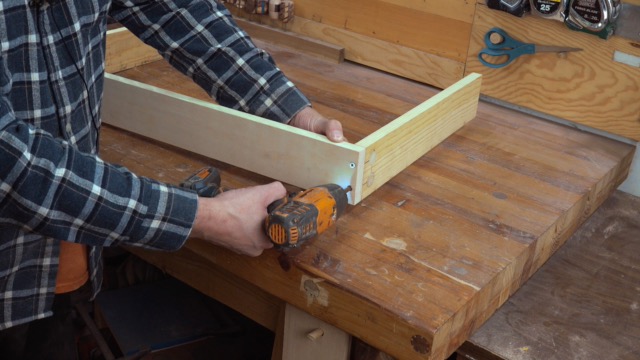
3. Attaching walls to the base board
Attaching the walls are like build 2×4 framed walls, except we won’t enclose the top just yet. Because screwing into end grain isn’t good, I used a tip from bitesize 162 (shorts video here) and added 7/8’s dowels before using screws to screw them together.
Click image to see this step on youtube
4. ATTACHING THE BASE PLATE (PT2)
Now we’ll quickly attach the plate to the bottom side of the sander using the carriage bolts.
Click image to see this step on youtube
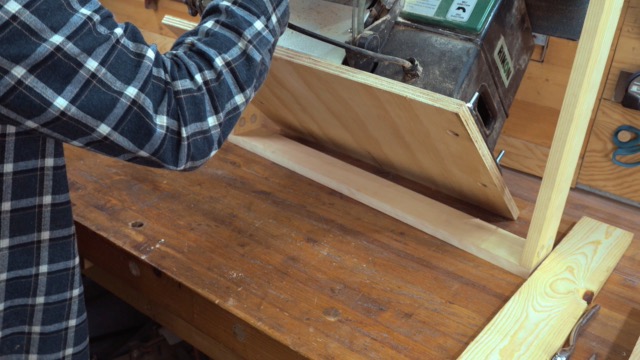
5. Attaching the fence
The fence will now attach to both sides of the walls we attached back in step 3. You’ll want to make sure that they are at a 90˚ with the bed of the belt sander. I again drilled holes and used dowels and then drilled into those dowels, again like step 3. I also used a third screw on each side drilled directly into the end grain for stability.
Click image to see this step on youtube
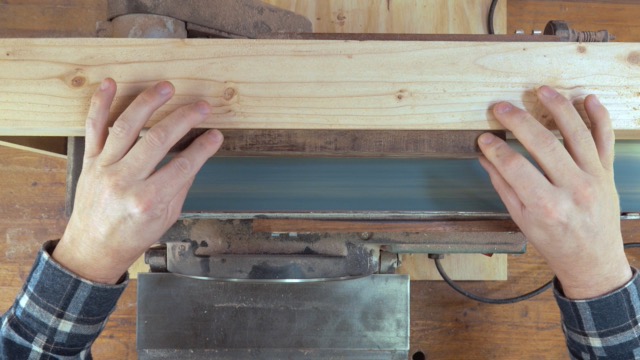
6. Floating? And operation
The idea to ‘float’ the fixture is based on the idea that you don’t want to use one part of the belt sander all the time. Instead, we’ll be able to move the fence when we want to use other parts of the sandpaper, thus preserving more of it in the future. I also wanted to be able to take the fixture off very easily. There are times where I have very large surfaces I want to sand off but don’t want to be hindered by a permanent structure. This easily allows me to remove the fixture at any time and put it back in just a couple steps.
The operation is very simple: We don’t press against the fence, we simply use it as an index, allowing us the ability to hold it upright and know when we are at a 90. If you plan on really pushing into the fence, you’ll want to make the walls a lot wider on the edges to support the added stress.
Click image to see this step on youtube
Tip Jar
If you enjoyed or found this useful, throw me a tip →
To support me with patreon, click here → Patreon
Click here to Subscribe to me on youtube → Youtube
If you found any errors on the page, please use my email below and contact me!