A lathe has a head stock as well as a tail stock.We place our lumber that we want to round between both points.In this scenario, normally, you really don’t need anything else to use the lathe.In fact, the head stock alone can be enough to hold onto the work you’re working with.The trouble comes when you’re trying to work on the end, like if you want to drill a hole, or if you’re making a bowl.This is when a steady rest really helps out as it gives you a second point of contact that keeps your work…steady.
In this build, I’m going to show how I made a stripped down version of a steady rest that uses clamps to hold it to the bed as well as the wheels arms to the body. If you like knobs, that can also be achieved. To see my advanced build out of hardwood and knobs, check the end of the page.
watch all steps in this video before starting
Please use the material and tool list below as a guide to finding the products locally.
As an amazon associate I earn from qualifying purchases.
Step by step instructions
1. Materials
This entire project can be done with a piece of 2 x 8 x 24″ and a 1 x 4 x 12″ piece of scrap. I used pine but I’m going to recommend hardwood as hardwood is always better for fixtures and jigs. I’ve listed the wheels that I used…but if you choose to use your own, make sure that they are 70mm…with 5/16″ diameter bearing holes.
Click image to see this step on youtube
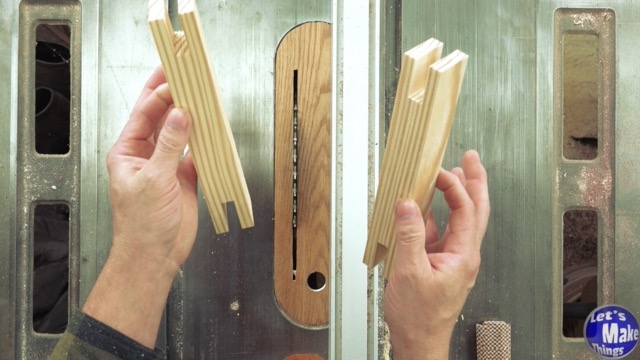
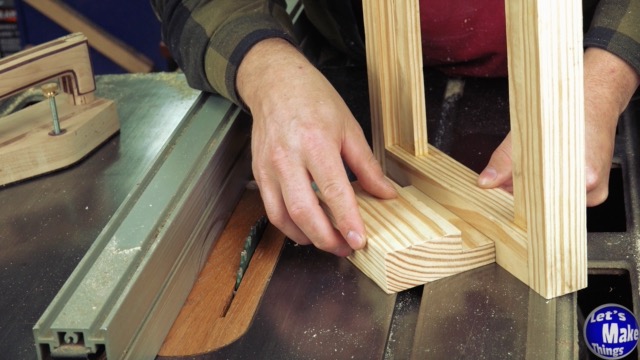
2. Creating "the frame"
In this step we’ll cut the sides as well as top and bottom to size. Both sides will use a tongue that will be inserted into the top and bottom slot. The slot will also be wide enough for a second piece that will allow you to clamp your arms to them.
Click image to see this step on youtube
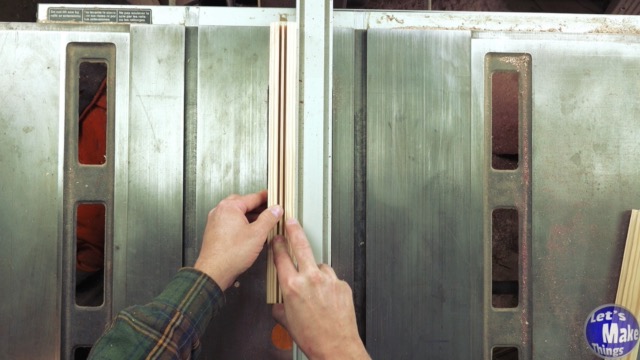
3. To knob or not to knob
In this project, I chose not to use knobs…because knobs are more expensive and really not necessary. Because of this, I opted to go with the 7/8’s wide piece that slides in. You’ll want to make sure you glue it to the tongues we made on the last step. If you chose to add knobs, you’ll want to add a wedge in the top that’s 3/8’s inches wide to close the joint off.
Click image to see this step on youtube
4. Option 1 or option 2
Option 1 and option 2 are really all about the width of the stock you cut. If you’re going to use knobs, you’ll cut a piece of stock that’s a 1/2″ by a 1/2″. If you plan on just clamping your arms to it, you’ll cut your stock to 1/2″ by 7/8″. The 3/8’s valley (for the knobs) is 3/8’s inches which will accept 3/8’s knobs which I’ve included in the materials section above.
Click image to see this step on youtube
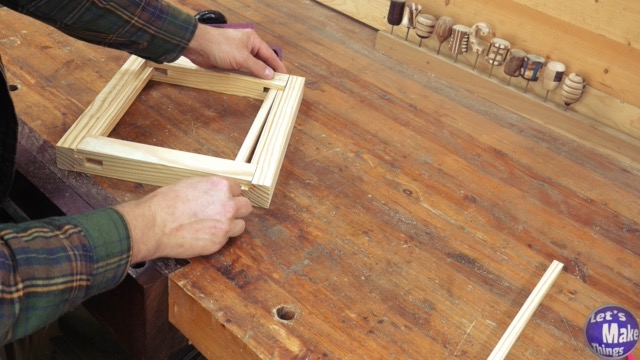
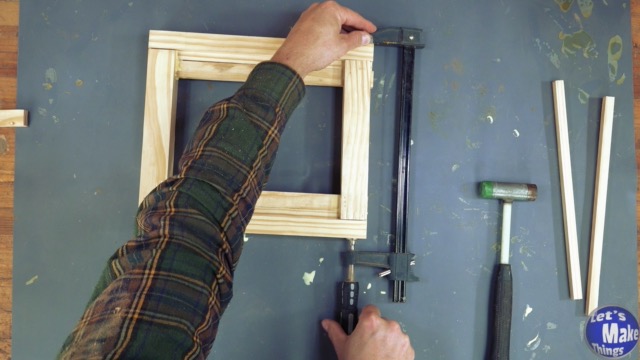
5. Frame Assembly
In this step we’ll glue everything together…which should be a total of 6 pieces of stock. Make sure that your corners are all square and that you don’t forget to glue everything.
Click image to see this step on youtube
6. Base
With the base, we’ll create a half lap joint that will work with the left over piece we had from both the top and bottom. We’ll cut out a tongue that’s 3/4″ wide and 1 1/2″ long. We’ll also cut out a section on the frame with a table saw sled that’s 3/4″ in height and 5 1/4″ long.
Click image to see this step on youtube
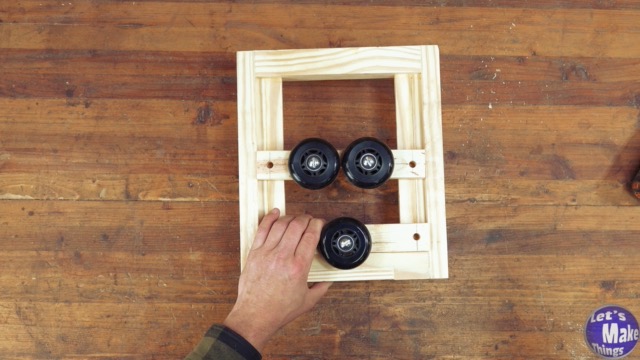
7. Arms
We’ll use the 1 x 4 to create two arms that are 9 inches long. Check the schematics for the exact marks needed to place the holes. You’ll either add 4 holes for knobs, or do without them. The knob holes are 3/8’s holes, the wheel will use the same diameter as your skates. The one’s I’ve listed above use 5/16th holes.
Click image to see this step on youtube
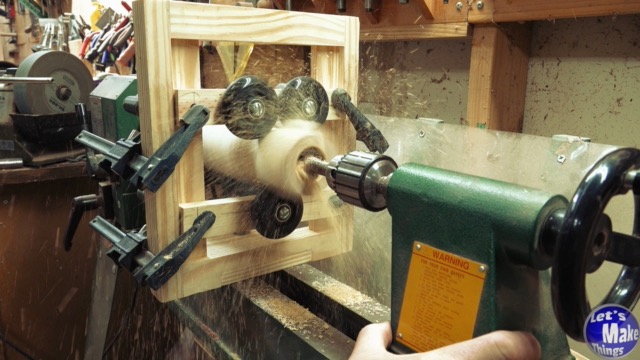
8. Operation
Operation is easy. the wheel will rest on the bottom of the stock and will be either clamped on with a clamp of some kind or by using knobs. The top will rest on the upper side. The stock must be 2″ round where ever you place the wheels…they are not meant to roll on the corners of your stock. The base will need a clamp to lock it to the bed of your lathe.
Click image to see this step on youtube
Advanced Build
Tip Jar
If you enjoyed or found this useful, throw me a tip →
To support me with patreon, click here → Patreon
Click here to Subscribe to me on youtube → Youtube
If you found any errors on the page, please use my email below and contact me!