Woodworking mallets are important because they offer precision, control, and protection for both the wood and the tools used. They enable woodworkers to achieve high-quality results while preserving the integrity of their materials and equipment. Whether for delicate carving, precise joinery, or general assembly, a good mallet is an indispensable tool in woodworking.
If you’re just starting out, don’t buy one…we can easily make one out of even the cheapest materials, and this tool will cost you very little to make, no matter what type of stock you’re using.
ATTENTION: These plans are yours to use…they are offered as a gift from me to you. You have every right to use them to make this project for yourself, but please, do not sell or give these plans away as your own. I make absolutely no money off of these so I would appreciate those who view these plans to abide by basic copyright laws.
watch all steps in this video before starting
Please use the material and tool list below as a guide to finding the products locally.
As an amazon associate I earn from qualifying purchases.
Step by step instructions
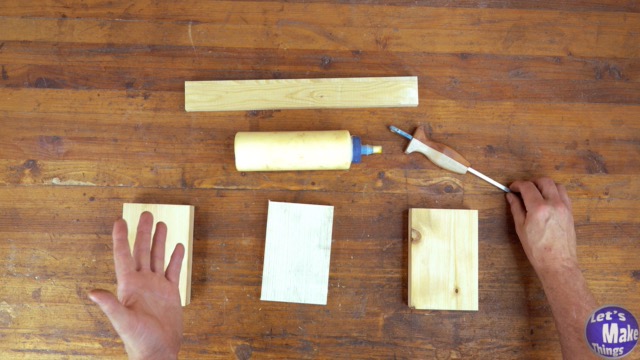
1. Materials
I’m using construction lumber here (as you can see in the materials section), but I really recommend making a nice, beautiful mallet with hardwoods. You’ll enjoy using it and it will last a much longer time in the long run. This mallet will work just fine, but it doesn’t have quite the heft that a hardwood mallet has in terms of weight.
I will admit, using it with a chisel, especially light work, feels effortless.
Click image to see this step on youtube
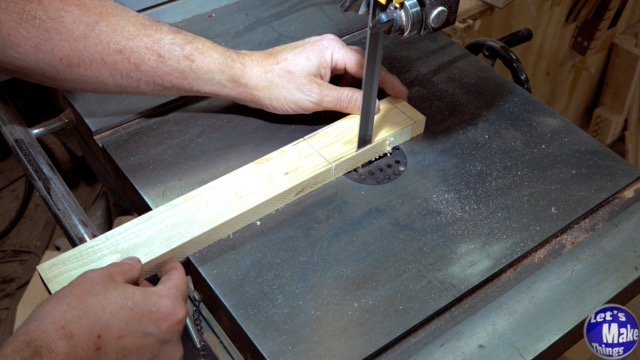
2. Handle top
We’ll form the handle top by cutting out an angle that our center will connect to. This is just enough that the blocks are locked into place. The corner that juts out is an eighth of an inch and should be well defined.
Click image to see this step on youtube
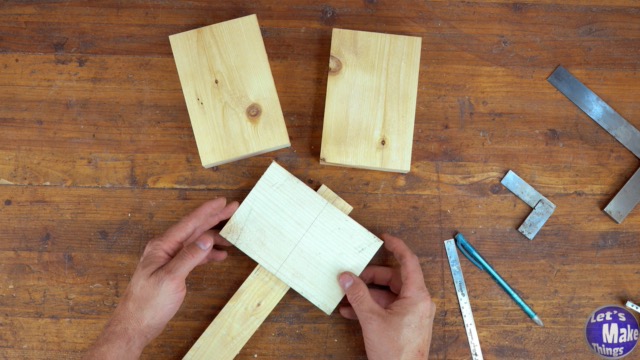
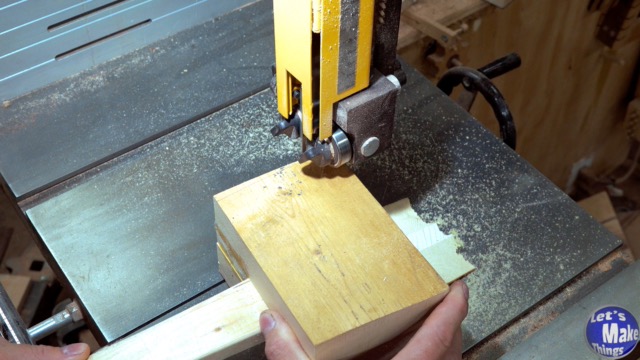
3. Mallet center
In this step we’ll create a center on our block and align it to the center of the handle. Then we’ll use the handle top that we cut out in the last step as a pattern to mark our center block (the 3/4″ by 4″ by 6″ piece). Like before we’ll bring it to the bandsaw and cut it out.
Click image to see this step on youtube
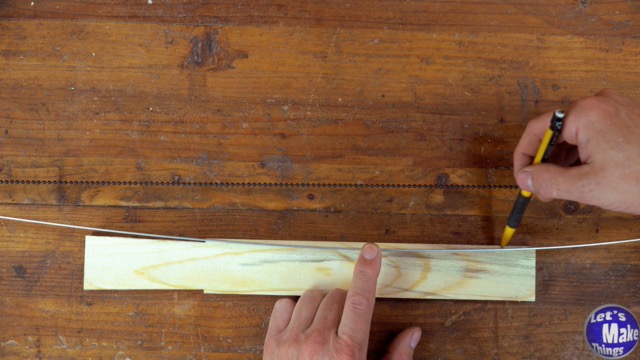
4. Handle body
The handle body is really up to you. If you don’t mind sharp corners or a bulky handle in your hand, nothing needs to be done in this step. For everyone else, you can use a fairing stick (video) to create a curve that makes this more enjoyable to use. Be extra careful not to cut into the corner that we cut out in step 2.
Click image to see this step on youtube
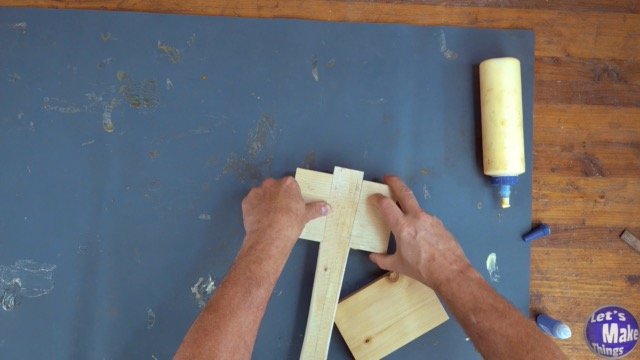
5. Assembly
Assembly is easy. We’ll take the two parts we cut in step 3, but them against the handle and then the two 1 1/2″ by 4″ by 6″ piece and sandwich them over the top, using glue to hold things together. I used super glue but only to keep things from sliding around. A few grains of salt can also be used, but be very careful not to use but a tiny, minuscule amount.
Click image to see this step on youtube
6. Extras
Finally, I added a piece of leather to one side as well as cutting slight angles that gives it a better contact from a swinging motion to the edges. I also used a block plane to round the corners as a blunt edge is less likely to break. This step is totally up to you.
If you do make one, take a picture and send it to my email below! I’d love to see what you come up with!
Click image to see this step on youtube
Advanced Build
I encourage everyone to make beautiful tools. They’ll feel like a million dollars in your hands, and I guarantee they’ll make you a better woodworker.
Tip Jar
If you enjoyed or found this useful, throw me a tip →
To support me with patreon, click here → Patreon
Click here to Subscribe to me on youtube → Youtube
If you found any errors on the page, please use my email below and contact me!