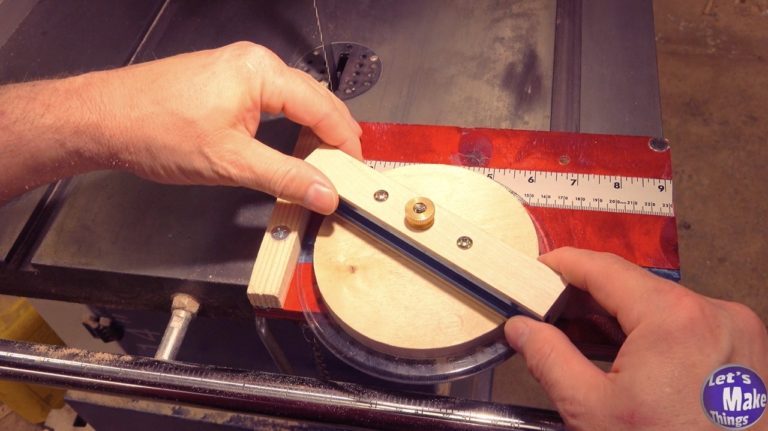
Advanced Bandsaw Sled
Protractor arm
Think of this as a miter gauge that’s slightly more advanced as you can get closer to the blade and get a different grip on the wood you’re cutting. I know I’m going to get the “The Miter Gauge does the same thing” crowd, but I really feel like this is superior. If you’re bandsaw didn’t come with a miter gauge (mine didn’t), this is a cheaper solution than buying one.
I do have a future idea for those that have a miter gauge, but this was something I sorely needed.
watch all steps in this video before starting
Please use the material and tool list below as a guide to finding the products locally.
Materials
- 1/2″ x 5 1/2″ x 5 1/2″ plywood
- 1″ x 1″ x 6 1/2″ hardwood
- protractor
- epoxy
- t-track (6 1/2″)
- t-track bolt (1/4″ x 2 1/4″)
- 1/4″ wingnut or thumb knob
- (2) #6 x 1 1/4″ Screws (combo pan)
- (2) #6 x 1/2″ Wood screws (cone head)
- 1/4″ x 2″ T-track bolt
Tools Needed/used
- Bandsaw
- Table saw
- Drill press
- Speed square
- Fine ruler
- Pencil
- Glue mat
As an amazon associate I earn from qualifying purchases.
Step by step instructions
1. Squares and protractors
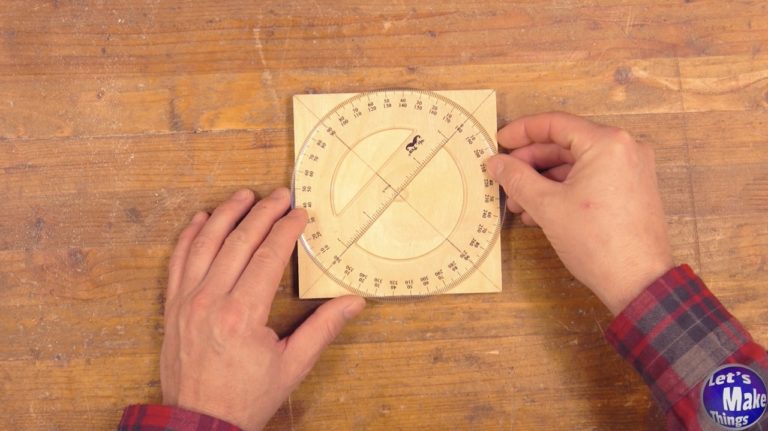
We’ll start out by cutting a square that’s 5 1/2 inches by 5 1/2 inches and find the center by connecting the corners. With a circle protractor (and the one that I found and have linked to in the materials is exactly 5 7/8 inches), we’ll put it on the front and check to see if it overlaps the “X” we made. If it doesn’t overlap you’ll have to do it again.
2. Cutting a circle
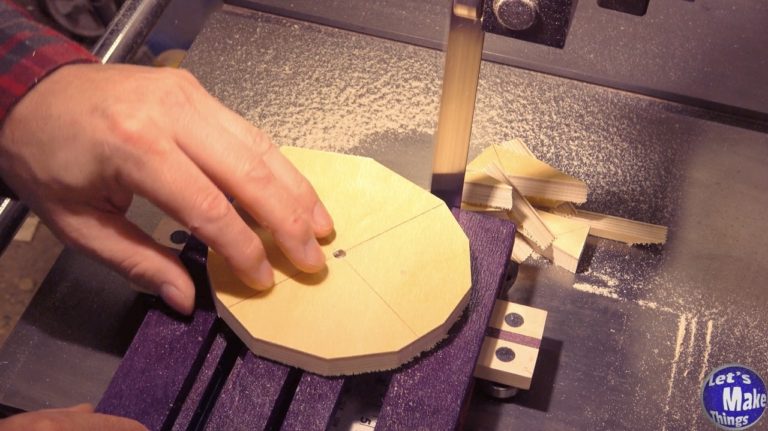
Now we’ll cut our circle to size. I am using the circle jig from the circle jig project (which you can find in header or footer of this page) but you really don’t have to. The only thing required to make this arm is the base. The circle you cut needs to be 4 3/4’s inches. If you’re using a different protractor with a different size, this obviously won’t work for you.
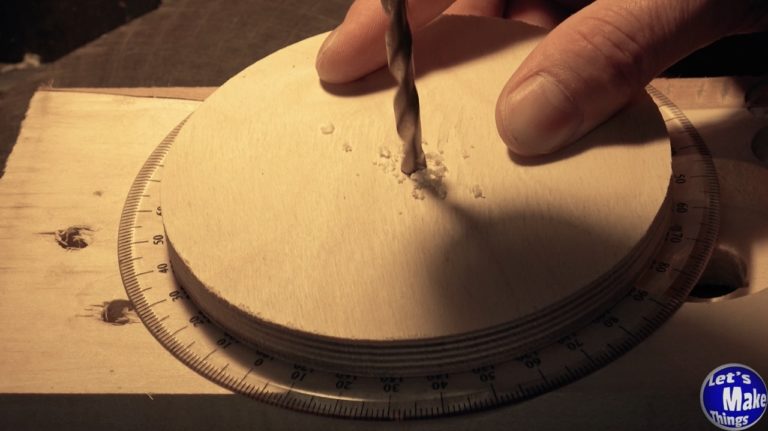
Regardless to what you use, make sure the very center is drill out with a 1/4″ drill bit.
3. Attaching the protractor
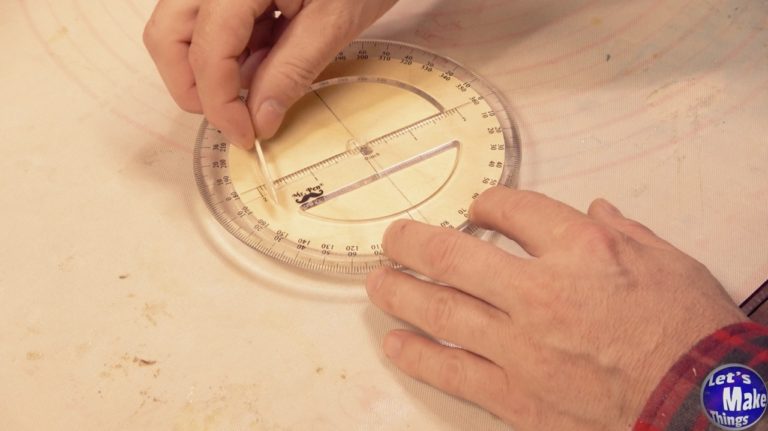
Now we’ll carefully line up our lines on our block again with the protractor. Be sure you add epoxy to the front of the protractor (the side where the numbers are correct) and line it up perfectly on those lines. I do not recommend clamping, but be sure to press the protractor right up against the epoxy. Once you’ve got good contact, let it cure.
When it’s cured, we’ll add some cone shaped screws through the plastic and into the plywood.
5. arm build
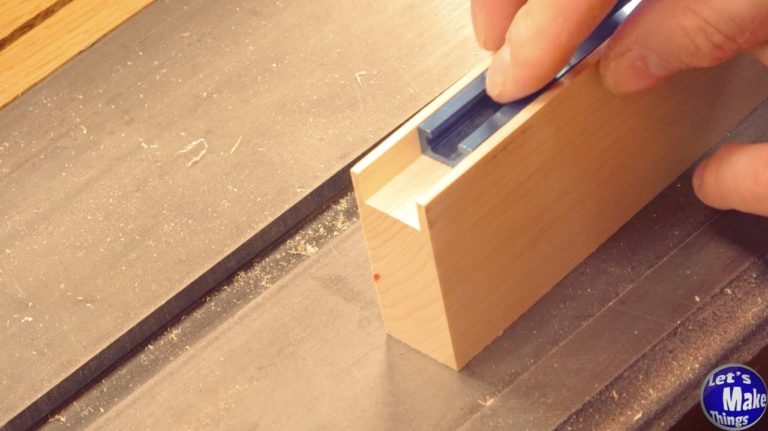
I created the arm using the same process I built the base and the circle jig, and that is by running it over the table saw with the blade raised just enough create a channel. Because the walls are thin on the arm, don’t shove the t-track in. Cut it either a hair’s width bigger or just enough that you can get your t-track in. Next we’ll cut it to width and length before finding the center of it and drilling a 1/4″ hole. We’ll add a couple holes an inch over from that hole to use for set screws.
6. Calibration (pt 1)
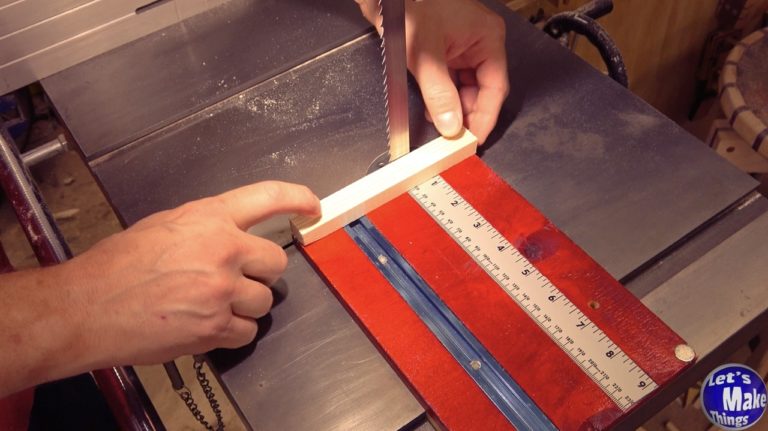
Do your best to find the center line of the arm to line up with the zeros on the protractor. You don’t have to be perfect, but try to get it as close as you can. Draw a perpendicular line on a piece of stock where both sides are perfectly parallel and cut to the left of it, but not all the way through (pictured in this step). You’ll turn the protractor arm counterclockwise if you’re cutting into the line and clockwise if you’re cutting away from it. When it looks like you’ve set it perfectly, screw the set screw in…just the one screw.
7. Fence build
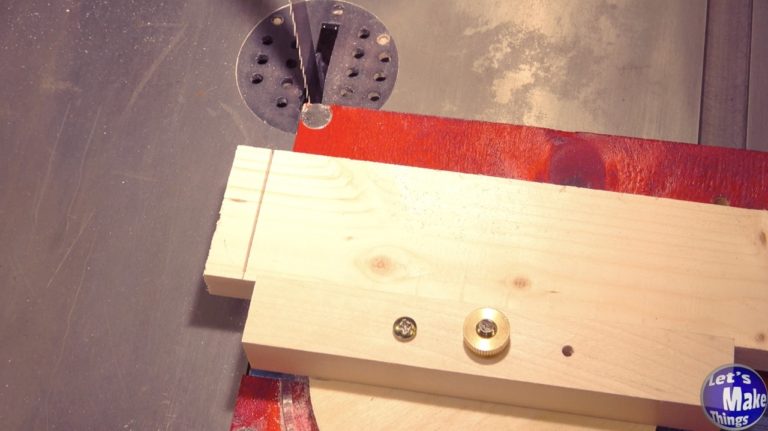
The fence is nothing more than a length of wood that is as wide as the circle you cut and the thickness of your protractor. My total thickness was 19/32 of an inch, but yours will undoubtably be different. We’ll drill a hole where the t-track is and countersink it so that a machine screw rides below the surface of the arm.
8. Calibration (pt 2)
Cutting a straight line isn’t the best way to check to see if you’re where you need to be. Cutting angles, on the other hand, will get you a whole lot closer. I chose to cut a pentagon and then compared the angles to see if I needed to move the fence.
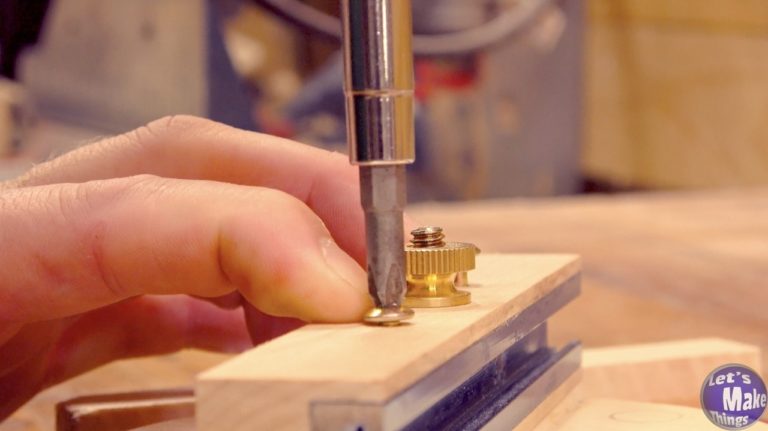
When I was satisfied with the accuracy, I put the second screw in and removed the bottom screws attaching the protractor. So long as you’re screws are in the center of the block, you can replace those short screws with longer ones.
Tip Jar

If you’d like to support me through Patreon, you’ll get these benefits:
- Weekly exclusive video
- Early Access to both my Make Things and Let’s Make Things Channel
- Get recognition at the end of each of my main channel videos for your contribution
- A free Awl
- Secret Project Updates
- Get help for projects you’re working on
- Contest opportunities
- Free Gear Stool plans
If you found any errors on the page, please contact me and let me know!

