Router anchor

March 6th, 2025

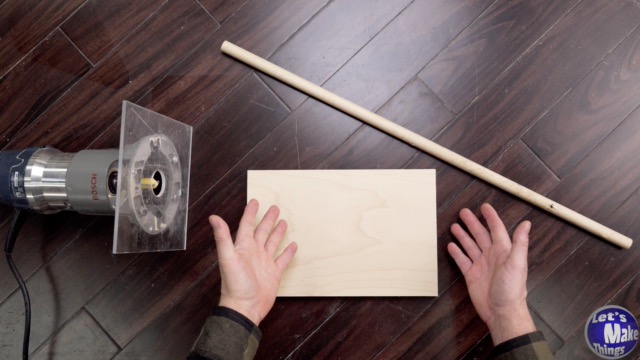
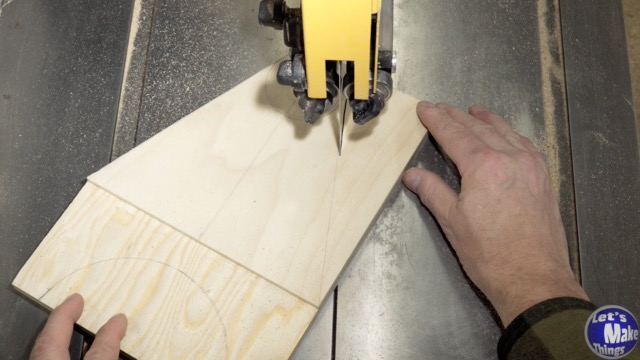
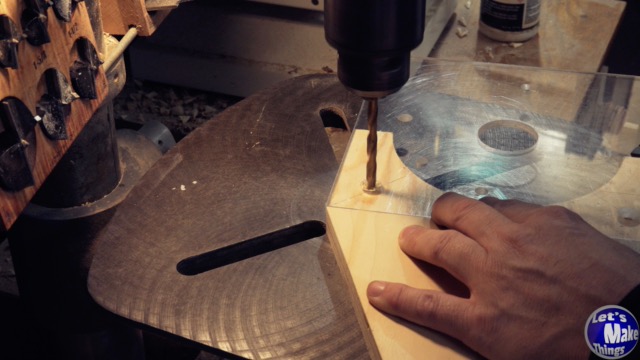
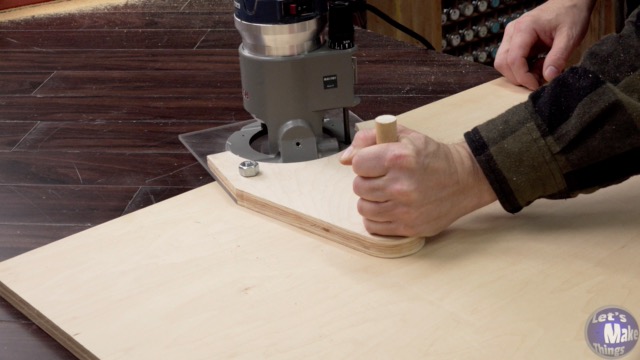
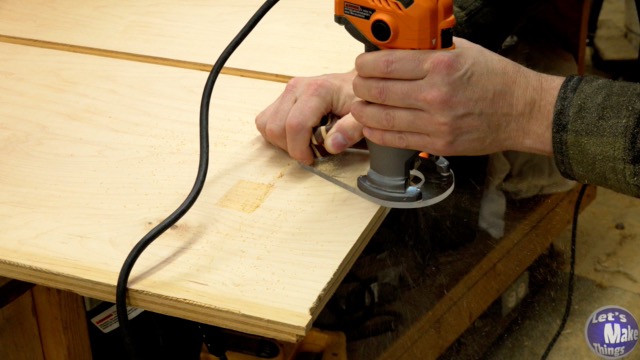
Routers are powerful tools, but when used along the edge of stock, balancing becomes a challenge. Since most of the router’s weight hangs off the edge, there’s a constant risk of tipping, shifting, or uneven cuts. Enter the Router Anchor.  This idea gives you more stability, control, and leverage while routing.

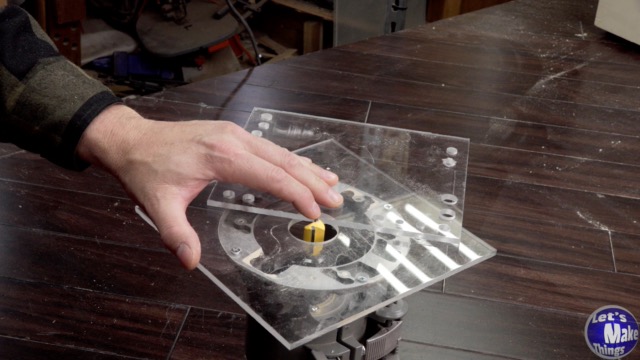
Designed to stabilize your router on edge work, this shifts the center of gravity onto the stock, preventing bumps and ensuring smooth, controlled passes.

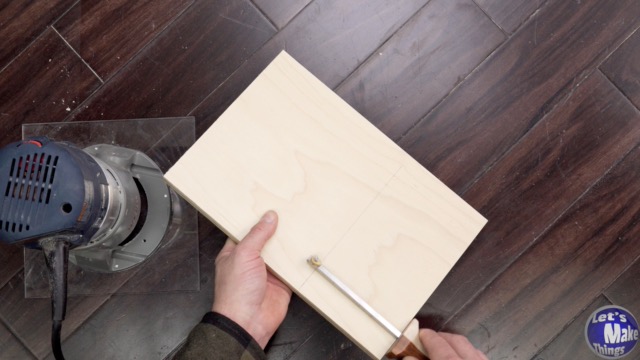
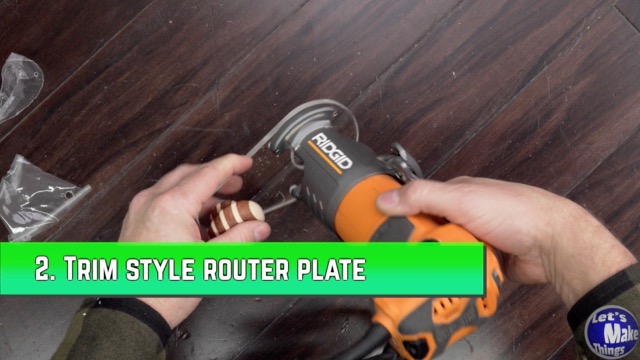
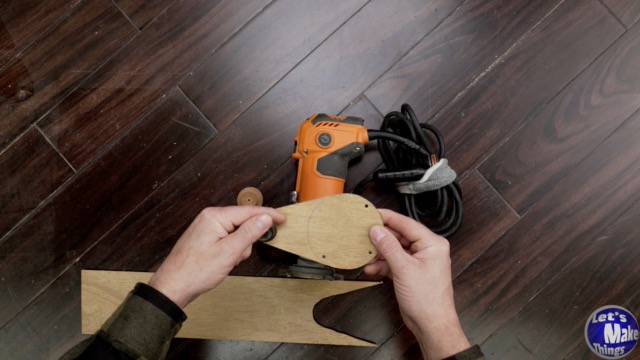
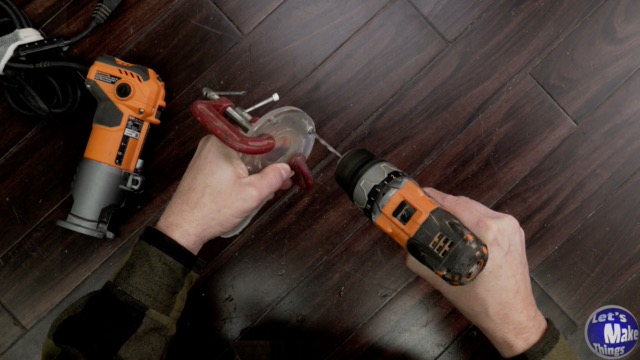
If you’re using a trim router, instead of spending $25 or more on a store-bought baseplate, we’ll make a custom built pad that cost a fraction of the price while having the ability to fit any trim router setup. Whether you’re using a full-sized router or a lightweight trim router, these fixtures will eliminate the balancing act and give you more control with your cuts.

ATTENTION: These plans are provided as a gift from me to you. You are free to use them to create this project for yourself. However, please do not sell or distribute these plans as your own. I make no money from these, and I kindly ask that you respect basic copyright laws. If you share your build publicly, I’d appreciate it if you gave credit to Make Things for the plans.

watch all steps in this video before starting

Please use the material and tool list below as a guide to finding the products locally.

Materials

Tools Needed/used (Full size)

As an amazon associate I earn from qualifying purchases.

Step by step instructions

1.1. Materials

Click image to see this step on youtube

1.2. mapping out lines

Click image to see this step on youtube

1.3 recessing the plywood

Click image to see this step on youtube

1.4. Shaping the base

Click image to see this step on youtube

1.5. Base to baseplate

Click image to see this step on youtube

1.6. Dowel handle

Click image to see this step on youtube

1.7. Testing it out

Click image to see this step on youtube

1.8. Final thoughts

Click image to see this step on youtube

2.1. Differences and materials

Click image to see this step on youtube

2.2. Mapping the shape

Click image to see this step on youtube

2.3. Cutting and shaping

Click image to see this step on youtube

2.4. Final markings, drillings

Click image to see this step on youtube

2.5. Assembly & example

Click image to see this step on youtube

Tip Jar

If you enjoyed or found this useful, throw me a tip →


To support me with patreon, click here → Patreon


Click here to Subscribe on youtube → Youtube

If you found any errors on the page, please use my email below and contact me!