Straight dados are crucial for strong, accurate joints in woodworking projects. However, achieving that level of precision can be challenging when relying solely on a straight edge, as even the slightest misalignment can throw off the cut. This step-by-step guide will show you how to create a reliable, free-to-make jig using uni-strut, bearings, and hardboard.
This jig allows you to easily set up and cut perfectly straight dados every time, without needing to use a double straight edge set up. This simple, DIY jig will save you time and frustration, giving you clean, precise results with ease.
ATTENTION: These plans are yours to use…they are offered as a gift from me to you. You have every right to use them to make this project for yourself, but please, do not sell or give these plans away as your own. I make absolutely no money off of these so I would appreciate those who view these plans to abide by basic copyright laws.
As an amazon associate I earn from qualifying purchases.
Step by step instructions
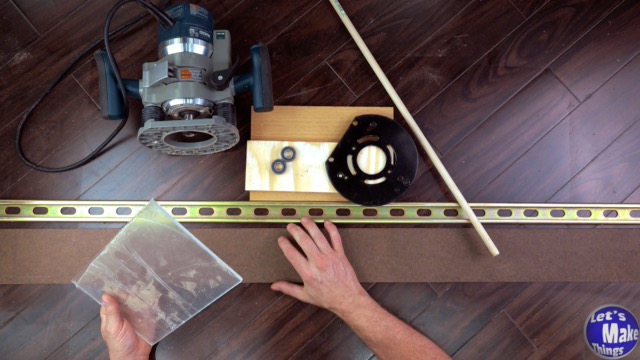
1. Materials
You will need unistrut for this project. I’ve heard some people say that unistrut isn’t necessarily straight, and that is true, it’s not always true. Be sure you lay it on the floor of the store and make sure it’s flat against it. I’ve seen bent ones, and this makes the problem go away.
Plexiglass should be the thickness of your router plate. Bearings could be 3/8’s ID, but I’d definitely go with 1/2 inch. Everything else should be above in the material’s list.
Click image to see this step on youtube
2. Carriage base
The carriage base should be 2 inches wider on either side of your router base, and about an inch wider at the top (see image). We’ll mark around our router base and use the bandsaw to cut out the center. When done, the router should fit inside of the cut made.
Be sure to use 3/4″ plywood here.
Click image to see this step on youtube
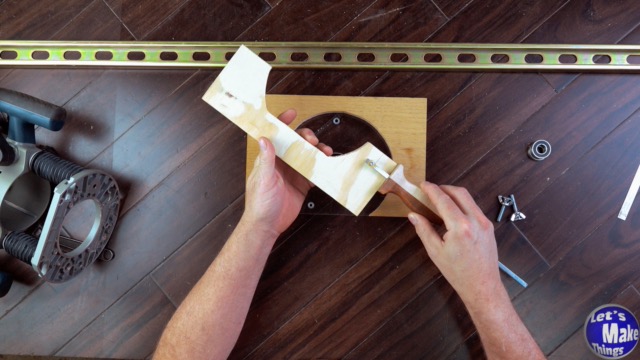
3. Upper carriage arm (shape)
We’ll take the carriage base we cut and use it as a template for the upper arm, which should drape over the unistrut to the back edge. A line also needs to be made between the partial sphere.
A little double sided tape will make getting the template to work better for you.
This will need to be cut on the bandsaw as well.
Click image to see this step on youtube
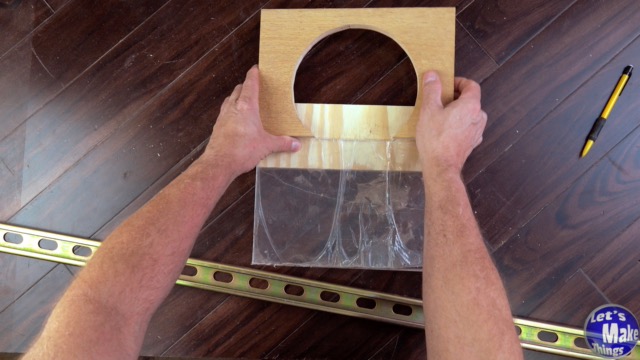
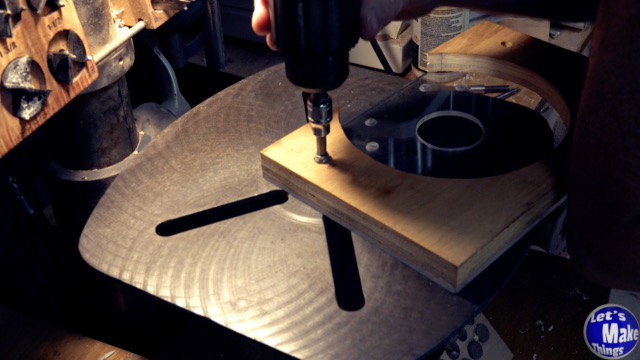
4. Plexiglass base
The plexiglass base will need to be marked and drilled out for each of the screws that fit into your router base as well as a hole will need to be cut out. I went with two inches for the opening, you could go a little less if you wanted.
Click image to see this step on youtube
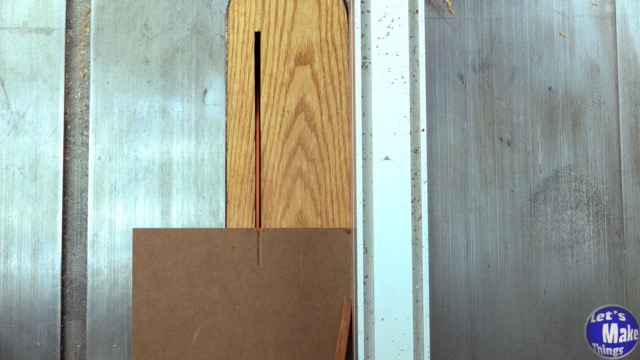
5. Carriage arm
The carriage arm will now need to have a couple slits made for the 1/4″ carriage bolts to slide through. I used a table saw but it could easily be done with a bandsaw.
Click image to see this step on youtube
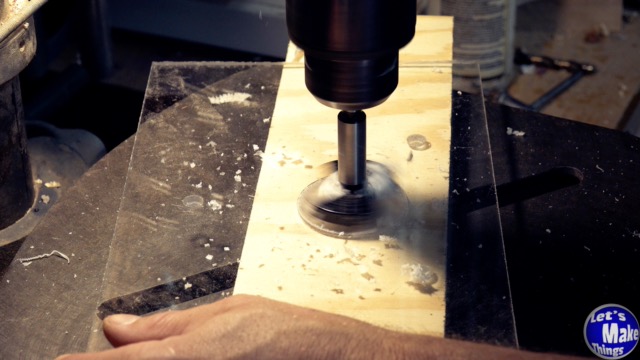
6.Finalizing the carriage base
Finalizing the carriage base involves drilling and adding threaded inserts. With 1/4″ inserts, you’ll want to use a 3/8’s drill bit, but only as long as it’s tight enough it won’t slip. I used epoxy on the threading…which I highly recommend.
Click image to see this step on youtube
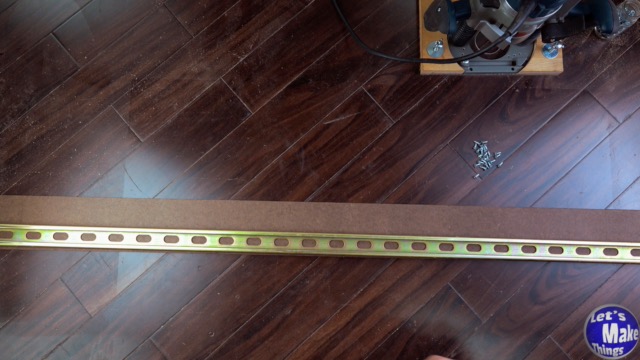
7.Finalizing the Rail
To finalize the rail, we’ll add hardboard to the bottom of the uni-strut and use a flushcut bit on a router tape to make sure that it’s absolutely flush to the fence. This will ensure that our jigs will work later on.
Click image to see this step on youtube
8. Center jig
In this step I made a center jig to easily find the center of my dado rail. This is completely optional but it makes things so much more precise and easy.
Click image to see this step on youtube
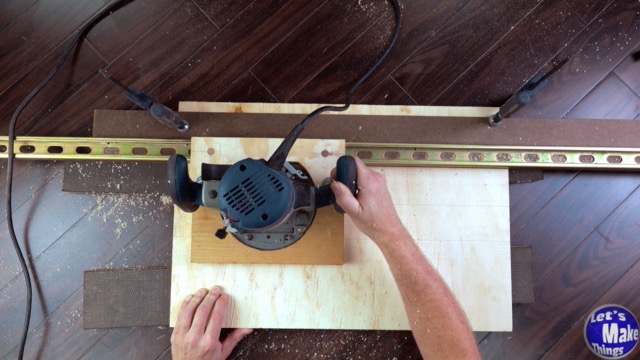
9. Demonstration
Click the image for a really quick demonstration. ALWAYS be sure you use step routing and don’t try to force the final depth you want as it can destroy your router and with enough force, it will not be good for your dado track.