The table saw is often the centerpiece of a workshop, but if you’re just starting out, a circular saw is a simple, affordable alternative. Even the simplest projects need a quick way to cut stock accurately, and cutting boards down to manageable sizes is often the first step in any build—even if you have a table saw. Today we’re making a circular saw cut-off jig that delivers table saw precision.
ATTENTION: These plans are yours to use…they are offered as a gift from me to you. You have every right to use them to make this project for yourself, but please, do not sell or give these plans away as your own. I make absolutely no money off of these so I would appreciate those who view these plans to abide by basic copyright laws.
As an amazon associate I earn from qualifying purchases.
Step by step instructions
1. Materials
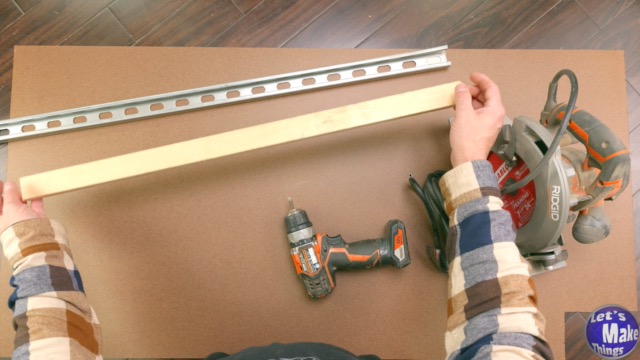
The materials for this are incredibly simple. You’ll need a 1×2 that’s 31 inches long. The only caveat: it must be straight—absolutely crucial. Use the floor or an in-store level to check for straightness, or consider moving up to premium woods if needed. This part is key to the project!
Click image to see this step on youtube
2. Hardboard to size
I used a pre-cut 2′ x 4′ hardboard panel that’s 1/8″ thick as the base. We only really need one factory cut side, but having two is more practical. If you can, cut a 12″ x 12″ piece from the panel to work with.
Click image to see this step on youtube
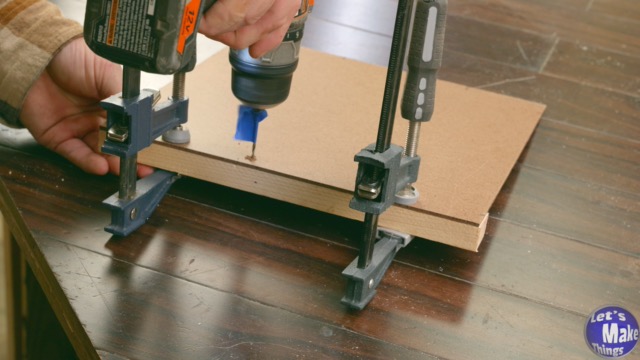
3. Stock hook
Think of a bench hook that grabs onto the edge of your bench. This is essentially what the little hook will do for the stock you plan on cutting in the future.
Next, we need to cut a section off of the 1×2 to run along the bottom of the hardboard. Make sure the edge of the hardboard and the 1×2 are perfectly lined up before you clamp, drill, and add screws.
Click image to see this step on youtube
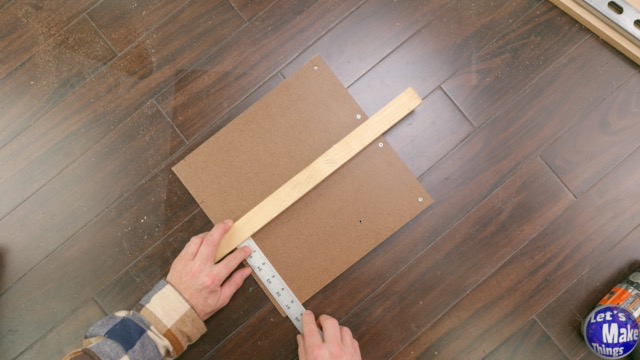
4. Cut fence
The fence will sit on top of the hardboard and extend about 3 inches on each side. This gives us clearance before and after the stock we cut, making the cut easier—especially with the circular saw’s bulky blade cover.
Click image to see this step on youtube
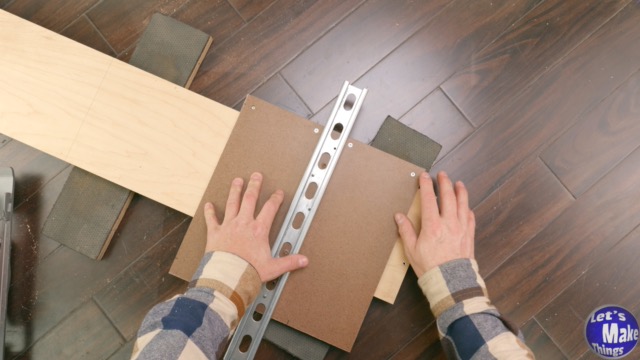
5. Using uni-strut (Not necessary)
I switched from using a 1×2 to unistrut for the fence. It’s not necessary, but I like that there’s no risk of warping on the ends. The smooth surface makes cutting along it feel more professional, but honestly, it’s not crucial to the project.
Click image to see this step on youtube
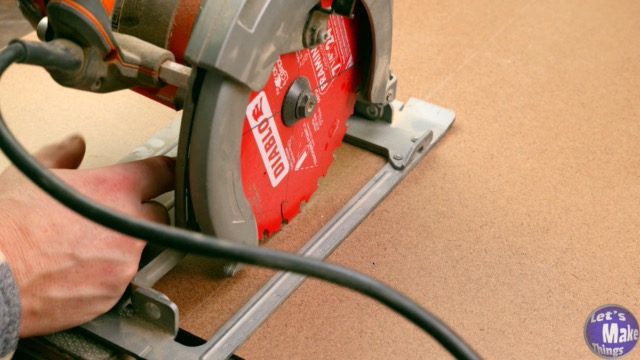
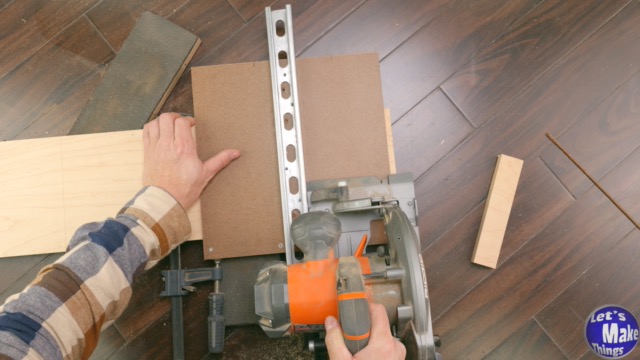
6. Squaring up the sides
To achieve zero clearance with the hardboard, both sides will need to be cut to size. This makes it easier to line up cuts with future pre-drawn lines and gives us the flexibility to use the jig on either the left or right side of the stock—no need to move the saw to the opposite side.
Click image to see this step on youtube
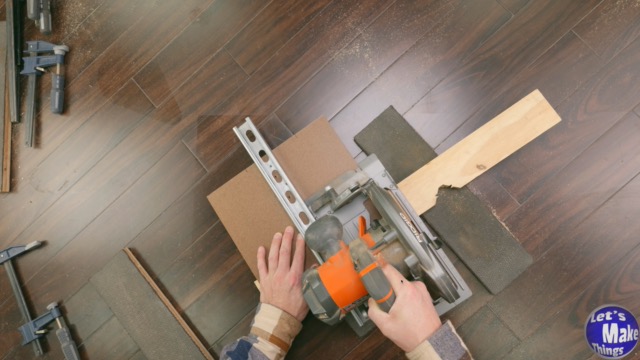
7. Operation
The operation of the saw is better demonstrated with moving pictures than explained in words. Click on the attached image to see it in action!