
Grippy Boards
These Grippy Boards are amazing at keeping your projects stationary. I’ve had luck using them for cutting, sanding, routing, carving…the list seems endless!
We’ll be covering everything in this video, on this webpage.

Dimensions
Though this is a pretty simple design, I know some people like to see the dimensions. I’ve made dimensions here.
Materials Needed to make 4:
(4) 3/4″ x 4″ x 16″ plywood
(8) 5″ x 17″ Tracker Runner
(2) 1/4″-20 x 18″ threaded rod
(8) 1/4″ by 5″ carriage bolt (as spacers)
Caring For Your Grippy
Before we get started, learn a little bit about the “Tracker Runner” that I talk about. You’ll want to know this before you pick up your own “Tracker Runner” at the store.
Step 1
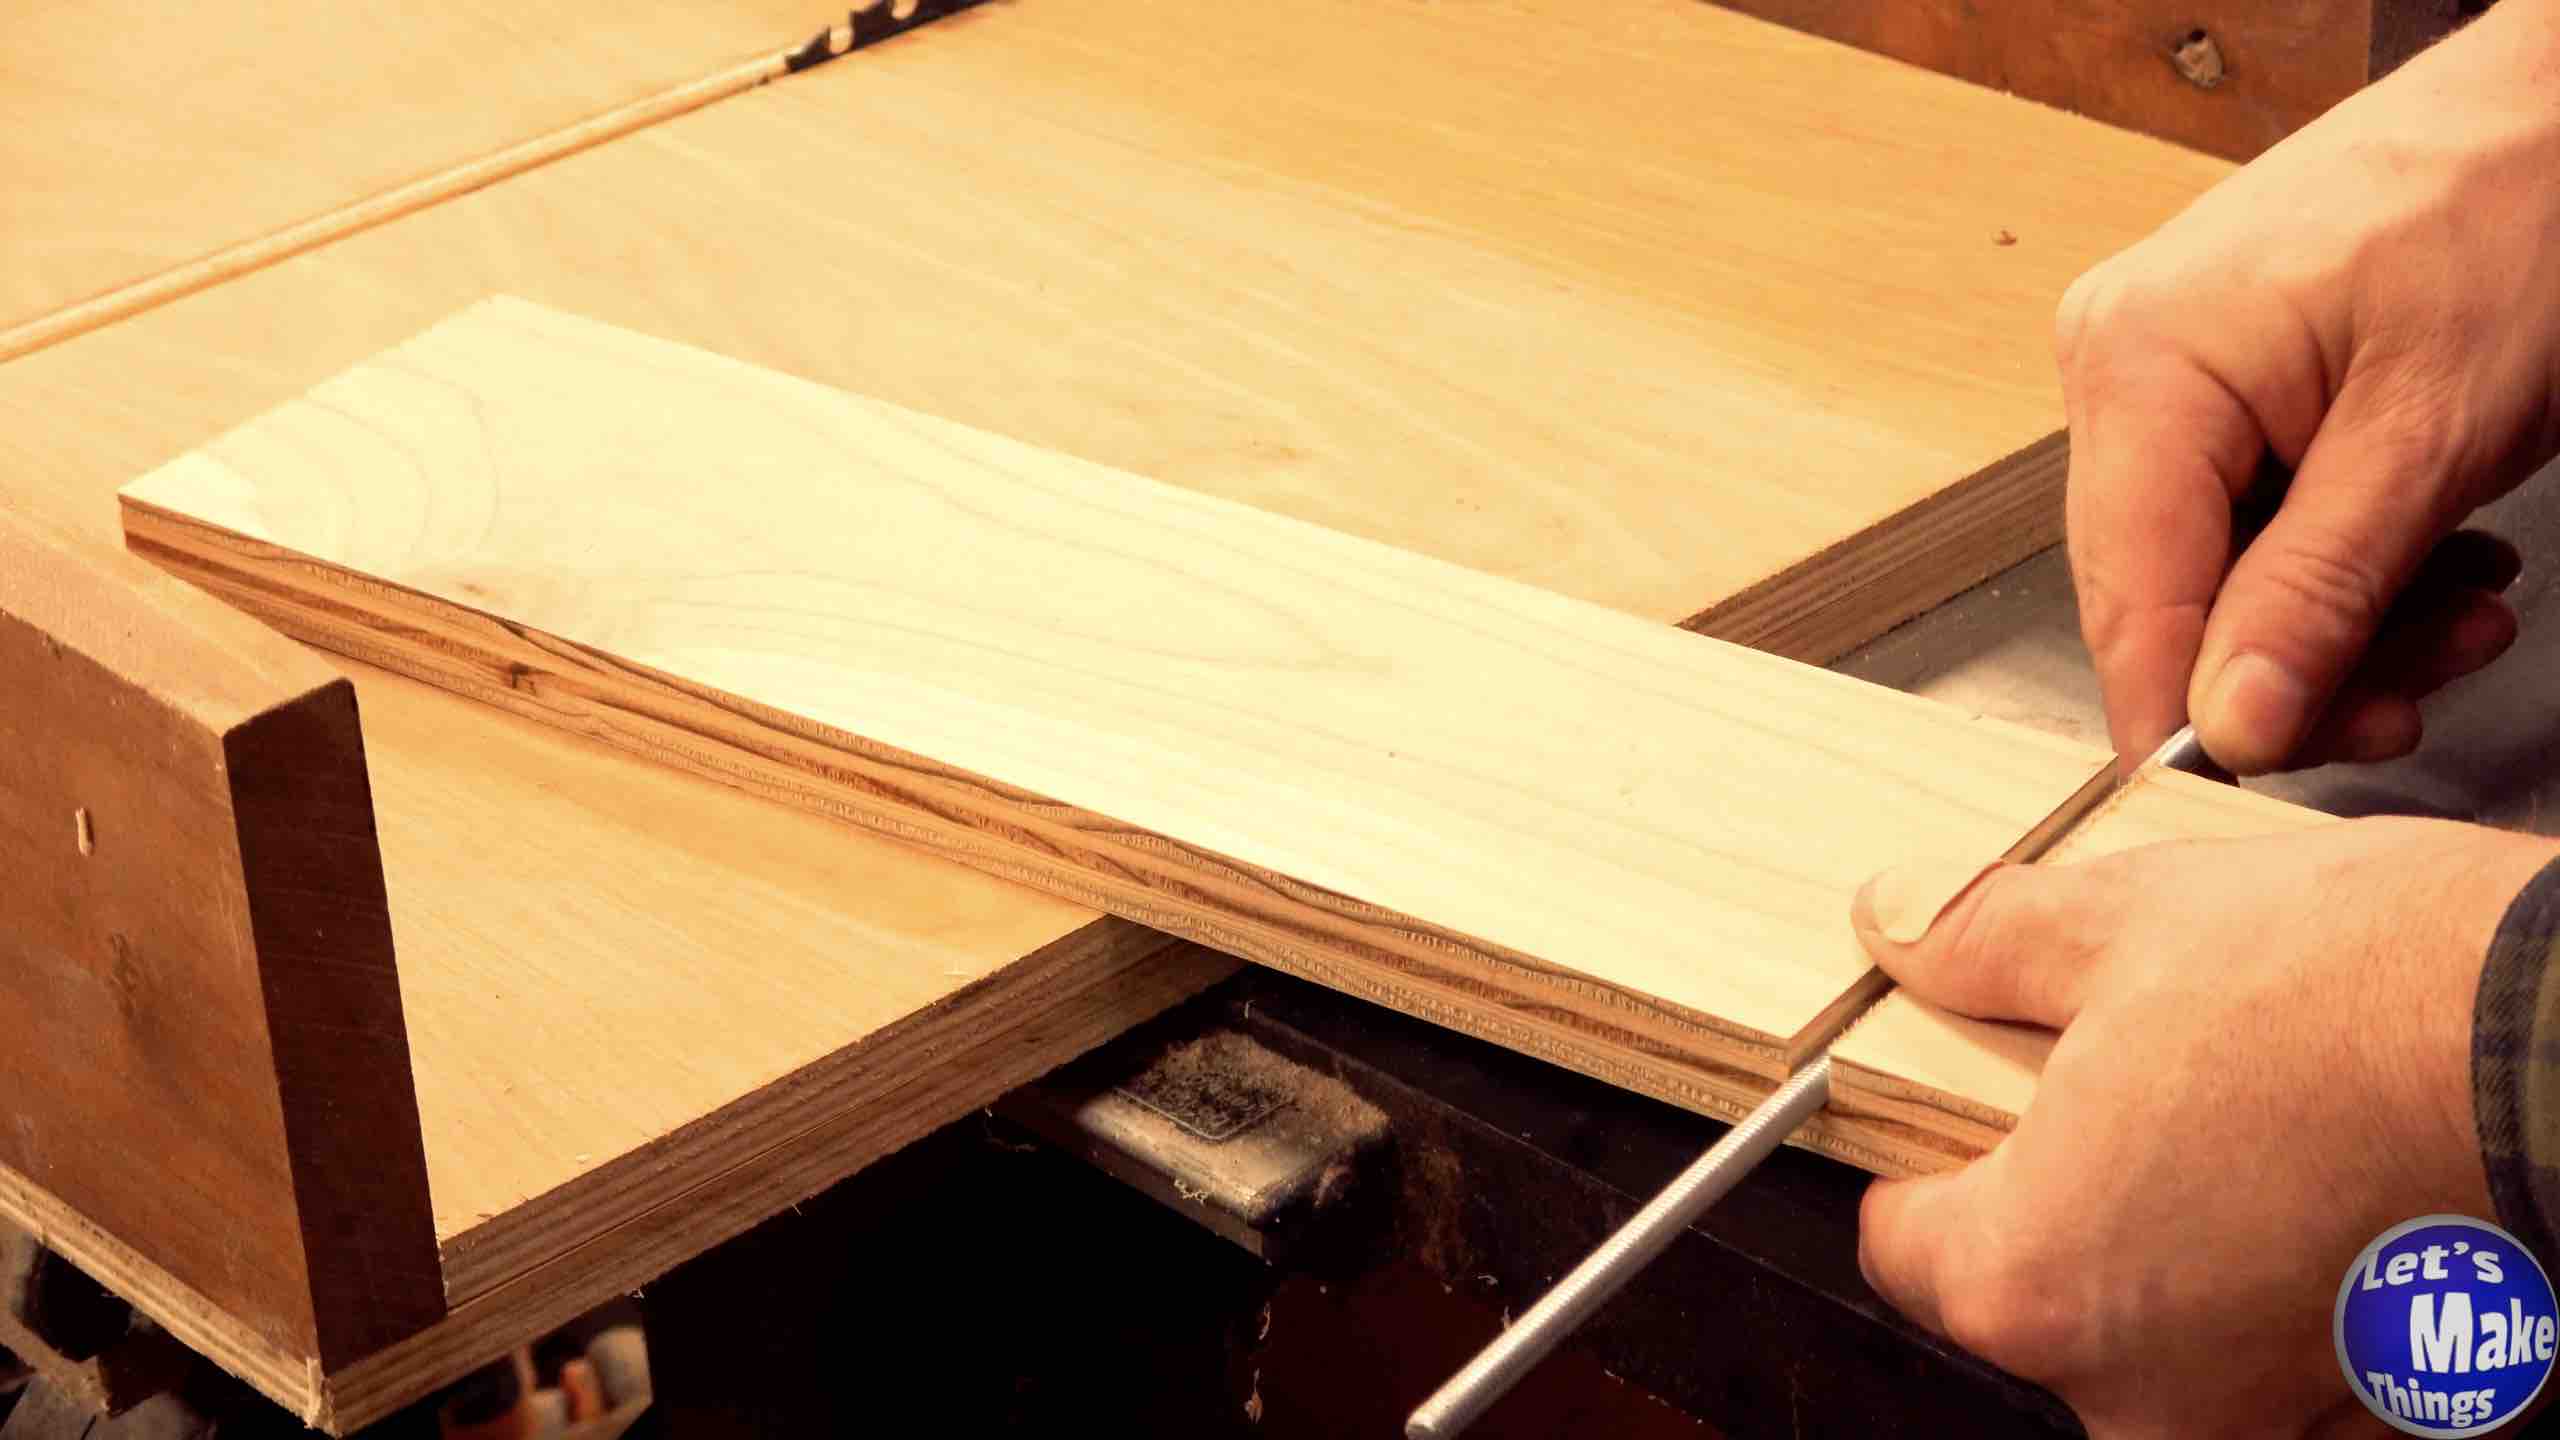
After cutting your plywood to size, we’ll add a 1/4 inch groove on both sides, of all four boards at two inches in. If you’re using a 3/4″ plywood piece, you’ll want the depth of your cut to be 3/8 inches.
Note: Clicking the picture on the right shows this step in motion at youtube.

Step 2
Now we’ll cut out 1/8th inch strips that will fill those tracks, above, of course, the 1/4 inch threaded rod. In the video, I showed a technique that I like to use, where I cut a corner out. Click the image to the right to see that.
Note: Clicking the picture on the right shows this step in motion at youtube.
Step 3
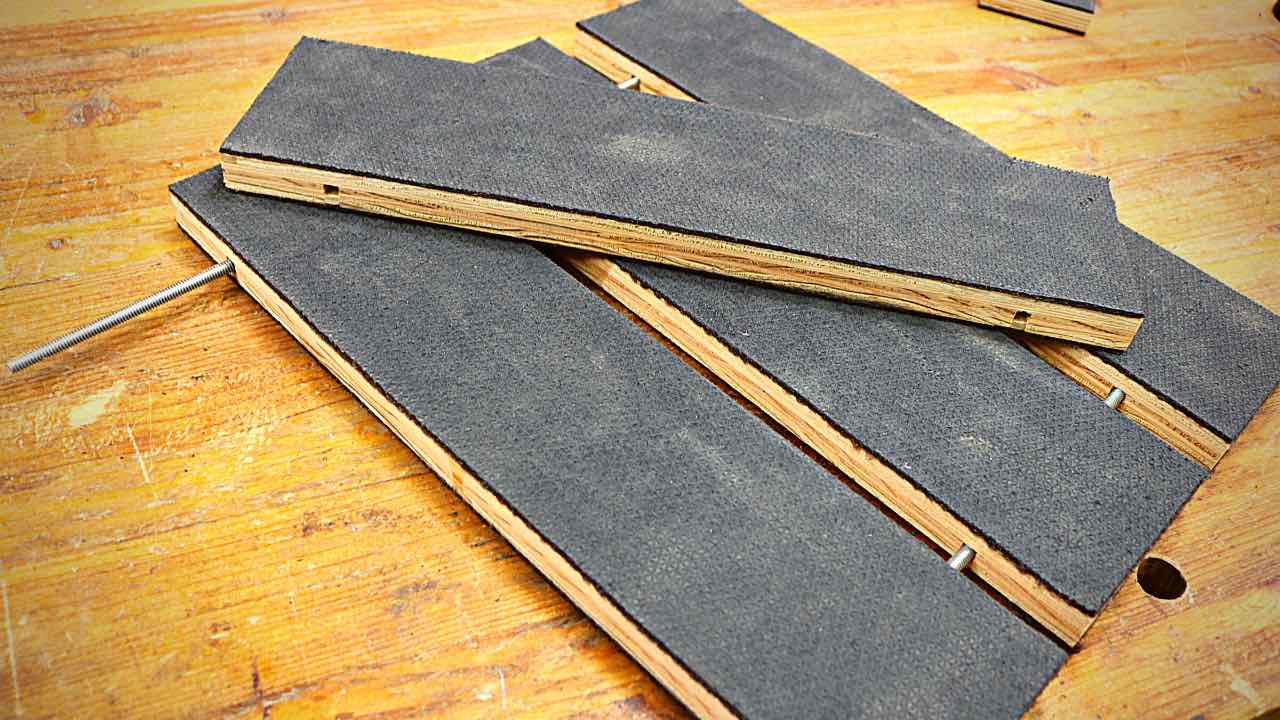
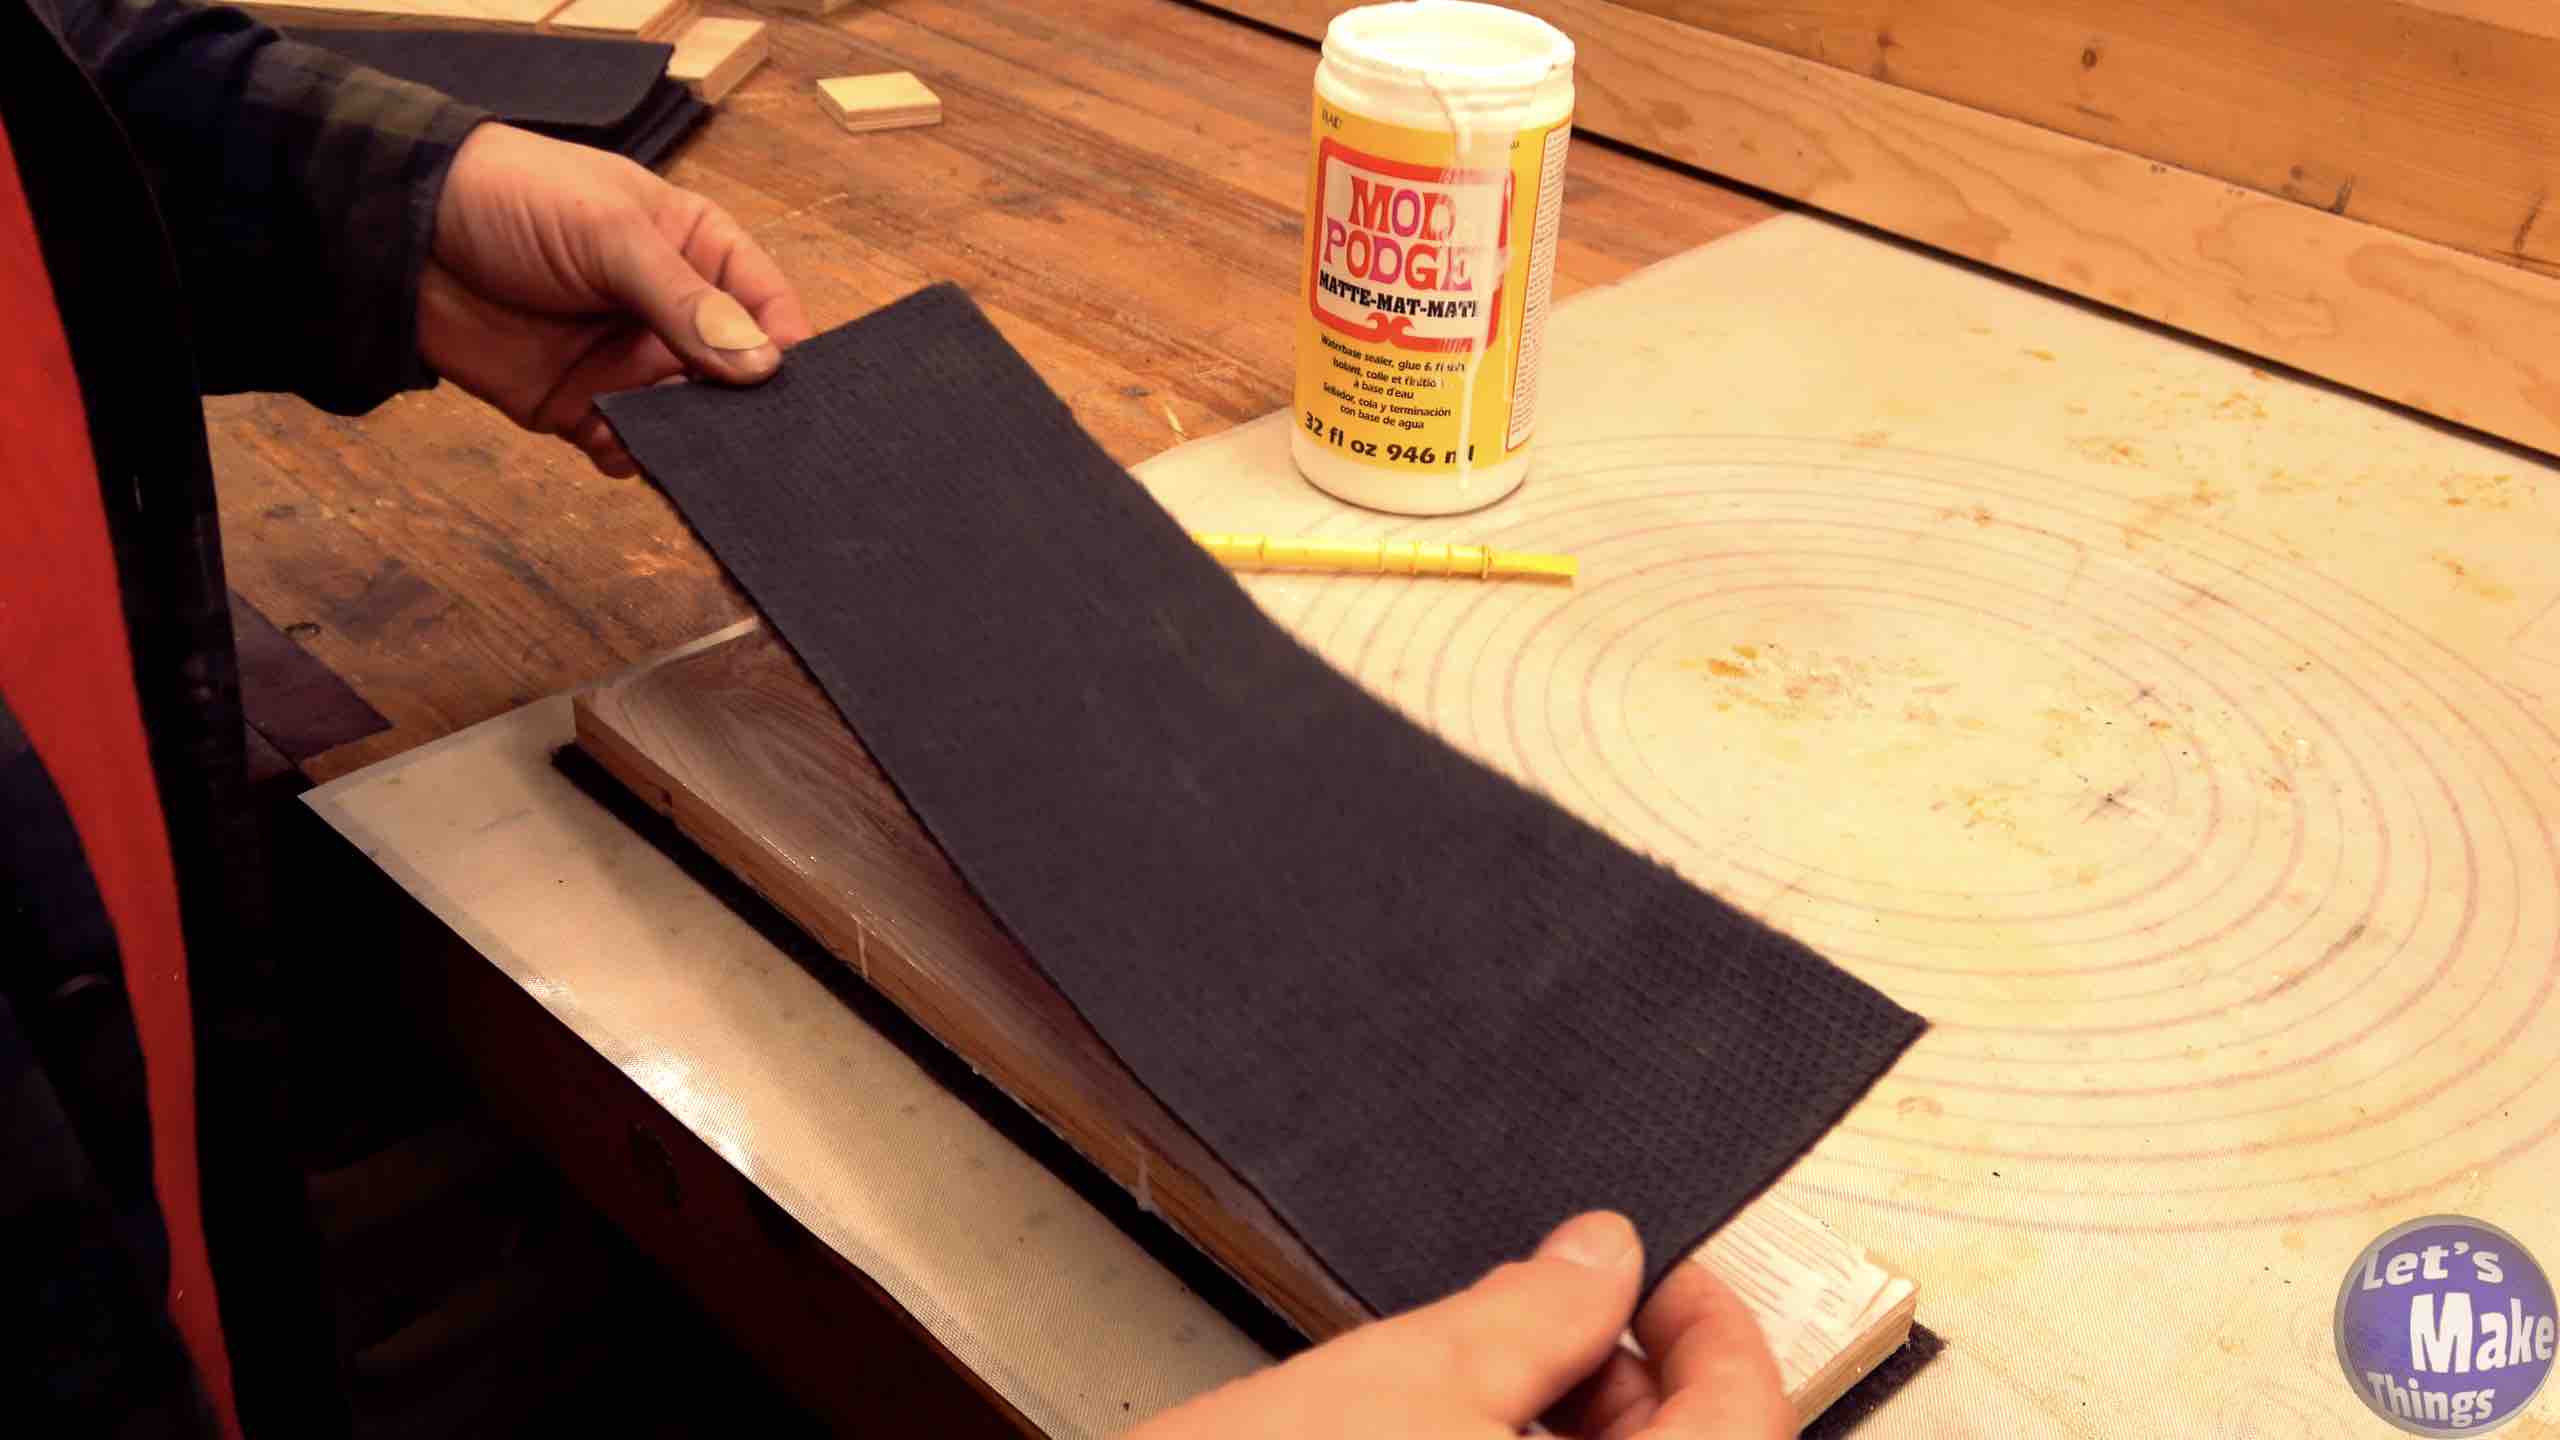
We’ll sandwhich all 8 pieces of Tracker Runner to the 4 pieces of plywood, buttering each board with Mod Podge glue. I did use (8) 1/4″ by 5″ carriage bolts as spacers in each of the Grippy Boards, which I definitely recommend. Add your clamps and give the mod podge 4-8 hours to dry.
Now that all is dry, we’ll cut the remainder around the sides off. To do this, I’ve used my table saw, I’ve used a bandsaw and a I’ve even used a belt sander. Of the 3 ways…which did I enjoy using the most? The sander. It’s quick and easy. There are a number of fibers that will inevitably be hanging off the boards. Using a torch will easily clean that up.
Note: Clicking the picture on the right shows this step in motion at youtube.
Step 4
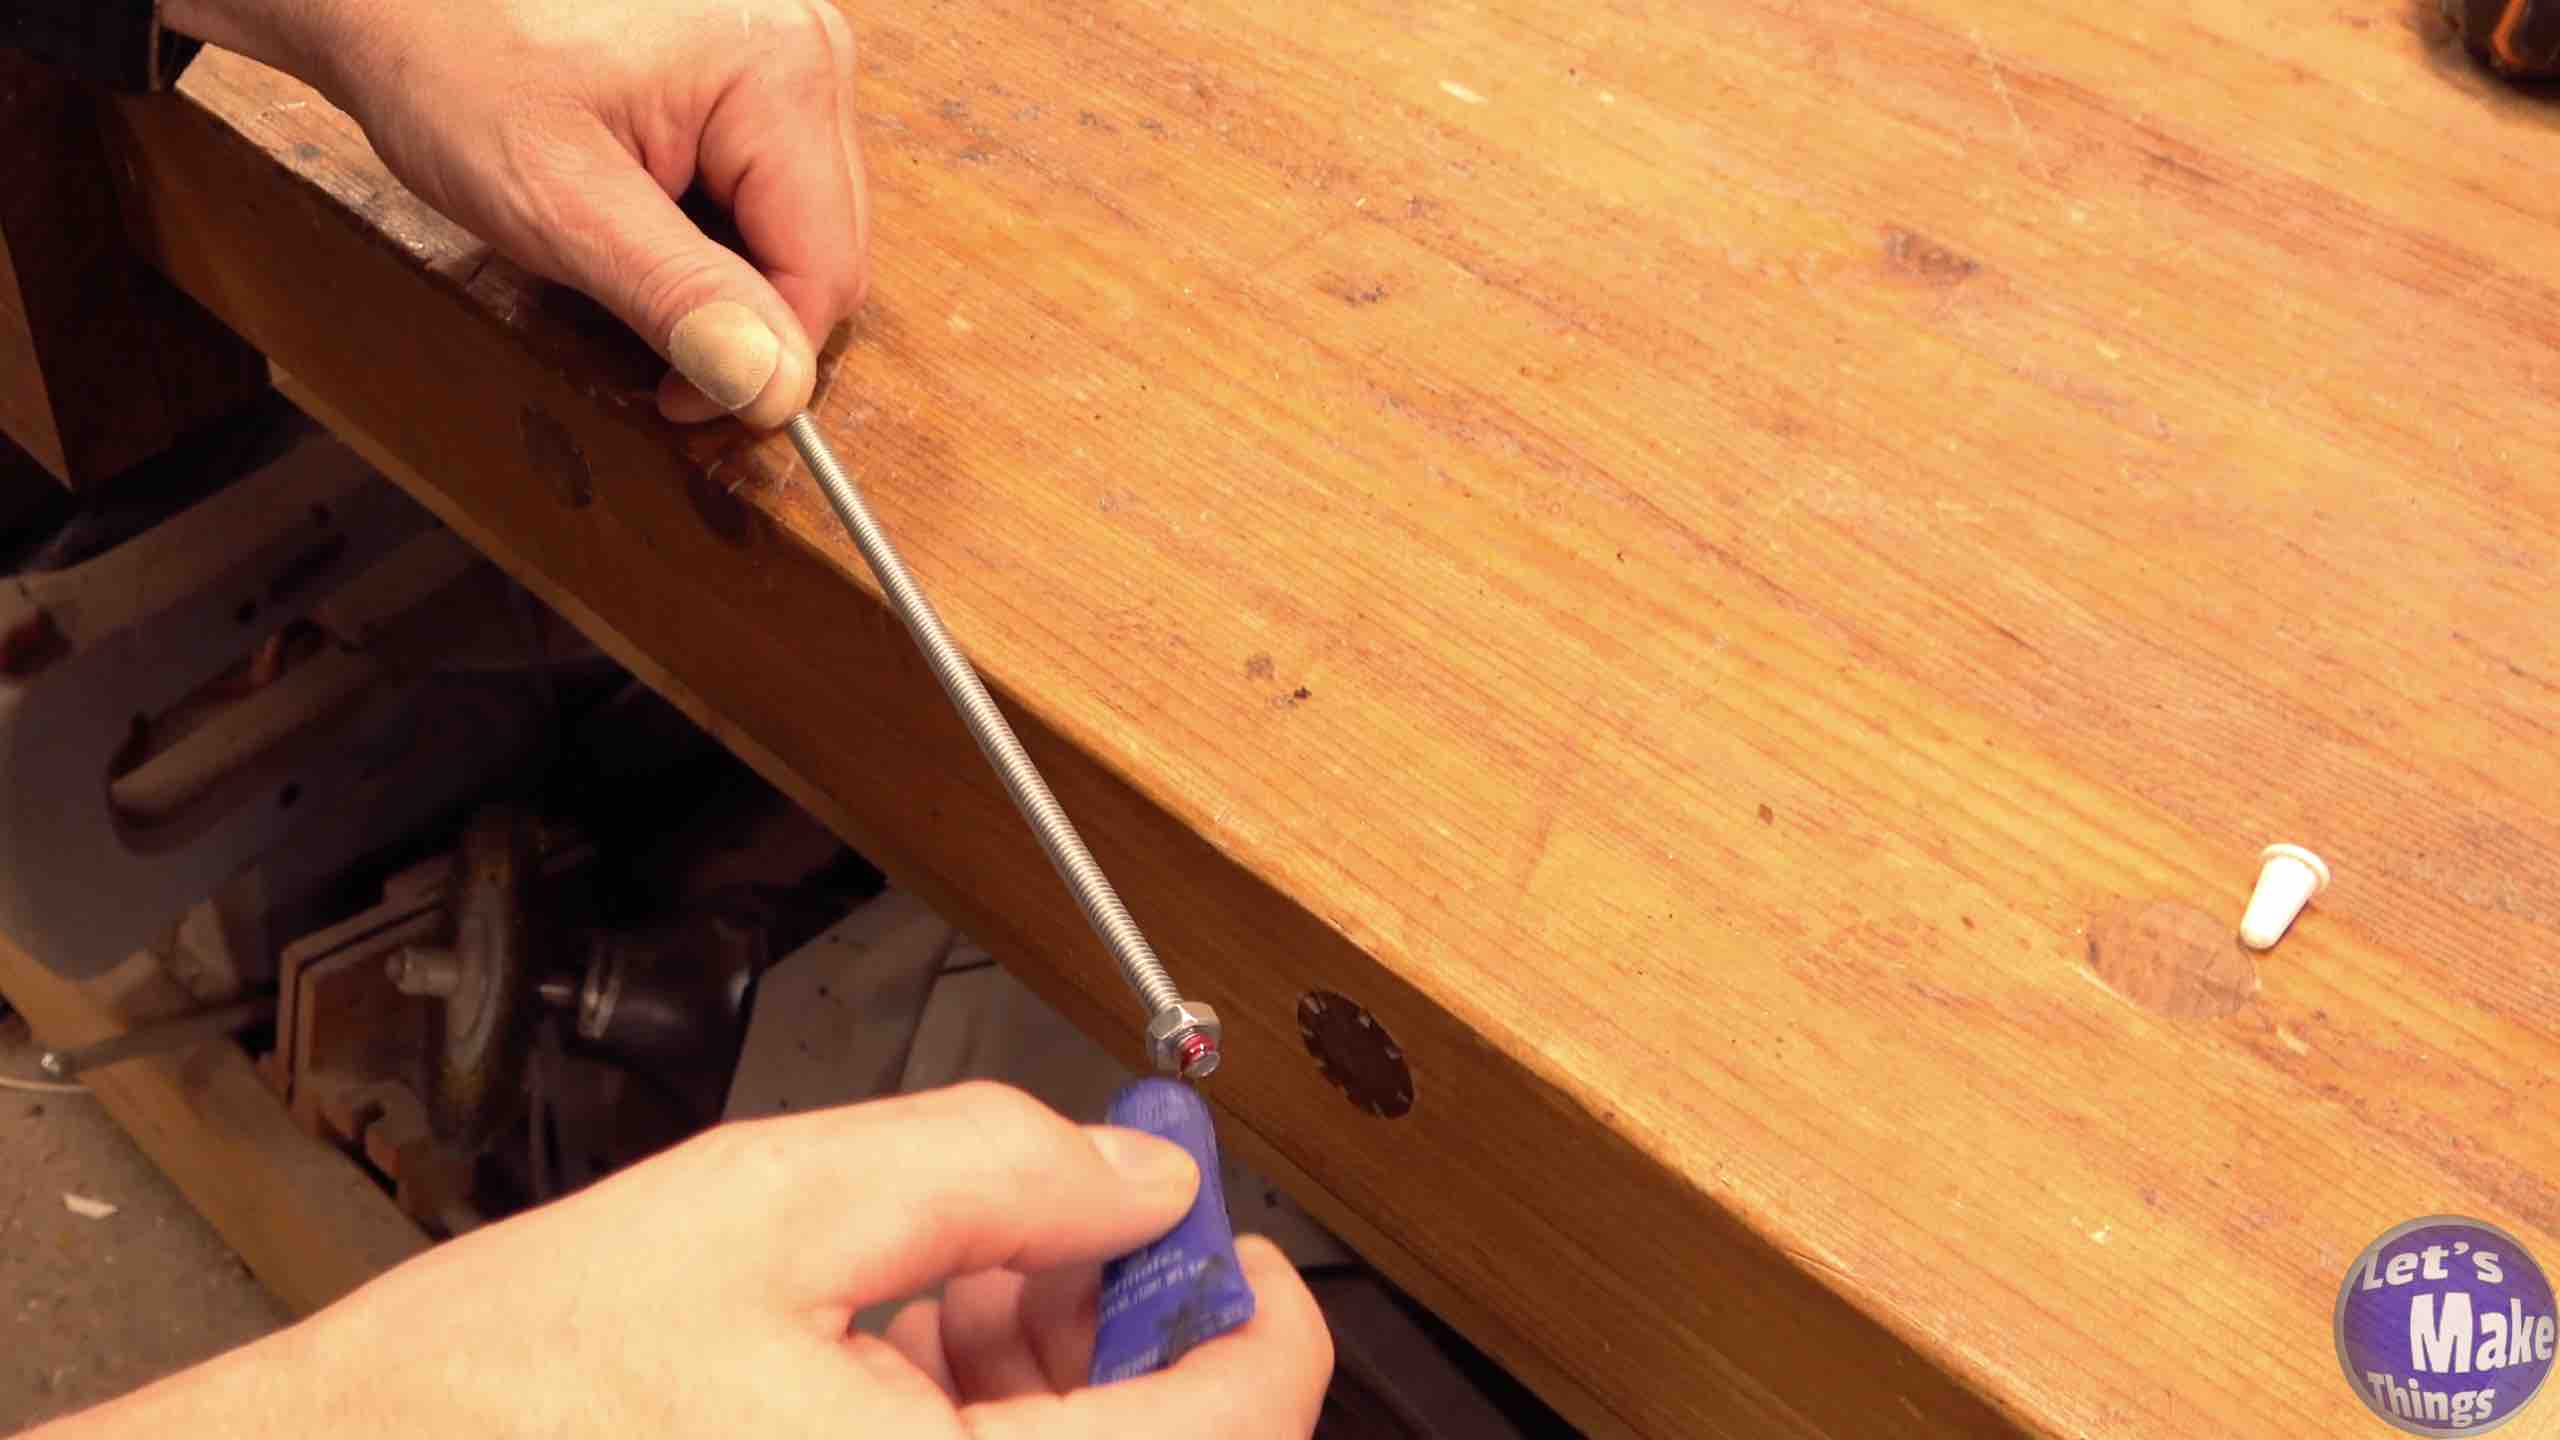
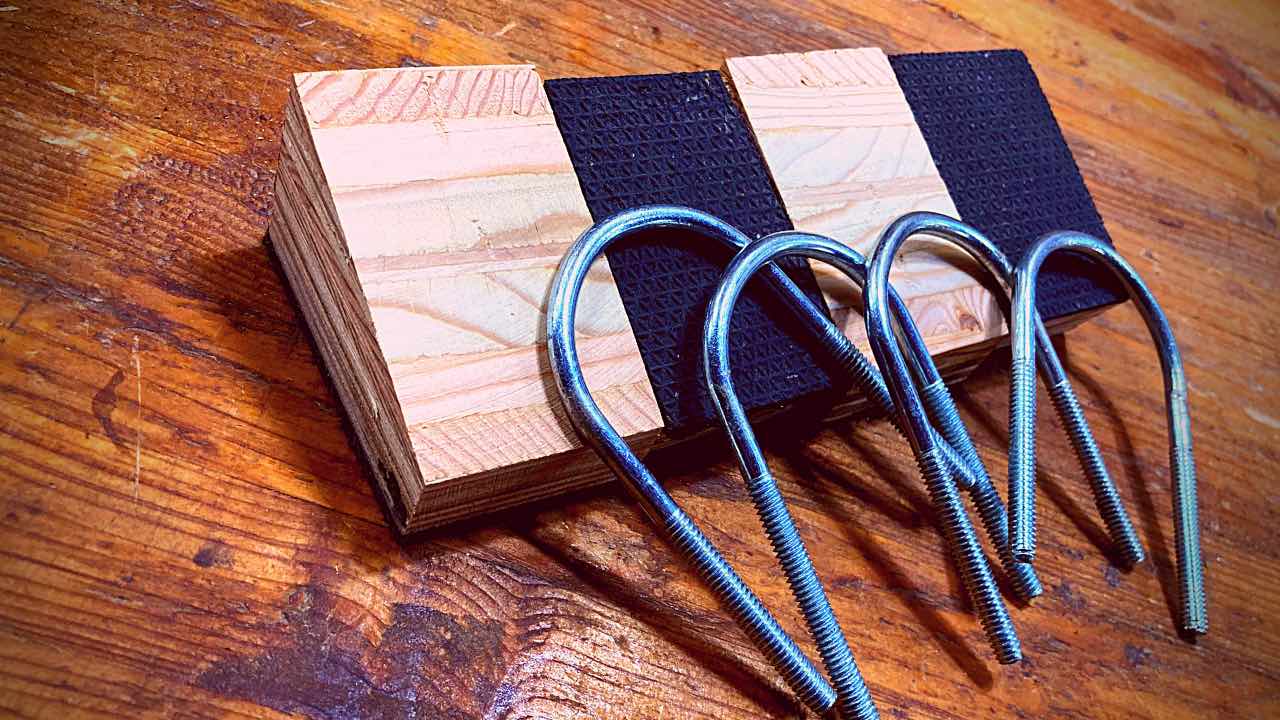
To finish this project, we’ll add 1/4 inch threaded rod. This may seem like a pointless step and you may choose to skip this altogether. I do think there’s a lot more stability in having the rods and it makes putting it away simple as it lays flat. But the real reason I designed the 1/4 inch tracks is to add a clamp like jig. In the next section, you’ll get more information on that.
I used a 36″ threaded bolt, found the center and cut it in half. Add a couple nuts, squirt some threadlock, and you’re golden! Please remember to read the “care” instructions for these blocks.
Note: Clicking the picture on the right shows this step in motion at youtube.
Extra!
In the video, I alluded to a jig I had not finished. It’s now finished and I created a tab completely for it. Above you can click on the “Grippy Chock” tab, or click the image to the right. These “Grippy Chocks” aid in holding the stock to the top of the blocks.

Tip Jar
If you enjoyed these free plans and have a few bucks sitting around, why not help us keep the website going and feed the tip jar? Completely optional!