
Grippy Studs
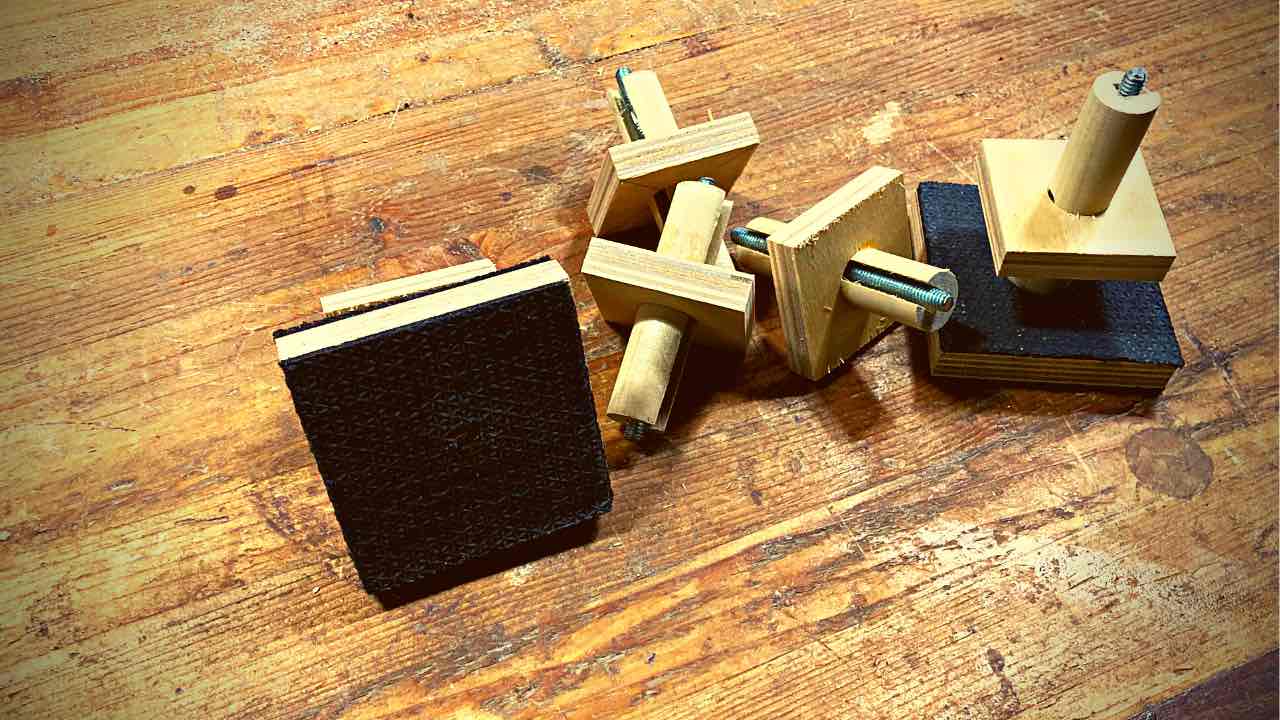
Grippy Studs are a great way to raise your work off the surface of your bench top! They’re similiar to the rockler bench + set, except these will cost you very little to make!
We’ll be covering everything in this video, on this webpage.
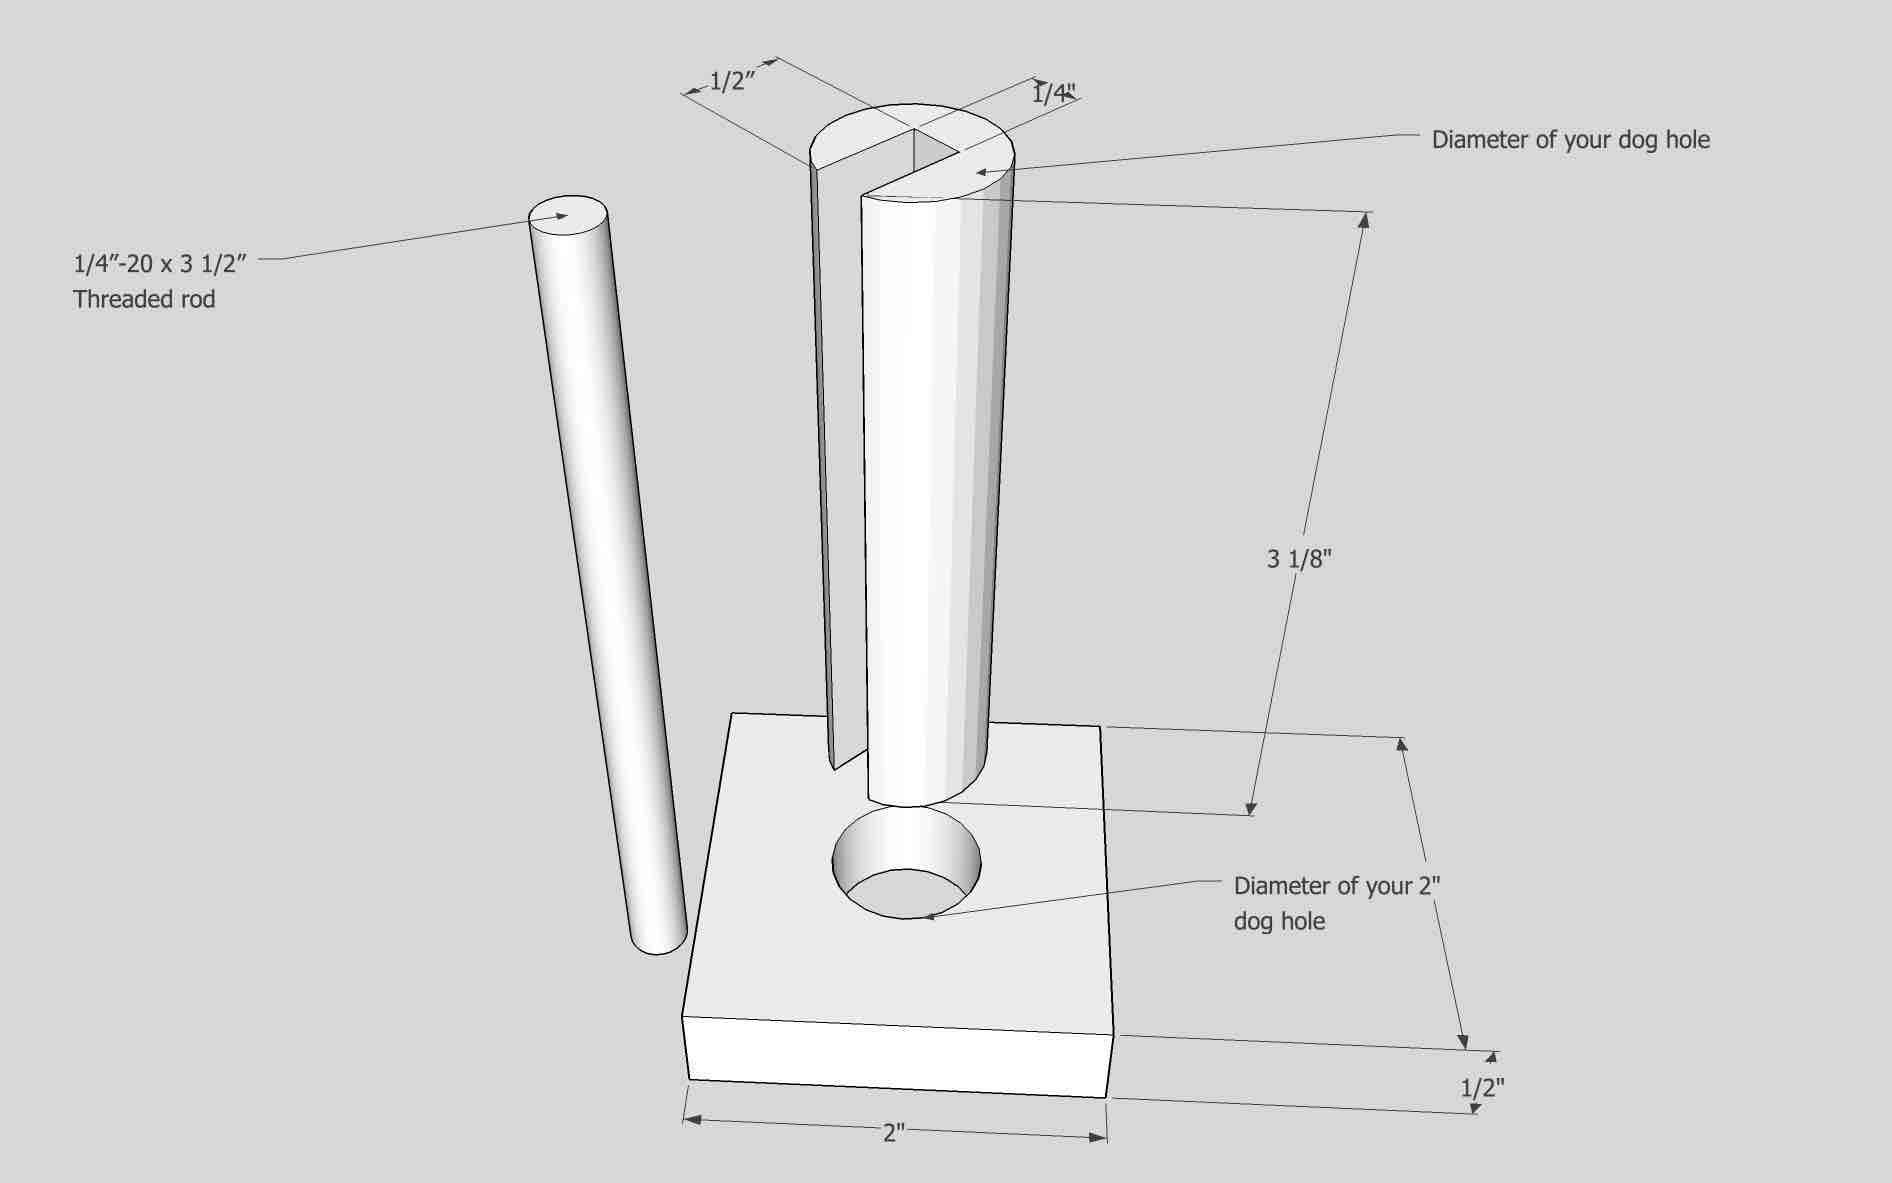
Dimensions
Though this is a pretty simple design, I know some people like to see the dimensions. I’ve made dimensions here.
Materials Needed to make 8:
(8) 3/4″ x 3 1/8″ dowels
(8) 1/4″-20 x 3 1/2″ threaded rods
(8) 1/2″ x 2″ x 2″ plywood squares
1/4″ x 10″ dowel rod
A scrap of wood that’s about 5″ long and at least 1 inch thick
Note:
This project is intended to go with the Grippy Multi Pads (which is a homemade version of the Bench Cookie Plus Grippers Master Kit). If you’re interested in making that project, click on the picture to the right or go to the top and click on the “Grippy Multi Pads” tab.
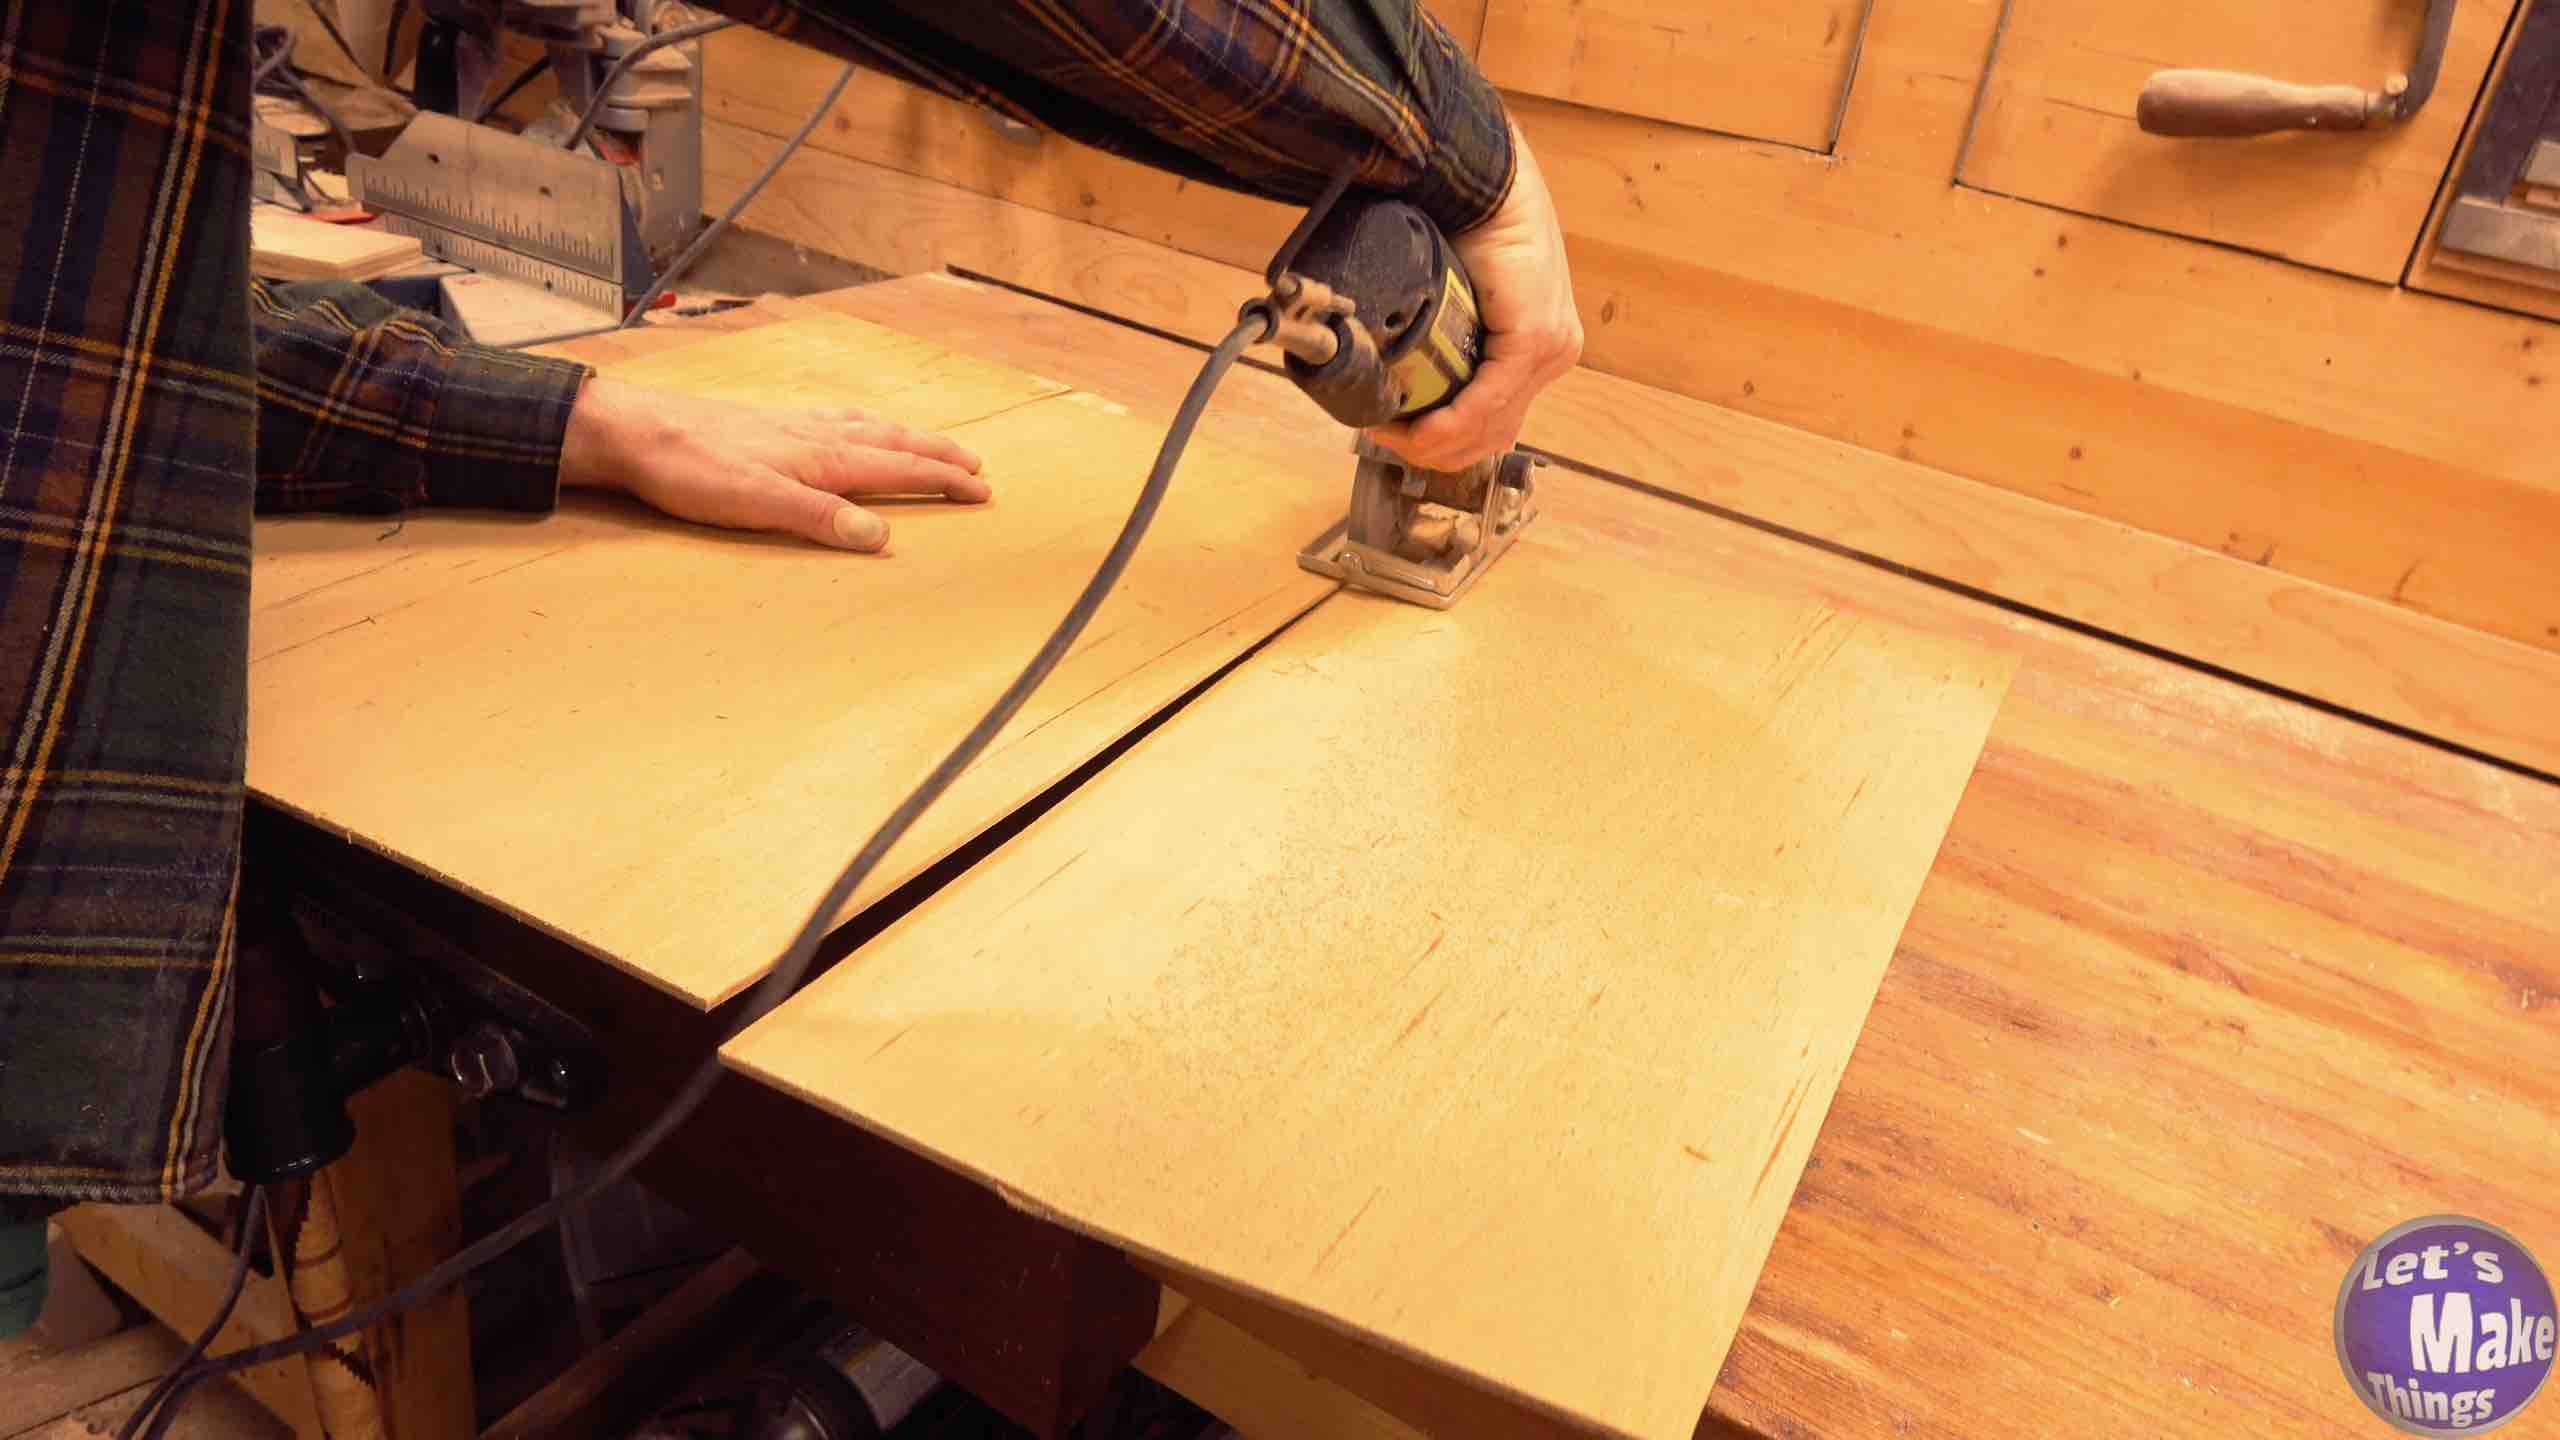
Step 1
We’ll create a little jig so that we can add quarter inch threaded rod to the inside of the dowels. To do this, we’ll take a block of wood that’s at least an inch thick and cut a groove that’s the thickness of your dowel, as well as the length of your dowel. I’m using 3/4 inch dowels, so I made a notch in a 2×4 that’s 3/4 inches by 3/4 inches. After that was finished, I made sure to cut the thickness of my 2×4 so that it’s the same width as my 3 1/8 inch long dowels. On the opposite side of the block, I added a 1/4″ hole to the center of the block.
Note: Clicking the picture on the right shows this step in motion at youtube.
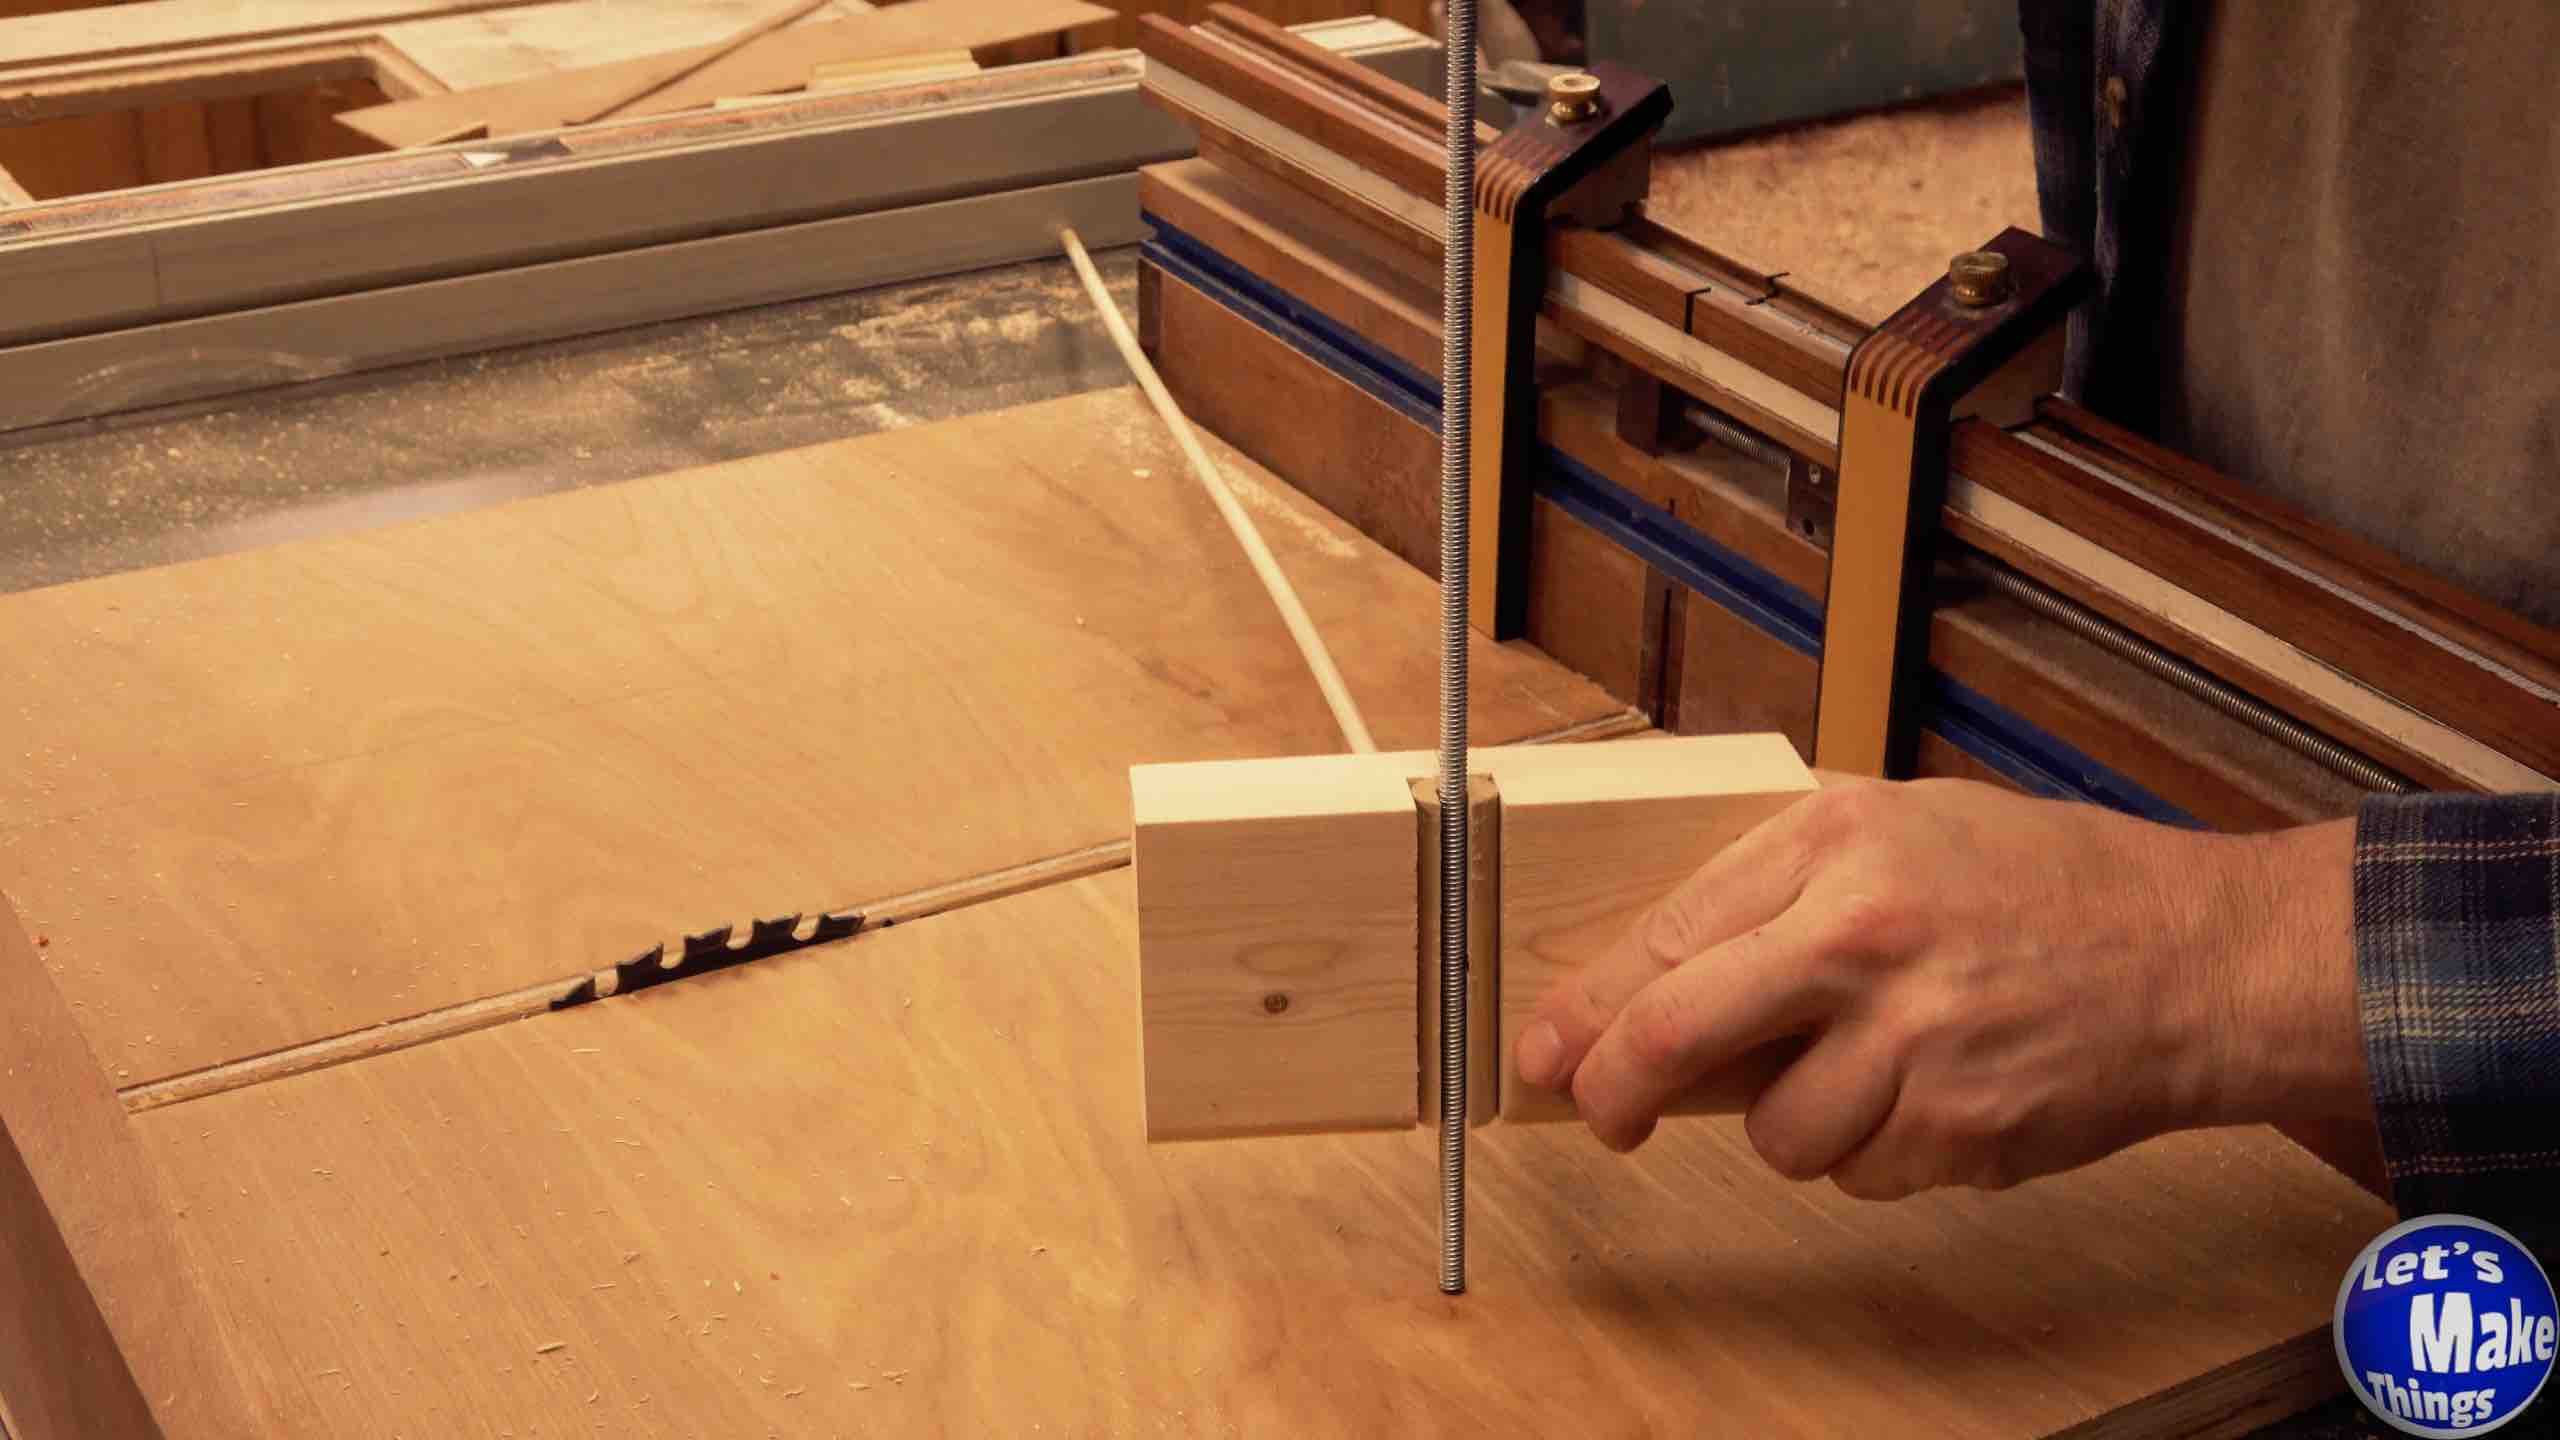
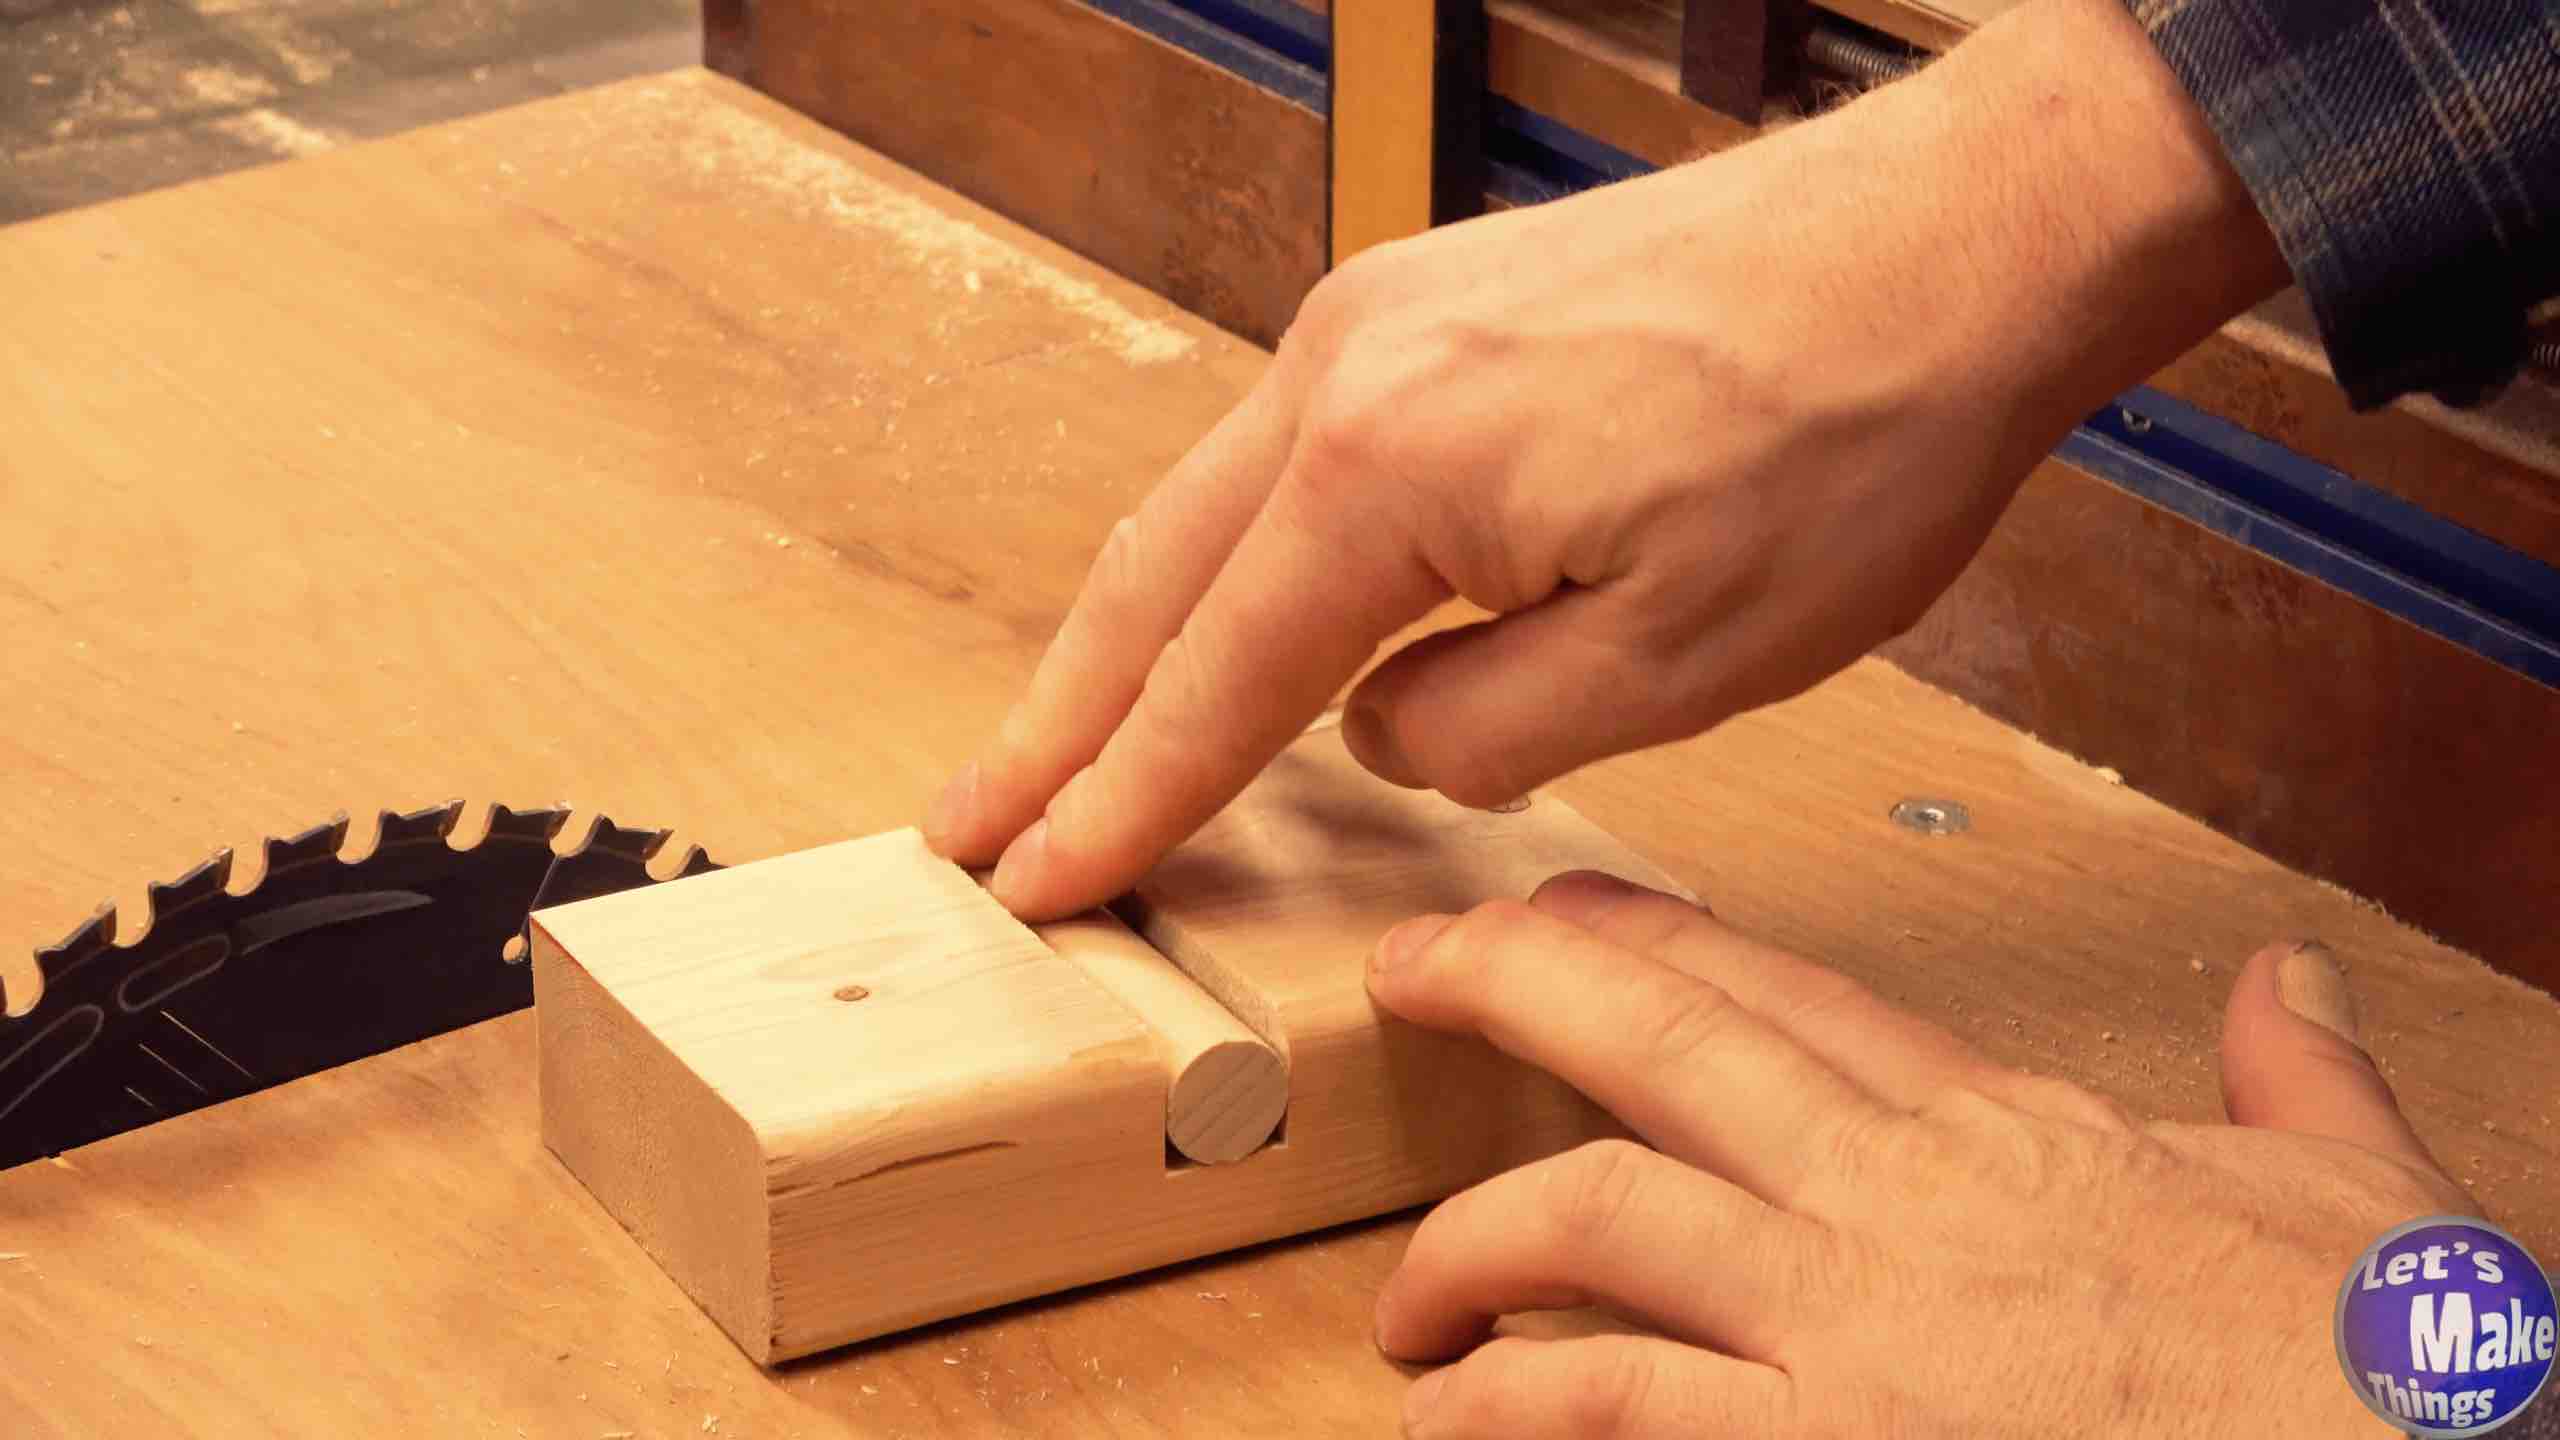
Step 2
Time to cut some grooves! We’ll set our table saw blade so that it is a 1/2 inch off the top of our table saw sled. Insert a dowel into the opening of the block, drill a 1/4 inch hole through the top and about half way into the dowel. Insert the dowel through the top and we’ll cut out a 1/4″ gap in each of the dowels, repeating this step until all 8 are finished.
Note: Clicking the picture on the right shows this step in motion at youtube.
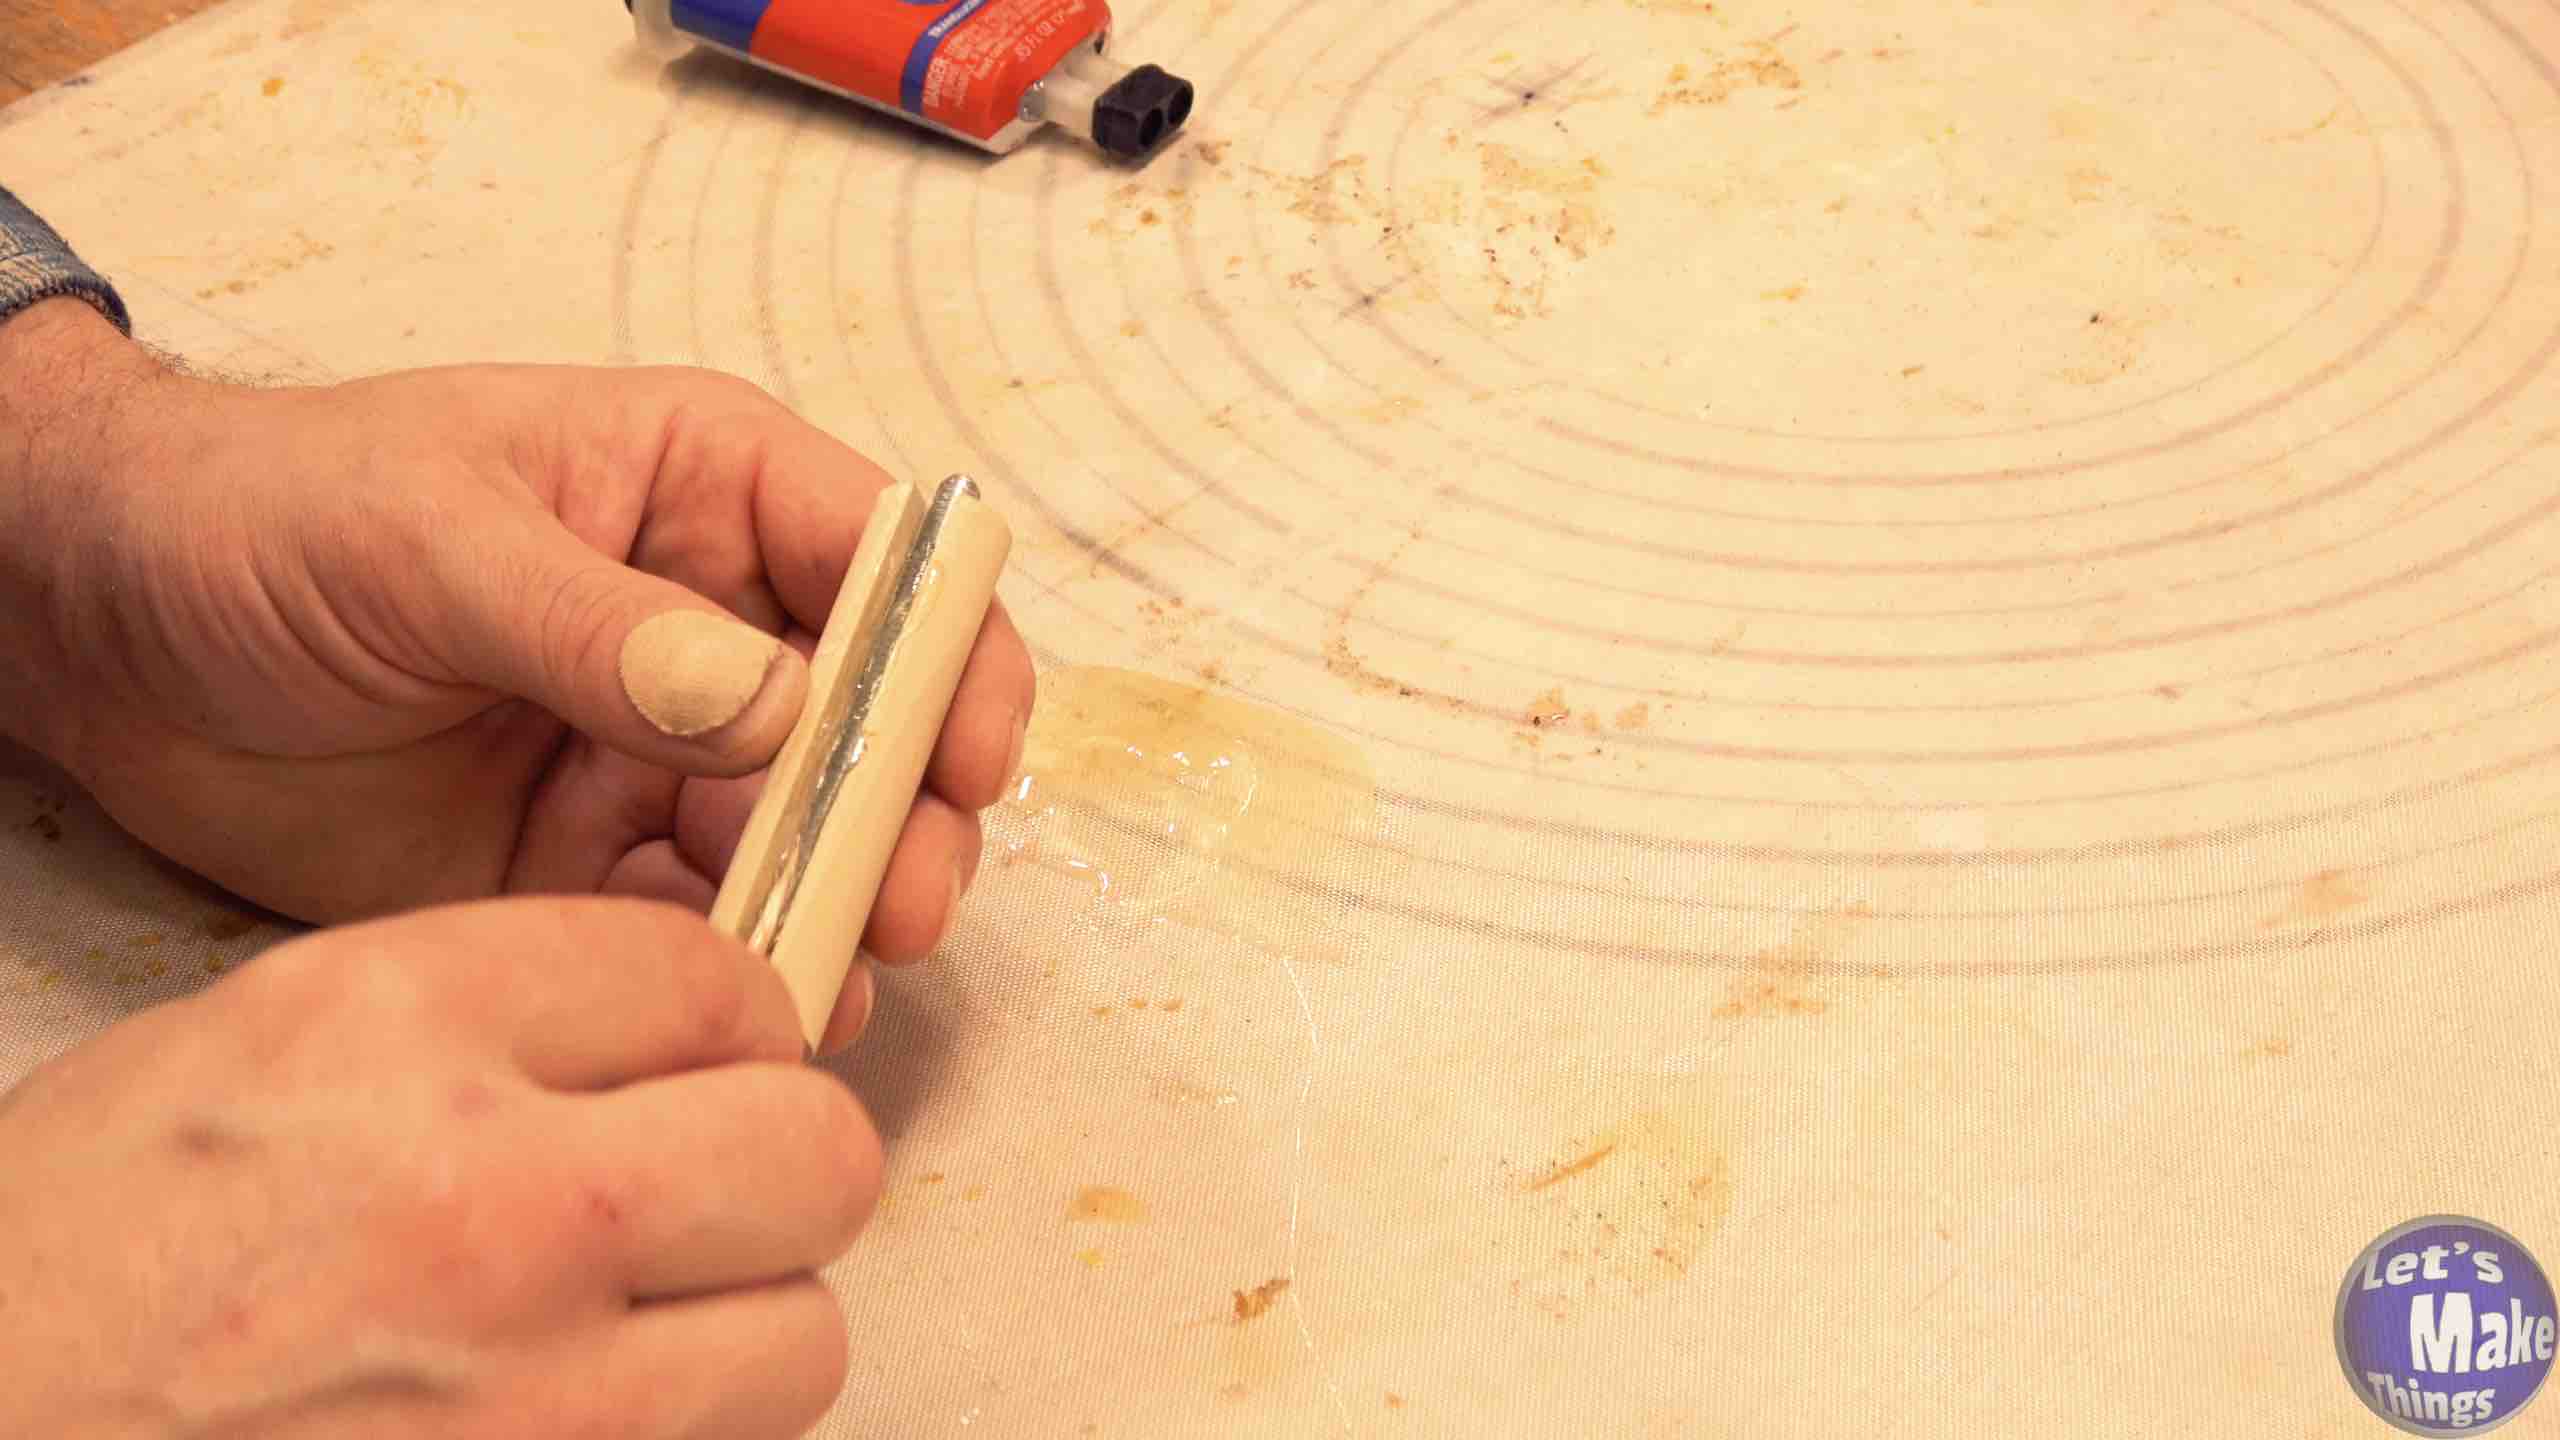
Step 3
In this step, we’ll add Epoxy to each of the 1/4″ x 3 1/2″ threaded rods. After you coat the threads, be sure to roll the bolt so that the epoxy is evenly distributed.
Note: Clicking the picture on the right shows this step in motion at youtube.
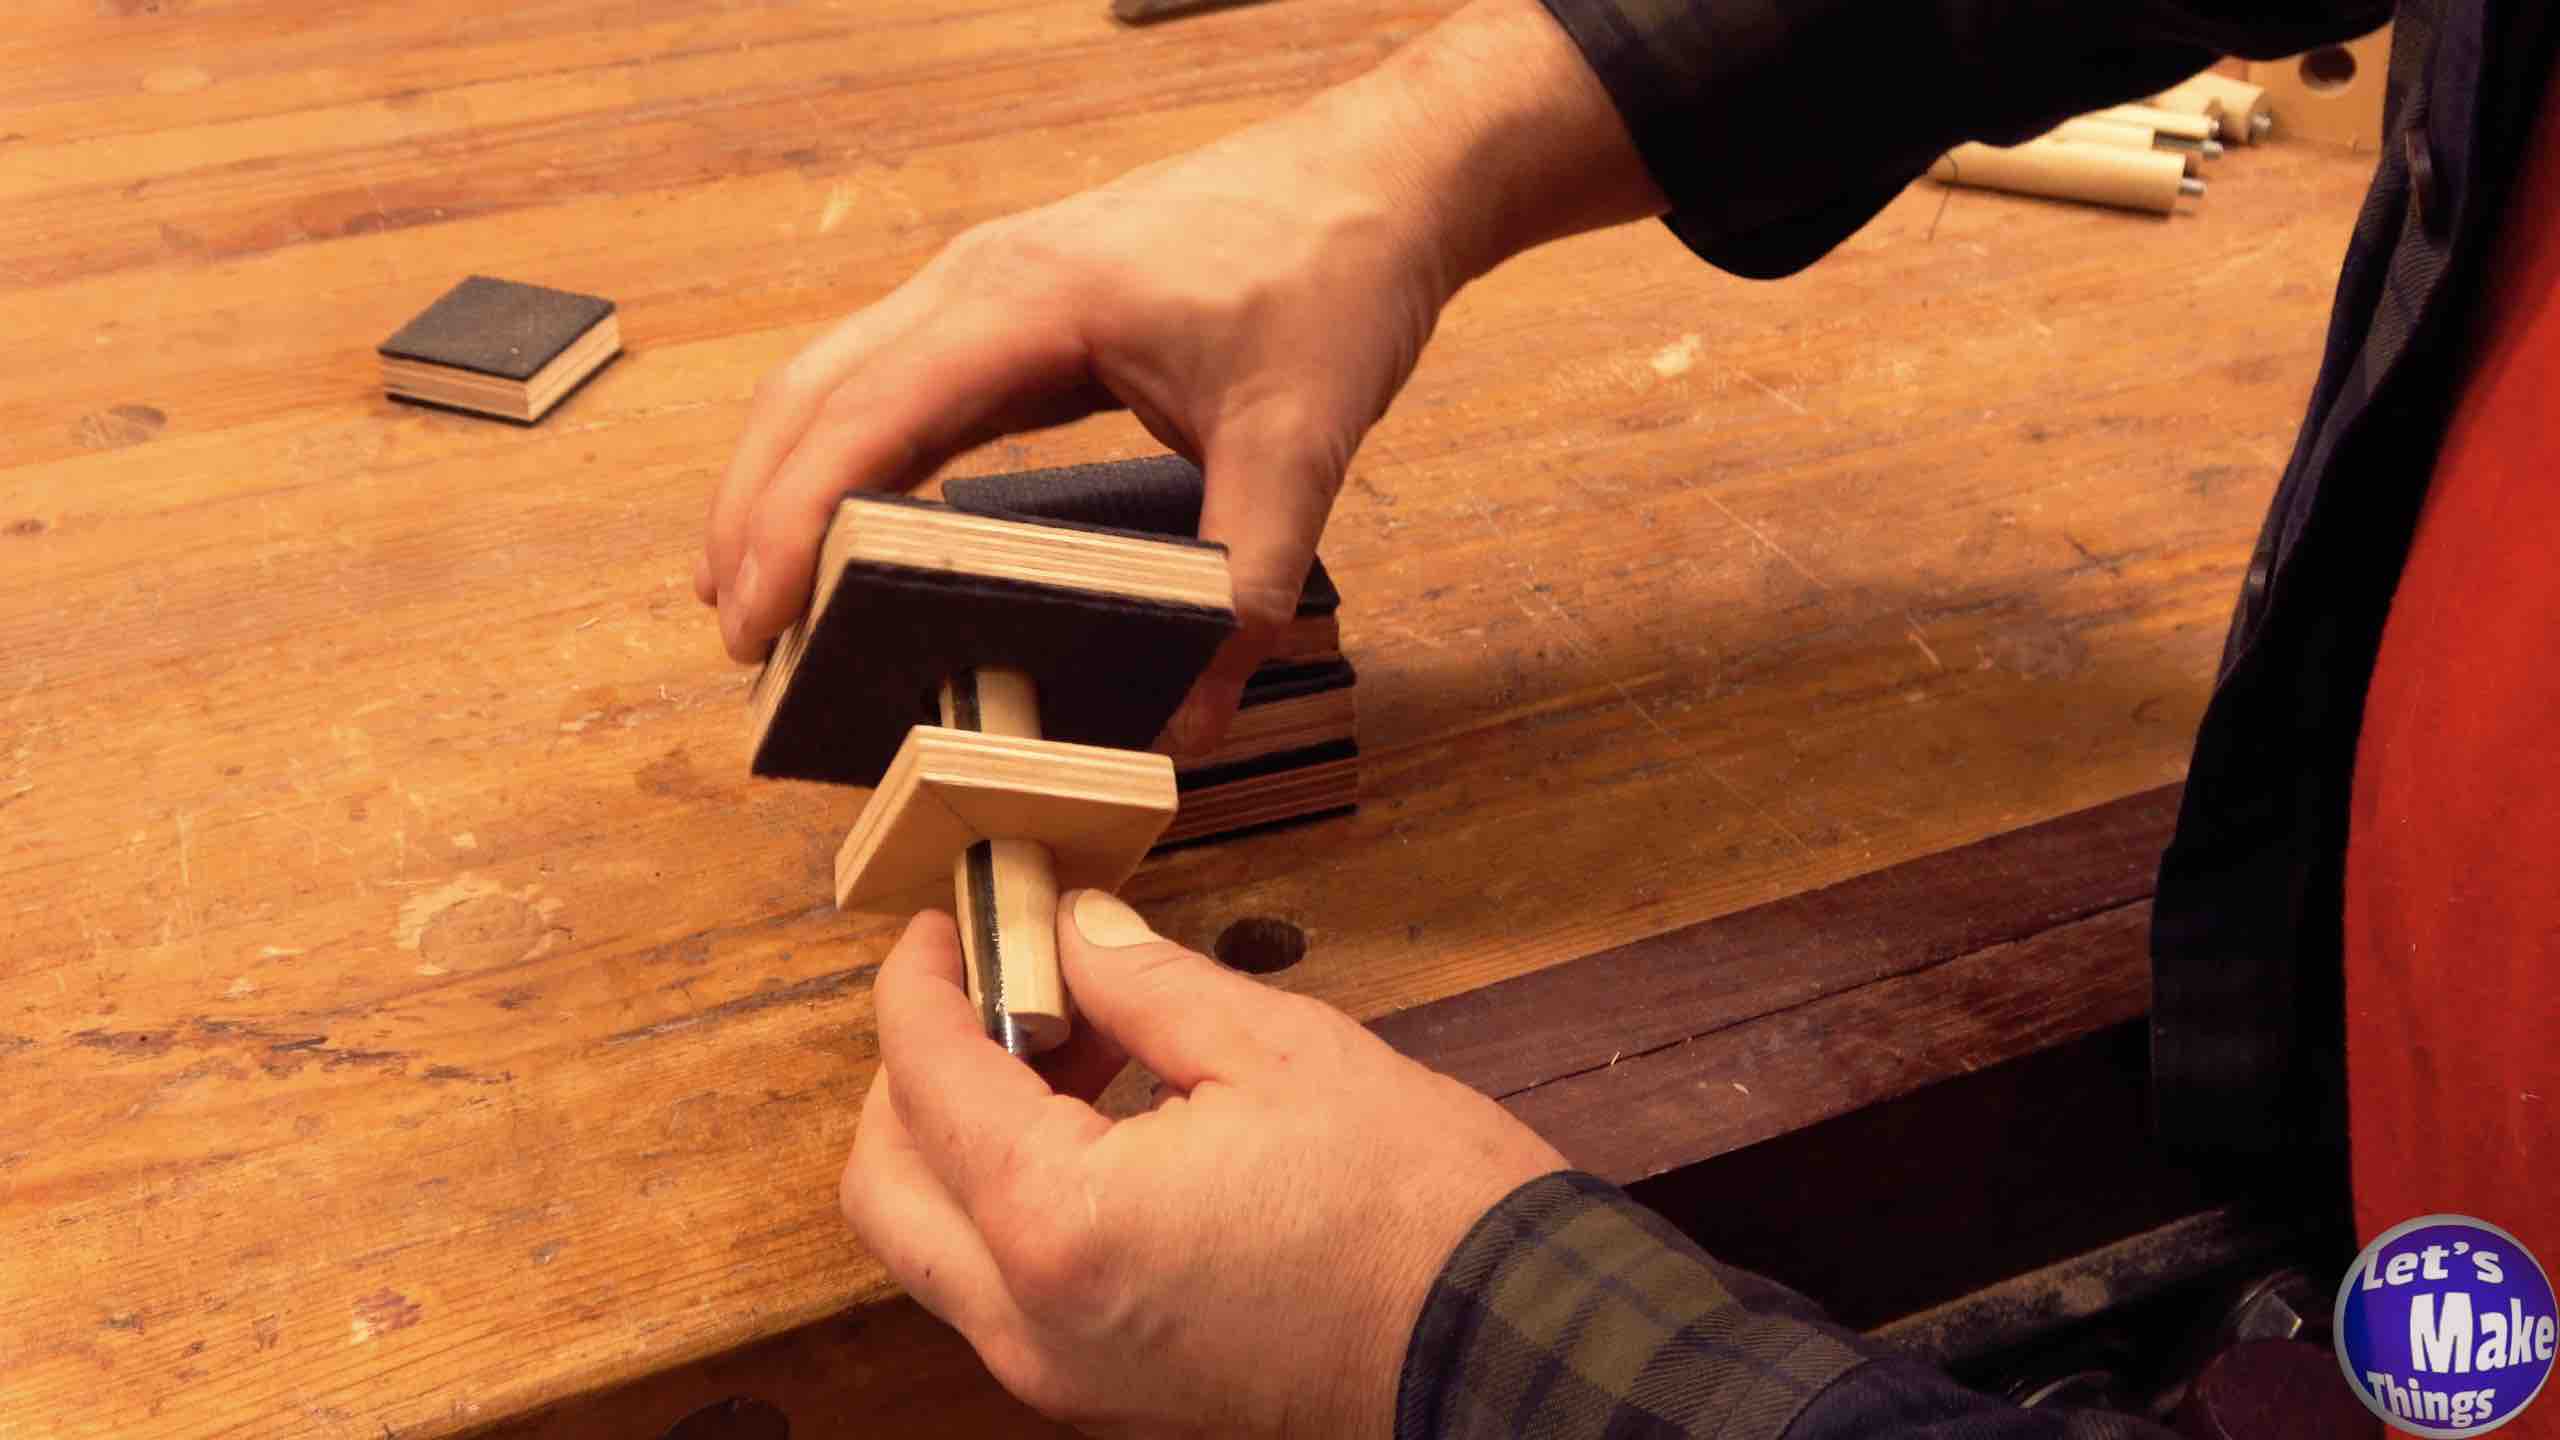
Step 4
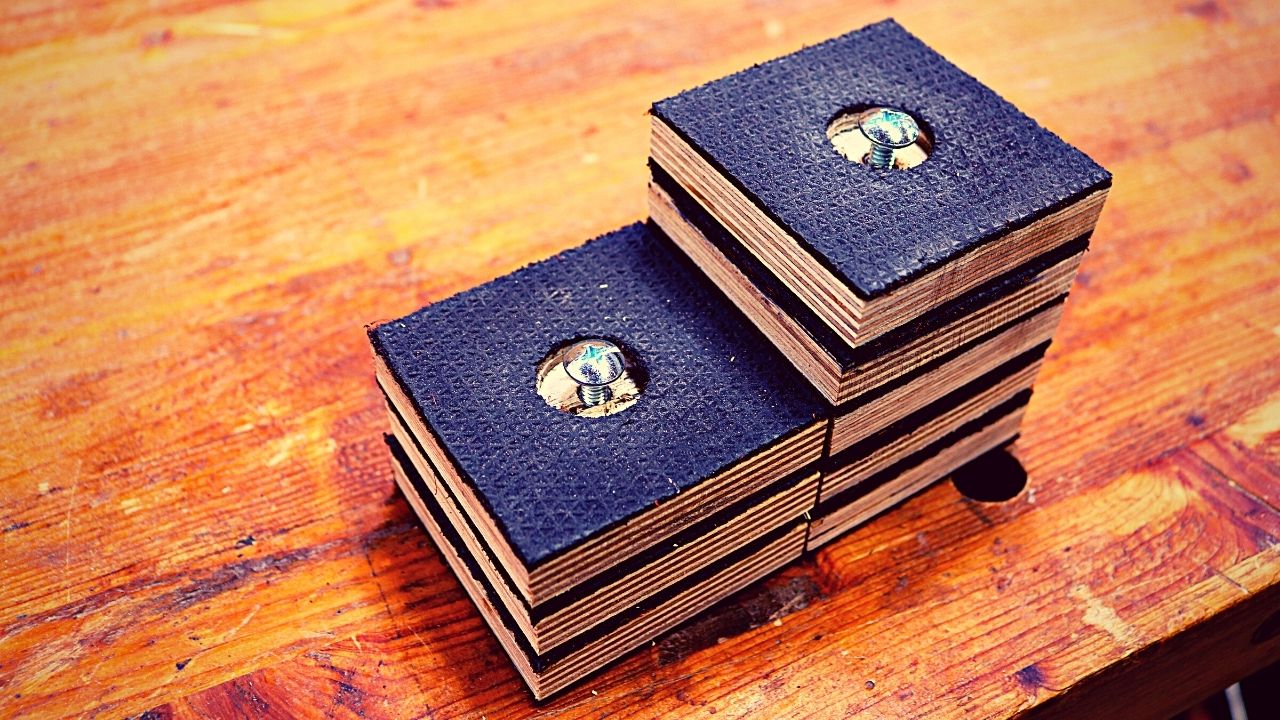
While the epoxy is curing (give it about 8 hours), we’ll drill the center out of each of the (8) 2 inch by 2 inch squares. Since I used 3/4 inch dowels, I used a 3/4″ forstner bit to drill the centers. First I connected the diagonals to find the center, I used a dowel, and then the forstner bit.
When cure time was complete, I inserted the dowels into the squares. I screwed on the Grippy Multi Pad and tightened it. To find the exact place for the square to be, I stacked 2 Grippy Multi Pads and pressed the 2 inch by 2 inch squares against the bench (the stud in the dog hole) until I had it exactly 2 high. I loosened it a little, added glue, and slid the 2 inch by 2 inch squares back.
Note: Clicking the picture on the right shows this step in motion at youtube.
Step 5
Why would you even want to call on these studs to get to work on your bench top? The video to the right goes into better depth, but they’re basically used as risers, to lift your work above your bench top…so you’re not cutting into the bench top.
Note: Clicking the picture on the right shows this step in motion at youtube.

Tip Jar
If you enjoyed these free plans and have a few bucks sitting around, why not help us keep the website going and feed the tip jar? Completely optional!