Transform your woodworking setup with this easy-to-build router fence. This step-by-step guide will show you how to create a versatile fence using plywood, t-tracks, and a dust port, guaranteeing flawless cuts every time. Perfect for vertical operations and bits without bearings, this fence design also supports featherboards, stop blocks, and has a replaceable insert for both tear out free operation and repeatable set ups. No matter where you are in your woodworking journey, this project is a great way to make your work more precise and efficient!
ATTENTION: These plans are yours to use…they are offered as a gift from me to you. You have every right to use them to make this project for yourself, but please, do not sell or give these plans away as your own. I make absolutely no money off of these so I would appreciate those who view these plans to abide by basic copyright laws.
As an amazon associate I earn from qualifying purchases.
Step by step instructions
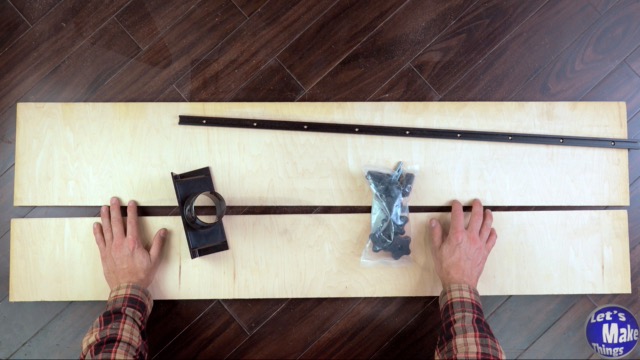
1. Materials
Materials are pretty simple for this build. If you’re lucky enough to have a local store that carries t-tracks, you won’t need to wait for delivery. Knobs can be made and t-bolts, if you don’t have a store nearby, can be bought in the plumbing department (johni bolts). Plywood is 3/4 inch and you only need about 24 by 48 inches of it.
I’ve kept this as simple as possible as far as tools. You really only need a table saw and a drill press to make this (machine wise), as well as simple tools like a drill and clamps.
Click image to see this step on youtube
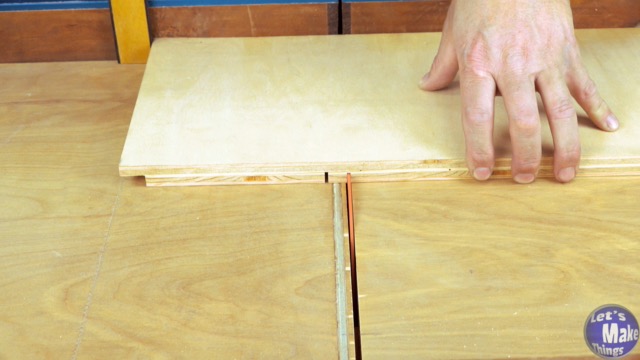
2. Building the base (dados)
The carcass of this build is a simple 6 walled rectangular box. Dado’s can be created on the table saw very easily by making a series of cuts. I used a kiradashi knife to guarantee accurate cuts…so accurate I ended up having to do a little sanding to get the walls (next step) to fit.
Click image to see this step on youtube
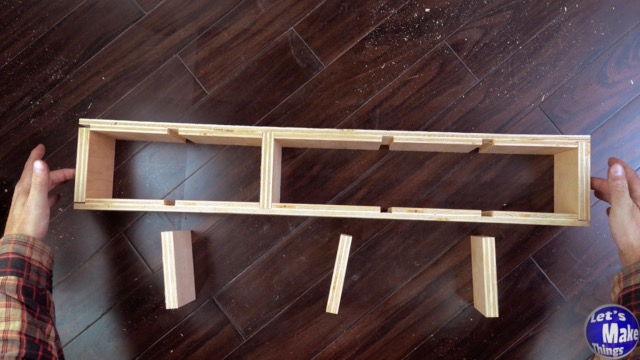
3. Building the base (walls)
The walls will simply be cut to length on a sled. If you’re planning on attaching this to your table saw, you’ll want this fence to attach to the fence, which can be done either with f-clamps or a fence clamp. To do this I used a forstner bit in two of the plywood walls.
Click image to see this step on youtube
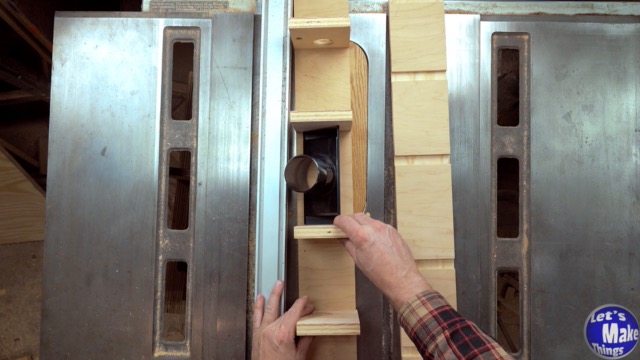
4. Building the base (dust port)
If there’s one warning I’ll give with this fence, it’s that you really need a dust port. I’m maybe one of the worst violators of keeping my shop dust free, but for routers, because you’re removing so much material, it really needs to be added. It’s an easy add and it only takes a couple seconds to hook a hose to the fence.
I use 4 pan head screws to attach it (screws with flat undersides).
You’ll also need to cut out the space for the port and for the bit.
Click image to see this step on youtube
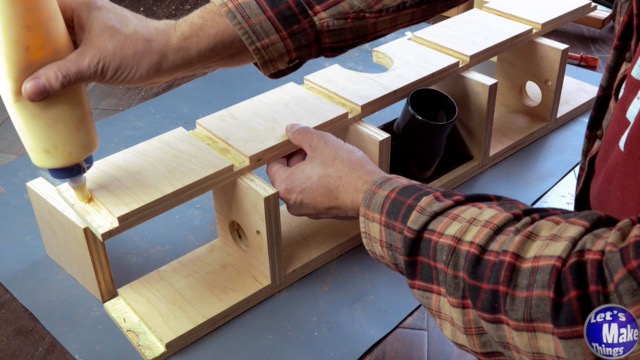
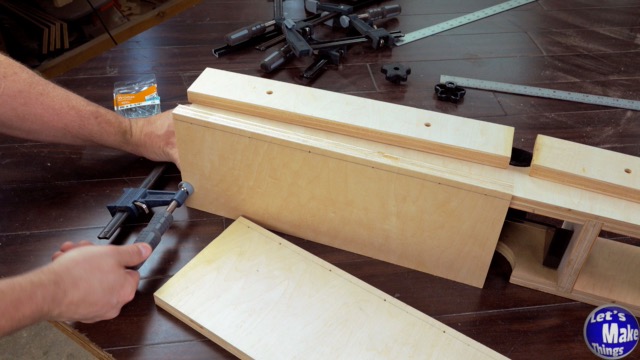
5. Building the base (glue up)
In this step we’ll add our glue and our clamps. If you can clamp it to a solid flat surface like a table saw table, you’ll be better off for it.
Click image to see this step on youtube
6.Fence (to size & grooves)
We’ll cut the fence to size. I cut mine to the full length of the fence, which is 32 inches. Besides the fence, we’ll cut off the upper portion of the fence that will slide over the t-track.
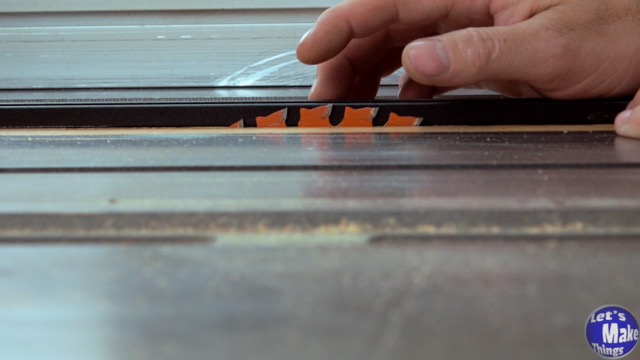
Next we’ll focus on the upper portion of the fence. We’ll need to trap that the t-track on the top of the base. We’ll leave 3/4’s of an inch between the fence and the track, 3/4’s of an inch for the track itself, and 3/4’s of inch next to the dust port.
Like before, I used the table saw to hog out my t-track groove, which I made on both sides of the plywood piece, and then cut it to size.
Click image to see this step on youtube
7. Fence (t-track)
We’ll put the pieces together so that they line up according to the cuts we made. We’ll drill holes for the t-track bolts by using the t-track and the pre-drilled countersunk holes as a template (very sneaky of us). Using twist bits works better to mark the stock as we won’t have to find center with the brad point bits. Afterwards, I used an awl to find the center of those brad point bits and drilled all out at 5/16’s on an inch.
Click image to see this step on youtube
8. Fence (to size & assembly)
If you haven’t cut the fence to final 16 inch size, this will be the step for that. Besides cutting to fence, we’ll add about 5 or 6 holes on each section of the fence, 3/8’s down from the top.
I attached the upper portion of the fence against the carcass and clamped it to the fence itself. Using the fence as a template, I followed the holes through with the drill bit so as not to split the plywood. Then I added my screws.
Click image to see this step on youtube
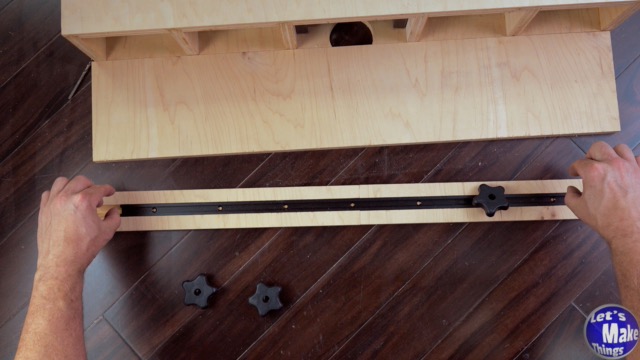
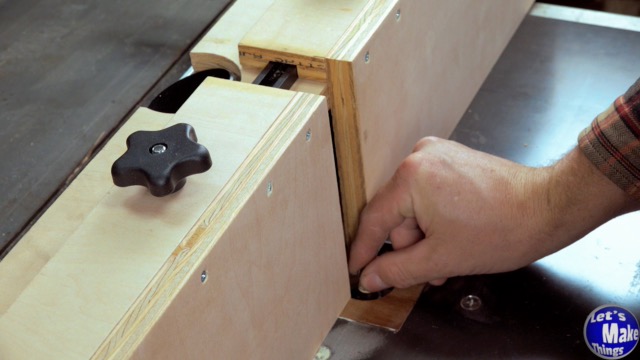
9. Attaching the t-track
To attach the t-track, I needed to make sure that the track was lined up perfectly on the top. I used f-clamps to lock it in place as I drilled and added screws to each of the holes in the t-track.
Click image to see this step on youtube
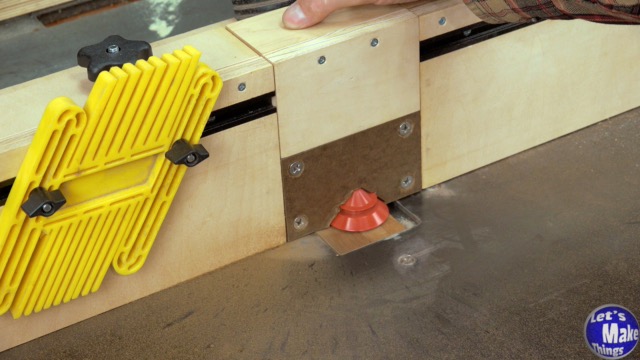
10. Basic operation
Operation is very, very simple. After attaching it to our router base, in my case my table saw top, we’ll slide the fence open so that the bit narrowly misses either fence. With the 4 knobs on top, we’ll lock the fence and we’re ready to go.
Click image to see this step on youtube
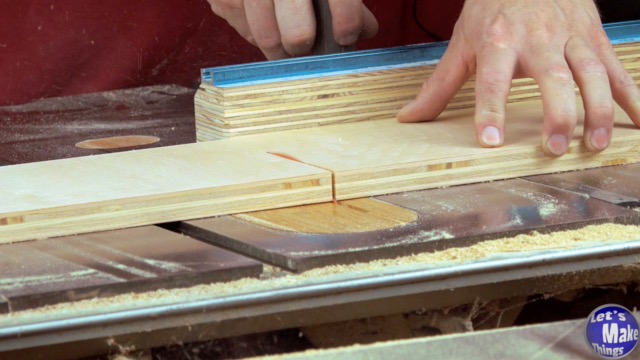
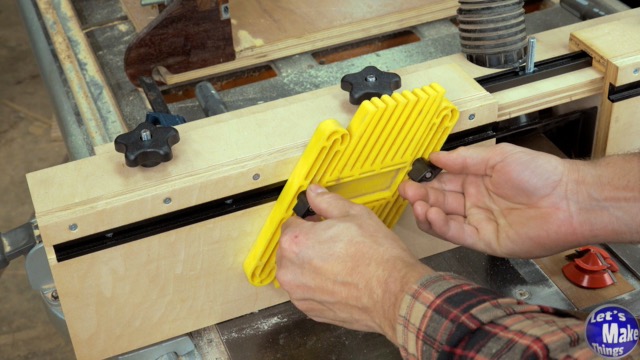
11a. Extra - Stop block/featherboard
Personally, I think a track for stock blocks and the featherboard is absolutely crucial. The nice thing is that we can create the channel if ever needed, even after the fence has been constructed. We’ll use the table saw to once again add the slot.
Click image to see this step on youtube
11B. Extra - profile fence
The profile fence is what I grew up loving, many years ago. We’ll create another section of the fence that will allow us to add a piece of hardboard. Click the image attached to this step to see the full build.
Click image to see this step on youtube
Tip Jar
If you enjoyed or found this useful, throw me a tip →