Sometimes you want a quick jig to get a quick solution. Unlike the “Spring” thin strip jig, this can be made in less than 20 minutes. The only drawback to this design is that if you want to make multiple cuts, you’ll need to restart the table saw each time.
This is a great introduction to tool making, even if it’s very simple…but be careful, you might fight that you enjoy doing this and become interested in tool making!
watch all steps in this video before starting
Materials
1/4″ x 3″ x 11″ hardwood (MDF or particle wood is more stable)
Please use the material and tool list as a guide to finding the products locally.
As an amazon associate I earn from qualifying purchases.
Step by step instructions
Cutting to square
We’ll cut a piece of stock to square. Because hard/soft woods aren’t stable, you might consider using MDF or particle board (unbacked). It really needs to be absolutely square here, which is why I suggest using a machinist square.
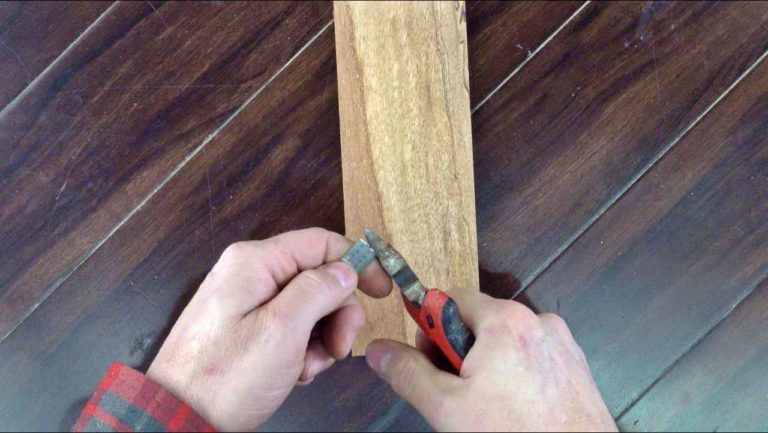
Snipping our ruler
The ruler needs to be cut to the length of the shortest width that you chose to make in the previous step. Three inches between the blade and the fence are ideal for me as it’s a good amount of space for a push block. Your needs may differ from mine…always use what’s safe for you and your table saw!
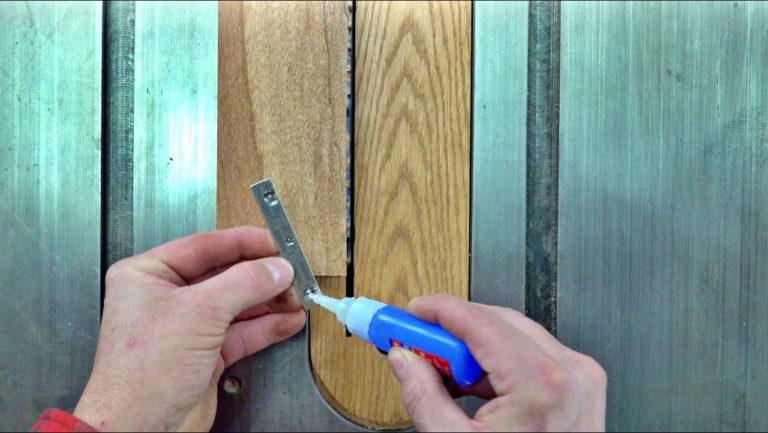
Attaching
We’ll use a little ca glue or epoxy in this step to attach our ruler. I’ve generally had distain for CA glues…but I’m pretty happy with the Loctite super glue variety, but it has a very quick set time.
Place the stock next to the blade and be sure that your numbers start at 0 at the blade and move away from it. It is vital that the ruler be square to the board.
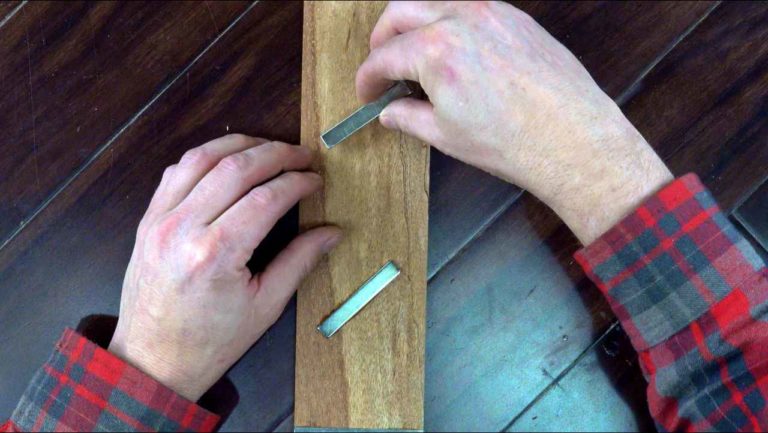
Magnets (Optional)
Magnets are very optional at this point. I added a couple to the top of my jig so that I could store it on the side of my drill press. This might not be at all necessary for you, it’s just a suggestion.
Usage
As this is a very simple tool, it simply needs to be placed on the opposite side of the blade from the fence. You’ll place your stock up to the ruler, set it to where you want your thin strip cut, lock your fence and remove the jig. You’re free to cut that thin strip now. Obviously, if you want to make a second strip, the table saw will need to be stopped. If you’d like a jig that allows you to make multiple passes, check out my spring thin strip jig.