Back in 2019, I created this thin strip jig as a way to cut thinner stock in a repeatable fashion. Thin strips might not seem desirable until you need one. A thin strip must be, like all wood that we mill, the same thickness throughout. If we’re using several thin strips, it should go without saying that we want all of those thicknesses to be the same.
I had seen others create this jig but didn’t like their designs as they seemed clunky and cumbersome. The idea of a hinge and spring…’sprung’ to mind as it would pivot the arm away from the face of the table saw allowing me to cut the thin strip unobstructed.
Of course, it took me 3 years later to make these plans, but I’m really happy with the way they came out. I’ve included the original video but it’s hardly as beneficial as the instructional video that I created below. Enjoy!
Please use the material and tool list as a guide to finding the products locally.
As an amazon associate I earn from qualifying purchases.
Step by step instructions
Creating the base
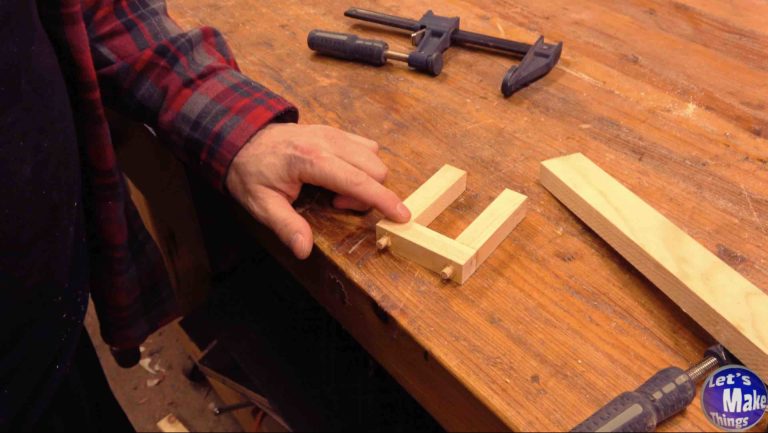
I created the base to be as simple as possible using dowels for joinery. We’ll take the 28 inch 1 x 2 and cut in 18 inches at a width of 3/4 inches. Next, we’ll use a handsaw and cut at the 18 inch mark. You’ll be left with a 3/4 inch square dowel that’s 14 inches long.
We’ll section the 14 inch piece into (3) 3 inch pieces. With a drill and strategically placed clamps, we’ll drill 2 holes. We’ll add glue and dowels.
Click image to see this step on youtube
Expansion Bar
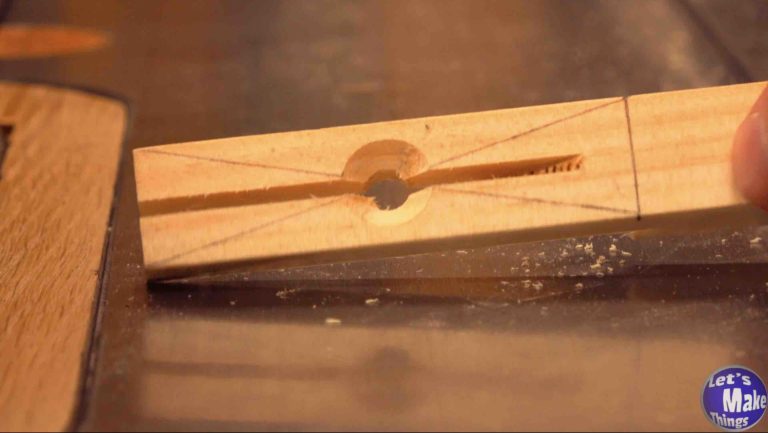
With the section we ripped off in the previous step, we’ll use it to create our expansion bar.
We’ll mark 3 inches from the edge and draw diagonals, finding our center. We’ll first use an awl and then drill out the center with a 1/4 inch drill bit, finishing the hole with a countersink drill bit.
Now we’ll center our table saw blade to the 3/4″ piece and cut a channel that cuts through the center hole.
Click image to see this step on youtube
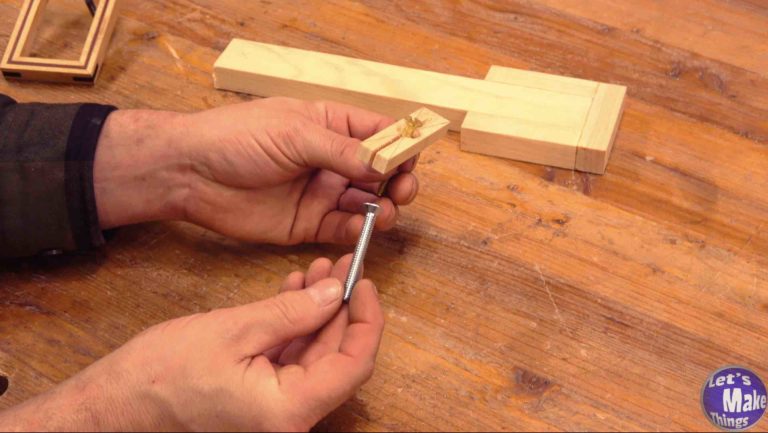
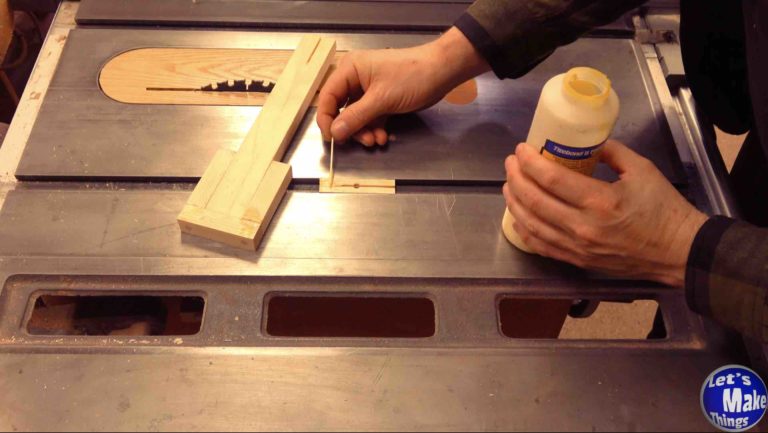
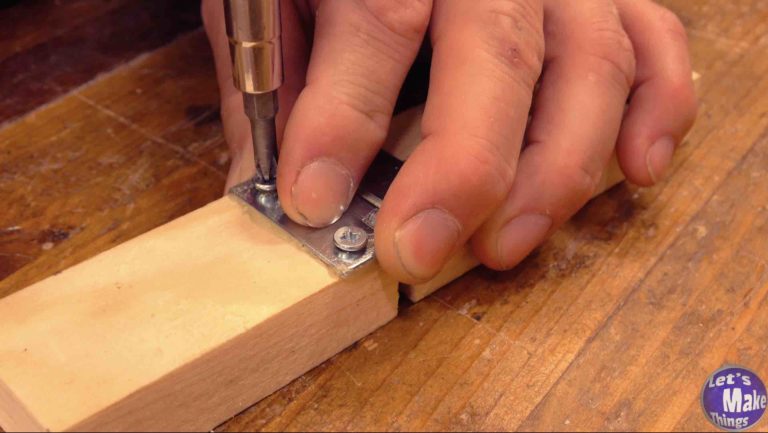
bolt caution
In the video, I explain a little bit about the reason why I used a metal pin with the original jig. Click the accompanying picture (the one with me holding a bolt) to get that information.
Click image to see this step on youtube
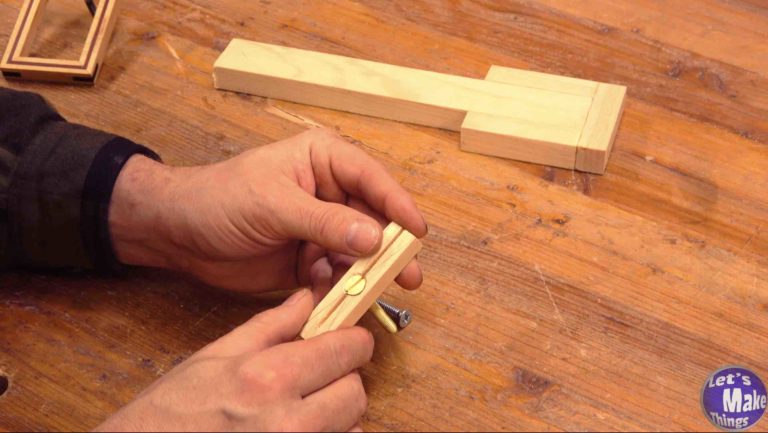
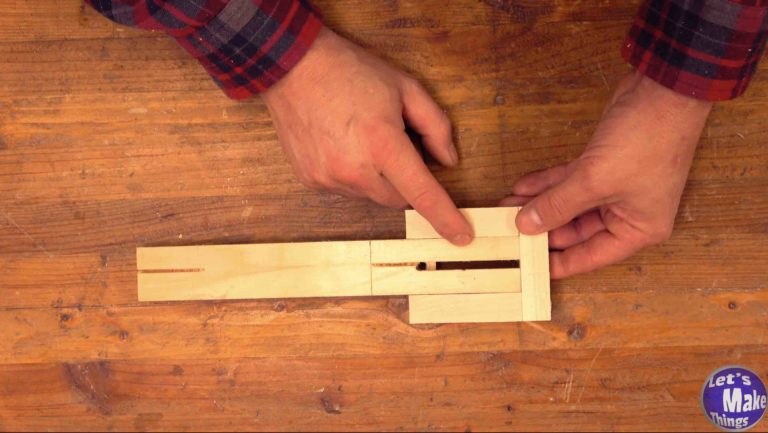
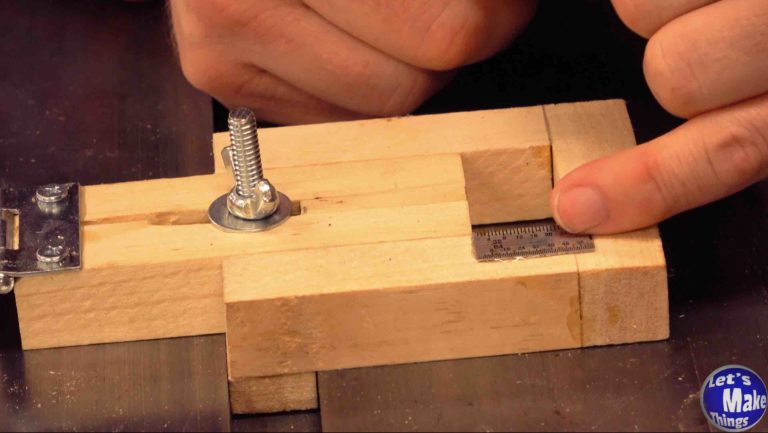
how the expansion bar works
The expansion bar simply expands when you pull the bolt upward, causing it to lock into the miter slot.
Click image to see this step on youtube
Gluing the expansion to the base
We’ll glue the expansion bar to the bottom of the jig. A little glue and the help of a couple speed squares (you really only need one) and I attached the expansion bar to the bottom of the jig.
After dry, I used (4) #4 screws to screw the expansion bar to the jig and added a spline to seal the expansion bar.
Click image to see this step on youtube
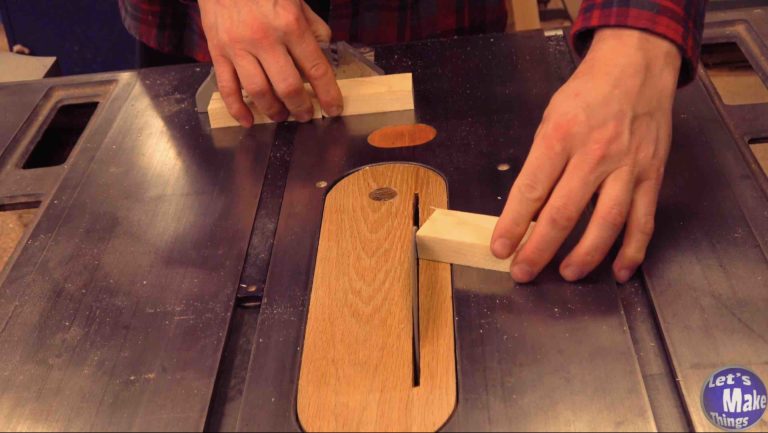
measuring arm
Now it’s time to measure your miter slot to the edge of your blade. Regardless to the table saw you have, we’ll measure over 4 inches and draw a line. Then we’ll cut at the line.
Click image to see this step on youtube
spring arm
The spring arm is much easier than the last arm. We’ll measure 3 inches over from the piece we cut in the last step, and cut it off with the miter gauge on the table saw.
Click image to see this step on youtube
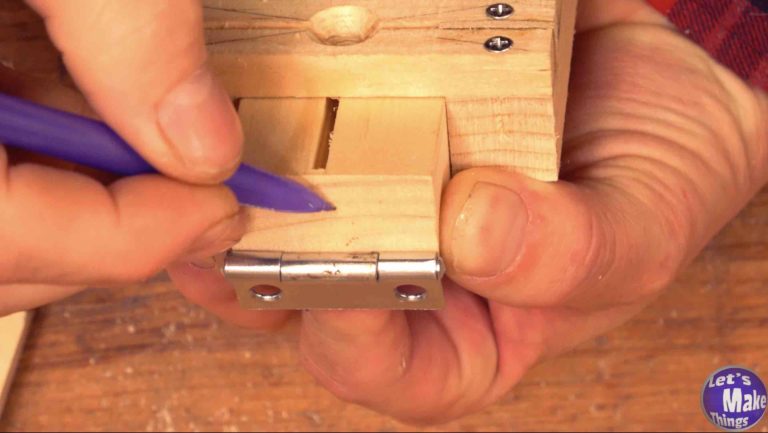
hinge problem solving
Broad butt hinges, are, by default, meant to open and close. That doesn’t mean that they won’t have play in them, which is something we don’t want. I spent a little time showing how I was able to take the play out of a hinge, but honestly, you’re better off with a piano hinge.
Click image to see this step on youtube
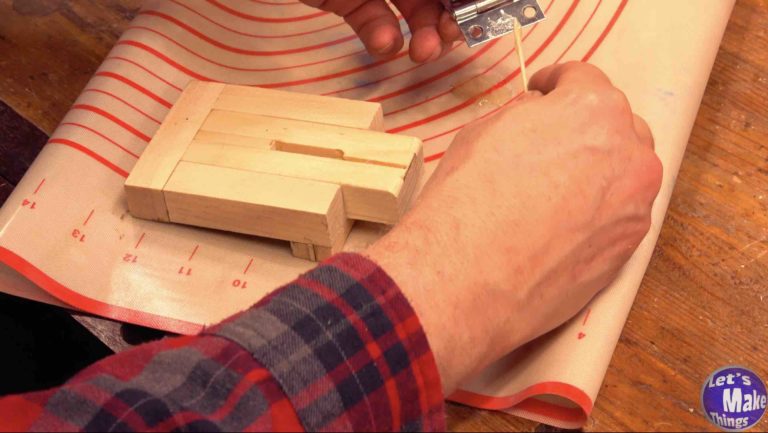
epoxying the hinge
We’ll add epoxy to the hinge and attach it with a clamp to the measuring arm. It’s important that it is flat against the jig so that it is square.
Click image to see this step on youtube
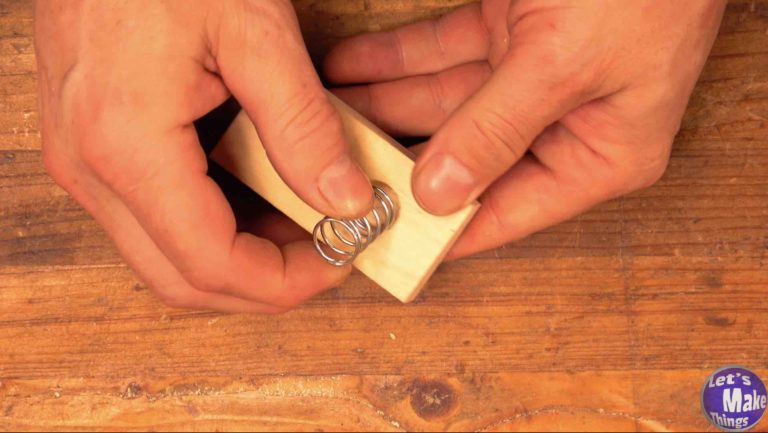
adding a spring
We’ll use the same technique we used with the measuring arm in this step to find the center of the spring arm. We’ll measure an inch over and use a 5/8″ forstner bit to drill a hole that’s no deeper than 3/8’s of an inch.
We’ll finish this step by epoxying the other side of our hinge to the side with the hole we just added on the spring arm.
Click image to see this step on youtube
finishing the arms
We’ll use an awl and do the best we can to find the center of each hinge hole before drilling out each mark with a thin drill bit. I used a 7/64″ drill bit but an 1/16″ drill bit would work…probably better.
Click image to see this step on youtube
measuring stick
We’ll finish by adding a measuring gauge to the edge by epoxying it on after we’ve cut a measuring stick above the 1″ mark.
Click image to see this step on youtube
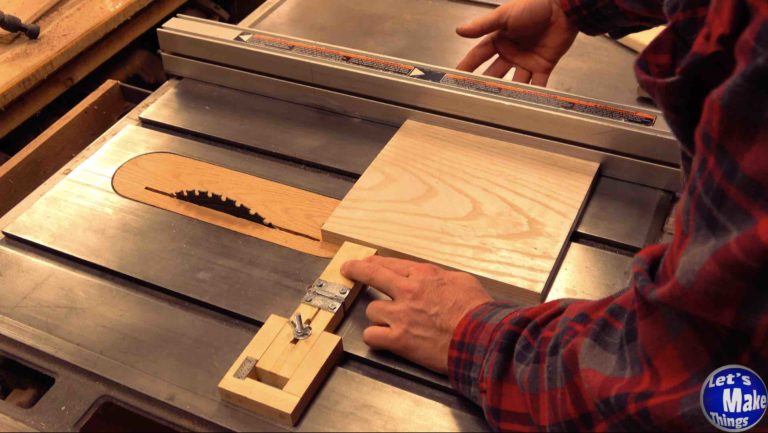
Usage
You’ll first want to run your rough stock through the blade so that your stock is exactly parallel on each side.Then you’ll set the thin strip jig to the thickness you’re looking for and lock the jig into the miter slot.I lower the jig arm, press the fence against the stock and slide both until they hit the jig.Now I’ll slide out my stock and raise the arm.Now we’ll easily cut a thin strip off. It’s easily repeatable, too! You’ll just complete the process again.