
Grippy Clamp Blocks
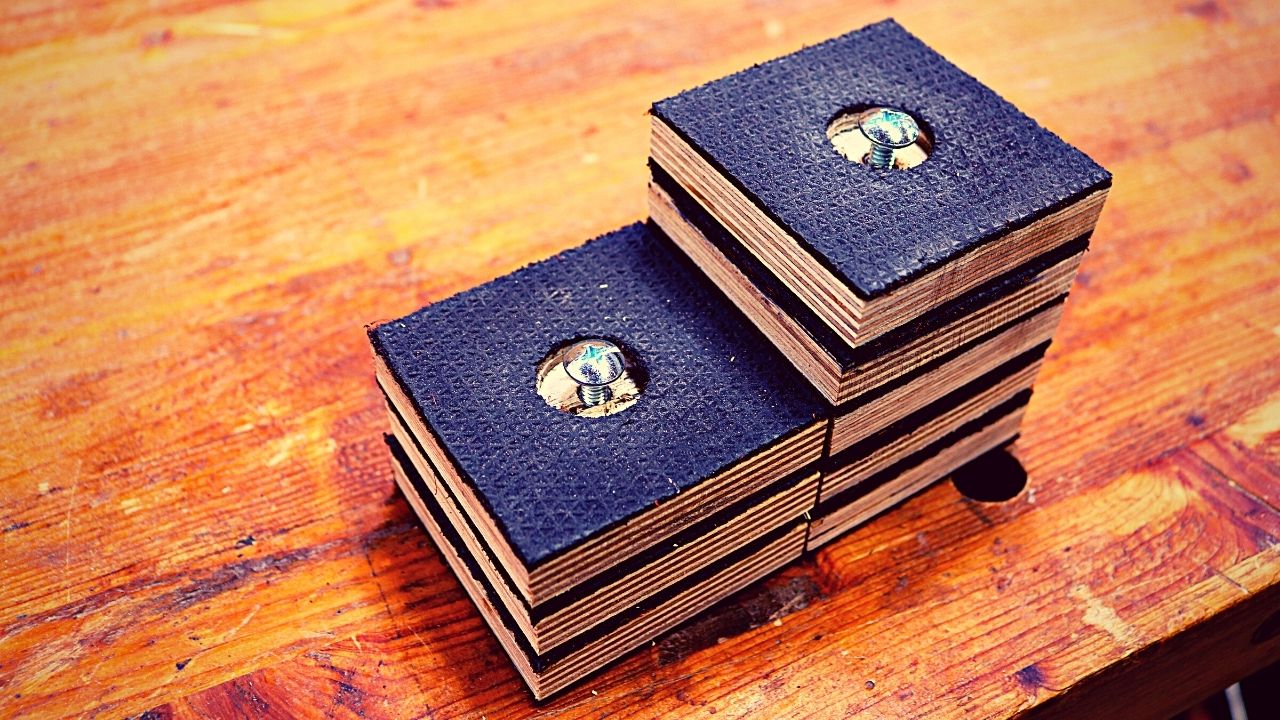
These Grippy Multi Pads will allow you to sand, finish and can even be used as a riser!
We’ll be covering everything in this video, on this webpage.
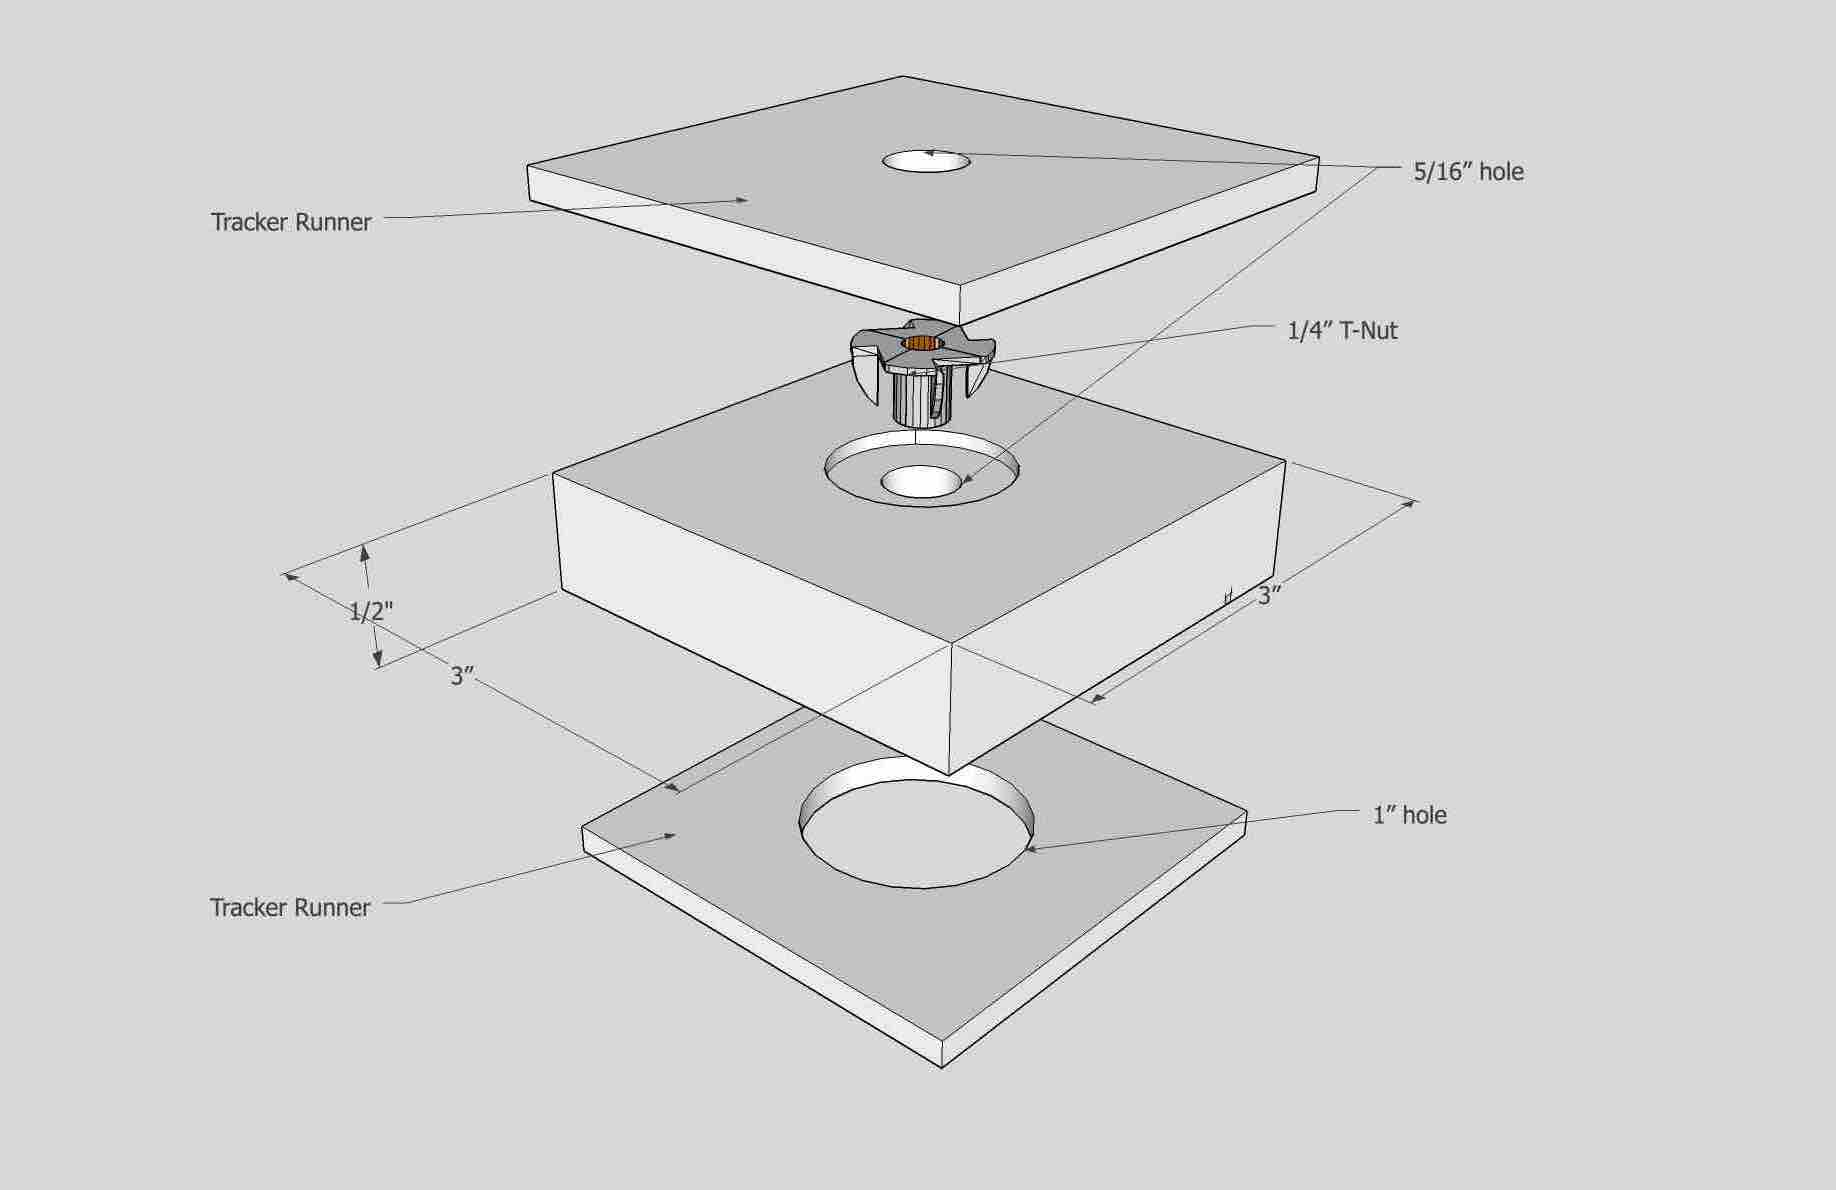
Dimensions
Though this is a pretty simple design, I know some people like to see the dimensions. I’ve made dimensions here.
Materials Needed to make 8:
(2) 1/2″ x 3″ x 13″ plywood Scraps
(4) 4″ x 13″ Tracker Runner
(8) 1/4″ x 20 T-Nuts
Epoxy
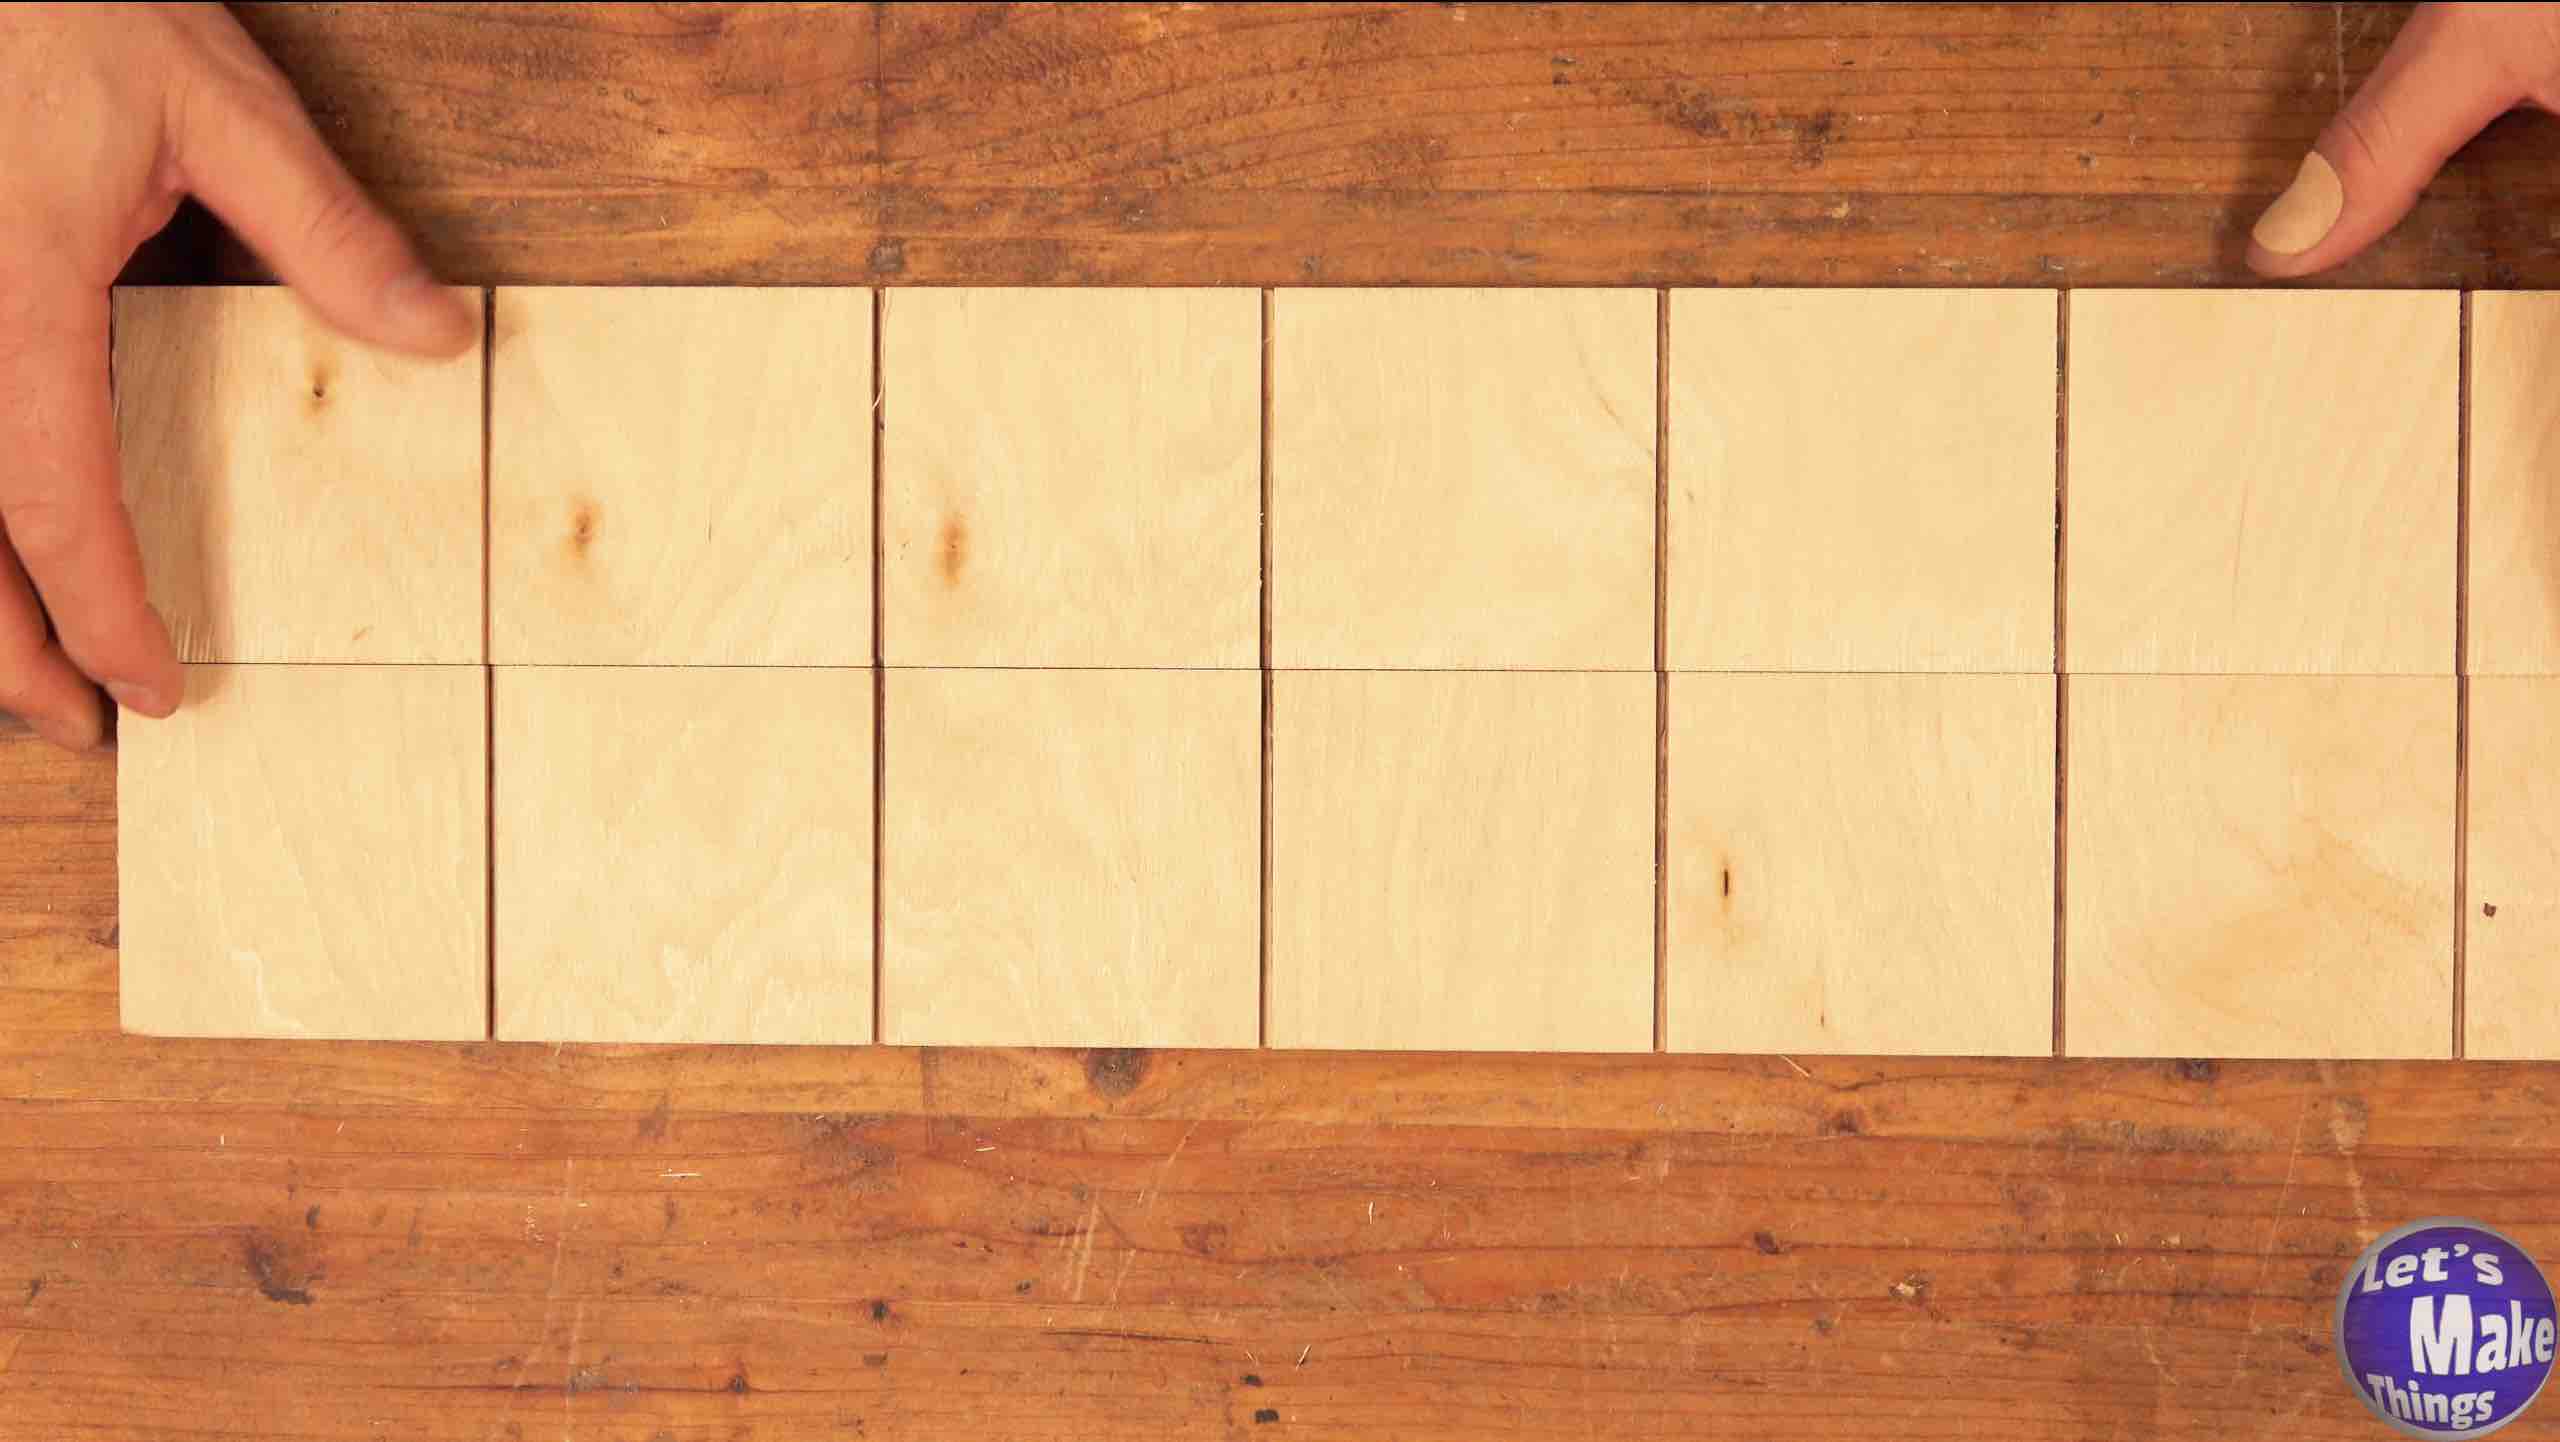
Step 1
First, we’ll take our (2) plywood scraps and use our table saw to make marks every 3 inches. This step might be a little confusing, as one would think that you could just grab a 1/2″ x 3″ x 13″ block and make marks every 3″ inches, but then one would be forgetting to add the blade kerf in. You might also wonder why I didn’t just cut 3″ x 3″ blocks and add 3″ x 3″ tracker runners to each block. Unfortunately, the carpet tends to move a little as you clamp it down, making ugly carpet squares that do not fit very nicely over the blocks, hence the overlap.
Having said that, it’s simple to make a slight, 1/8″ cut, measure over 3″, make a cut and so on and so forth. This ensures that we have everything spaced correctly.
Note: Clicking the picture on the right shows this step in motion at youtube.
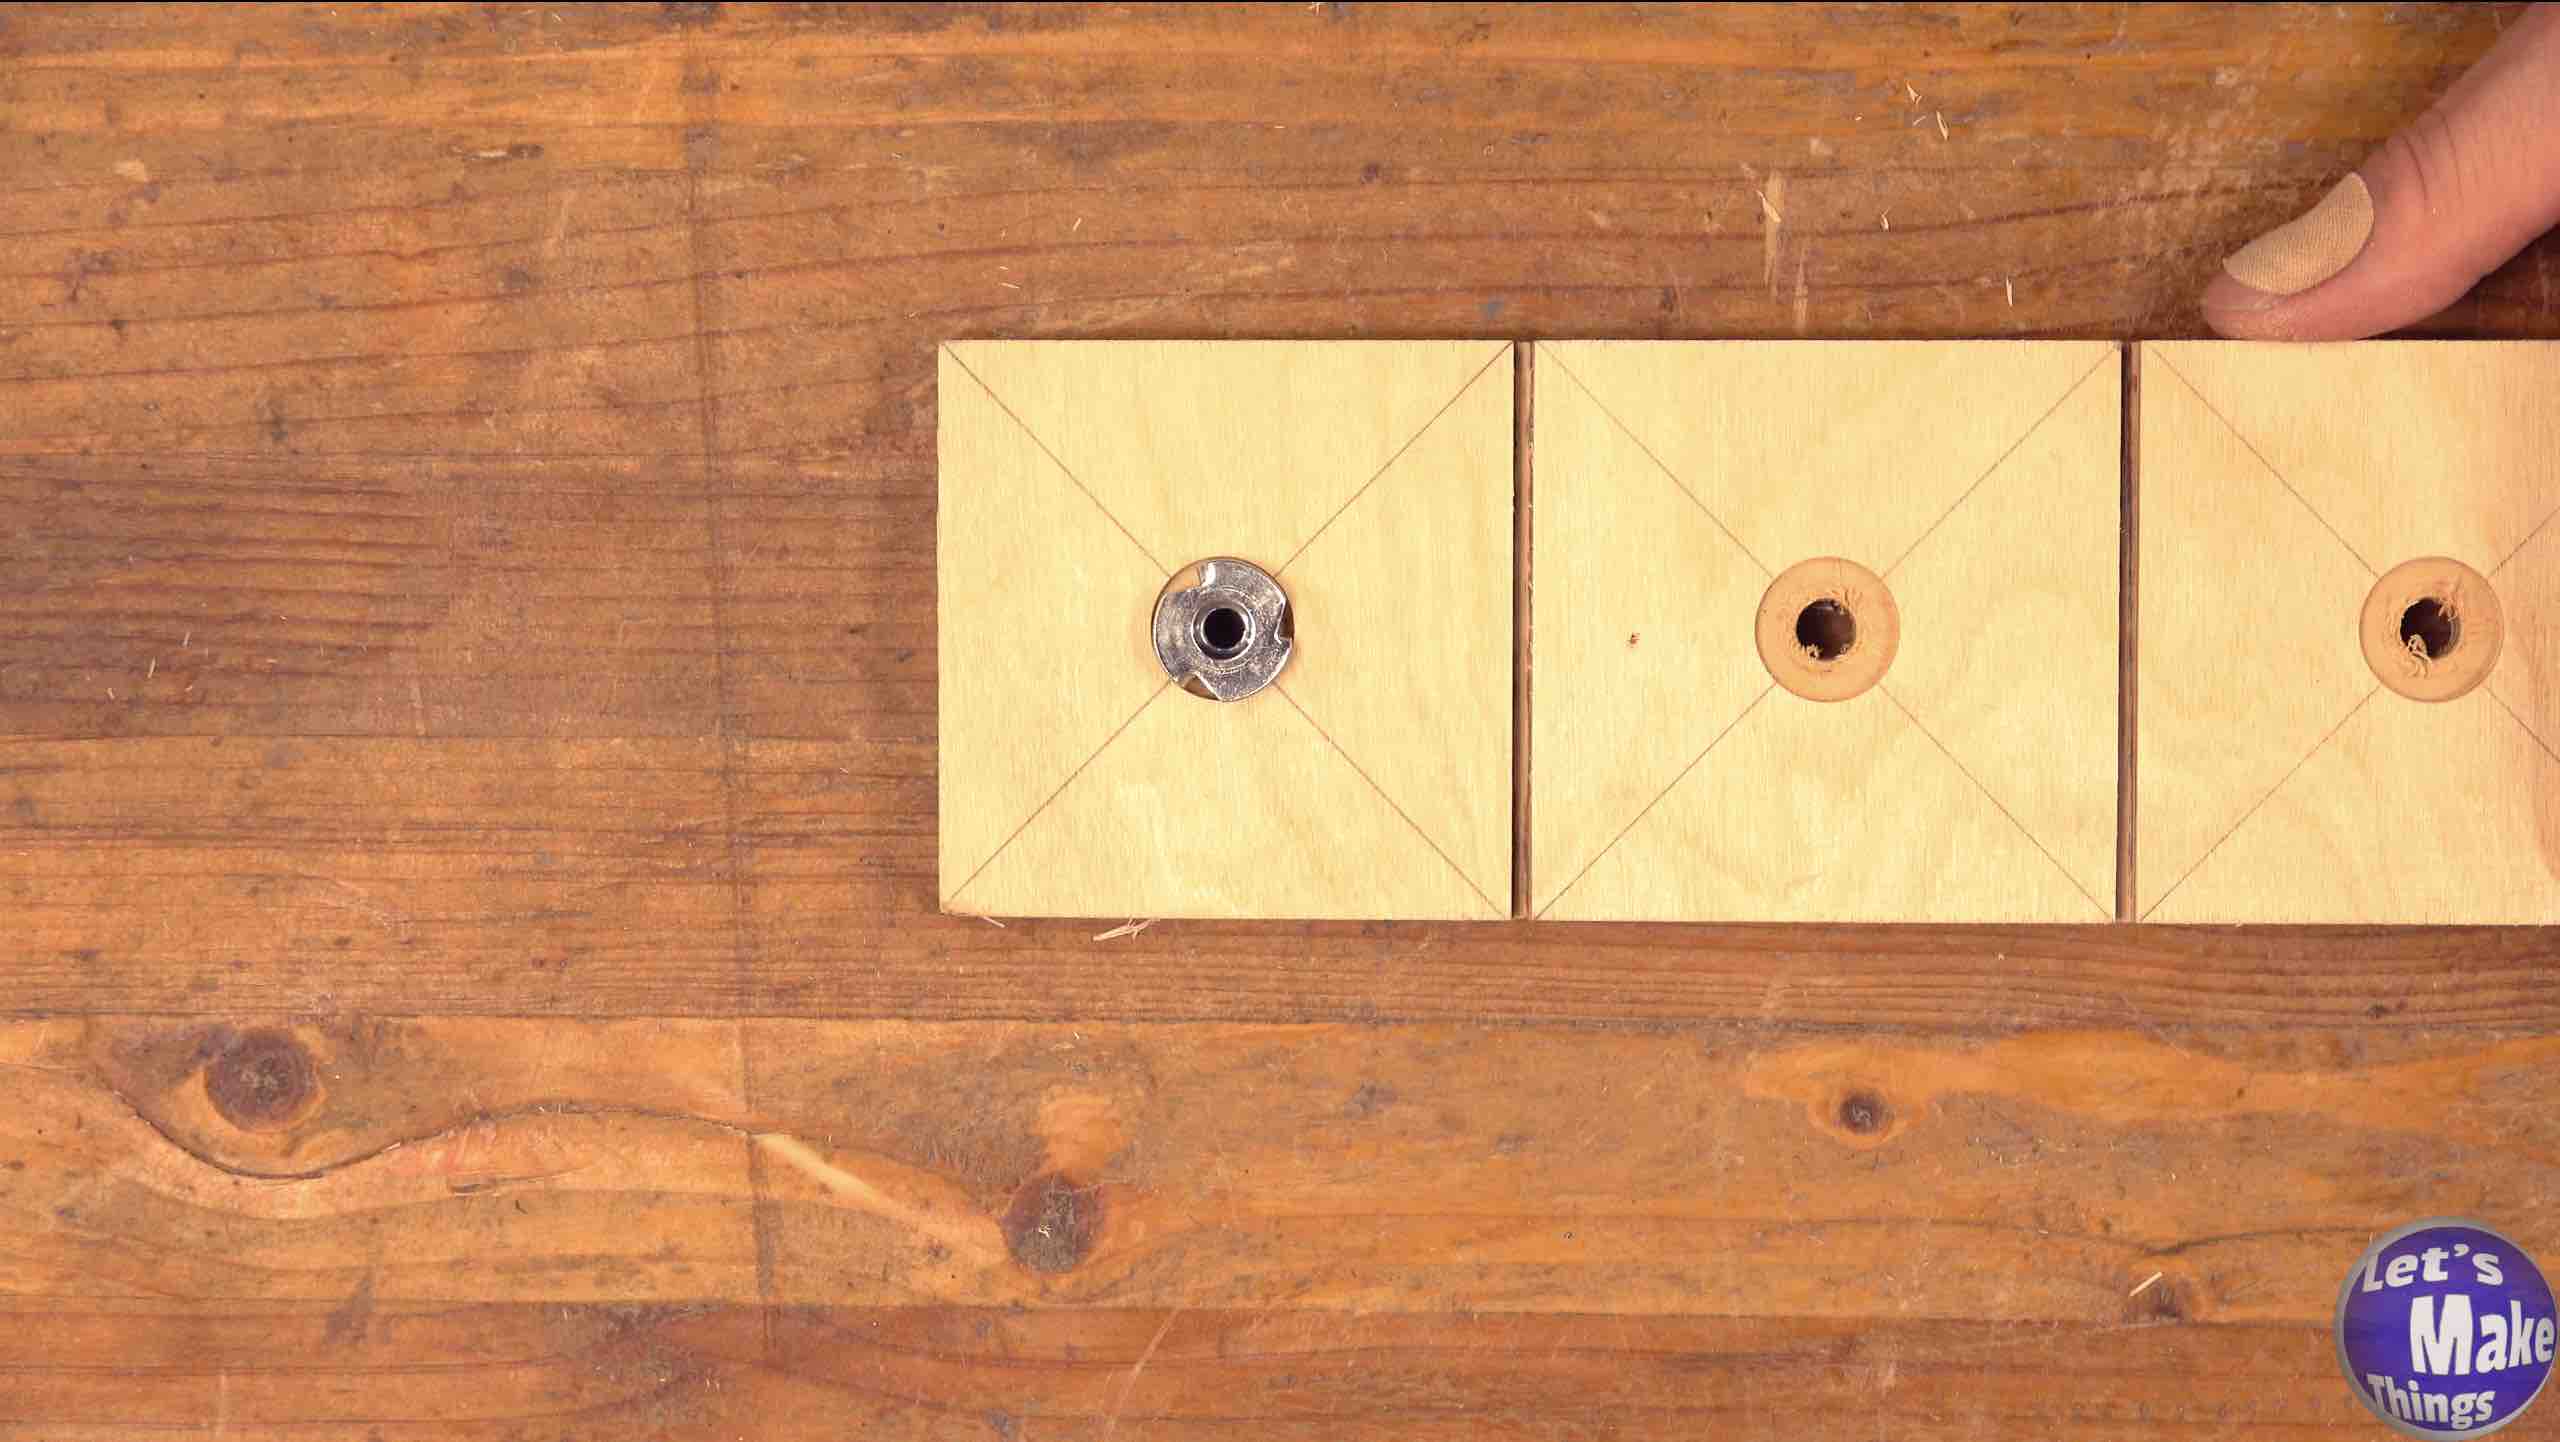
Step 2
Now for the dirty work. Draw an “X” on the top of each square section to find the center. You’ll use a 3/4″ forstner bit and drill down 1/16″ from the top. When all are done, we’ll use a 5/16″ brad point bit and sink the tip into the wood base (that you should be using on your drill press), locking it so that the press can go no lower than that point. Drill each of the holes again, placing the 5/16″ tip in the divet left by the 3/4″ forstner bit. To finish this off, we’ll flip the board over and there should be a divot from the 1/4″ drill bit. You’ll now use a 1″ fostner bit and drill down about an 1/8th of an inch.
With that out of the way, insert the t-nut through the 3/4″ side of the block, tap it and drill each of the marks left from the tines with an 1/8th inch drill bit. Add epoxy to the underside of the t-nuts and then tap them in.
Note: Clicking the picture on the right shows this step in motion at youtube.
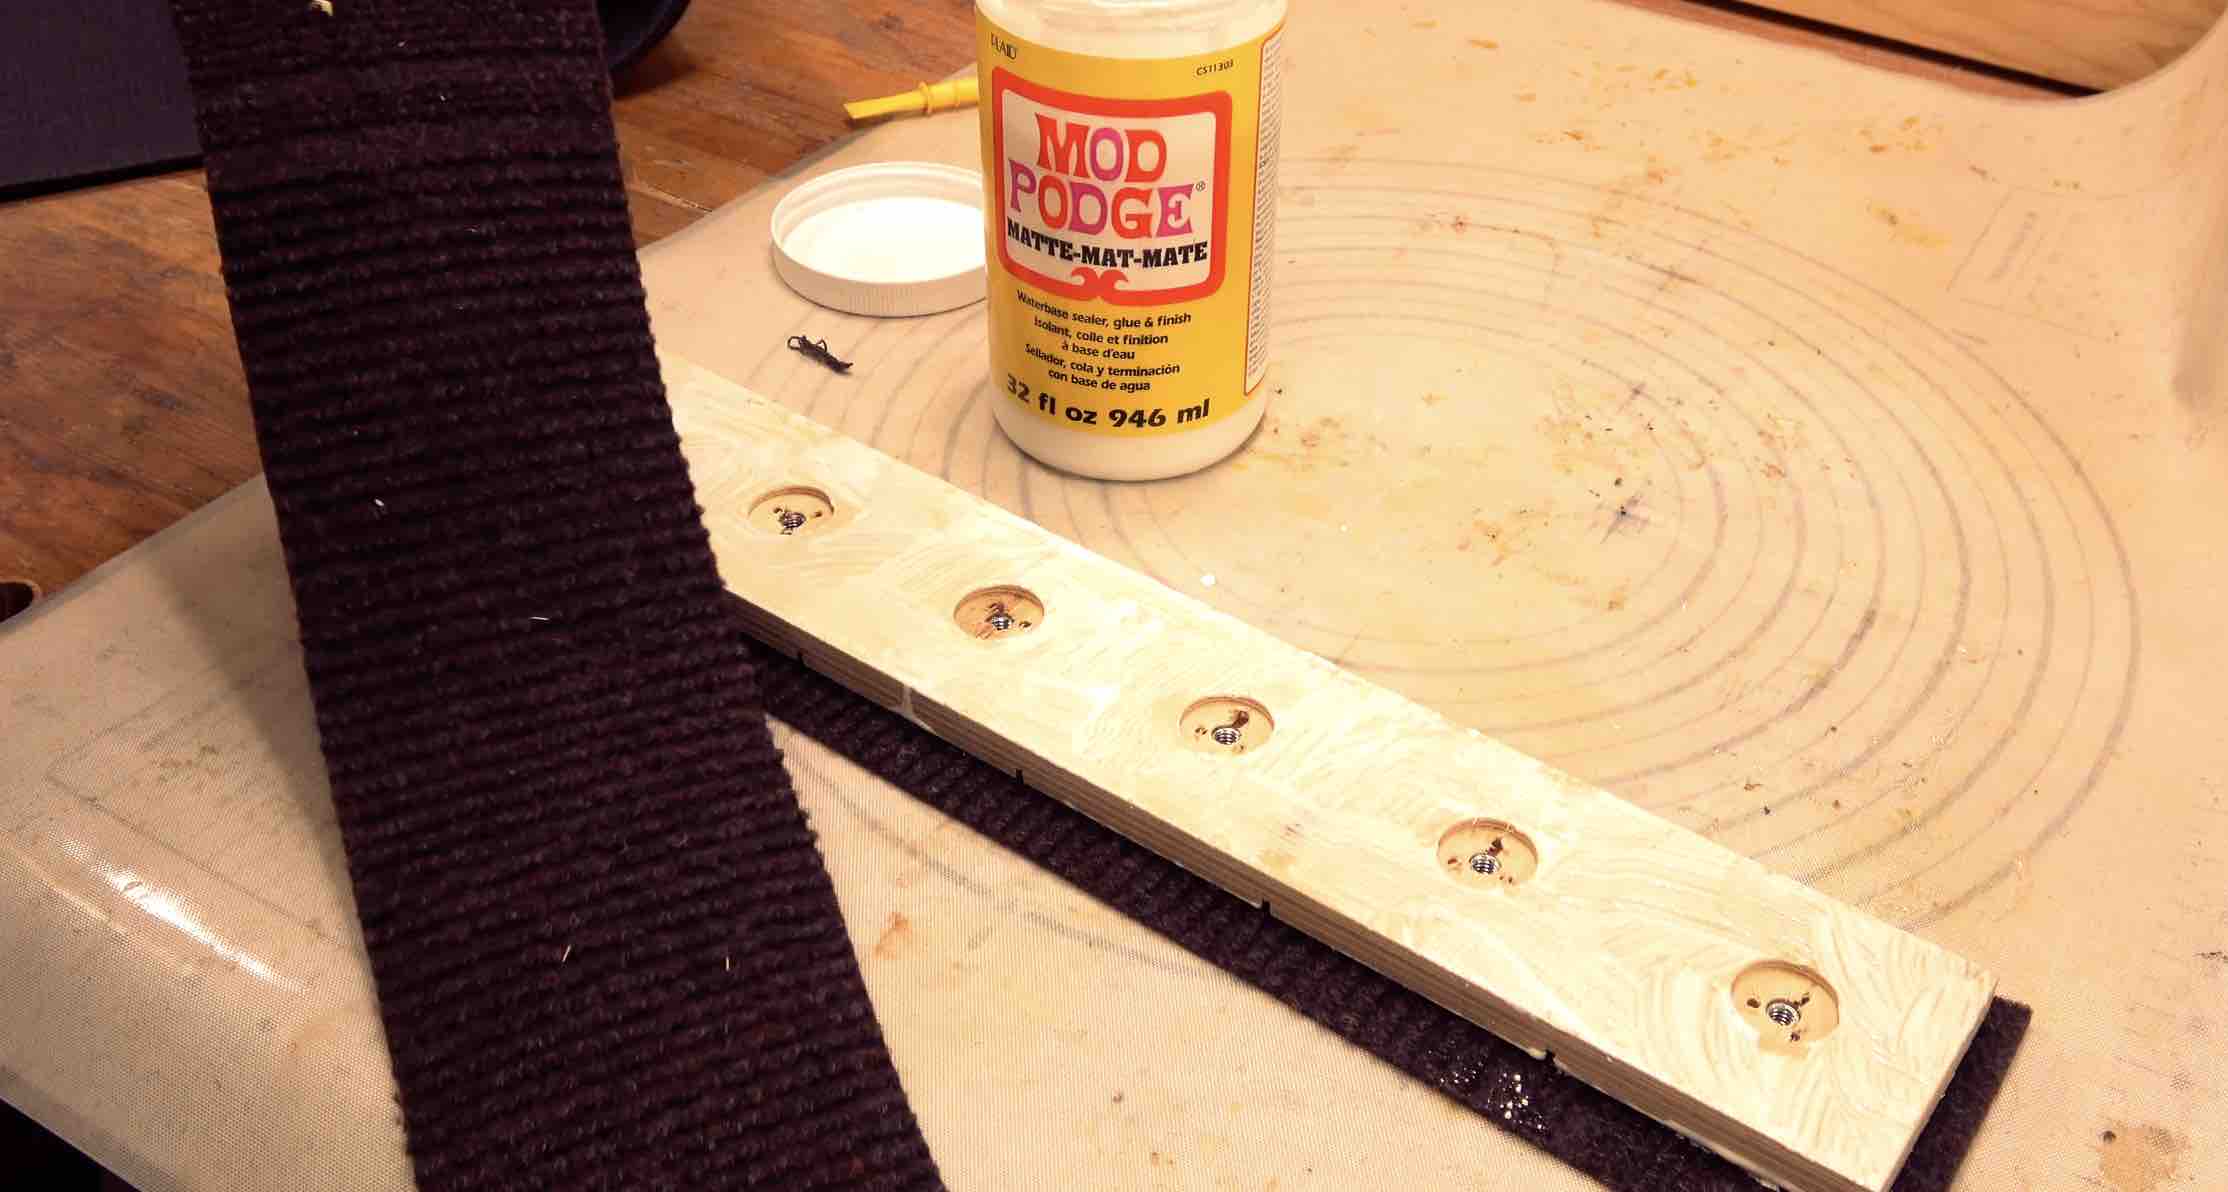
Step 3
We’ll cut out (4) 4 inch by 13″ pieces (or whatever size you plan on using, adding a little bit for that overlap) of Tracker Runner. You’ll now want to use a fairly cheap product called Mod Podge glue and add a layer of glue to both sides of your plywood, being extremely careful not to get glue inside the t-nuts. Add clamps and be sure you use a scrap wood on top.
Note: Clicking the picture on the right shows this step in motion at youtube.
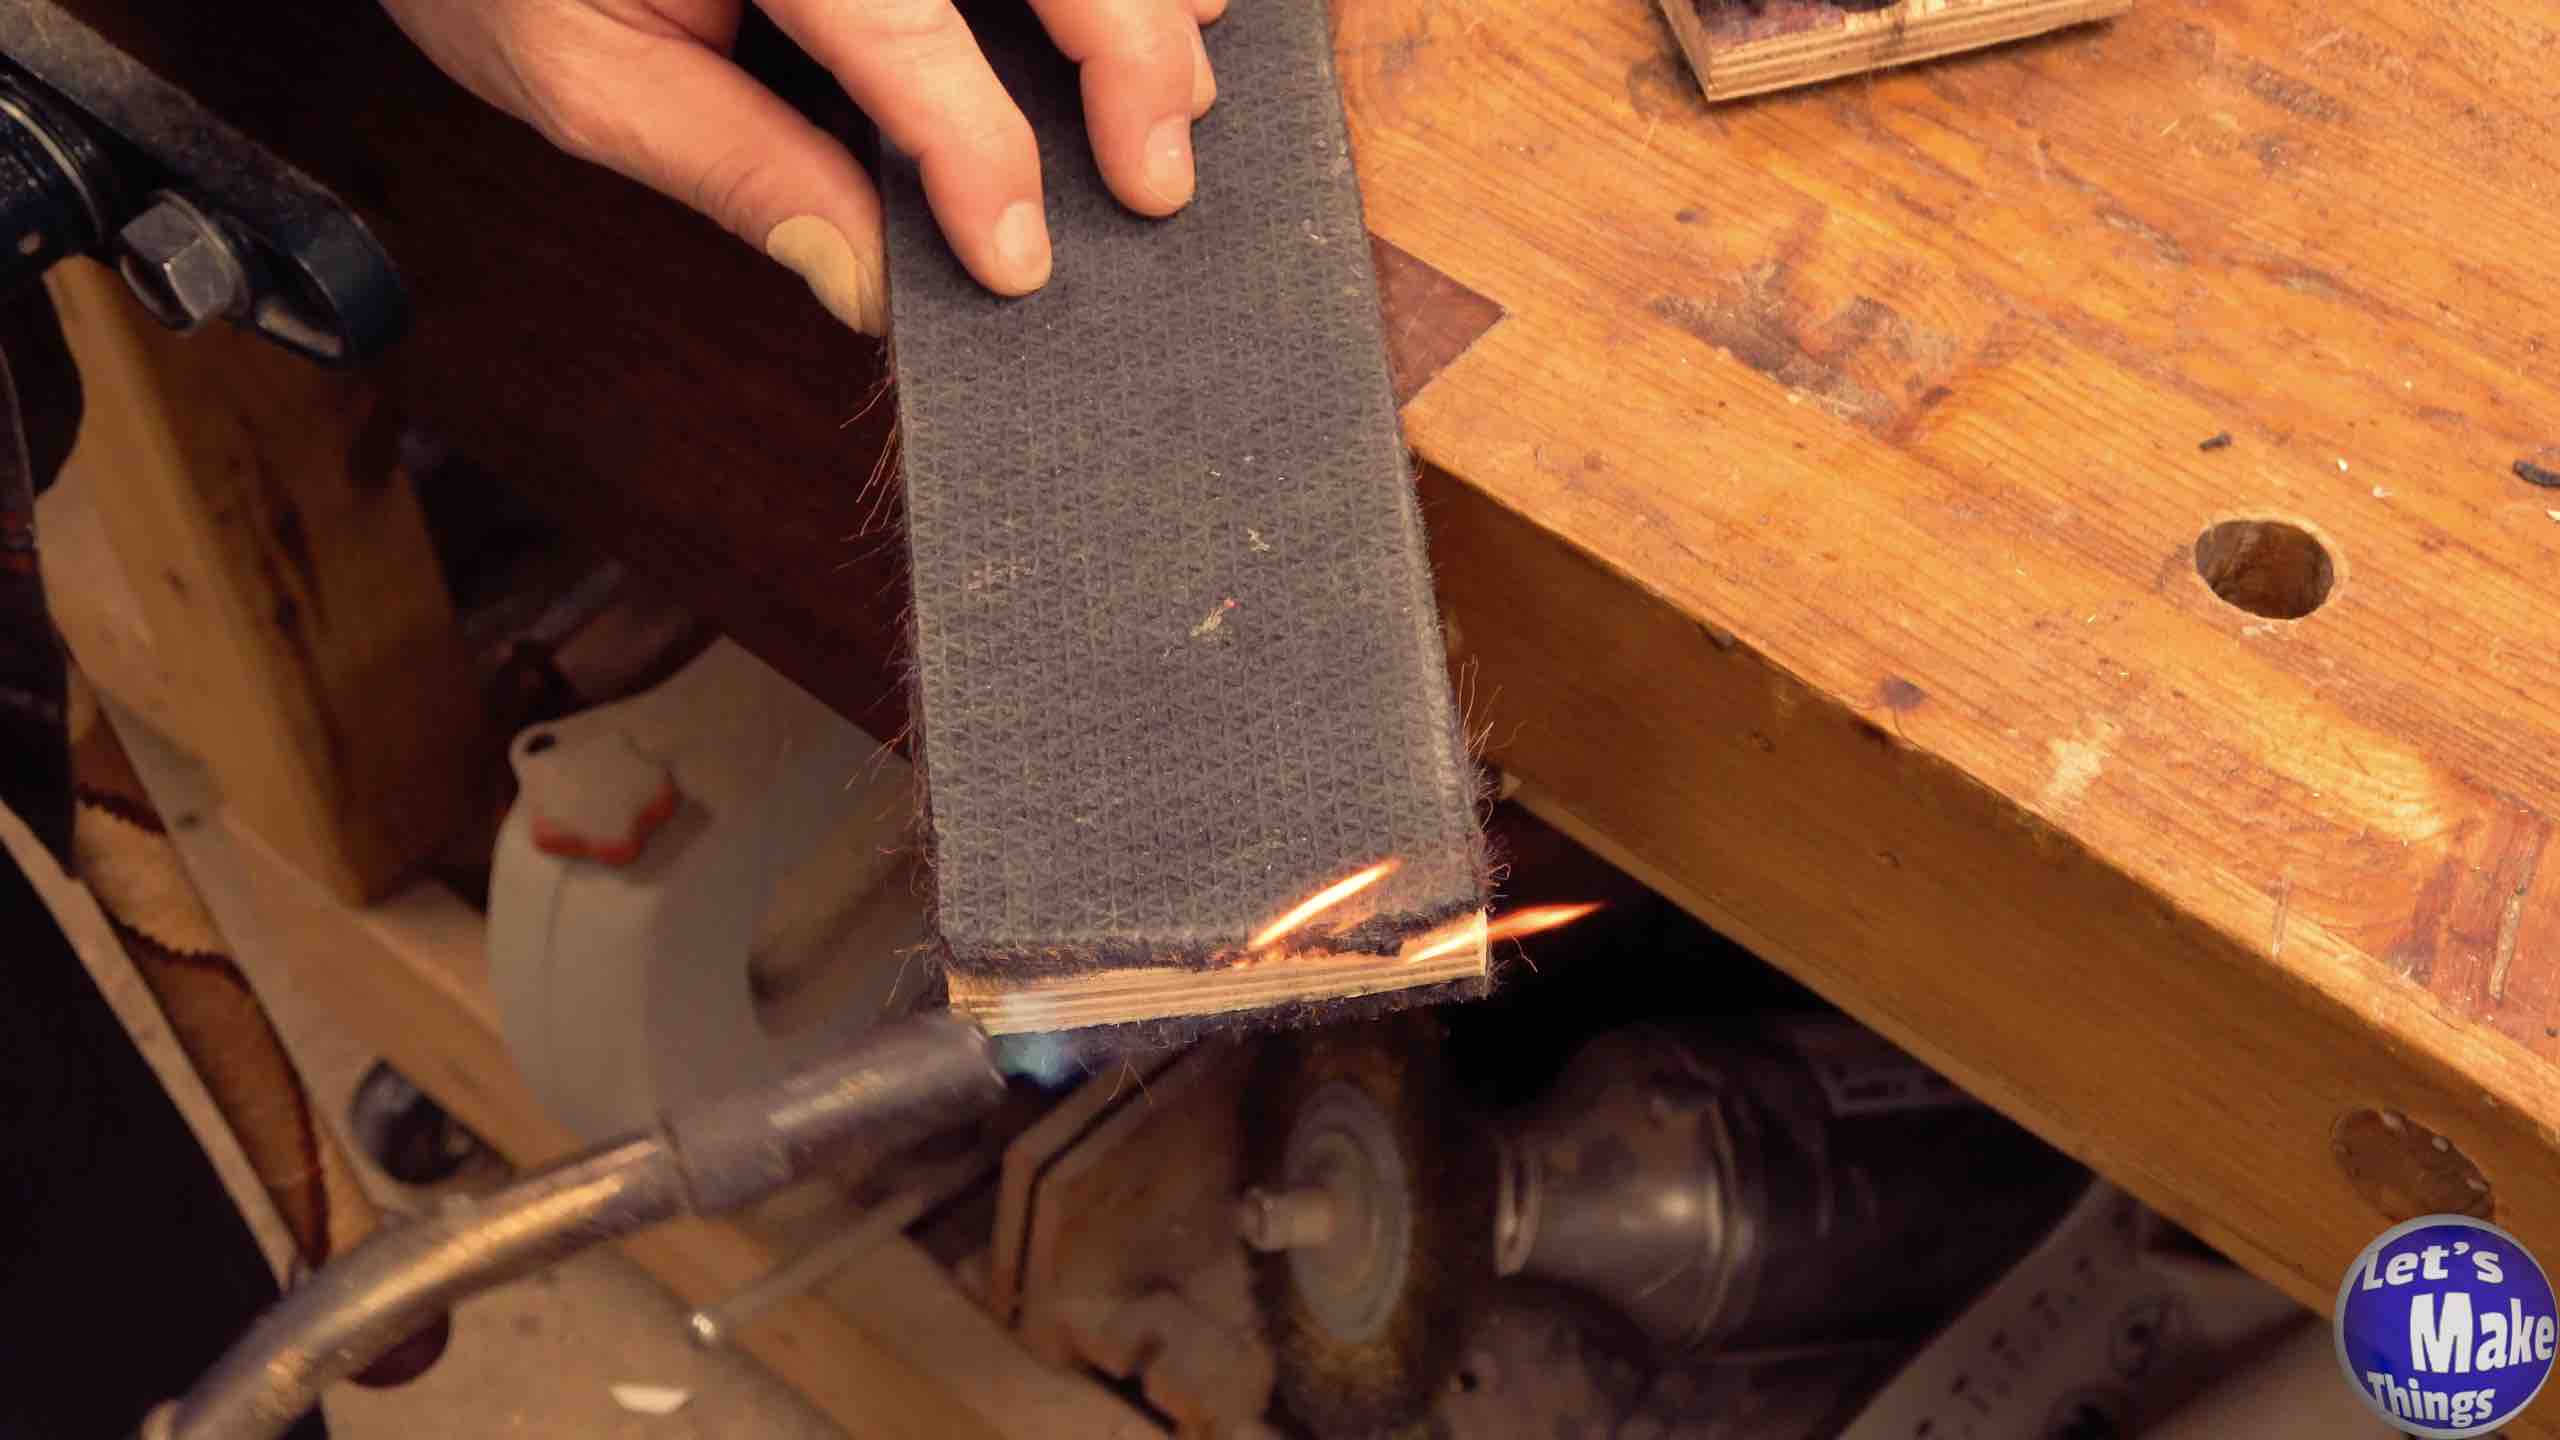
Step 4
Once the mod podge has dried (give it about 4-8 hours), we’ll now want to cut the remainder around the sides off. In the video I show a few ways to do that (click the picture to the right). Because you’ll invevitably get fibers around the edges, use a flame source to lightly clean up those fibers.
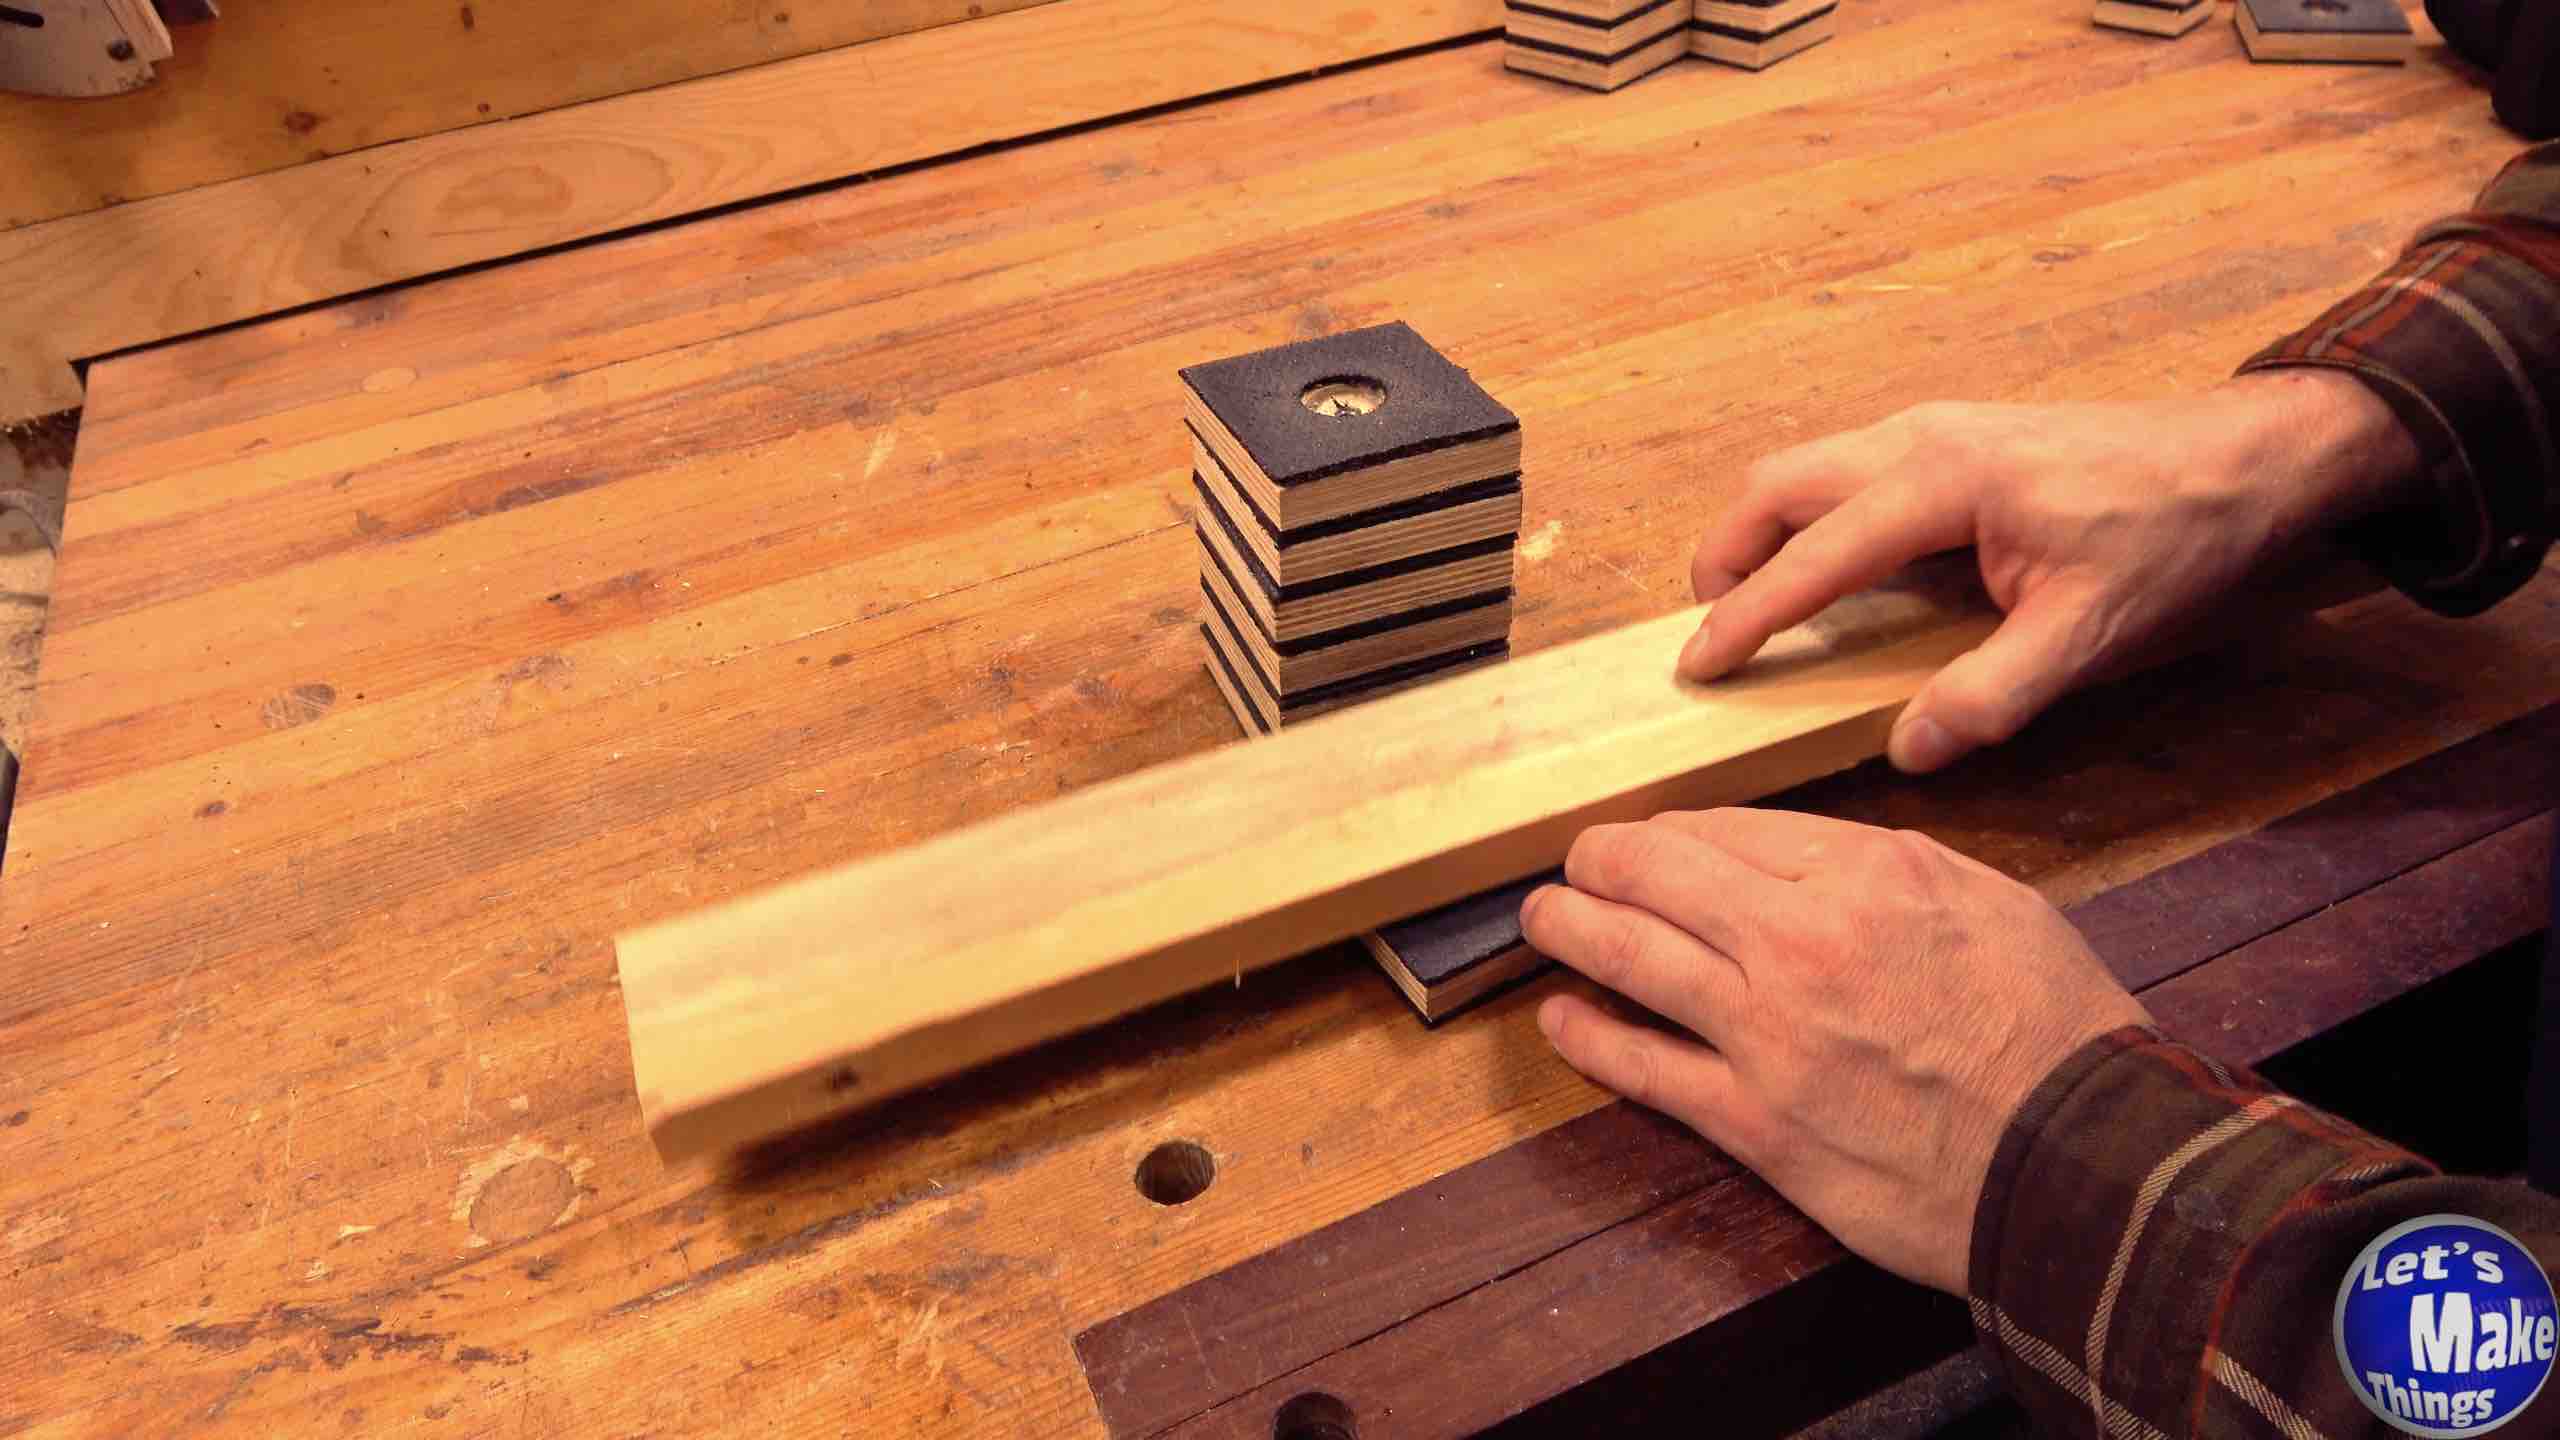
With the rectangles cleaned up, we’ll use a table saw sled to cut each square at 3 inches. If you don’t have a table saw sled, use your miter gauge and add a small, thin scrap of wood under your gribby pads (otherwise, they won’t move on the table top!).
Note: Clicking the picture on the right shows this step in motion at youtube.
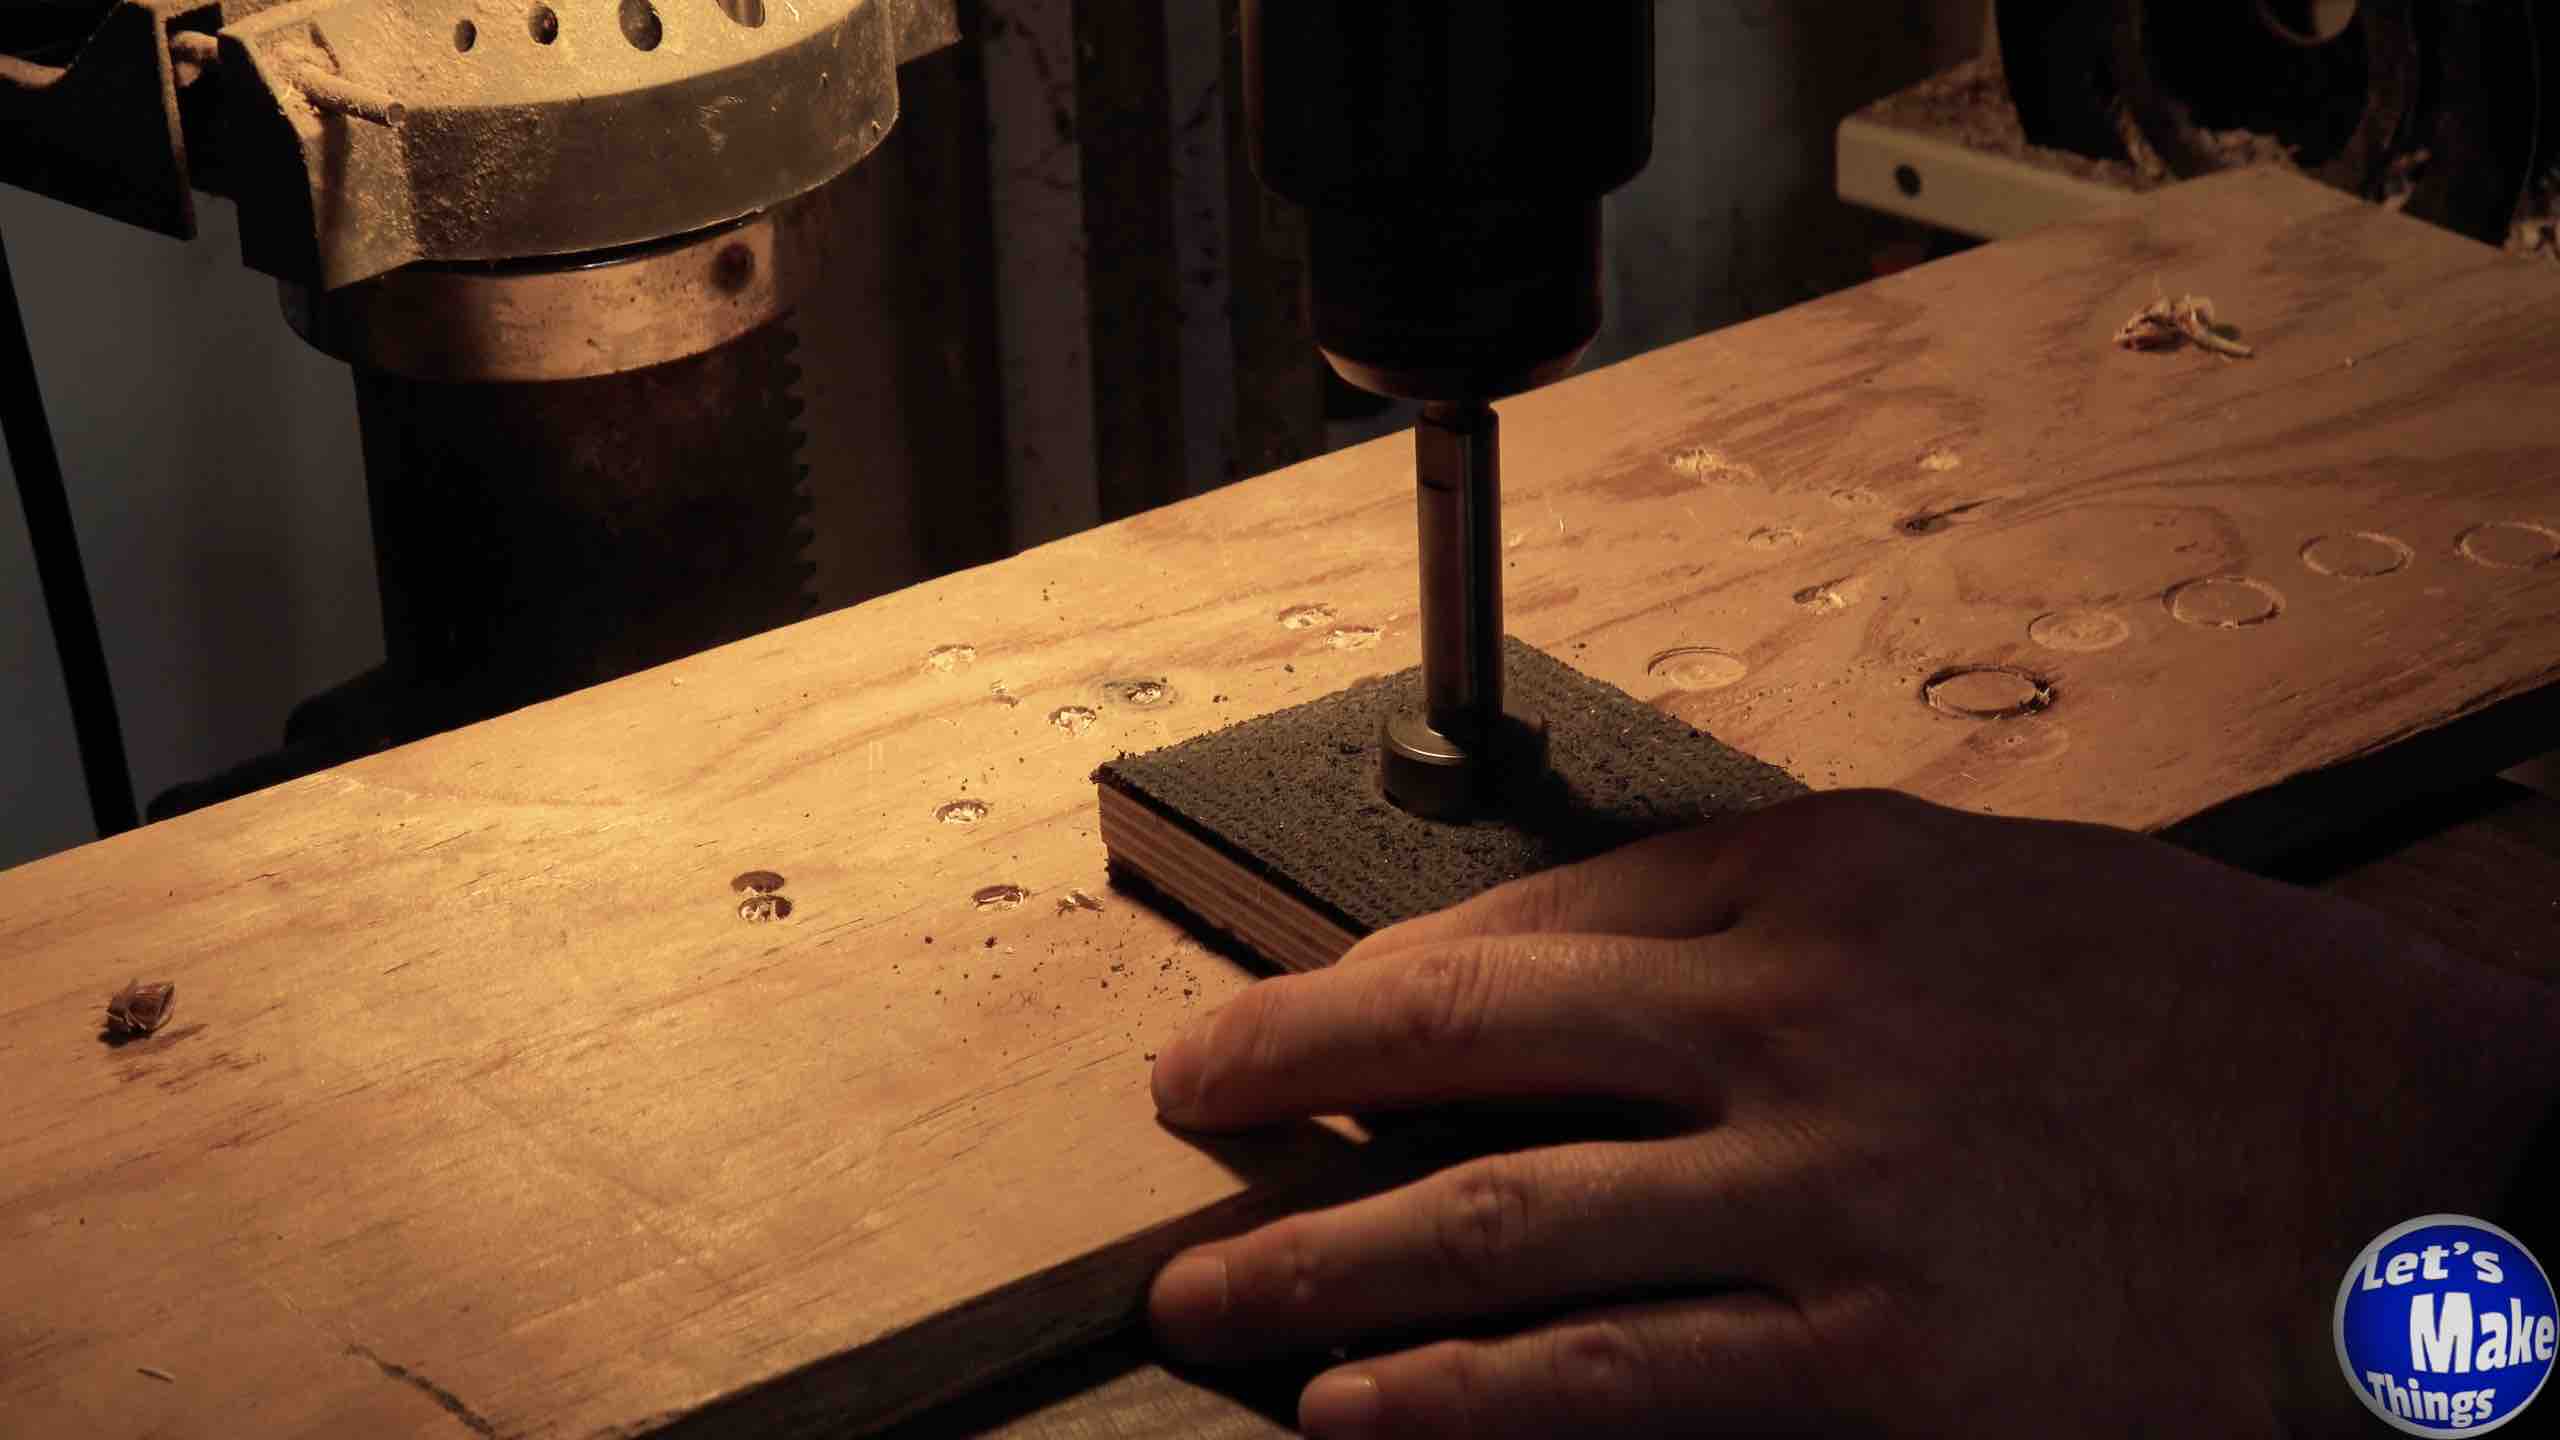
Step 5
Now, in front of you, you should have (8) 3 inch by 3 inch squares, the fabric hiding the inside hole. That’s good! Find the “squishy” side of the squares (the side with the 1″ hole we made earlier) and flip it over so it’s facing down on your workbench. Now we’ll use a 3/16″ drill bit and drill out the center. Back at the drill press, we’ll use a 1″ forstner bit on the “squishy” side. Take your time…very very slowly (I’m warning you!) drill down with the 1″ forstner bit and allow the bit to cut the fibers at it’s own pace…and not yours. I bungled up a couple blocks and don’t want you to go through what I went through!
Note: Clicking the picture on the right shows this step in motion at youtube.
Usage
A. Grip Pads
A little confusing, if you follow the video. I meant to say that you could use it as a pad to keep your work from moving around as you use a sander or other projects where you want the wood to stay in place.
Note: Clicking the picture on the right shows this step in motion at youtube.
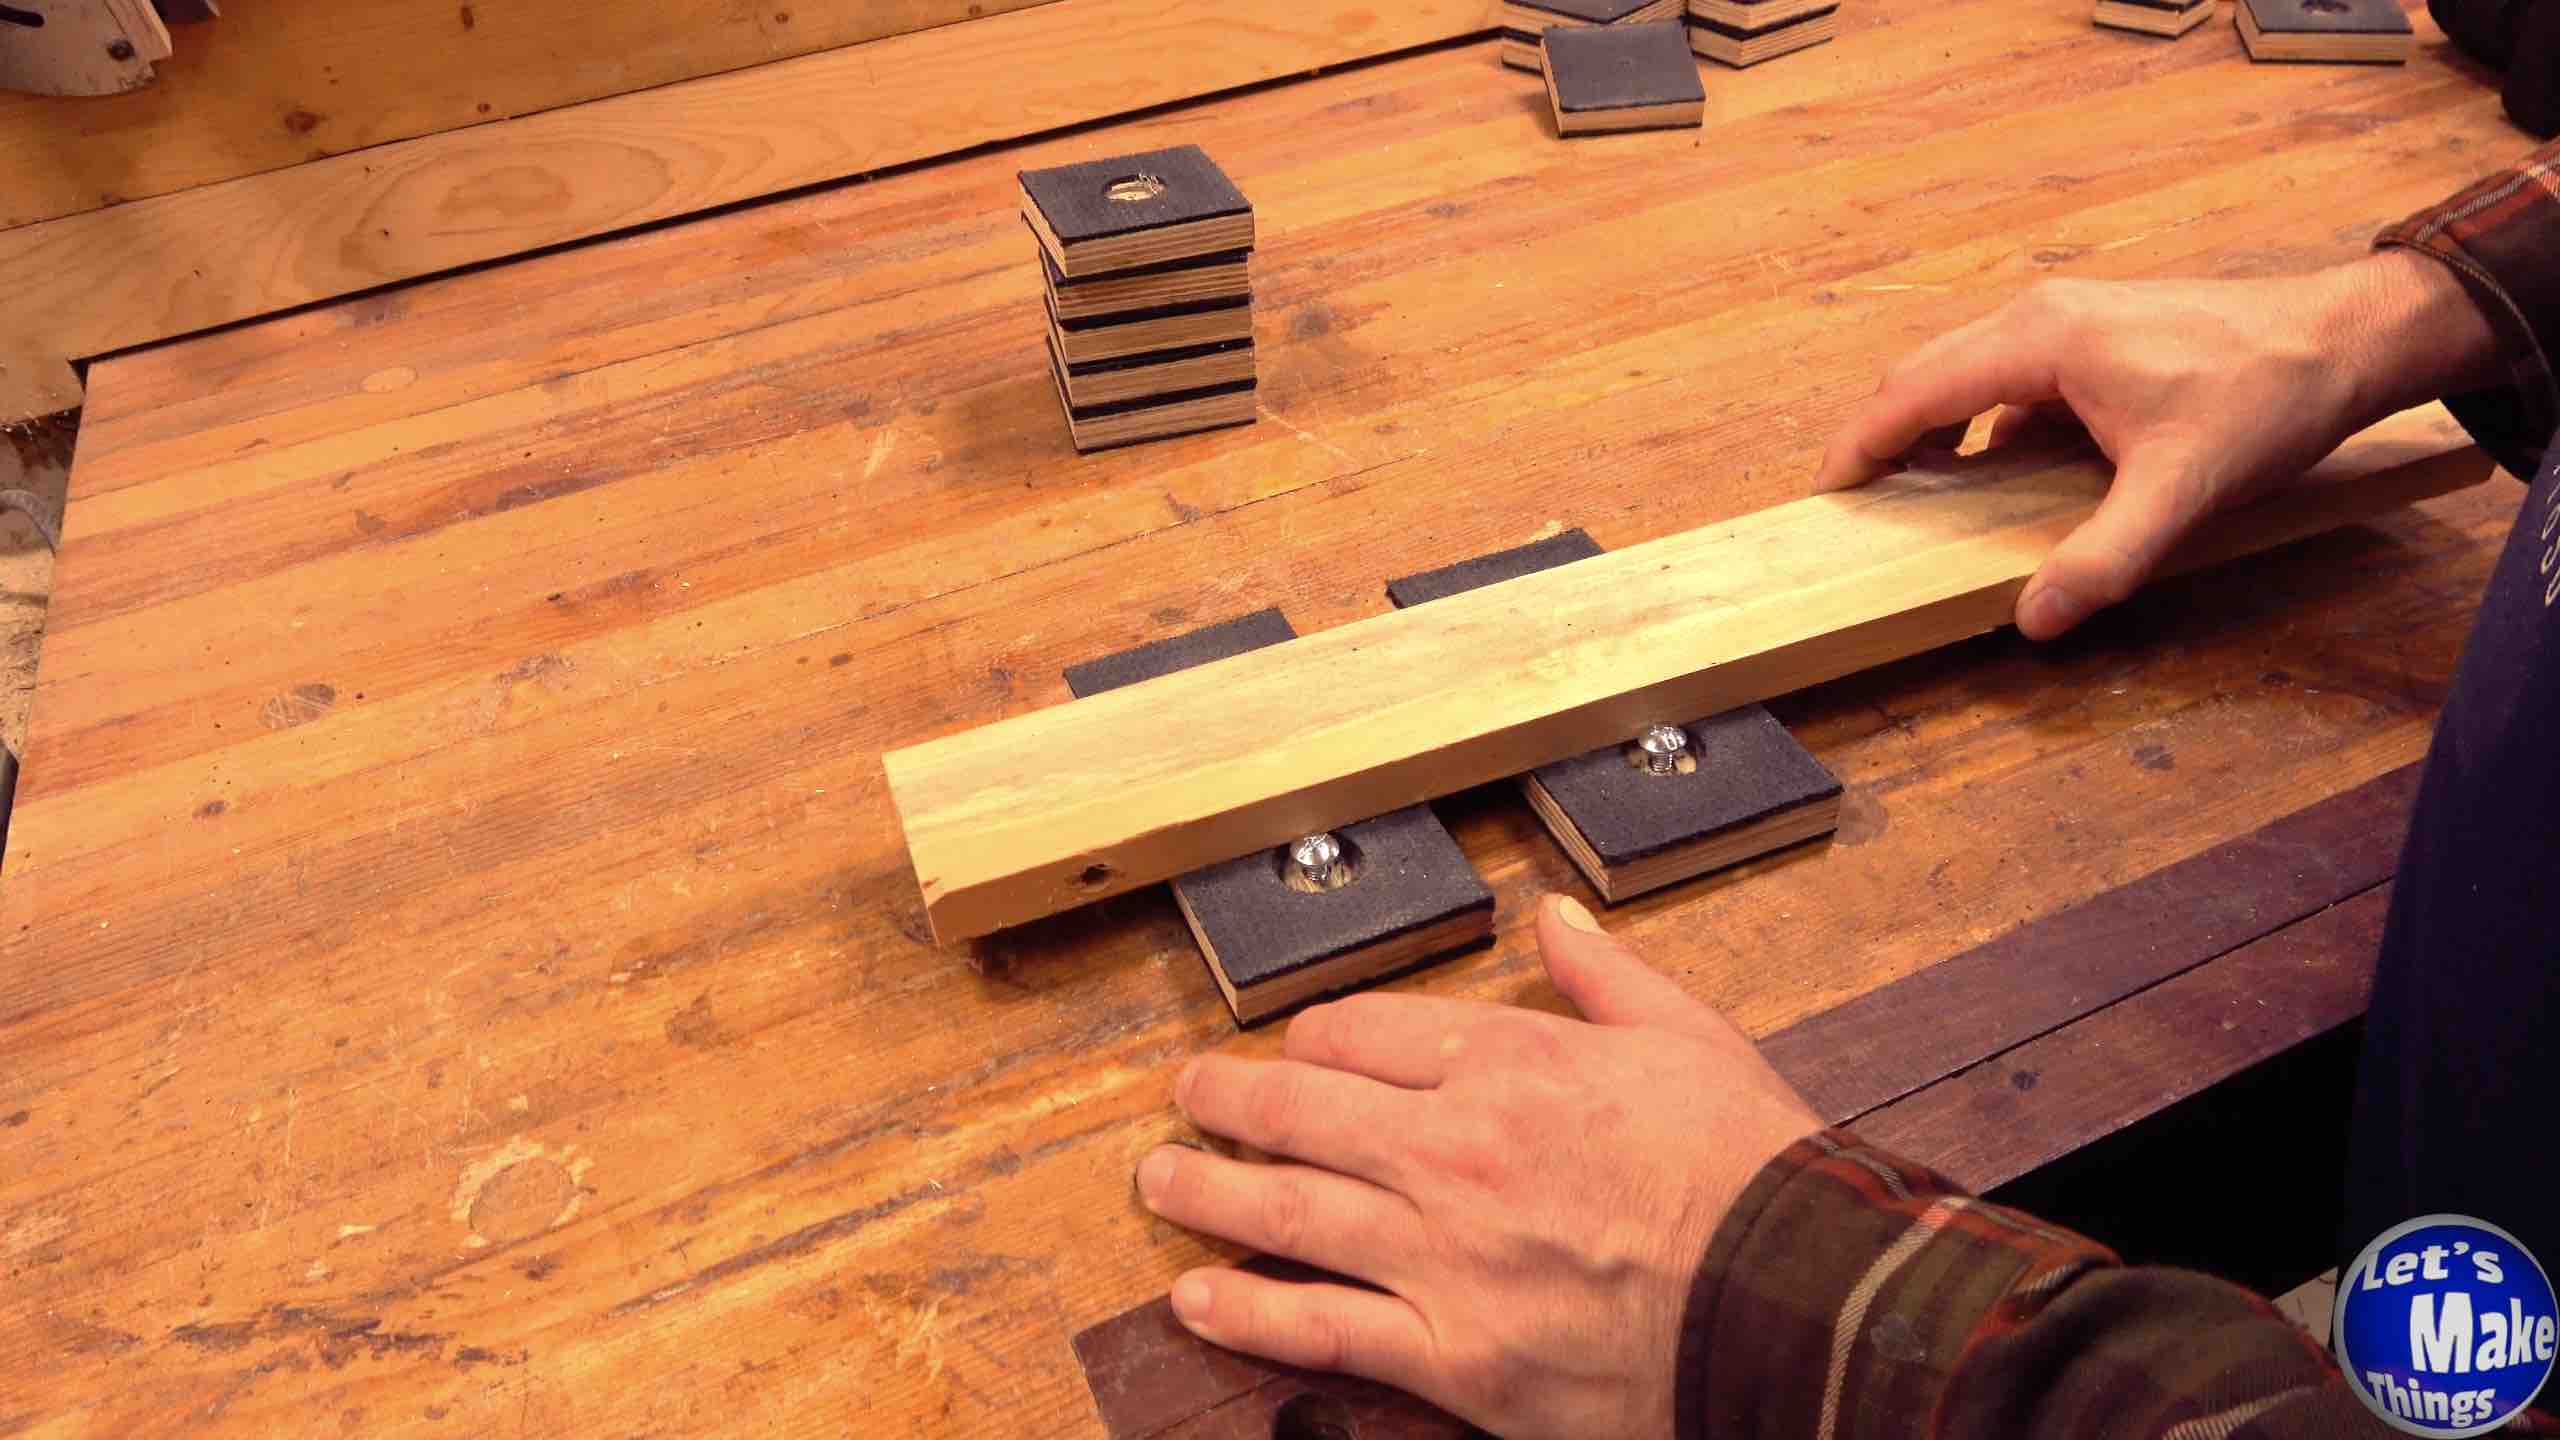
B. Finish Pads Pt. 1
Add a 1/2″ bolt that’s roughly 5/8″ in total length, and you can screw them out and use the tops as stands.
Note: Clicking the picture on the right shows this step in motion at youtube.
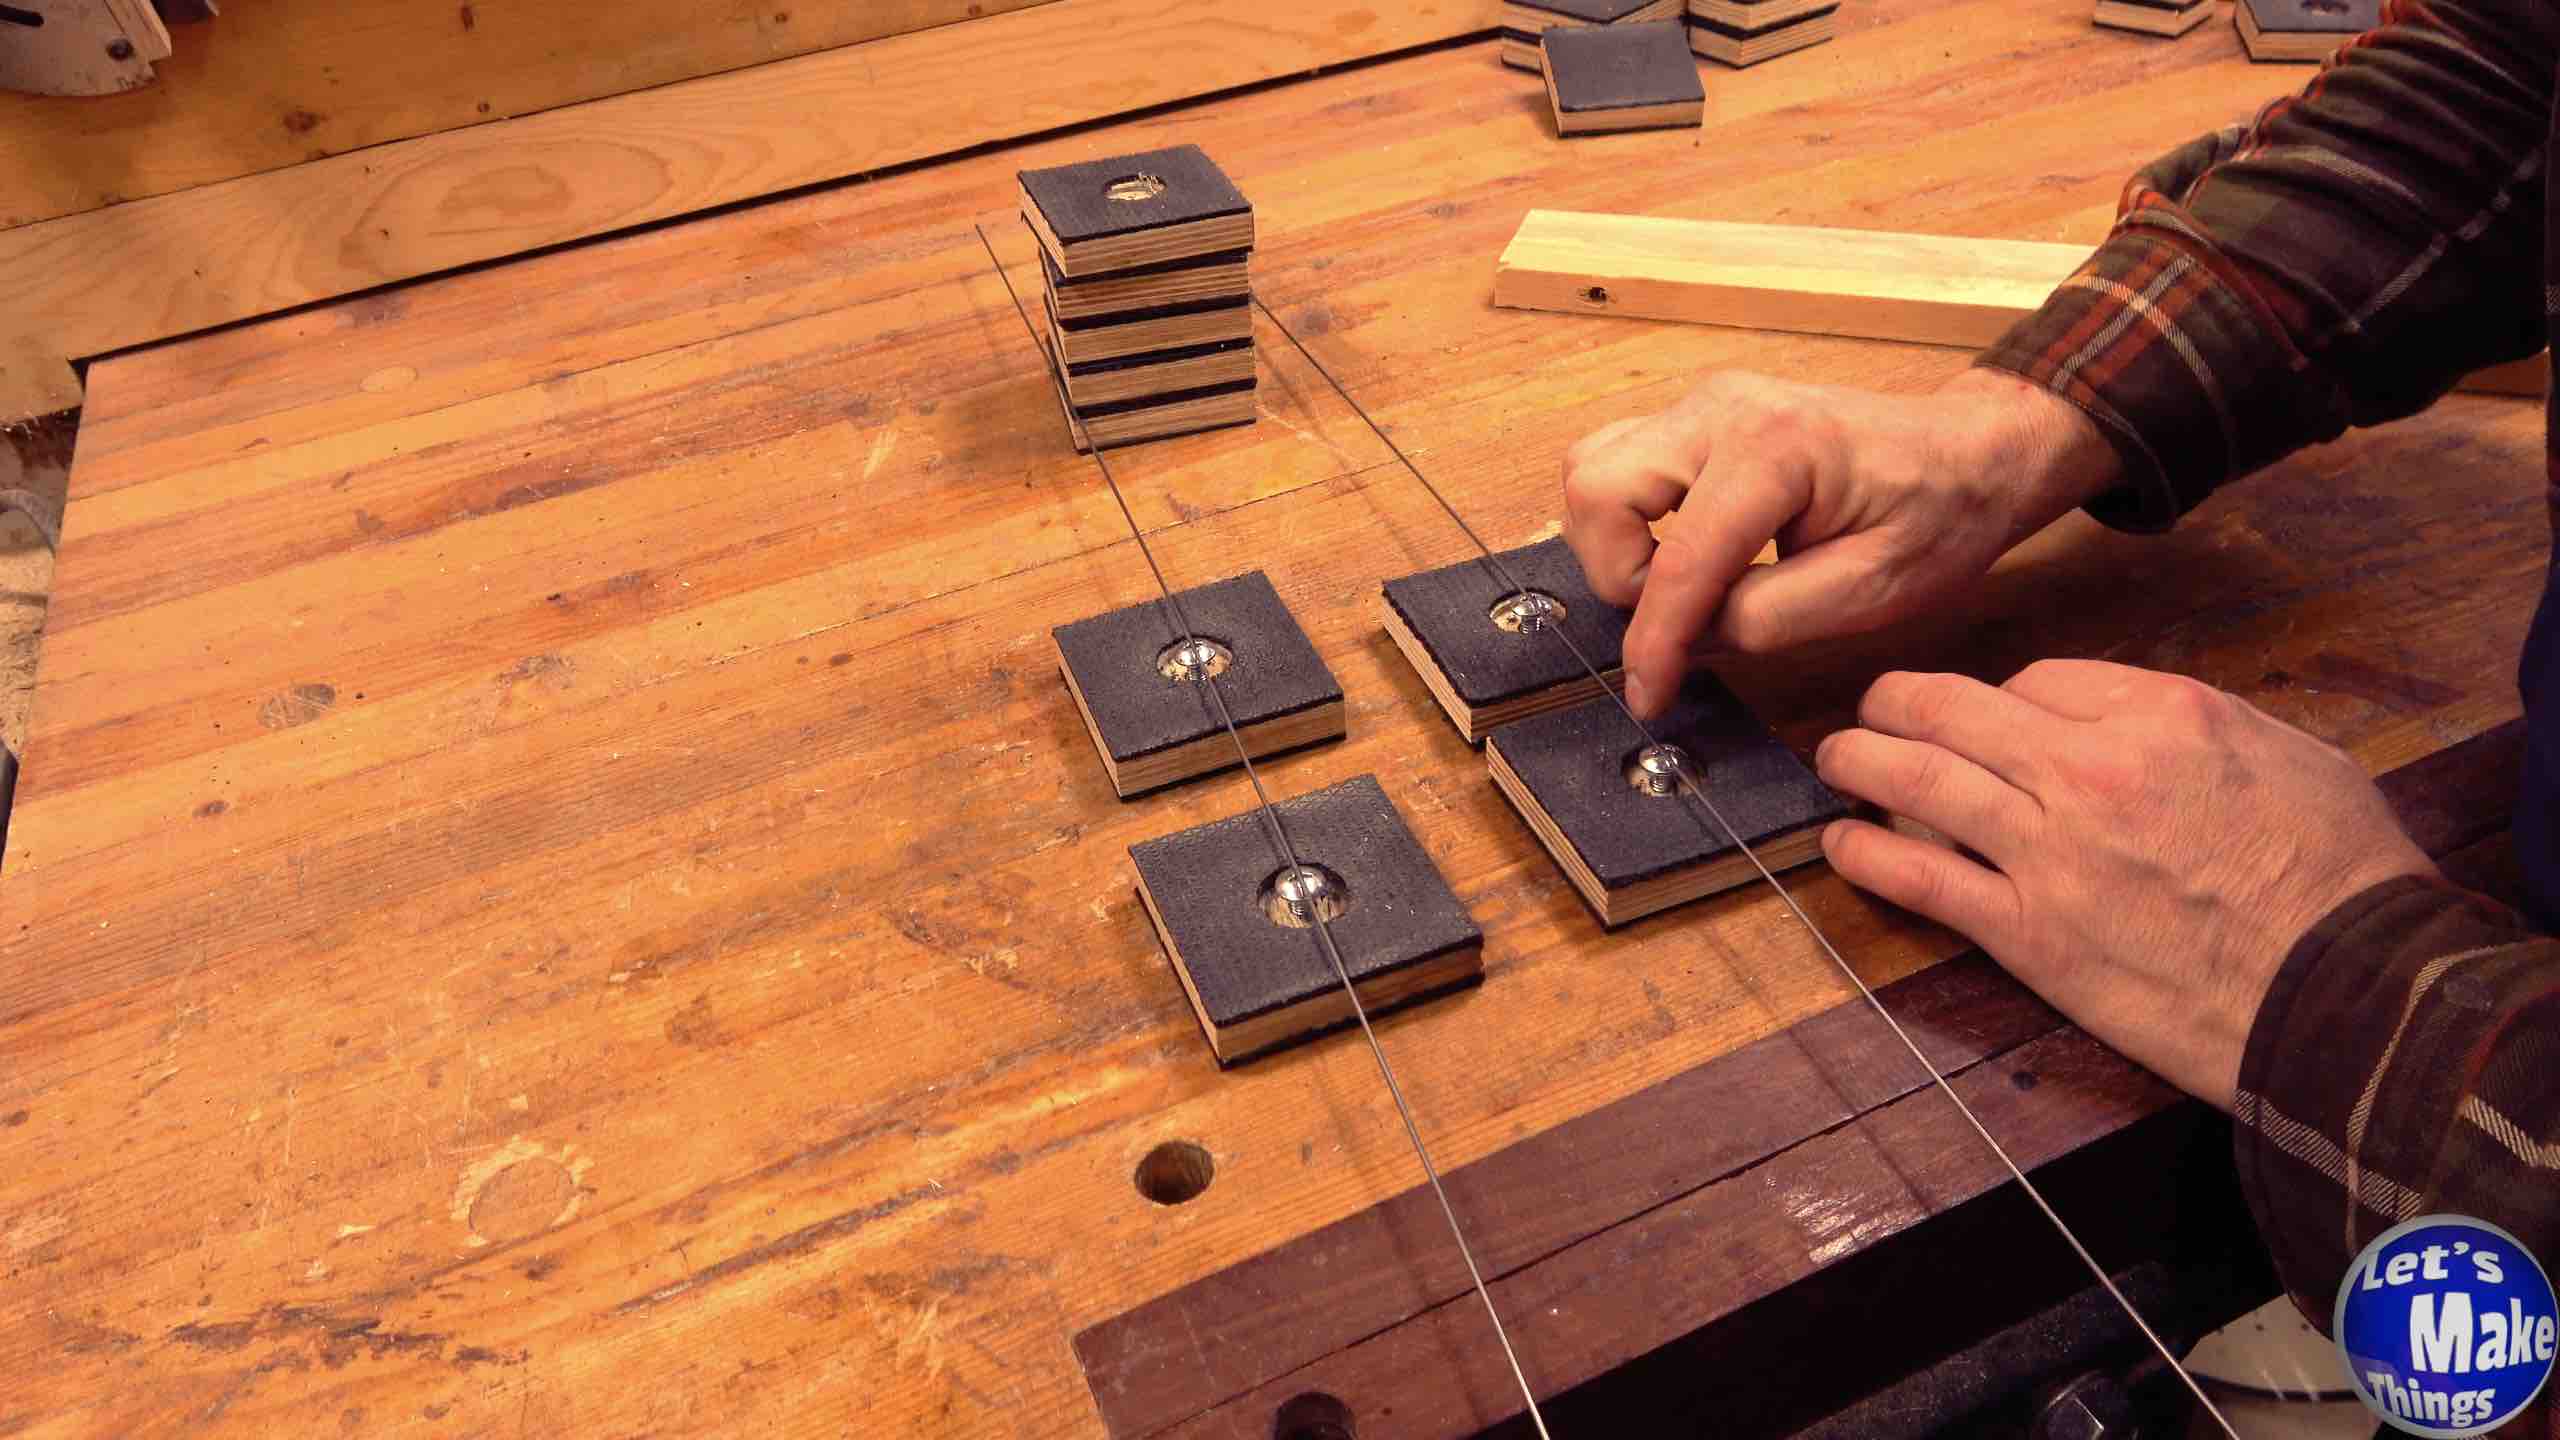
C. Finish Pads Pt. 2
Adding a wire that fits through the top of the slot of your bolt will give you a bridge, similiar to Rocklers Bridge cones. The wire I used was a 1/16″ wire I picked up at Ace Hardware. If you need something with more strength, consider using a grinder and making the slot head deaper. Then, all that would be needed are strips of sheet metal.
Note: Clicking the picture on the right shows this step in motion at youtube.
D. Add a Grippy Stud
I have another project that will allow you to make studs for each of these. Those studs fit inside the dog holes of your table (assuming you have dog holes) and lift your work up, allowing you to use a saw without damaging the surface of your workbench. These are not my ideas but come from rocklers bench cookie plus idea.
Note: Clicking the picture on the right shows this step in motion at youtube.

Tip Jar
If you enjoyed these free plans and have a few bucks sitting around, why not help us keep the website going and feed the tip jar? Completely optional!