Elevate your woodworking with the ultimate tenoning jig…a versatile tool designed for precision and simplicity. Built primarily with a table saw, this jig enables you to create flawless tenons and joints without the need for expensive equipment.
Whether you’re a beginner or a seasoned pro, this jig adapts to your needs. Start with a fully functional base design and add advanced features over time through our multi-layered “onion project” approach. With this jig, you’ll save time, improve accuracy, and enhance your joinery workflow…all while using tools you probably already have.
ATTENTION: These plans are yours to use…they are offered as a gift from me to you. You have every right to use them to make this project for yourself, but please, do not sell or give these plans away as your own. I make absolutely no money off of these so I would appreciate those who view these plans to abide by basic copyright laws.
As an amazon associate I earn from qualifying purchases.
Step by step instructions
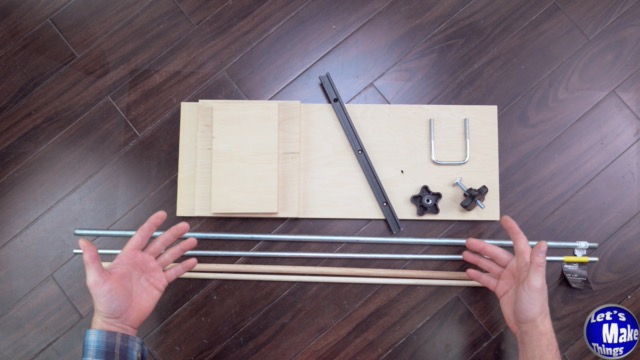
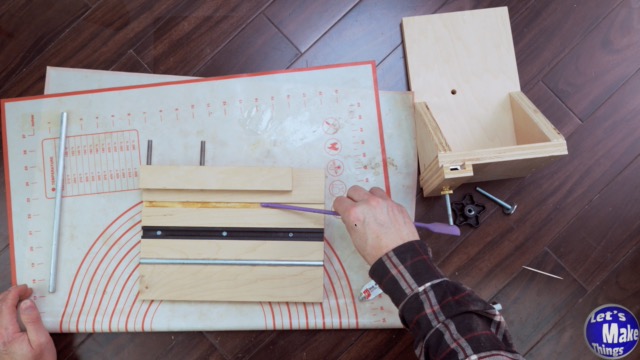
1.1. Materials
’ve listed all the materials above. To ensure your base and cradle line up properly, keep your stock at the 21-inch mark.This measurement is essential for maintaining accuracy in your jig.
Recommendation: I strongly suggest using metal dowels for their durability and smooth operation. If you decide to use wooden dowels, be sure to wax them thoroughly to reduce friction and ensure they move smoothly within the jig.
Click image to see this step on youtube
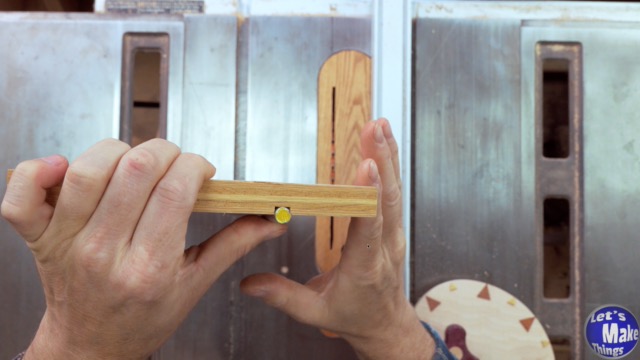
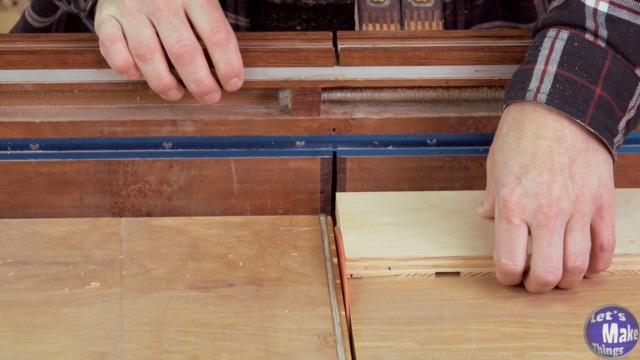
1.2. Cutting grooves
Take your 3/4″ x 8″ x 21″ plywood and cut two grooves to accommodate the dowels. This is done by rotating the stock after each cut:
Start by cutting one side of the plywood, beginning at 2 3/8 inches.
Flip the stock and cut the opposite side.
Move the fence inward toward the blade after each cut, repeating the process until the dowel fits snugly in the track.
Pro Tip: Set your cutting depth to 3/16 inch, which is half the thickness of the dowel, for optimal fit and stability.
Click image to see this step on youtube
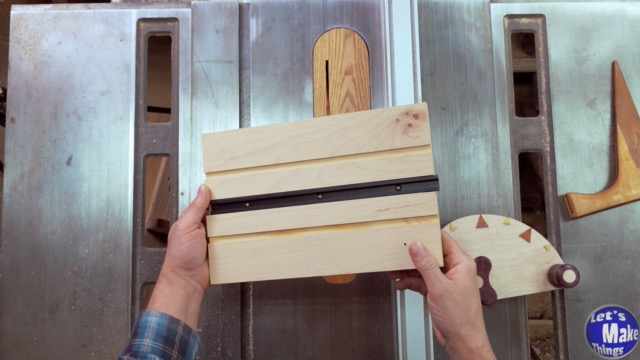
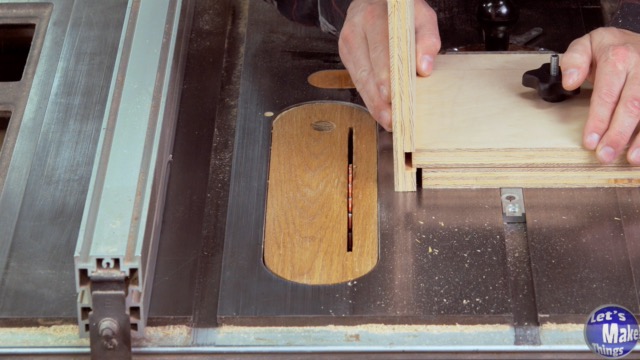
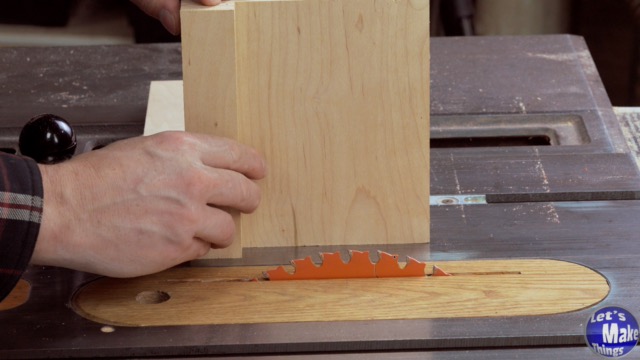
1.3. Cutting base, carriage, fence
Using your table saw, cut the base to a length of 12 inches. For the cradle, adjust the width to 6 1/2 inches. The fence width will also need to be 6 1/2 inches to match the cradle, with finished dimensions of 3/4″ x 6 1/2″ x 7″ plywood.
To finish the base piece, cut a dado down the center that’s large enough to fit a T-track. Set the blade depth to 3/8 inch,which should match the width of the T-track.
Click image to see this step on youtube
1.4. Adding t-track, dowels, t-bolts
Attach the T-track to the base using three #6-1/2″ screws and a center hinge bit. If any screw tips protrude through the bottom, it’s important to grind them off to prevent damage to the table saw top.
Next, cut the steel dowels to fit snugly inside the channel.
To prepare the cradle, drill a 5/16″ hole in the center of the piece. This hole will allow the T-bolt to lock the cradle down securely during use.
Click image to see this step on youtube
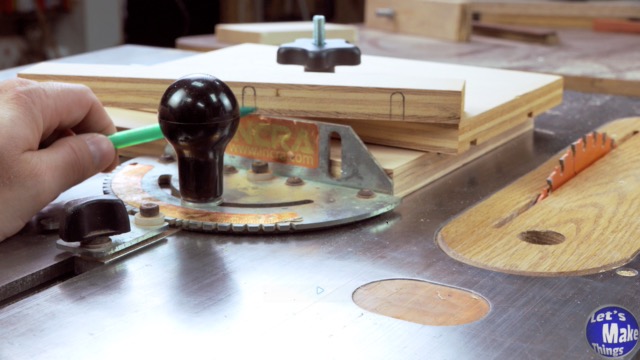
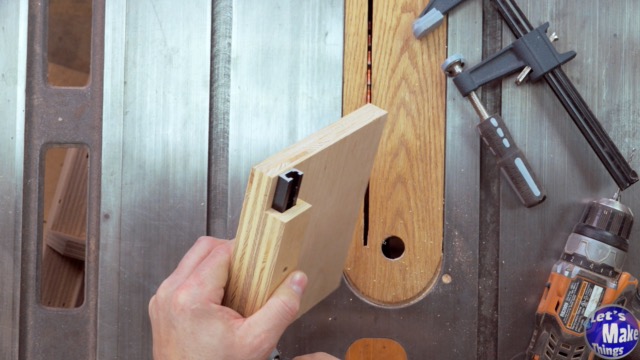
1.5. Miter slot attachment
In this step, we attach the miter gauge to the bottom of the jig. While you don’t have to use a miter gauge, it’s the simplest and most precise method. If you go this route, make sure your miter gauge is reliable. I personally recommend the Incra miter gauge—it’s an investment, but its ability to eliminate slop in the miter slot makes it indispensable for precise, repeatable cuts. If you don’t have one, any sturdy, well-fitting miter gauge will work. Precision here is key to ensuring the jig performs as intended.
Click image to see this step on youtube
1.5B. (alt) Miter slot attachment
To make this jig fully functional without needing to attach a miter gauge every time, this step demonstrates how to integrate the base directly with the miter slot.
We started by cutting a dado on the underside of the base, sized precisely to fit a strip of plywood for the miter slot. To ensure the dado stays true to the edge, we trimmed the plywood edge after cutting. This step keeps everything aligned and ensures smooth, accurate operation during use.
Click image to see this step on youtube
1.6. Fence work
At this stage, we’ve built a base with a moving board. To transform it into a functional tenoning jig, we need to raise the stock upright for vertical cuts.
Start by creating a fence that slides onto the cradle portion using a dado. This ensures the fence aligns properly and moves smoothly.
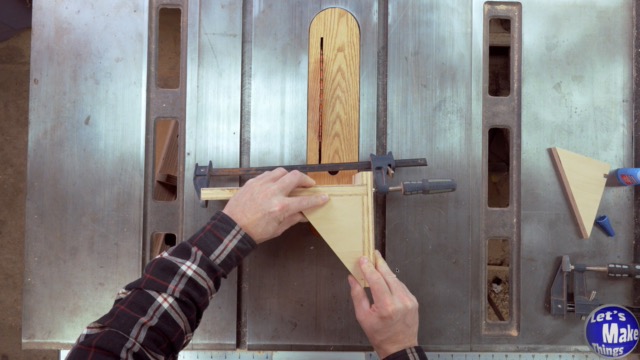
Next, cut supports to stabilize the fence. Using a sled, cut diagonal supports from a single 3/4-inch piece of plywood. These will provide the necessary reinforcement to keep the fence steady during use.
Click image to see this step on youtube
1.7. Fence on a fence (stop block)
With the fence cut, it’s time to add a stop block for the stock. If you’re not concerned about cutting into the block, you can permanently attach a thin piece of stock fence using glue for a quick and simple solution.
However, if you’d like the stop block to be more durable and last longer, proceed to the next step for an alternative approach.
Click image to see this step on youtube
1.7B. Slidable fence (Optional)
While optional, a sliding stop block is the more sensible and safer choice for this jig. Here’s how to make it:
Use the cut, flip, cut method to carve out the center of your plywood, ensuring it’s wide enough to fit the T-track snugly.
Add a single hole in the center of the block. To do this, use the T-track itself and its pre-drilled holes as a guide to center the track and make your mark.
Drill a 1/4-inch hole at the marked spot.
Finally, attach the T-track to the fence securely.
Click image to see this step on youtube
1.8. Finishing the body
Now it’s time to attach the fence to the base using the supports. Start by marking and drilling the sides, then use screws to secure the fence to the base.
Here’s a handy trick: Before finishing the drilling and adding screws, apply a bit of super glue to hold everything in place temporarily. This ensures the fence stays perfectly aligned and won’t shift during assembly.
Click image to see this step on youtube
1.9. Epoxy the channels
To finish the jig, add epoxy into the channels for the steel dowels. For a strong bond, sand each dowel and clean them thoroughly with a vinegar-water solution before placing them in the tracks.
Once the dowels are in position, use clamps to hold everything securely while the epoxy cures. At this stage, ignore using the knob to clamp it down—clamps will provide the necessary pressure for a solid bond.