Elevate your woodworking with the ultimate tenoning jig—a versatile tool designed for precision and simplicity. Built primarily with a table saw, this jig enables you to create flawless tenons and joints without the need for expensive equipment.
Whether you’re a beginner or a seasoned pro, this jig adapts to your needs. Start with a fully functional base design and add advanced features over time through our multi-layered “onion project” approach. With this jig, you’ll save time, improve accuracy, and enhance your joinery workflow—all while using tools you probably already have.
ATTENTION: These plans are yours to use…they are offered as a gift from me to you. You have every right to use them to make this project for yourself, but please, do not sell or give these plans away as your own. I make absolutely no money off of these so I would appreciate those who view these plans to abide by basic copyright laws.
As an amazon associate I earn from qualifying purchases.
Step by step instructions
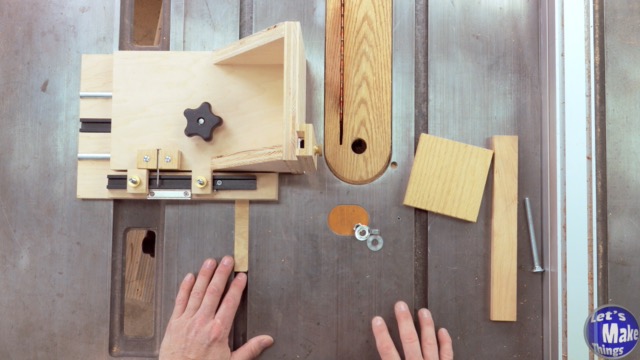
3.1. Materials
The materials for this section are incredibly simple, but keep in mind that you’ll need the runner we discussed earlier (link to runner here). This runner must be long enough to support the plywood block base listed in the materials.
Click image to see this step on youtube
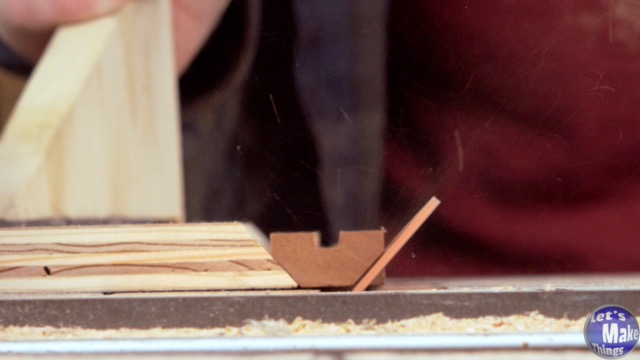
3.2. Cutting centers
To make the base where the handle will fit, cut a groove in the plywood block base to fit the runner. Use the cut-flip-cut method to create a groove that matches the width of the runner precisely.
Click image to see this step on youtube
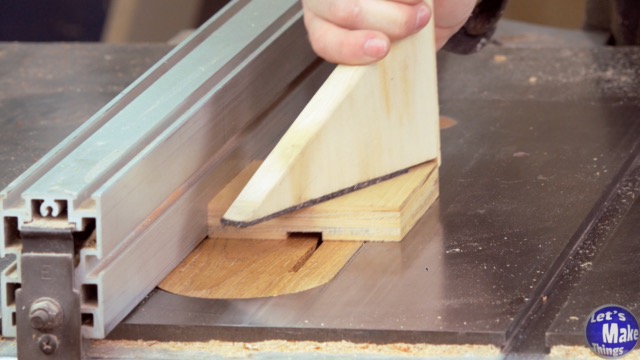
3.3. Shaping and cutting handles
Next, cut the handle. I used a 5/16-inch diameter bolt that’s 5 inches long, giving us extra length to add nuts later. The handle material should be twice the length of the final handle, as it will be cut in half and glued together.
Cut a gap in the stock wide enough for the bolt and half the diameter of the bolt. For comfort, I opted to cut the corners off the handle, but this step is optional. To do this, I used Bitesize 300 (link to video here). Once shaped, cut the stock in half and glue the two pieces together.
Click image to see this step on youtube
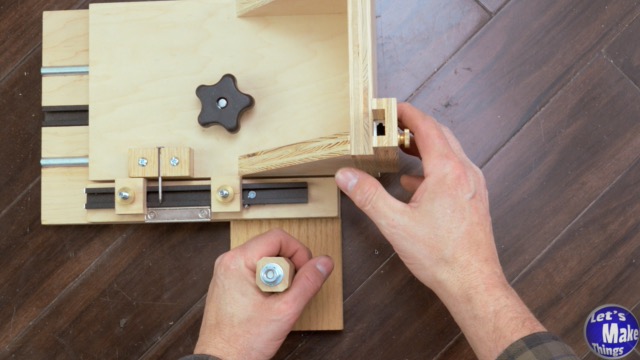
3.4. Handle base
On the handle base, find the center and drill a 3/4-inch hole large enough for the carriage bolt head to fit tightly. Then, drill a through-hole that will fit the diameter of the bolt. After adding the bolt, secure it by adding two nuts to the top and jamming them together.
Finally, glue the runner to the bottom of the base…and you’re done!