Elevate your woodworking with the ultimate tenoning jig—a versatile tool designed for precision and simplicity. Built primarily with a table saw, this jig enables you to create flawless tenons and joints without the need for expensive equipment.
Whether you’re a beginner or a seasoned pro, this jig adapts to your needs. Start with a fully functional base design and add advanced features over time through our multi-layered “onion project” approach. With this jig, you’ll save time, improve accuracy, and enhance your joinery workflow—all while using tools you probably already have.
ATTENTION: These plans are yours to use…they are offered as a gift from me to you. You have every right to use them to make this project for yourself, but please, do not sell or give these plans away as your own. I make absolutely no money off of these so I would appreciate those who view these plans to abide by basic copyright laws.
As an amazon associate I earn from qualifying purchases.
Step by step instructions
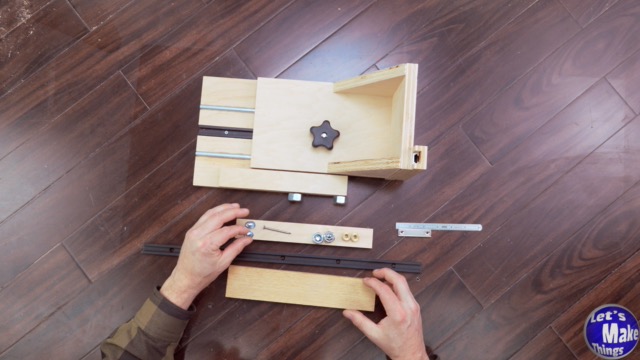
2.1. Materials
There aren’t many materials needed to build the stop system, but there are a few important considerations to keep in mind. You’ll notice that some pieces have been left long—this is intentional and prioritizes safety. A little wasted wood is far better than risking injury!
Optional Add-Ons: I included asteel rulerand amagnet, though I’m not yet certain how necessary these are. You can leave them off for now and add them later if desired.
Substitutions: I usedexpensive knurled thumb knobsfor this build, butwing nutsare a great, cost-effective alternative. Additionally, the design uses a single nail, which might be difficult to source in some cases. You could replace this with a small screw if needed.
Click image to see this step on youtube
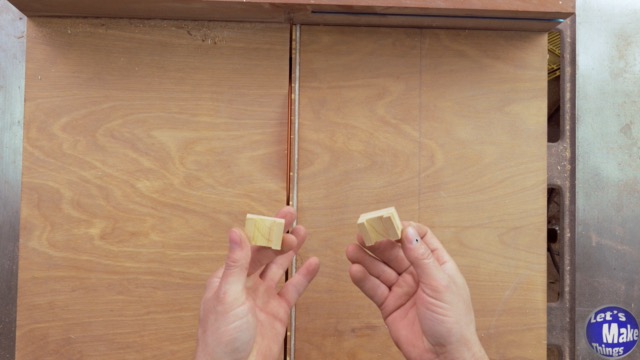
2.2. Stop control (sliders)
To begin, cut a pair of sliders from a piece of plywood measuring 3/4″ x 1 1/4″ x 10″. While this length might seem excessive, it’s intentional for safety—you can always trim it down later.
Using the cut, flip, cut method, create a channel in the plywood that will slide smoothly along the T-track. This ensures precision and functionality for the stop system.
Once the channel is complete, use a table saw sled to cut the plywood into 2-inch pieces, forming the sliders.
Click image to see this step on youtube
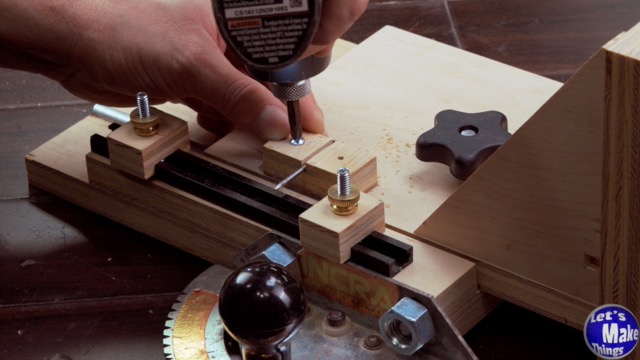
2.3. Pointer build / Install
The pointer is made using a 6D nail, secured into a slot cut with a 3/32-inch table saw blade. To create the slot, I left the plywood long for safety, guiding it into the blade and pulling it straight back to form the kerf.
Once the kerf was complete, I used a table saw sled to cut off a 1-inch piece and then hammered the nail into place.
To secure the pointer, I finished by attaching it to the top with two #8 x 1-inch screws.
Click image to see this step on youtube
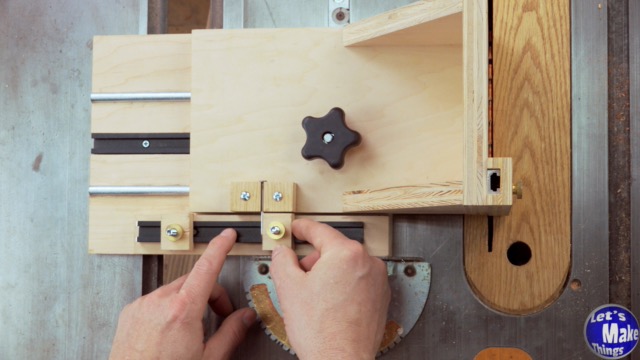
2.4. Slider install
To attach the T-track, start by moving the carriage so it’s positioned just a hair’s distance from the blade, then lock the knob down in the middle. Place the stop block to the right, next to the pointer, and tighten it securely.
To mark the stock below for the T-track holes, I used a drill bit the same width as the T-track holes. However, a center hinge bit would likely be a better option for greater accuracy.
Finally, secure the T-track to the stock using #6-1/2″ screws.
Click image to see this step on youtube
2.5. Ruler / safety install
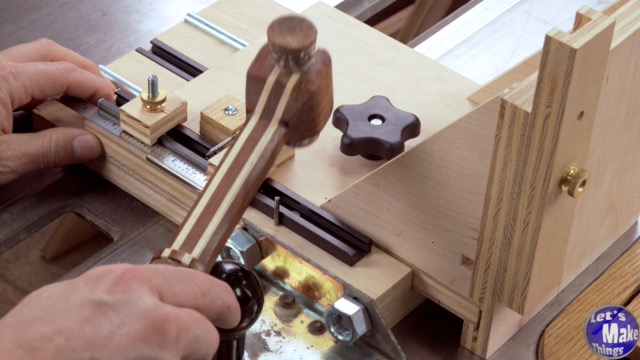
To finish the stop, I added a magnet to hold a ruler in place. While I’m not entirely sure how useful this feature is yet, my plan is to use it for micro adjustments in the future. This addition isn’t critical to the stop system, so feel free to include it at your discretion.
Lastly, I added a 6D nail to ensure safety. This nail prevents the pointer from moving into a position where the blade could cut into the fence, eliminating any risk of accidental damage to the jig.